
You can forget about Excel sheets, endless email threads, or long WhatsApp conversations just to collect your clients’ check-ins.
With Gymkee, you can easily create your own assessment templates (monthly, weekly, or daily check-ins) and send them to your clients to track their progress efficiently.
In this article, we’ll show you exactly how to do it.
View your clients’ assessments
First, go to the Clients section, then click on Assessments.
You’ll find a list of all the assessments your clients have completed.
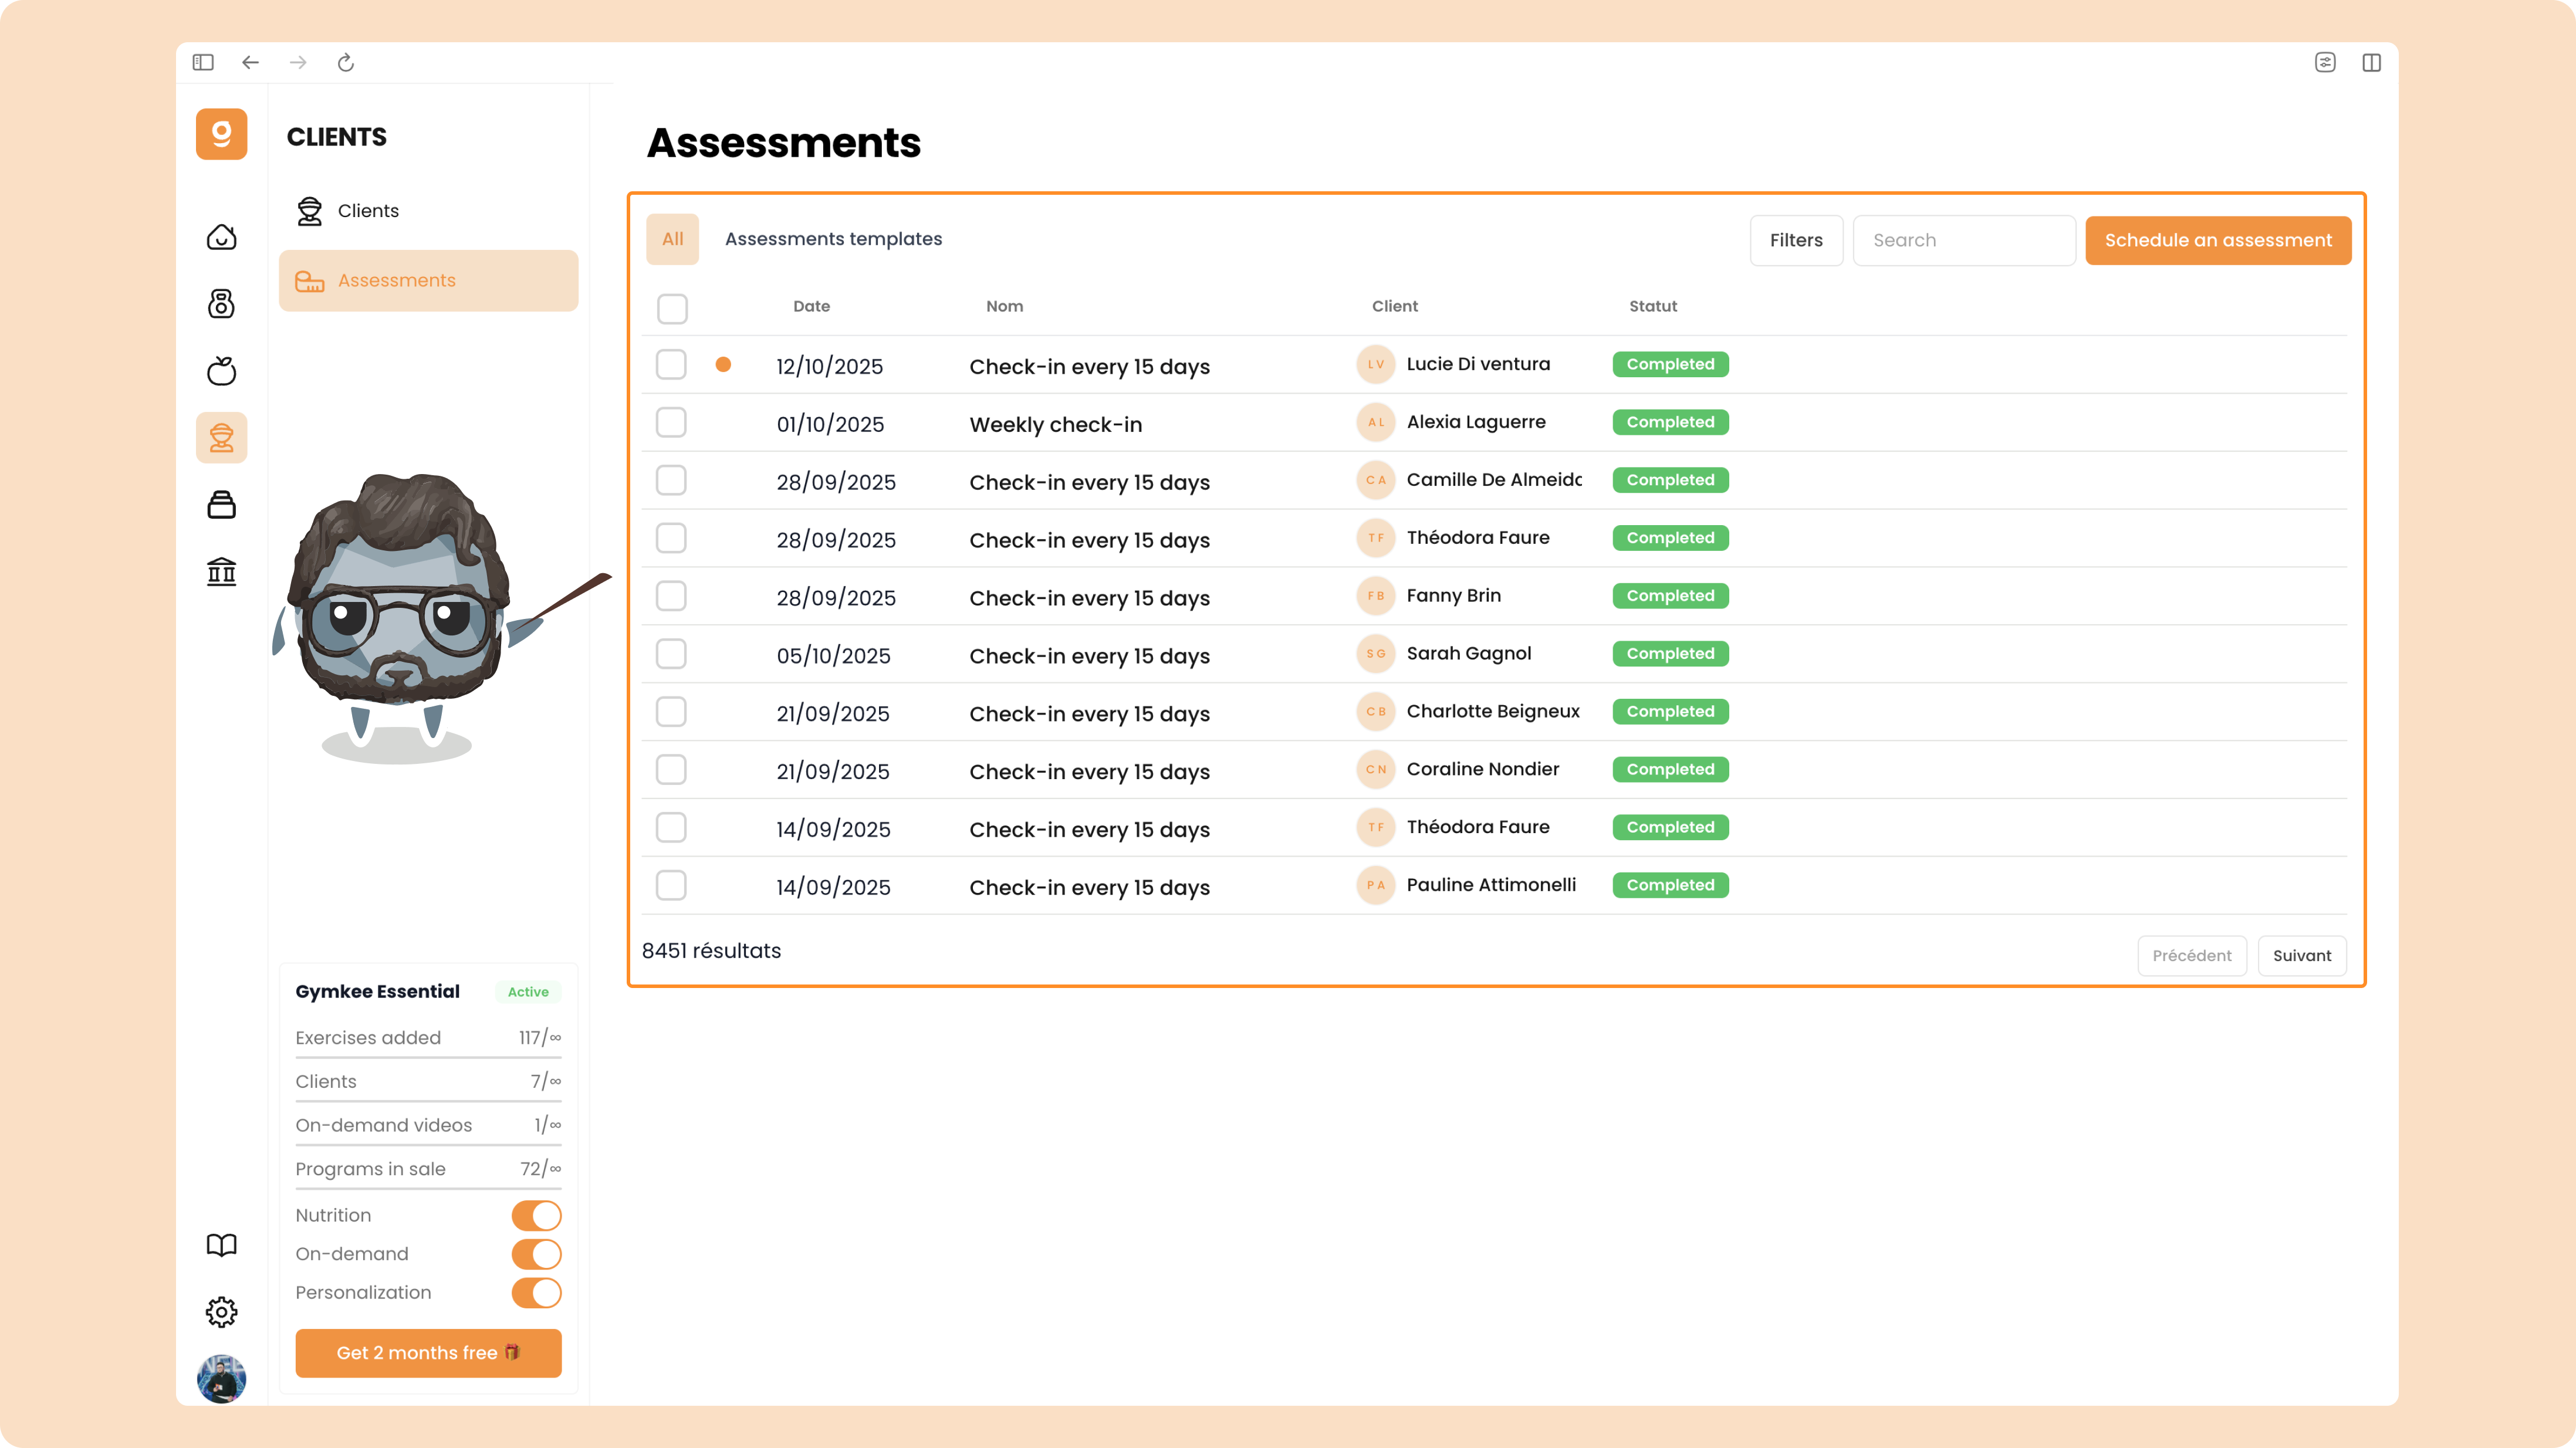
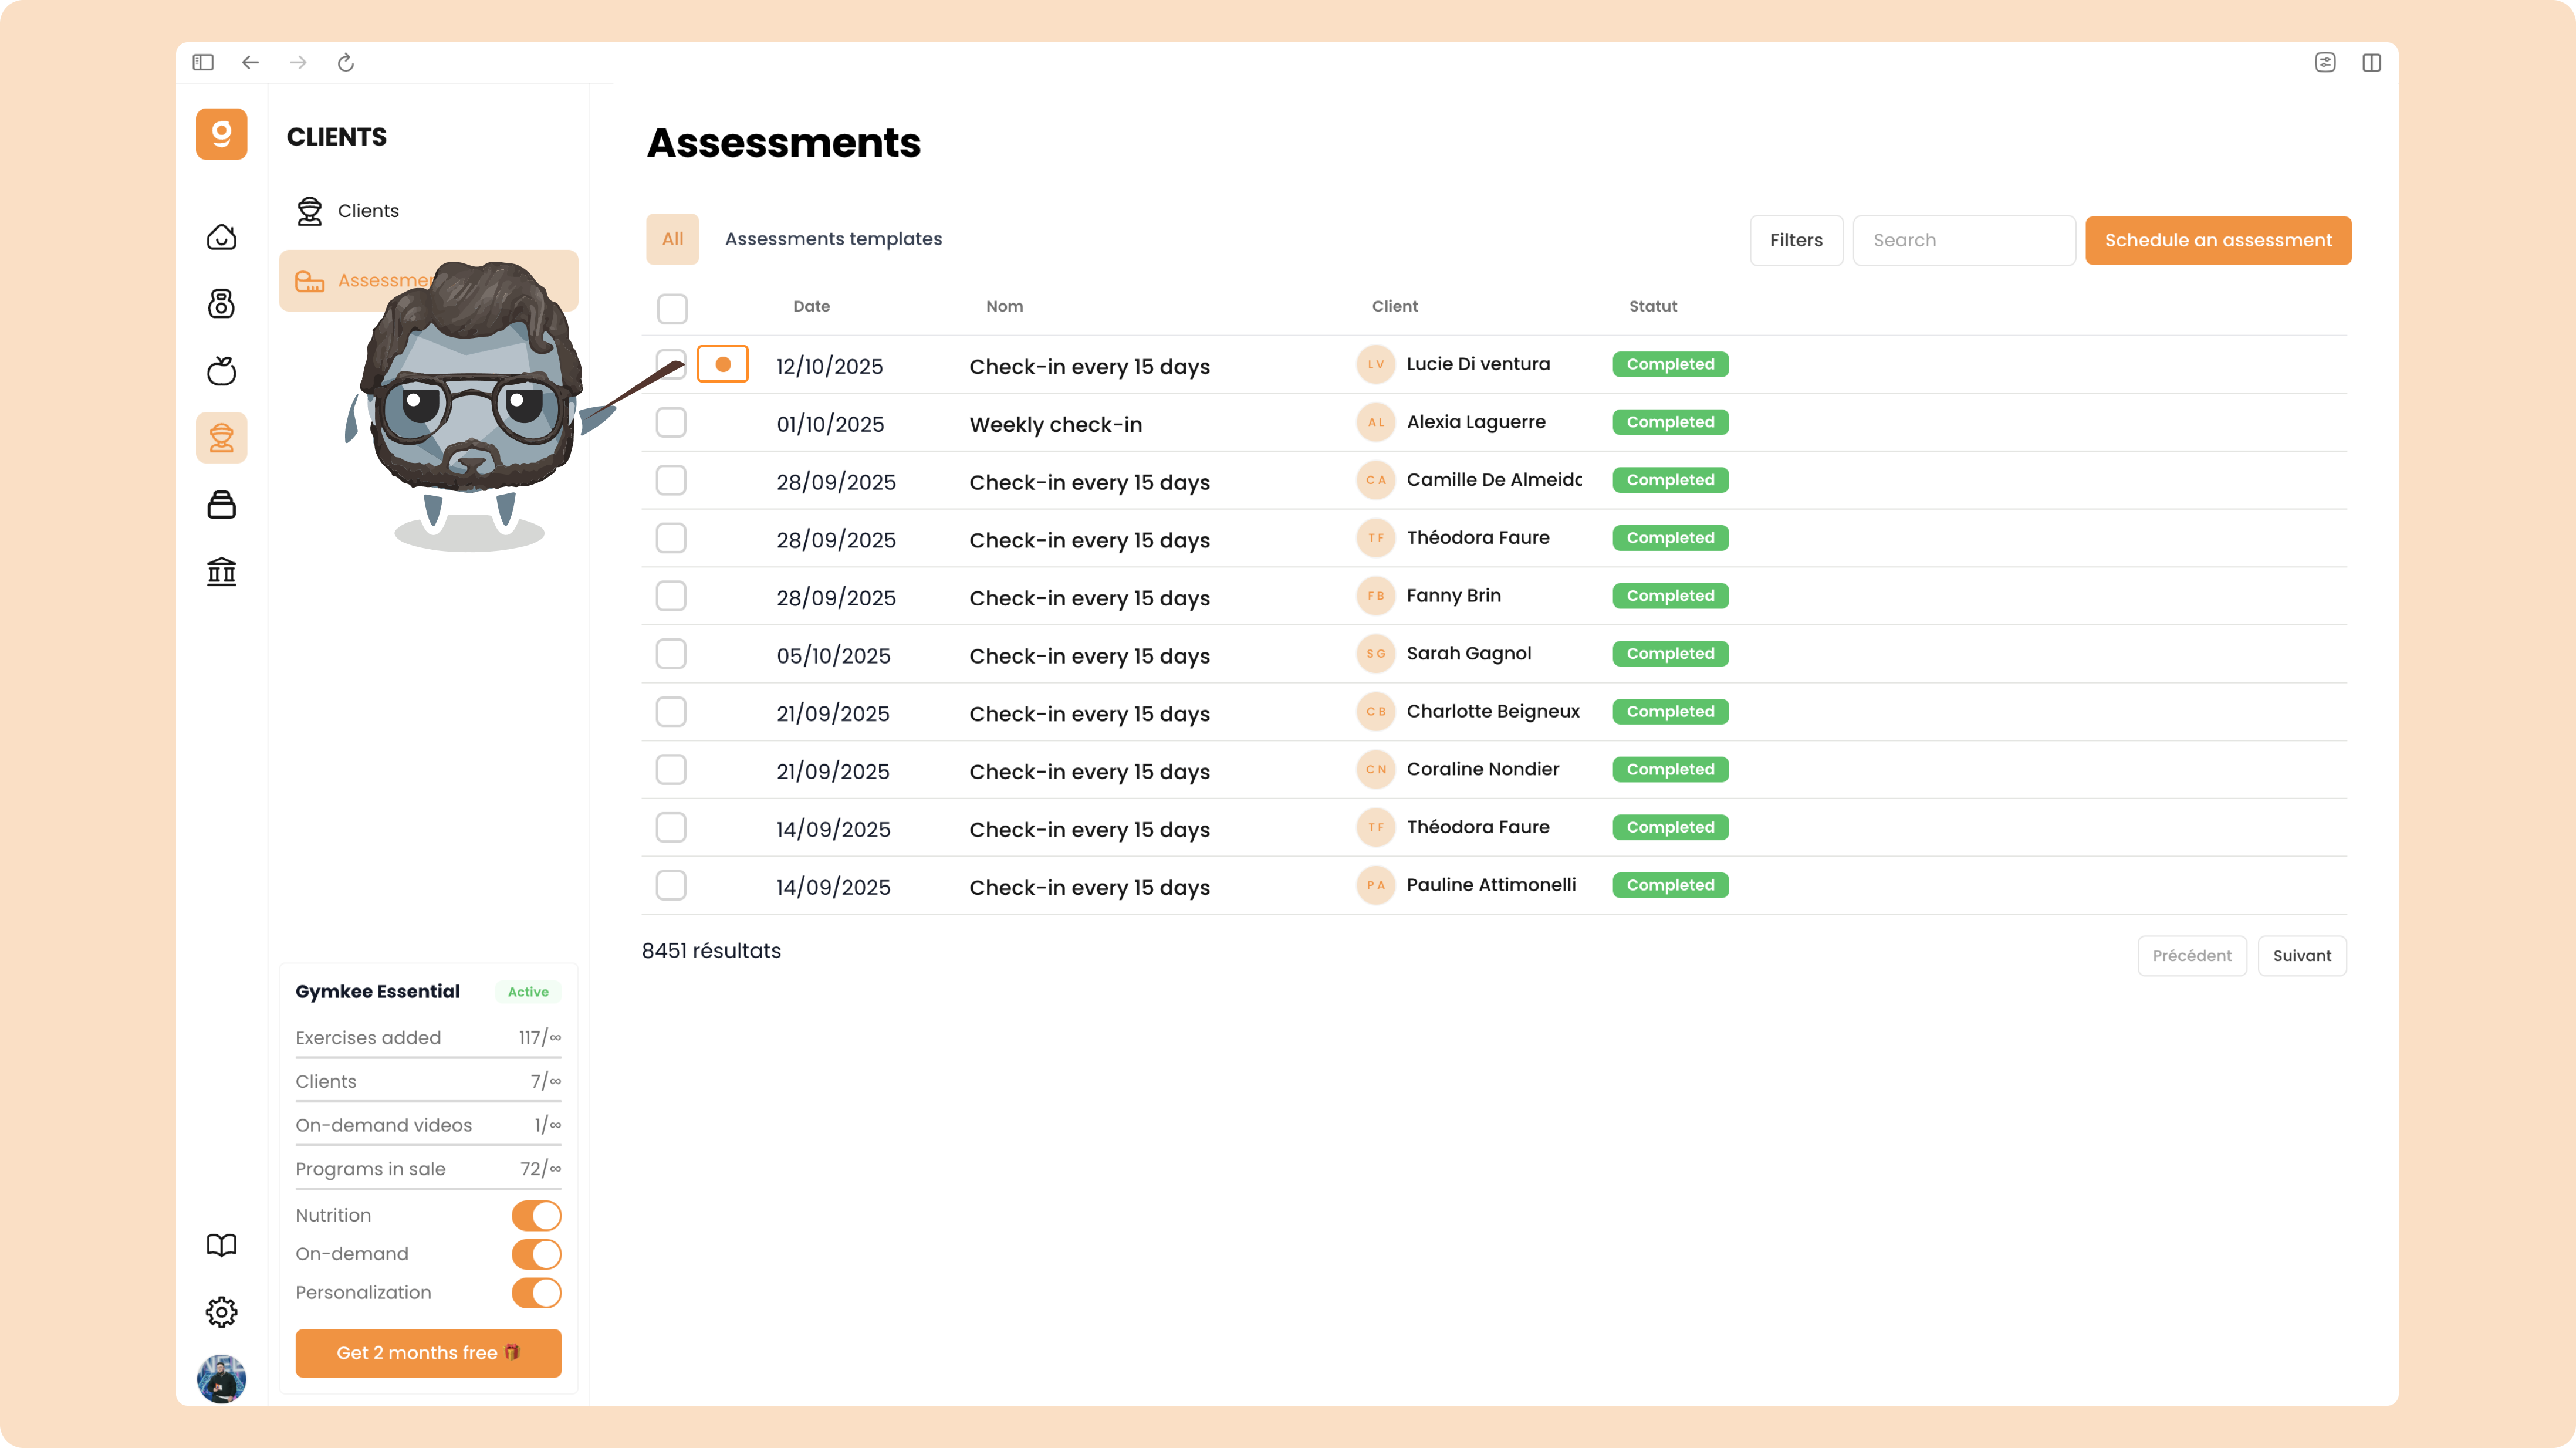
It works a bit like an inbox — you’ll see a visual indicator when a client’s assessment hasn’t been opened yet.
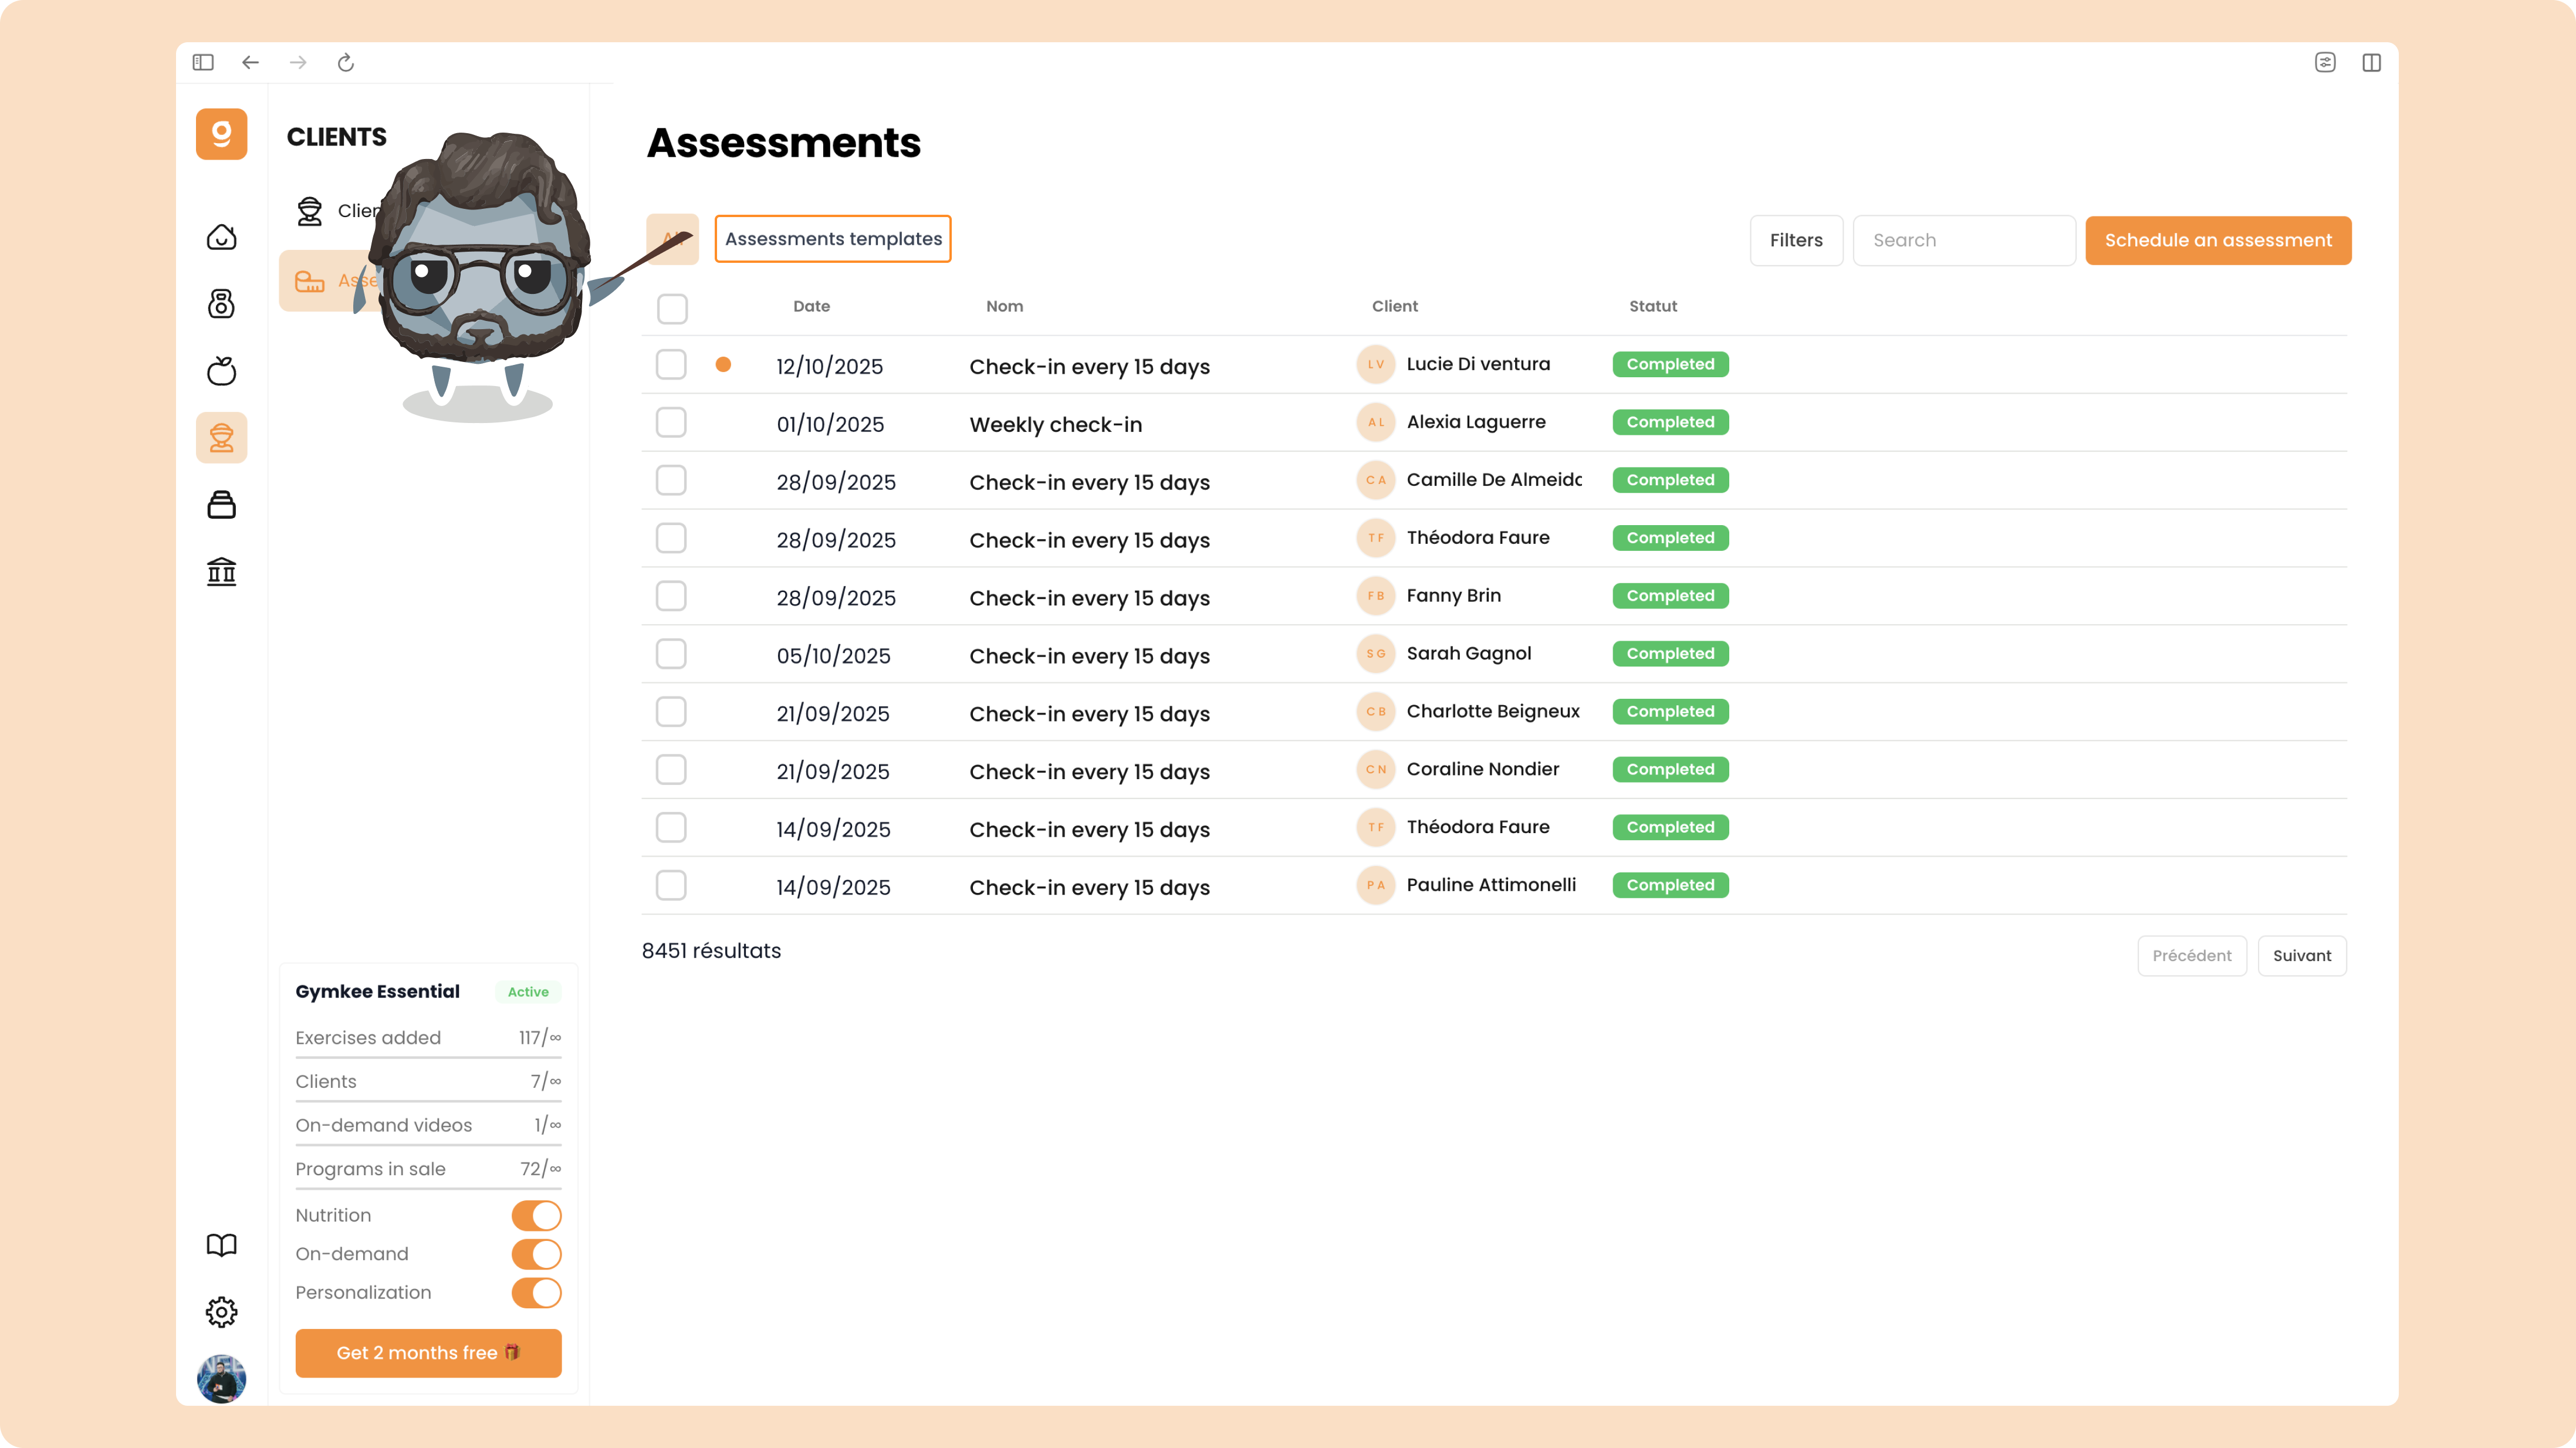
Create an assessment template
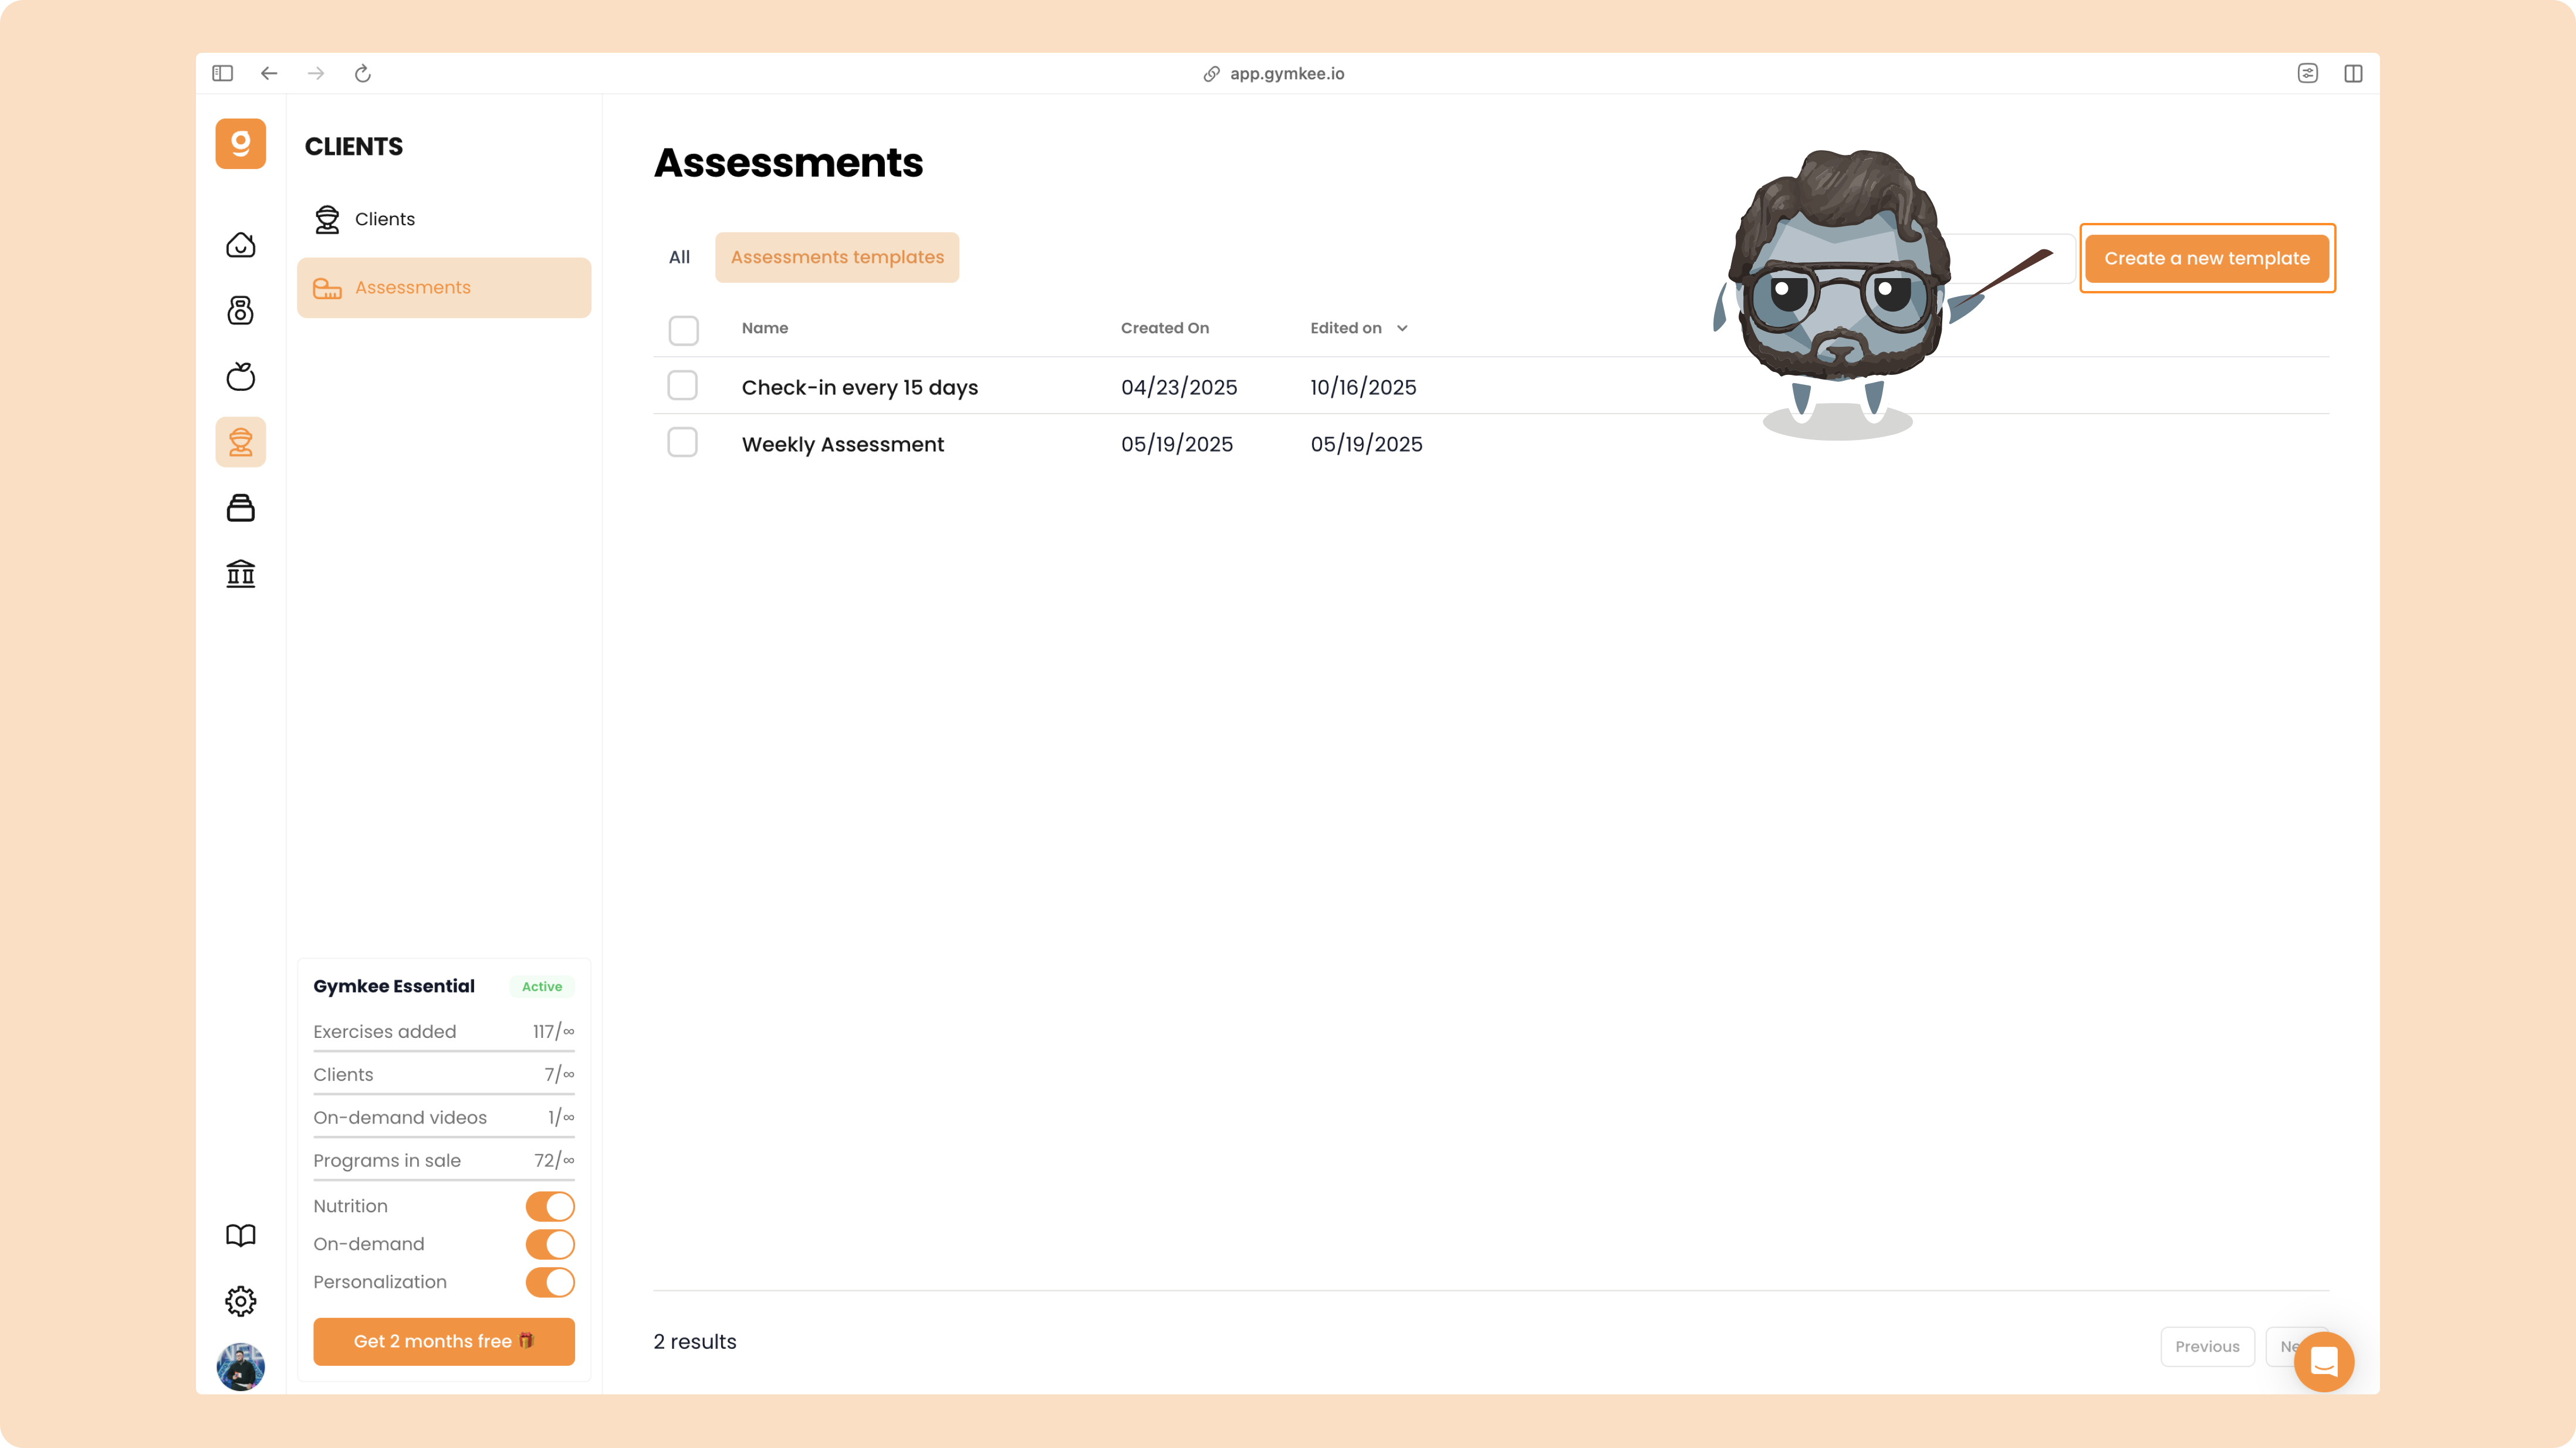
To create your first assessment template, go to Assessment templates.
Once there, click “Create a new template.”
Start by giving your assessment a name (this name will be visible to your clients).
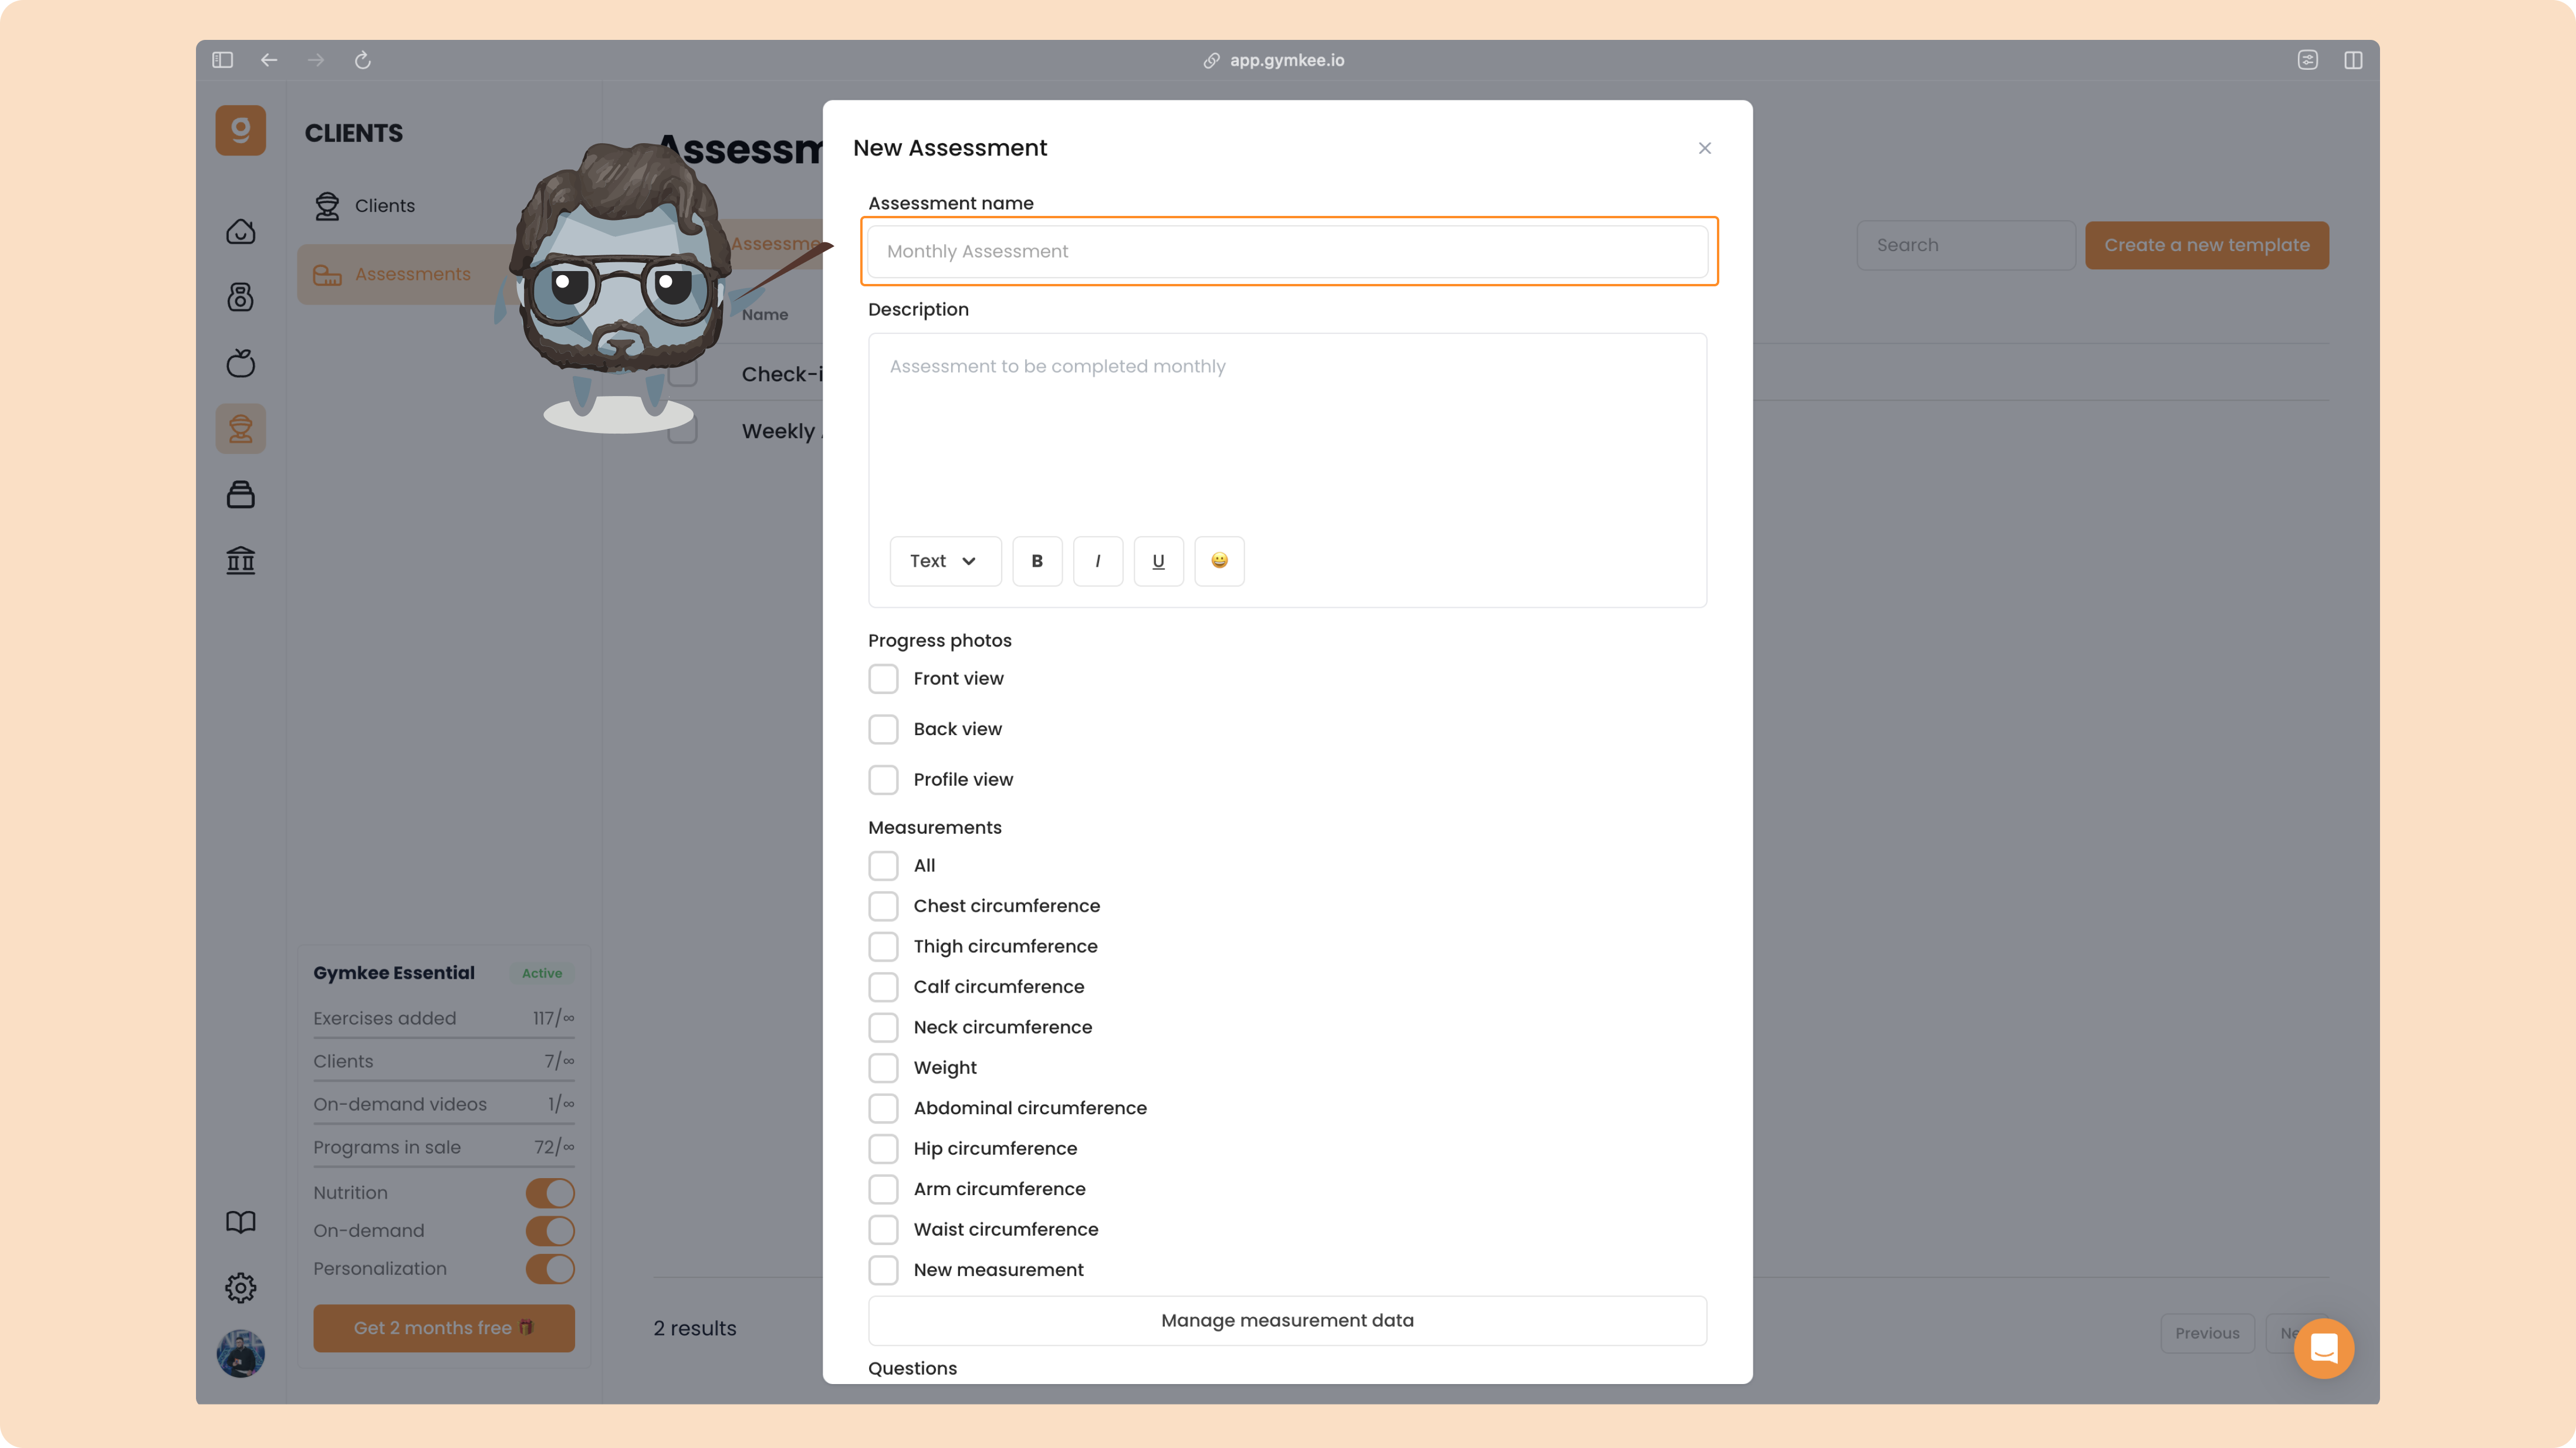
Then, write a short description to explain what the assessment is about and what you expect them to fill out.
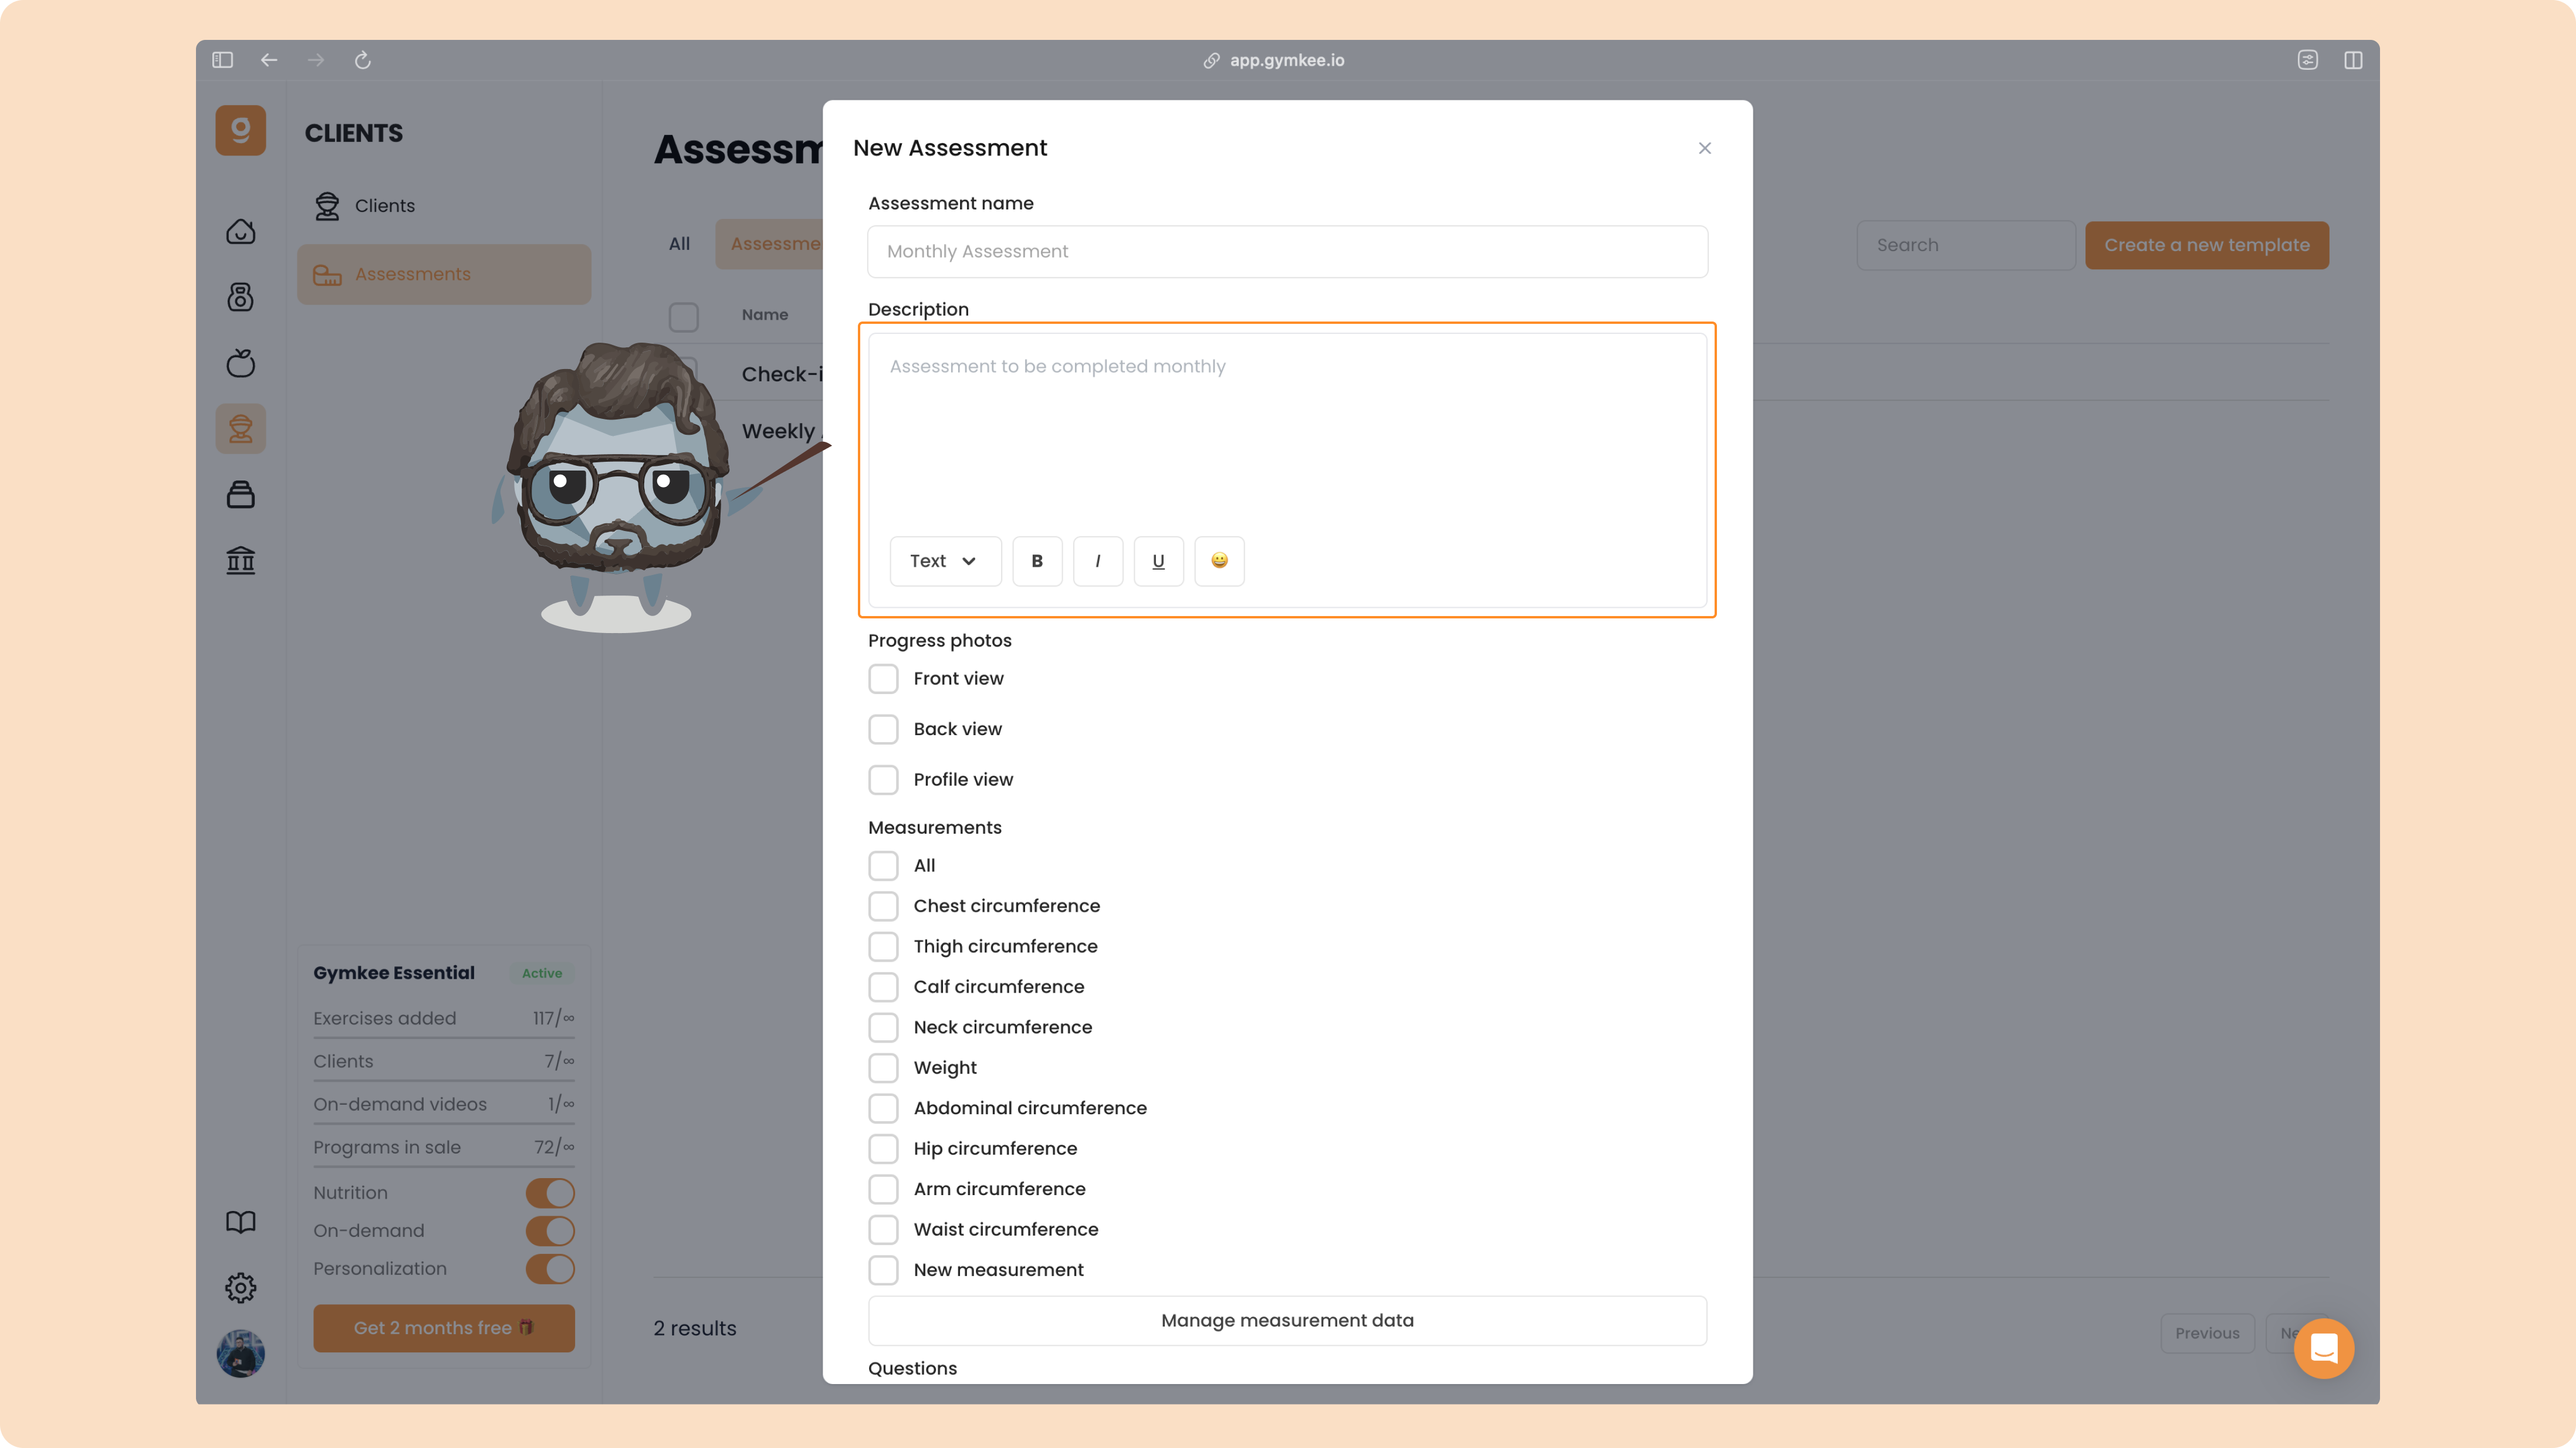
After naming and describing your assessment, you can choose the information you want your clients to share.
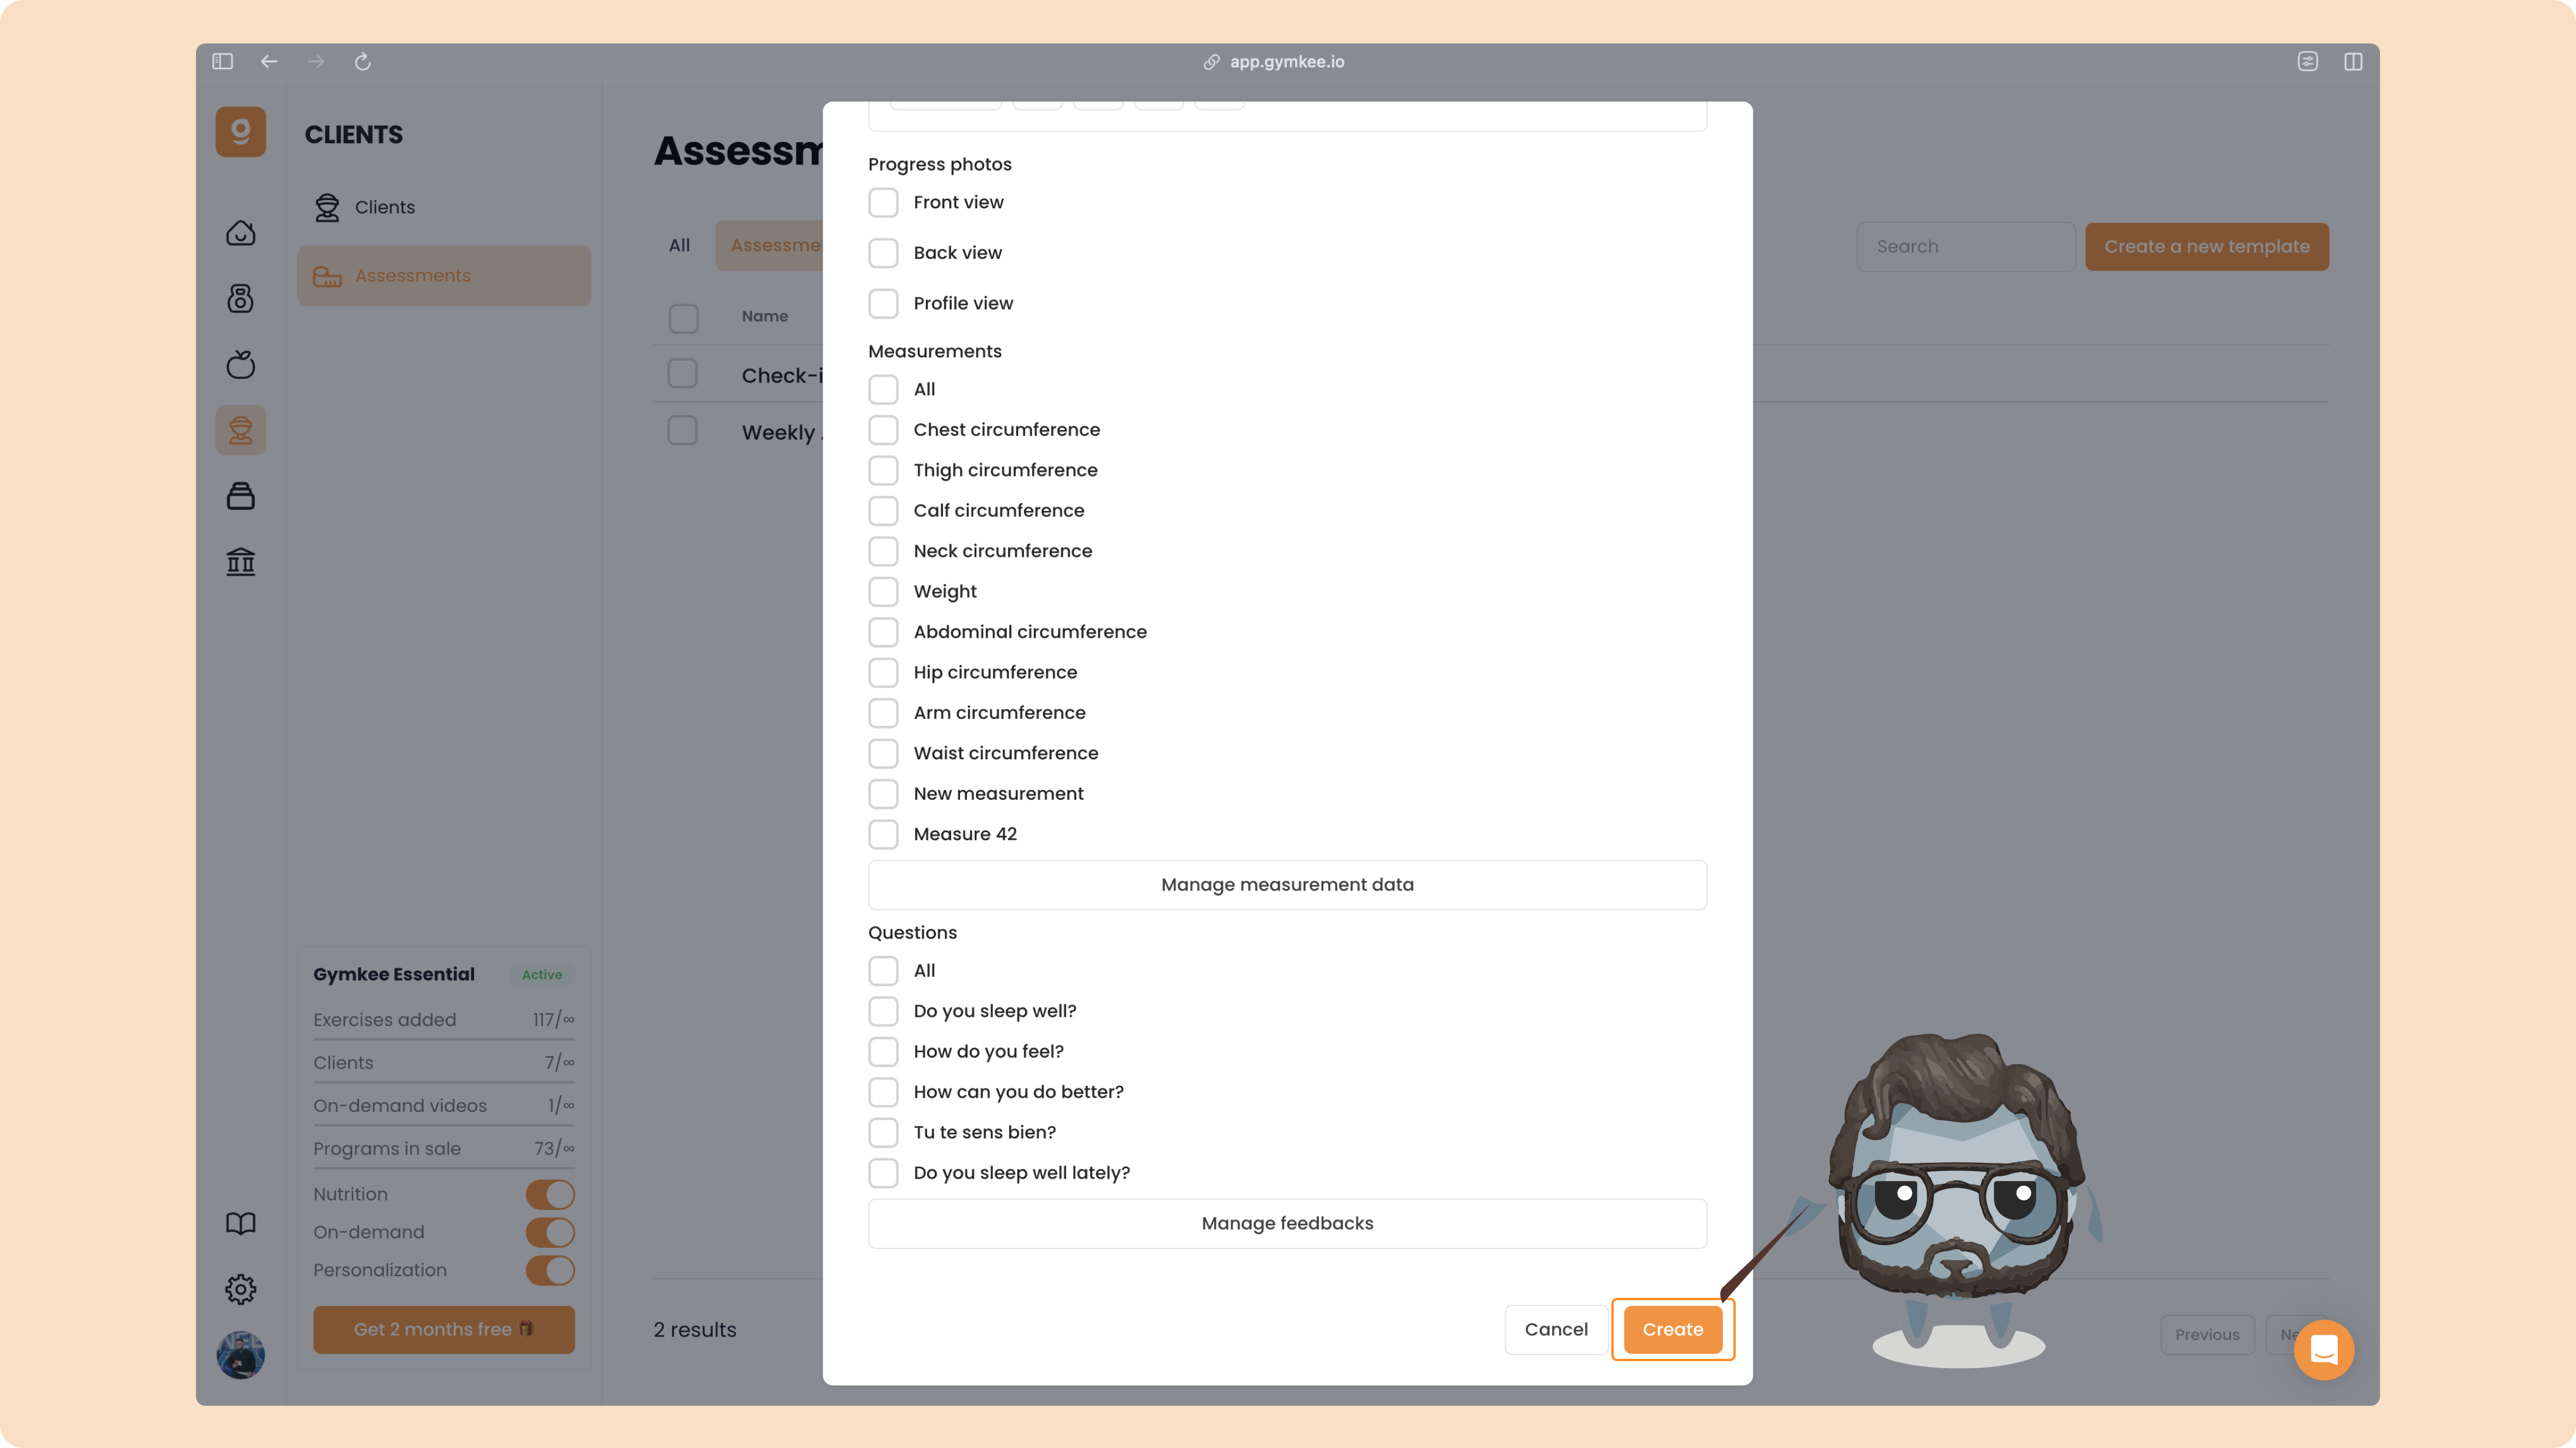
The first section is for progress photos.
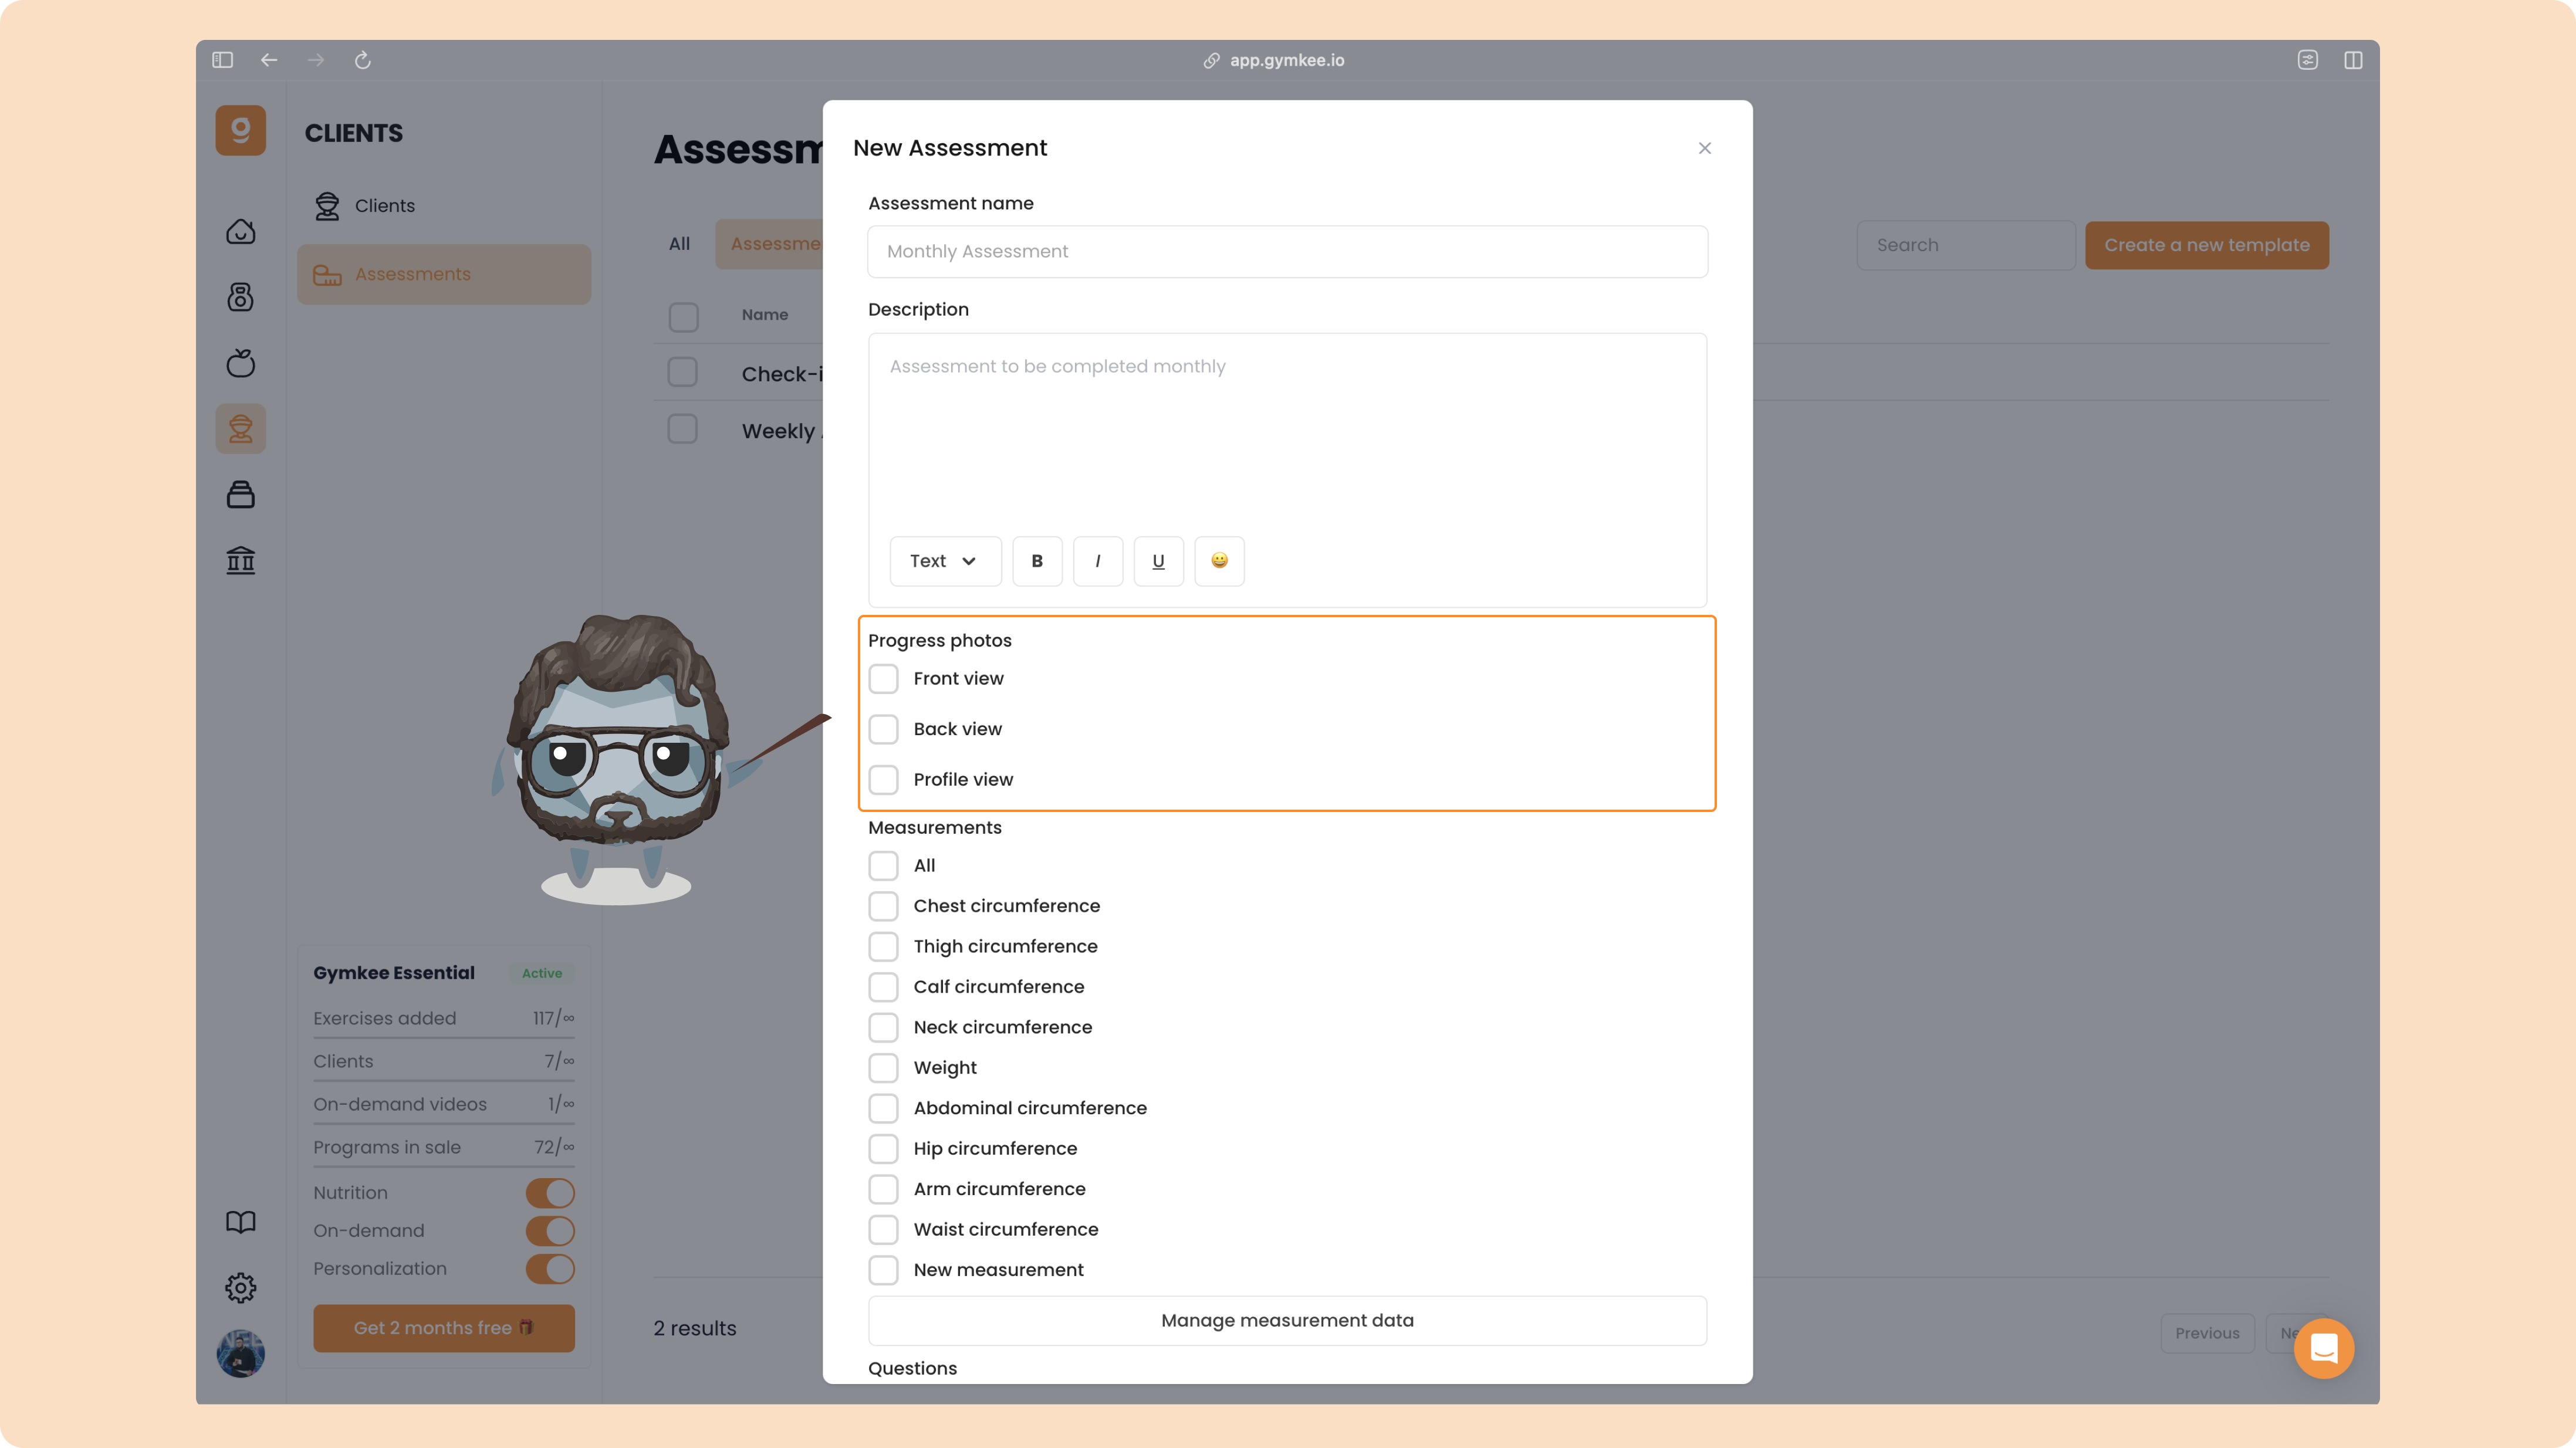
You can ask your clients to upload front, back, and side photos — just check the angles you’d like to request.
Next, you can add measurements.
By default, Gymkee gives you a full list of common body measurements (chest, waist, arms, thighs, etc.).
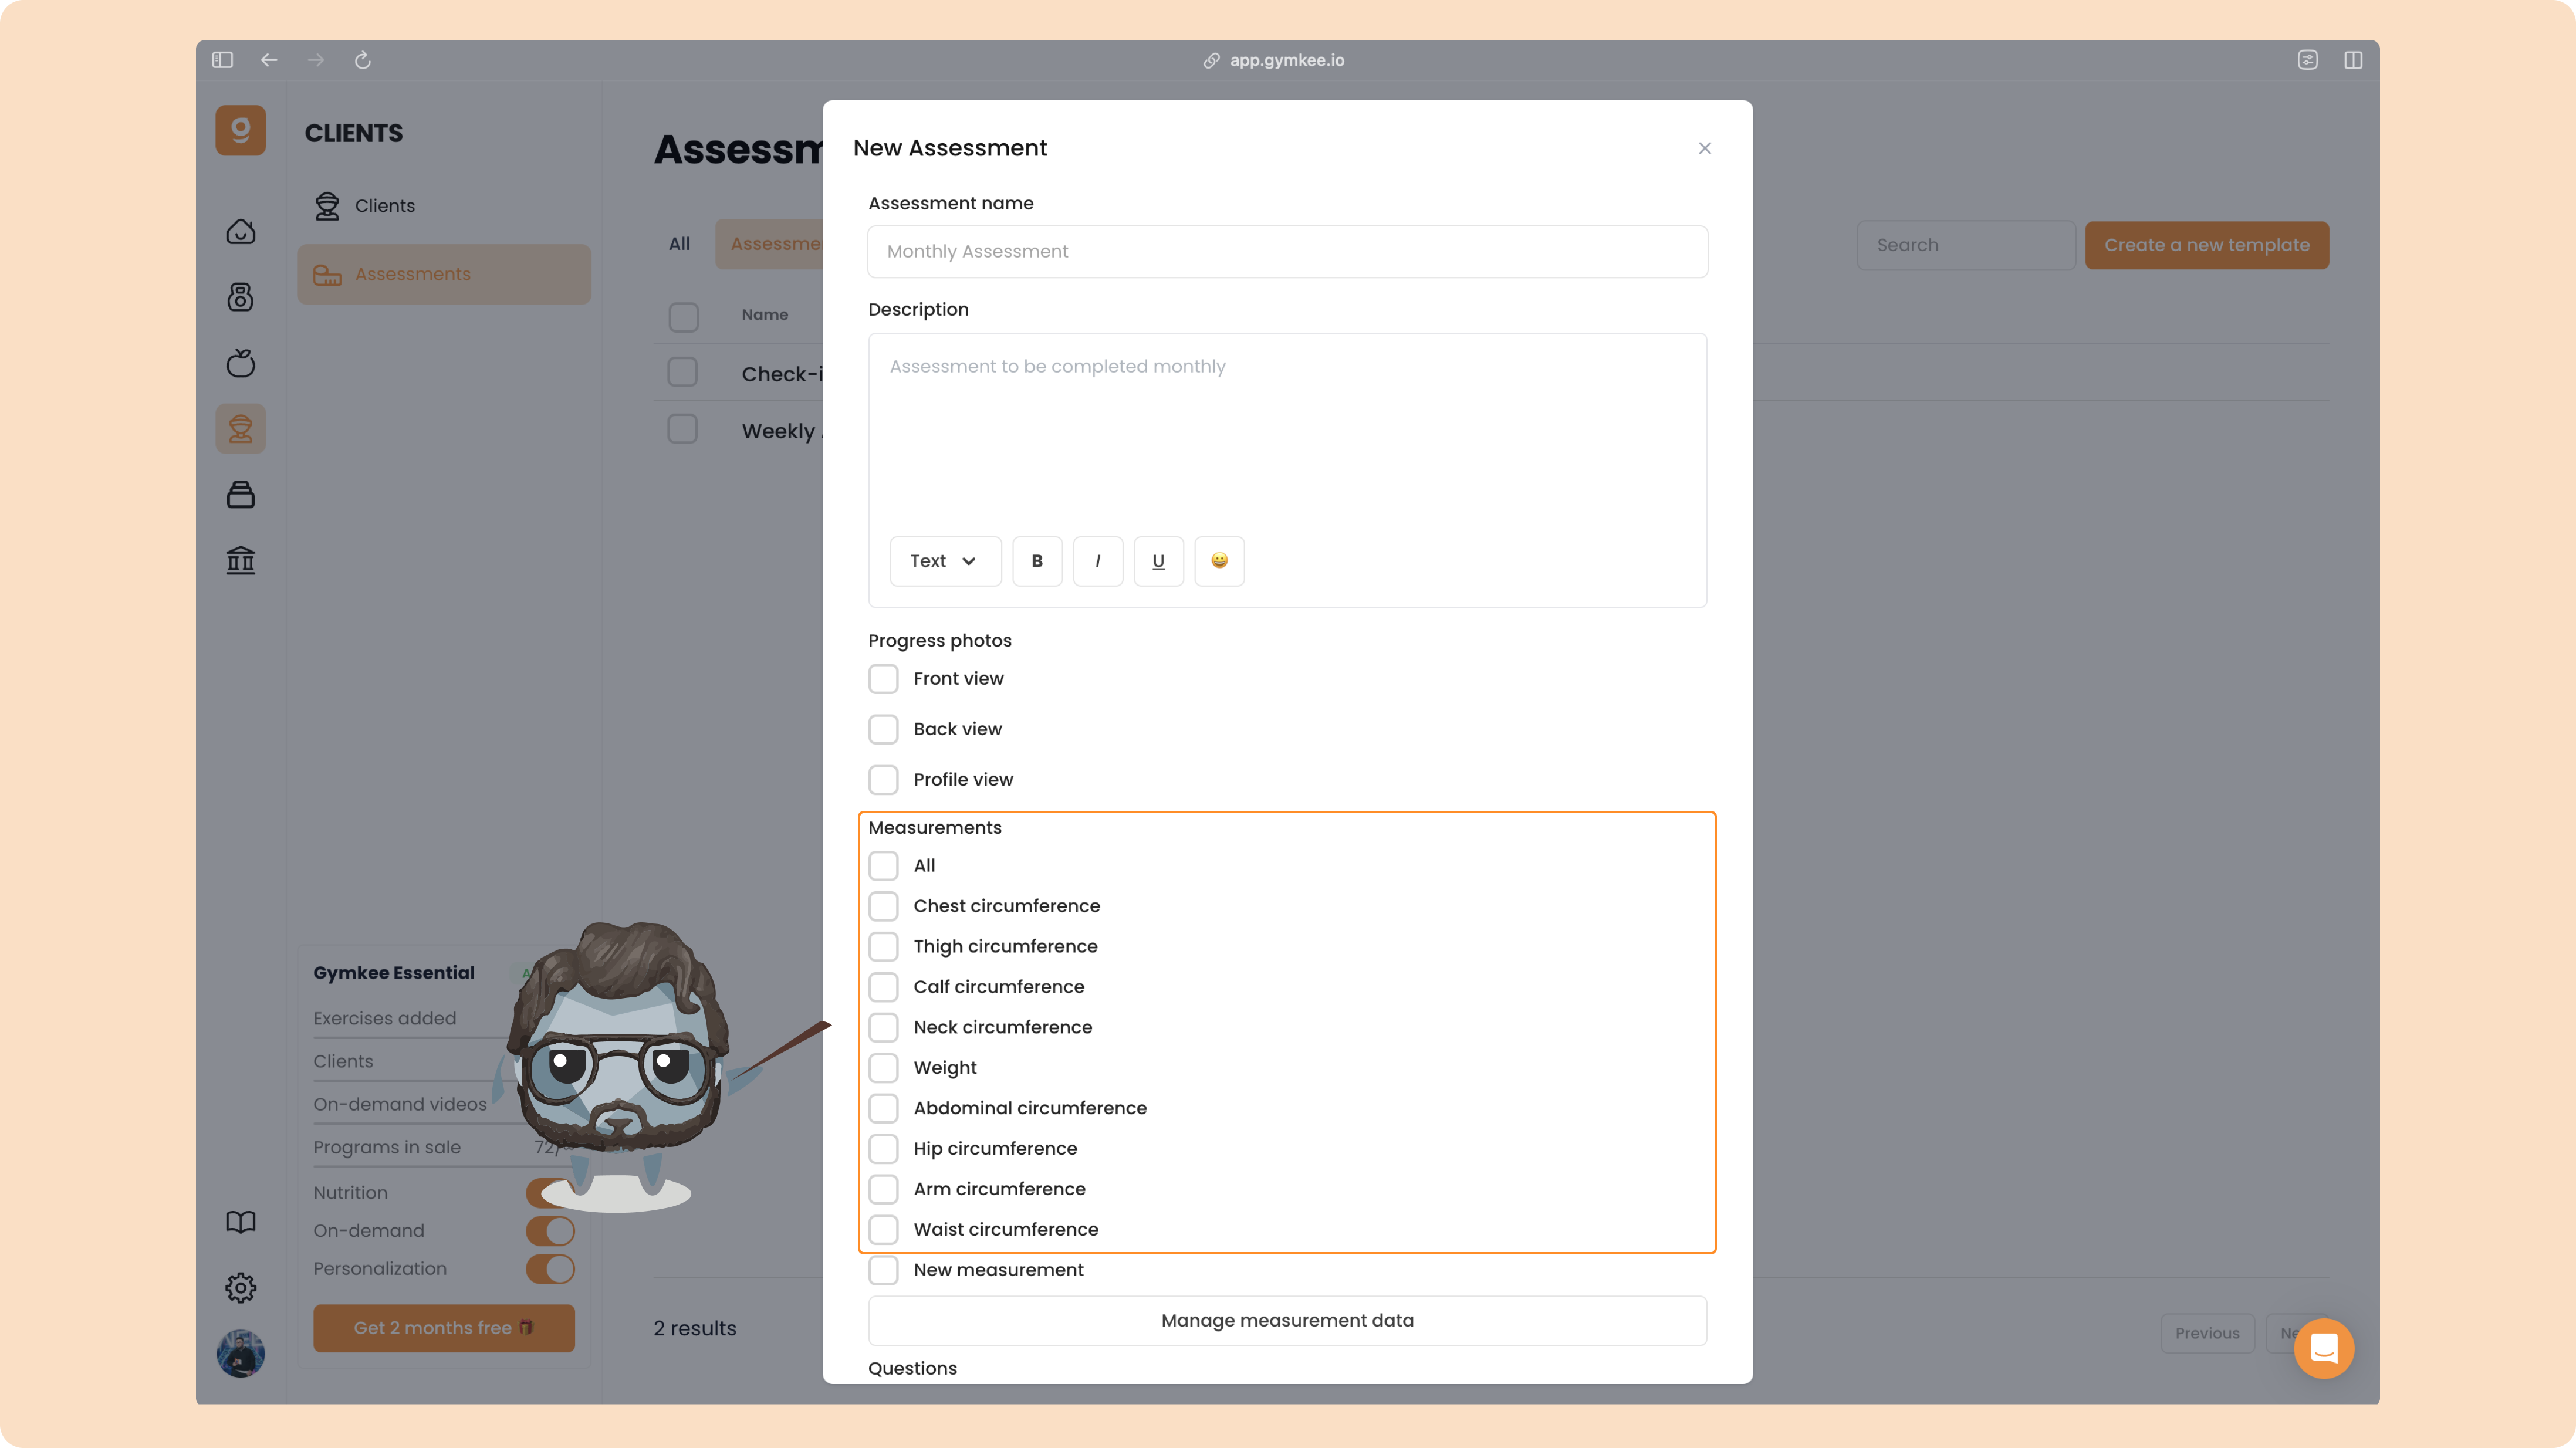
If a specific measurement you want isn’t on the list, you can easily create your own.
Click “Manage measurements.”
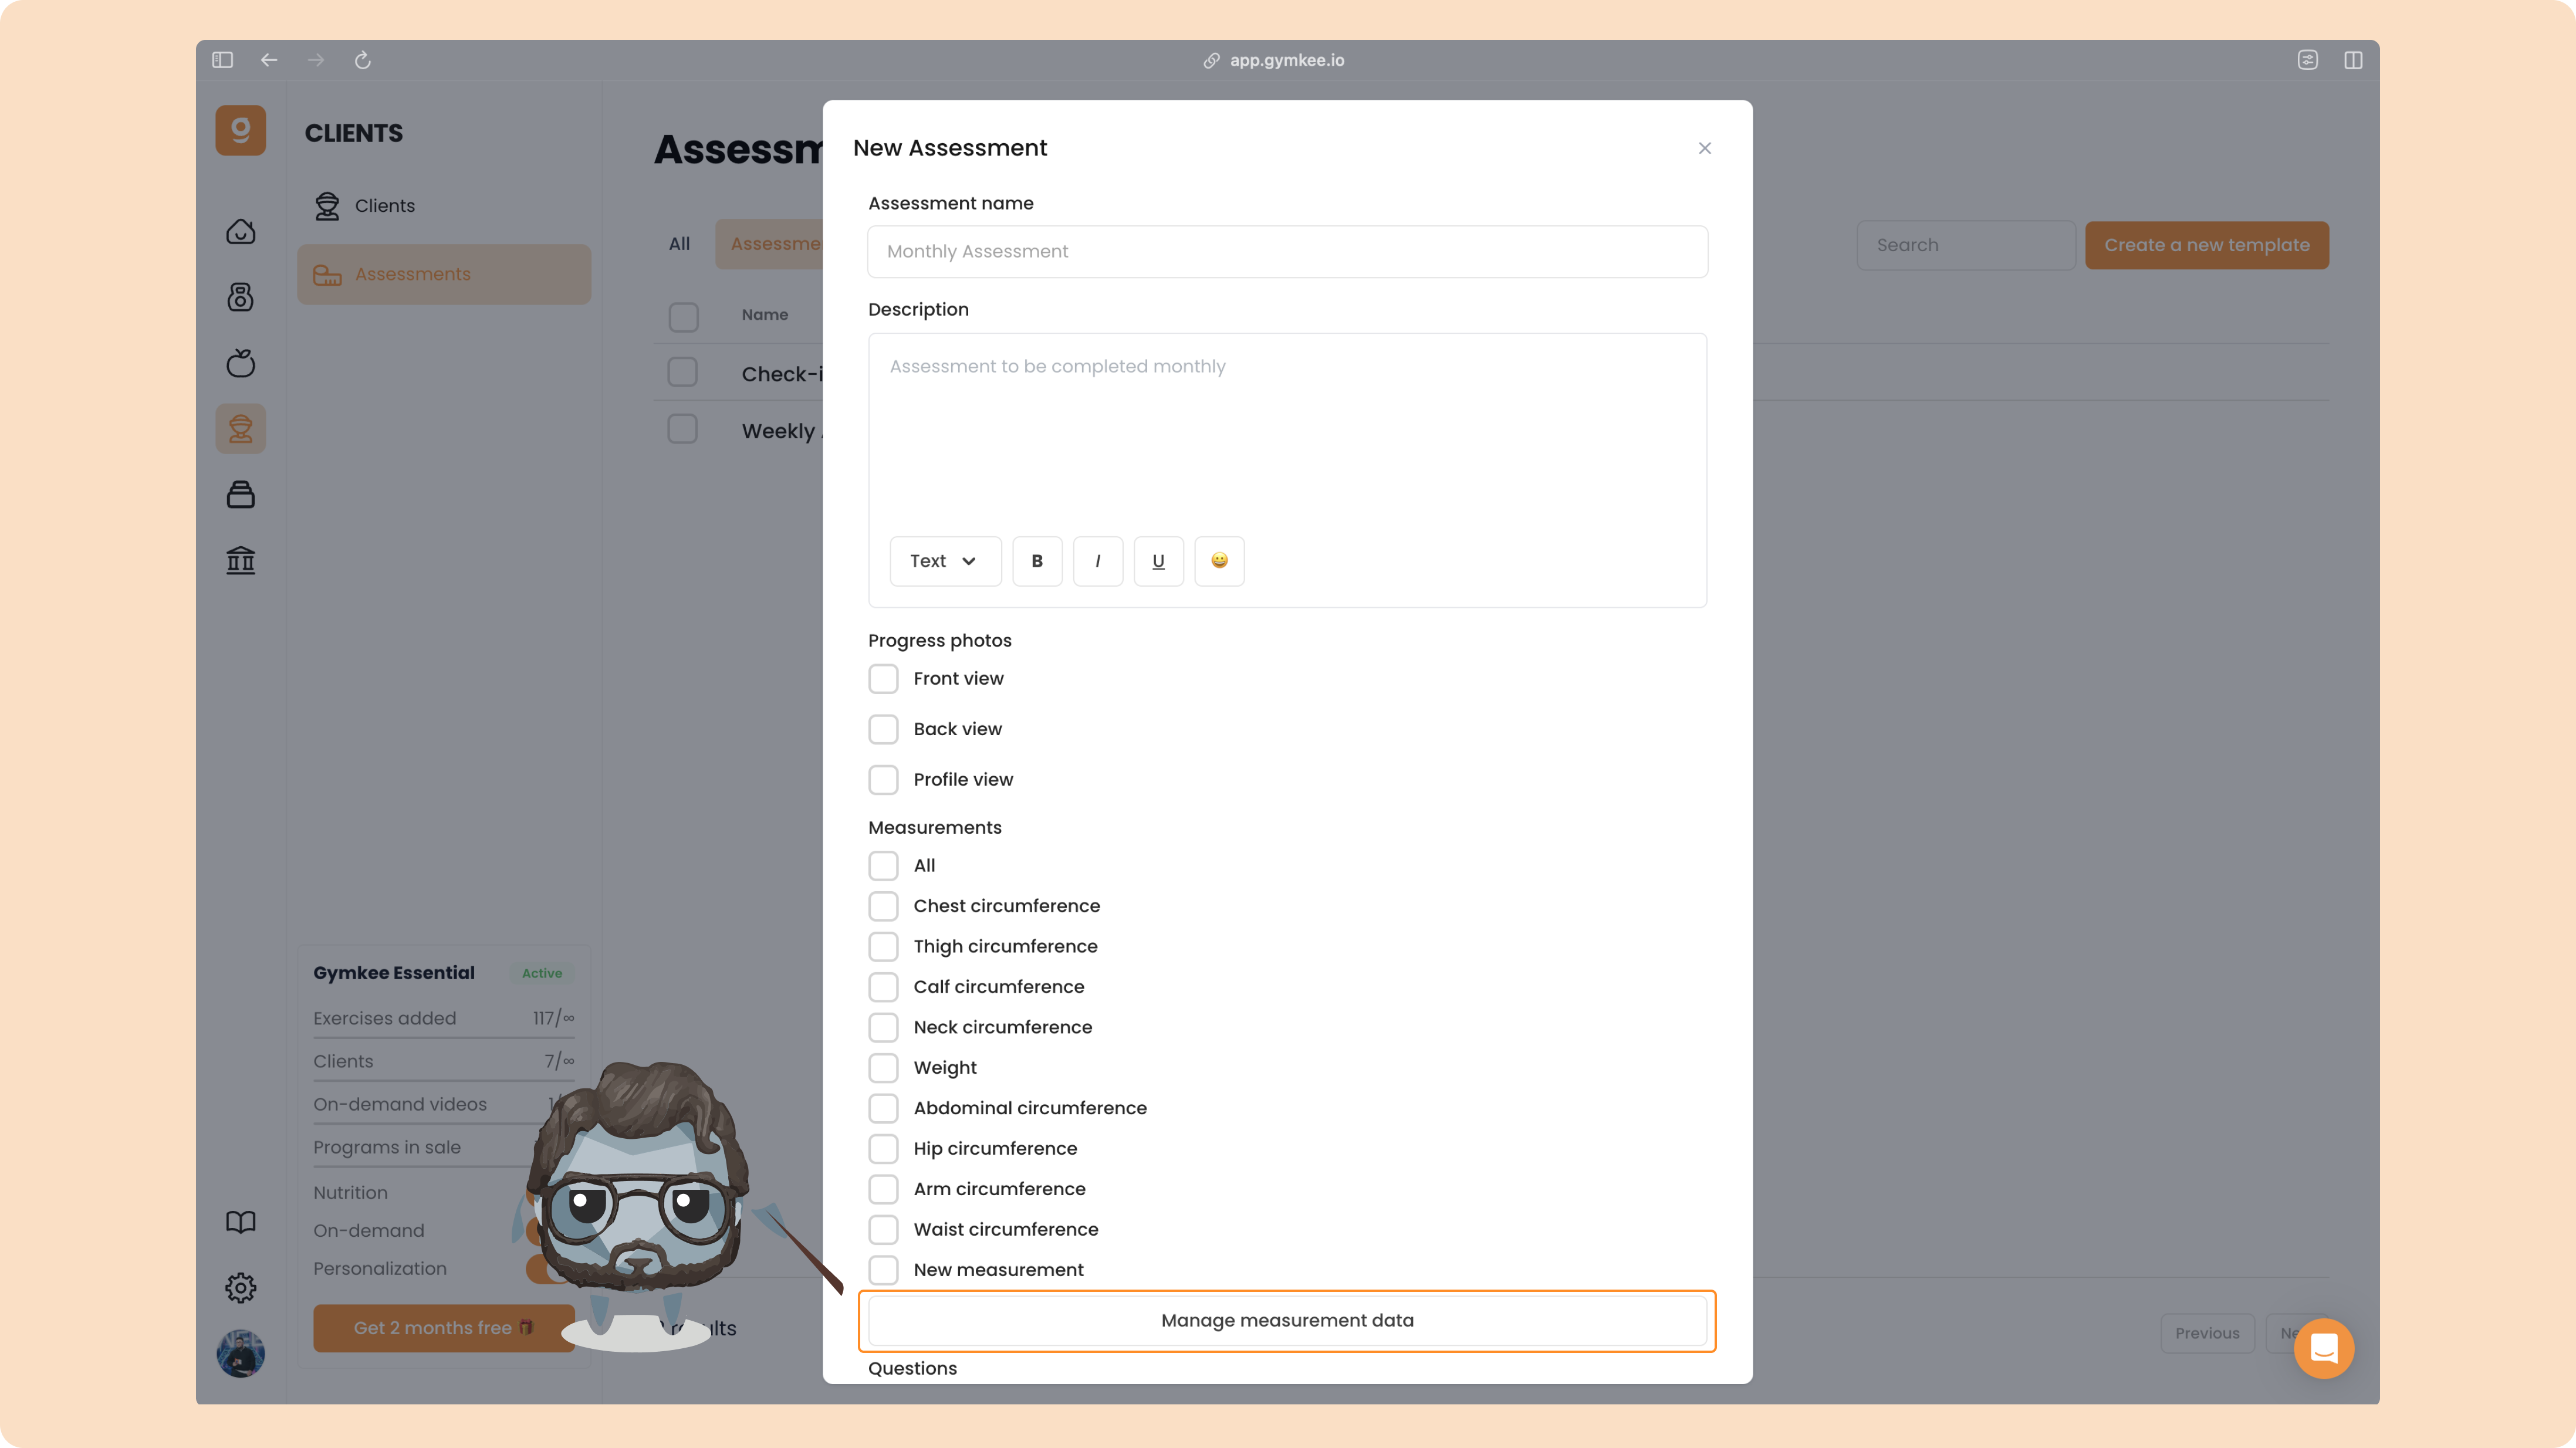
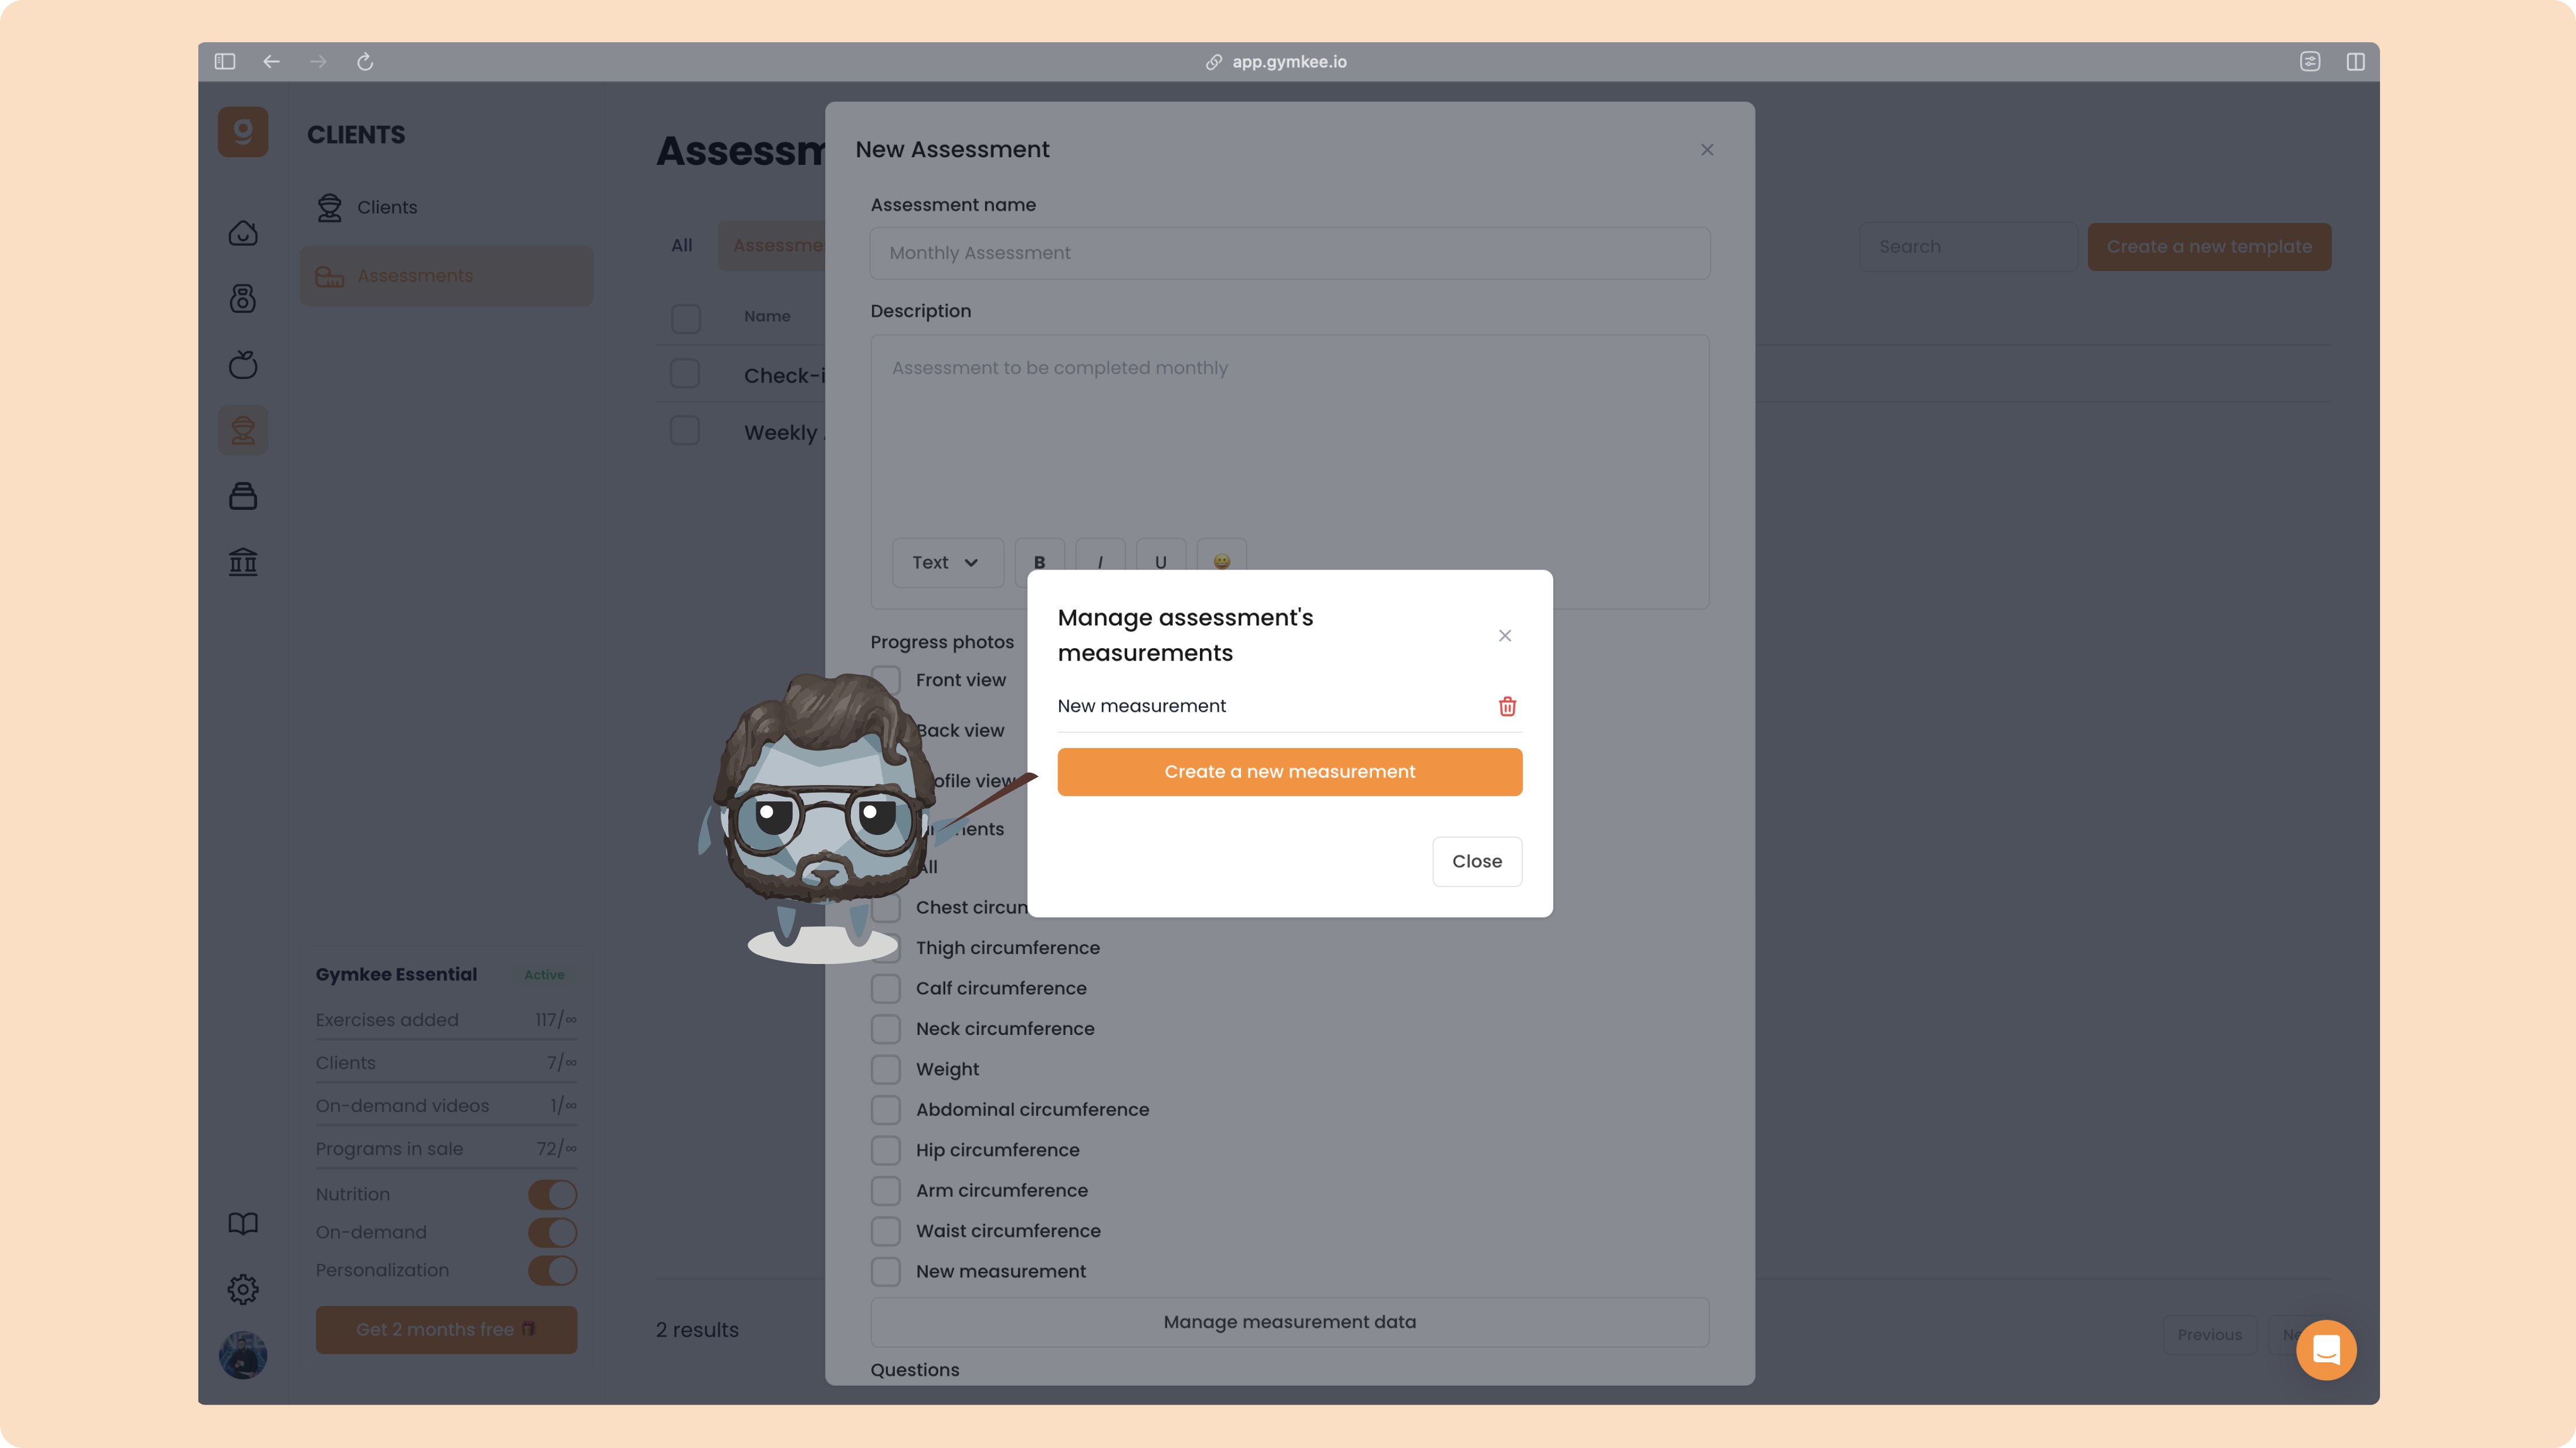
You’ll see all the existing measurements.
To add a new one, click “Create a new measurement.”
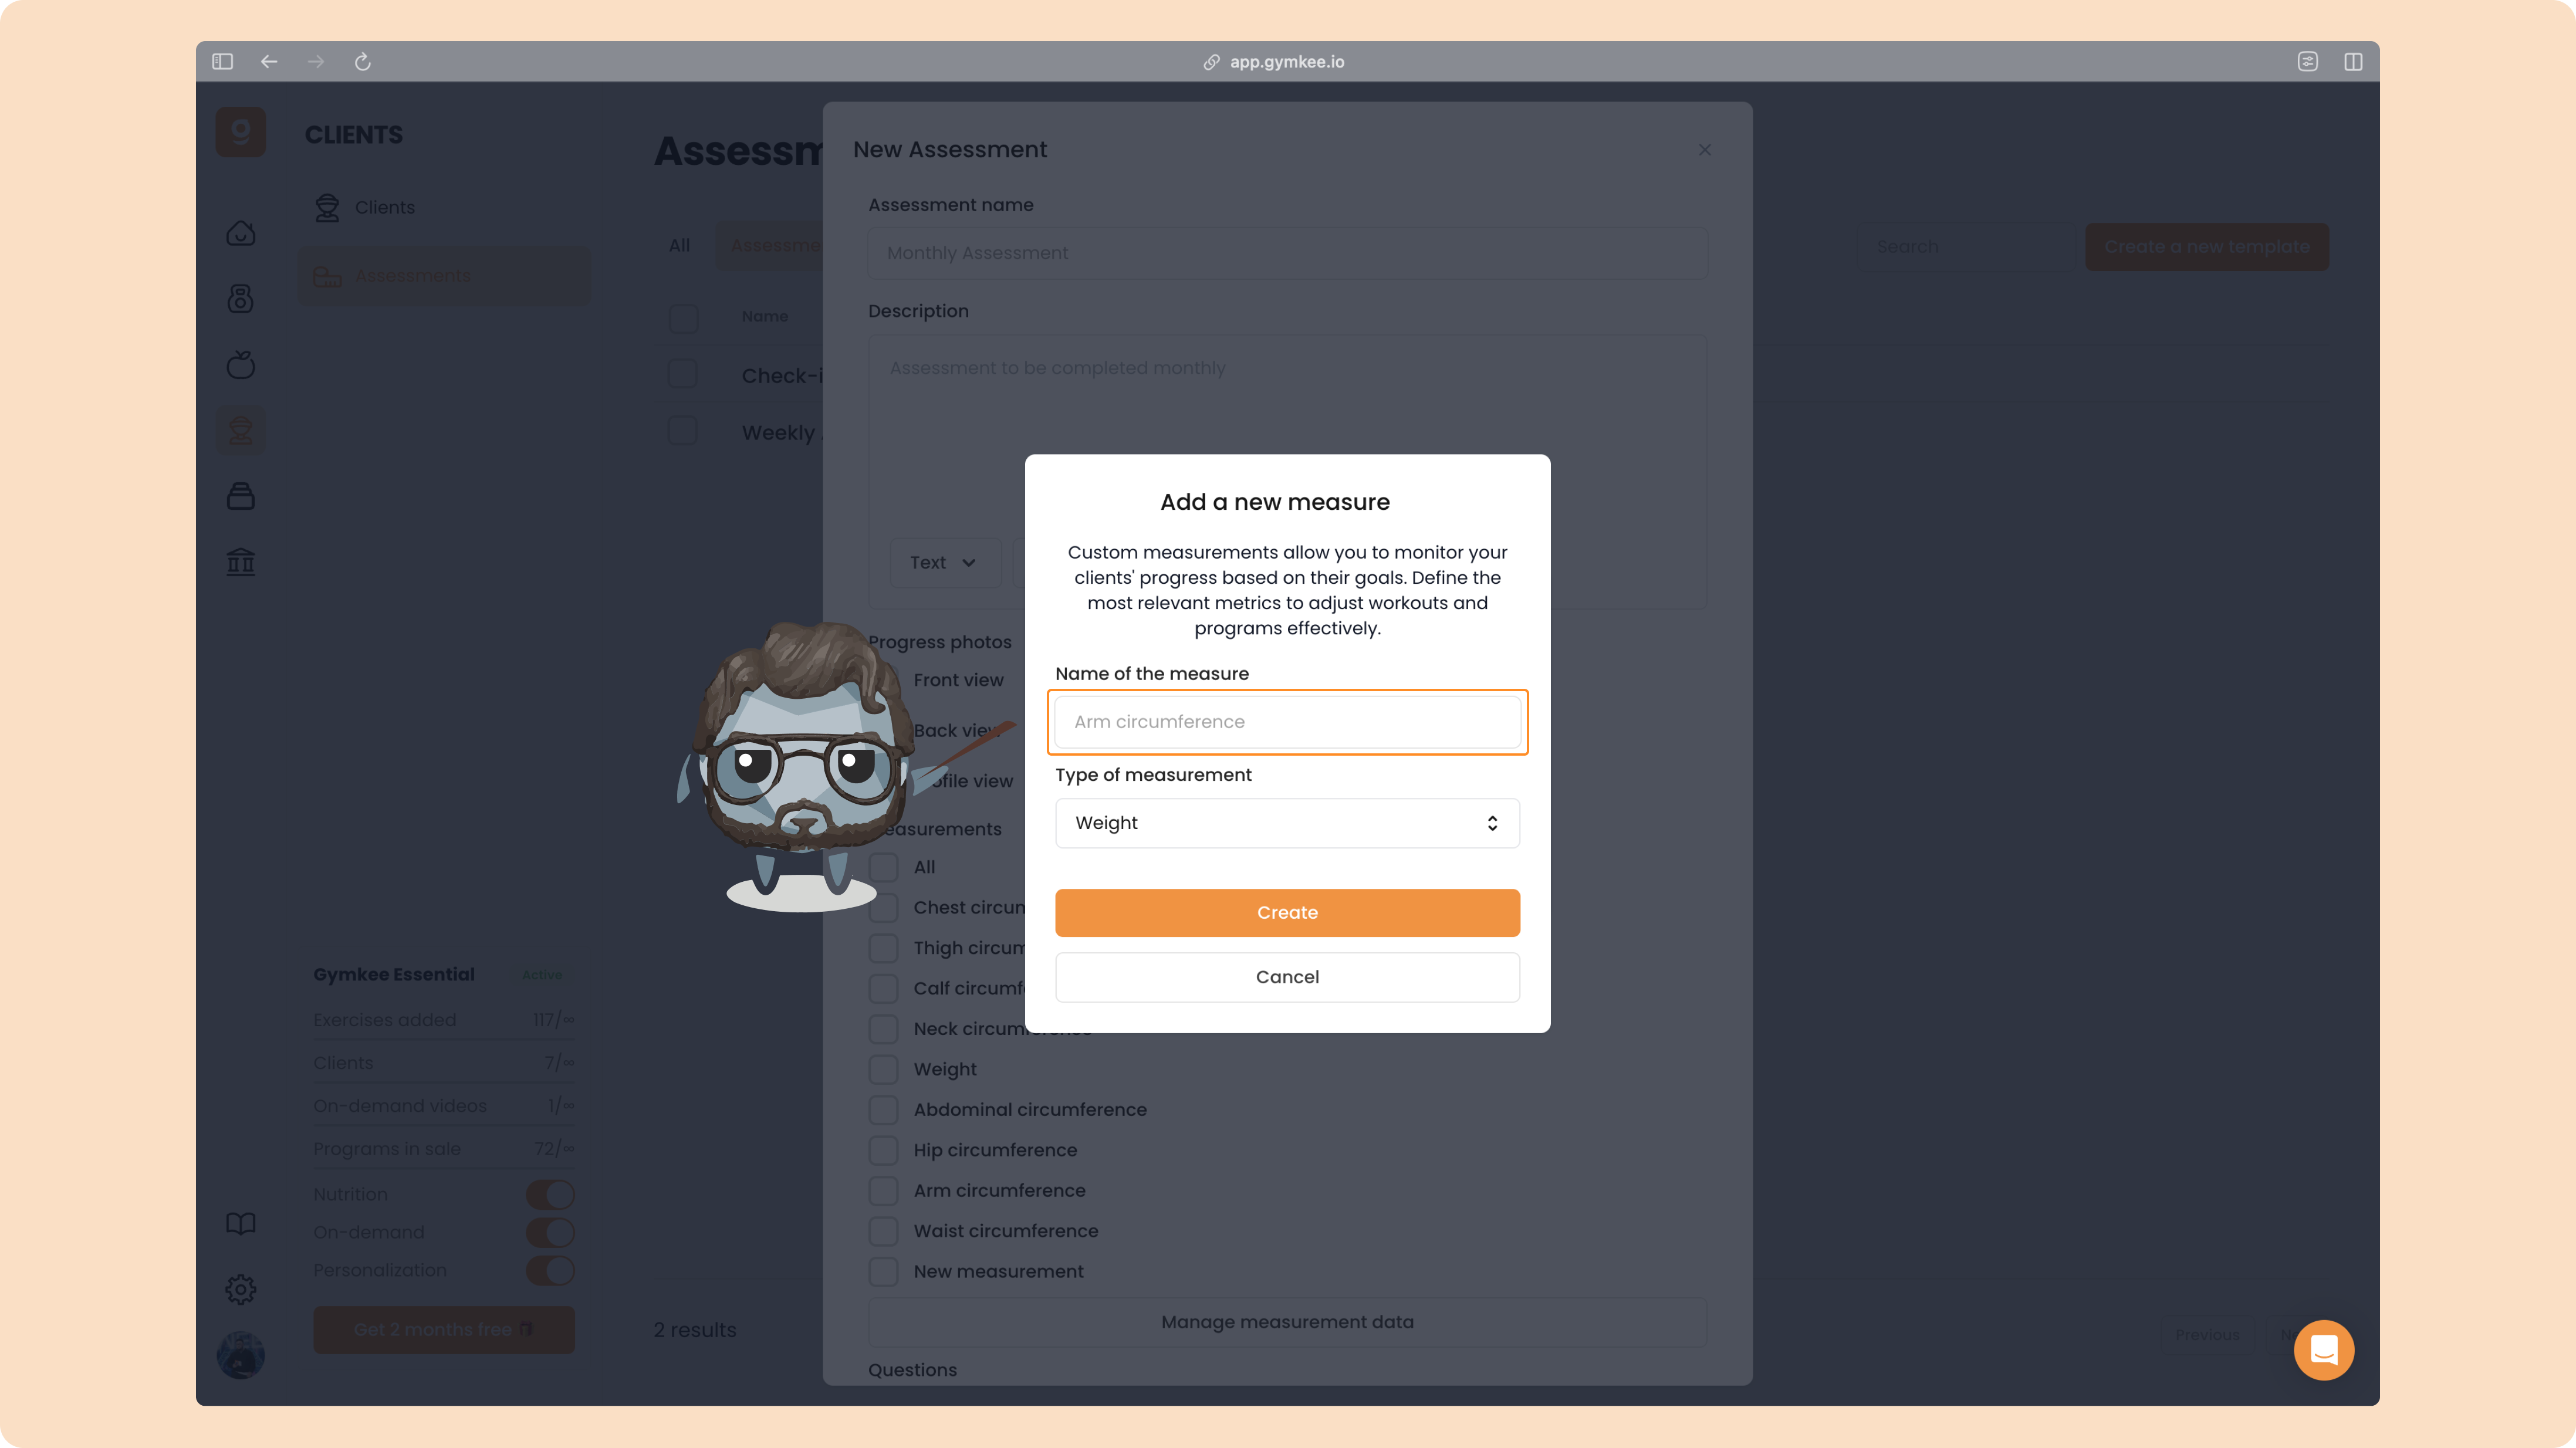
Give it a name, choose the type of measurement, and click “Create.”
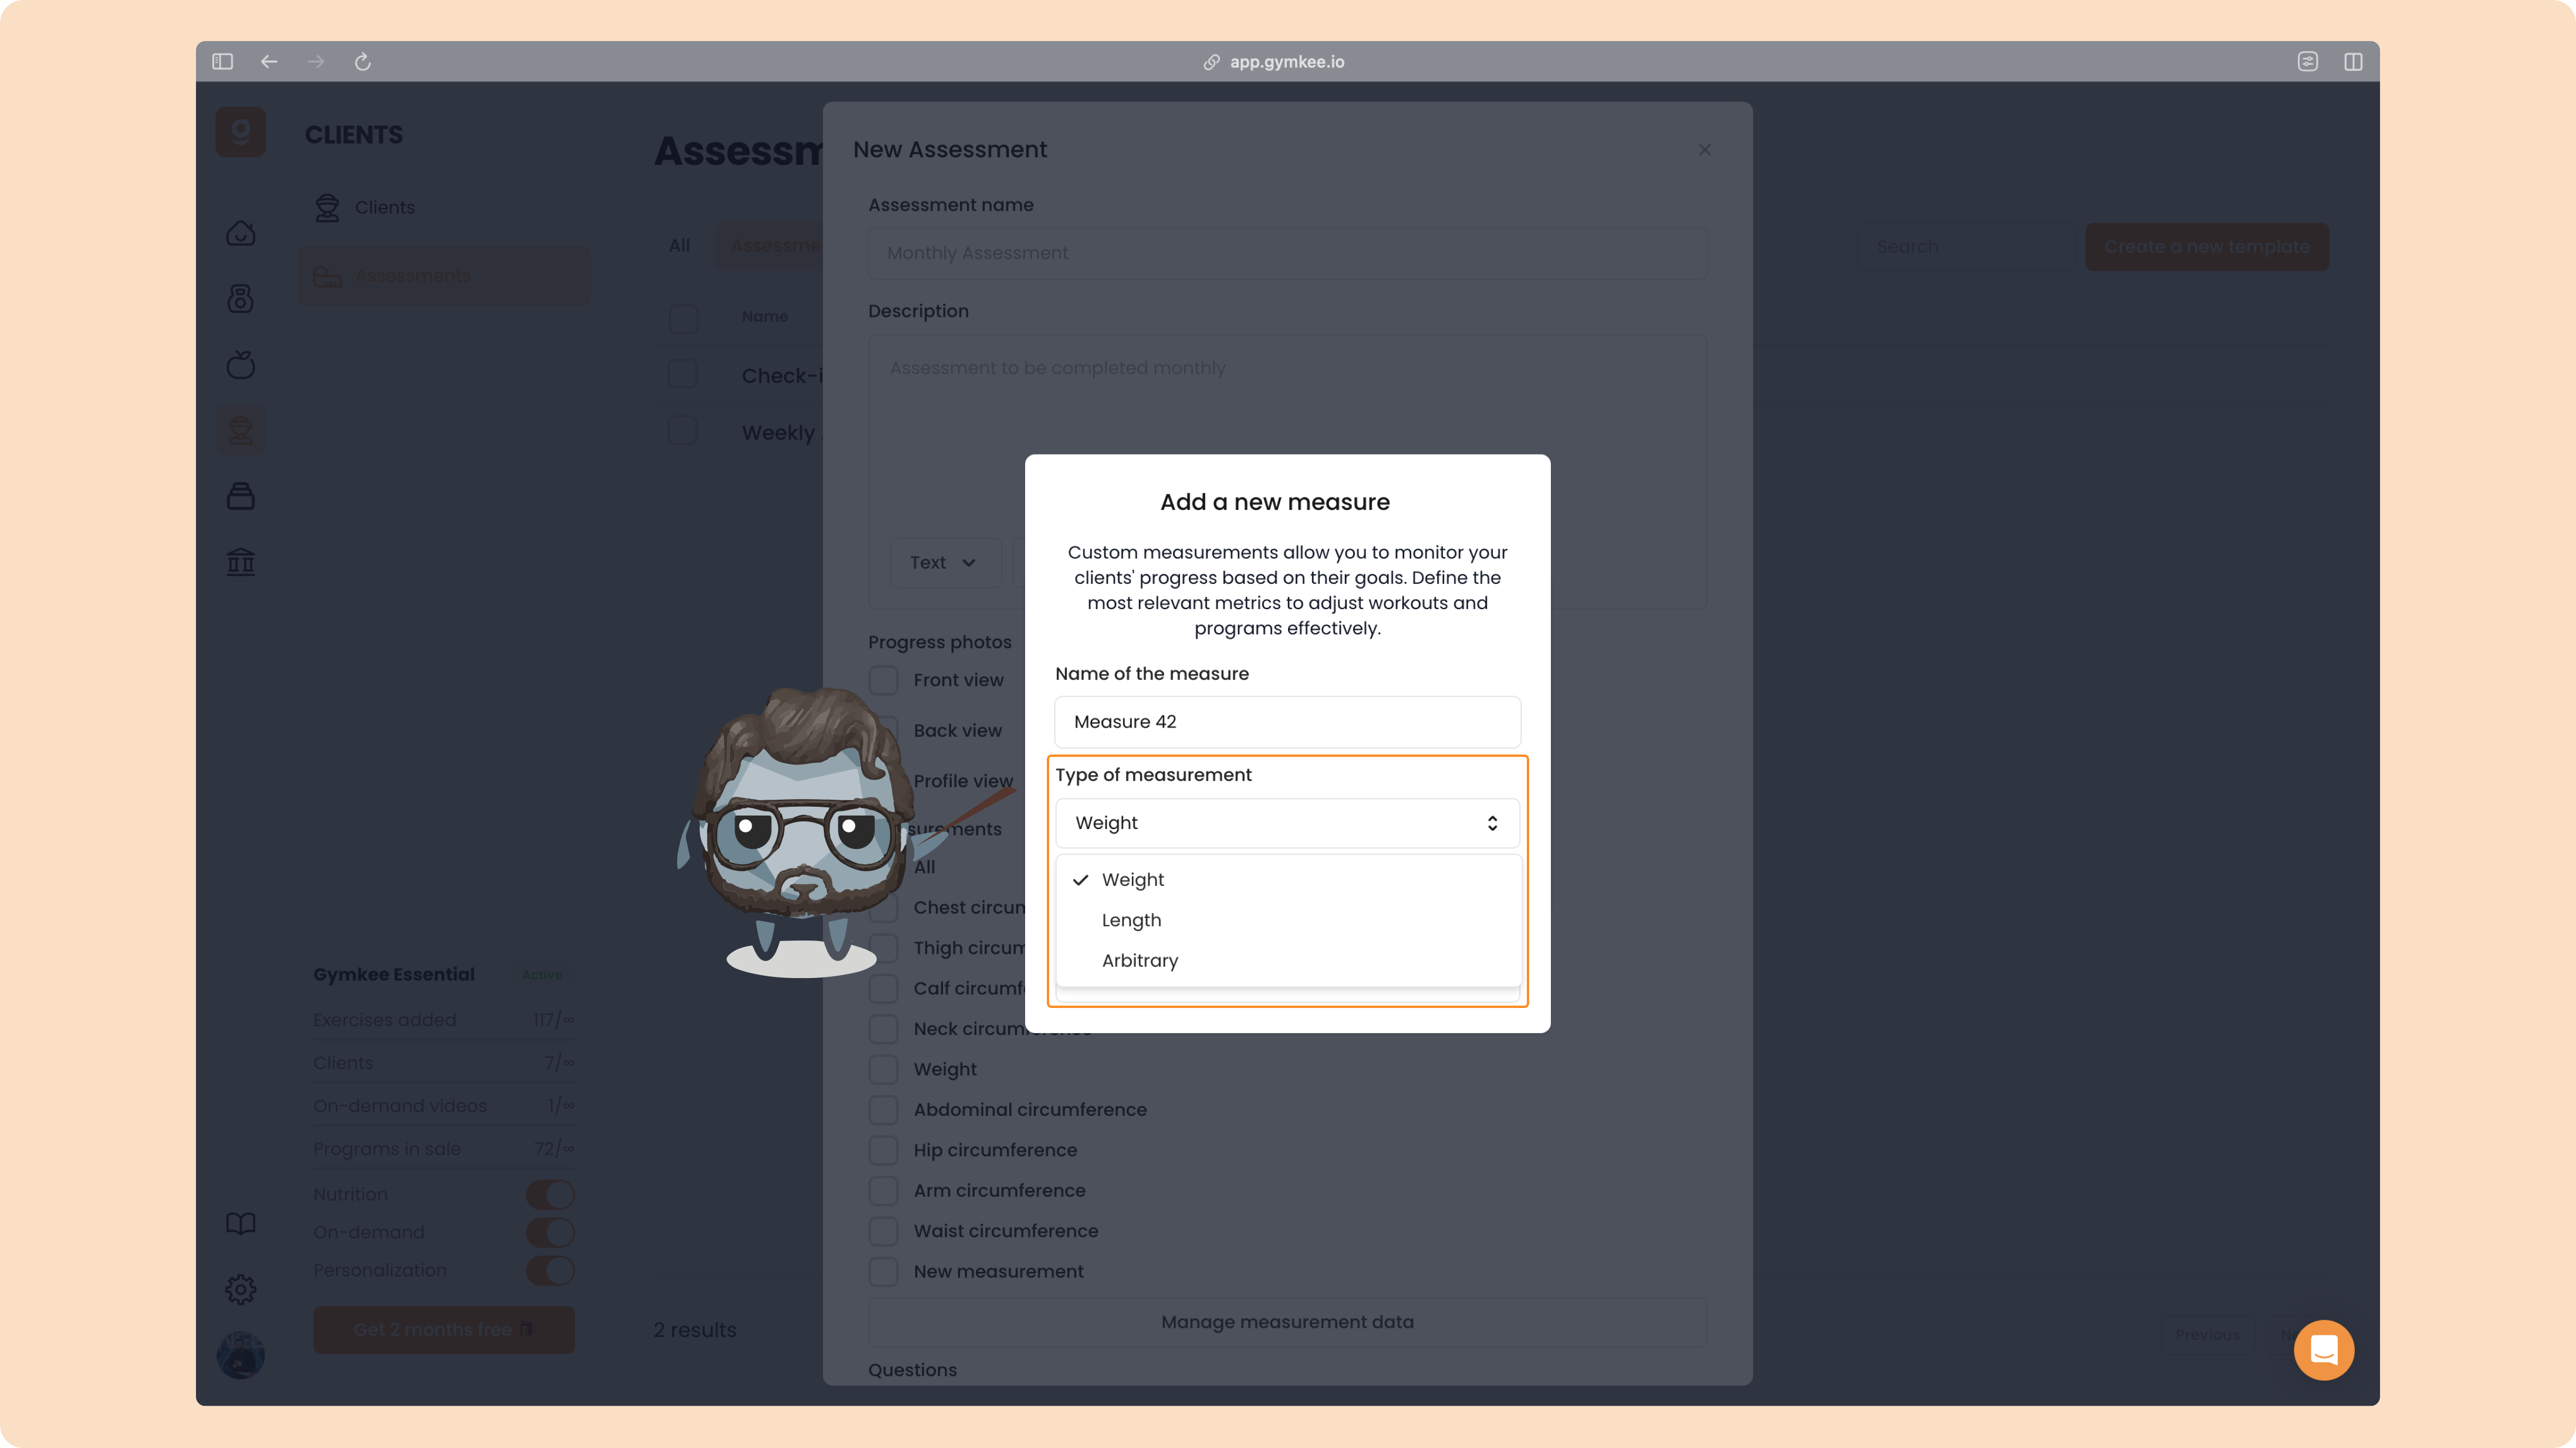
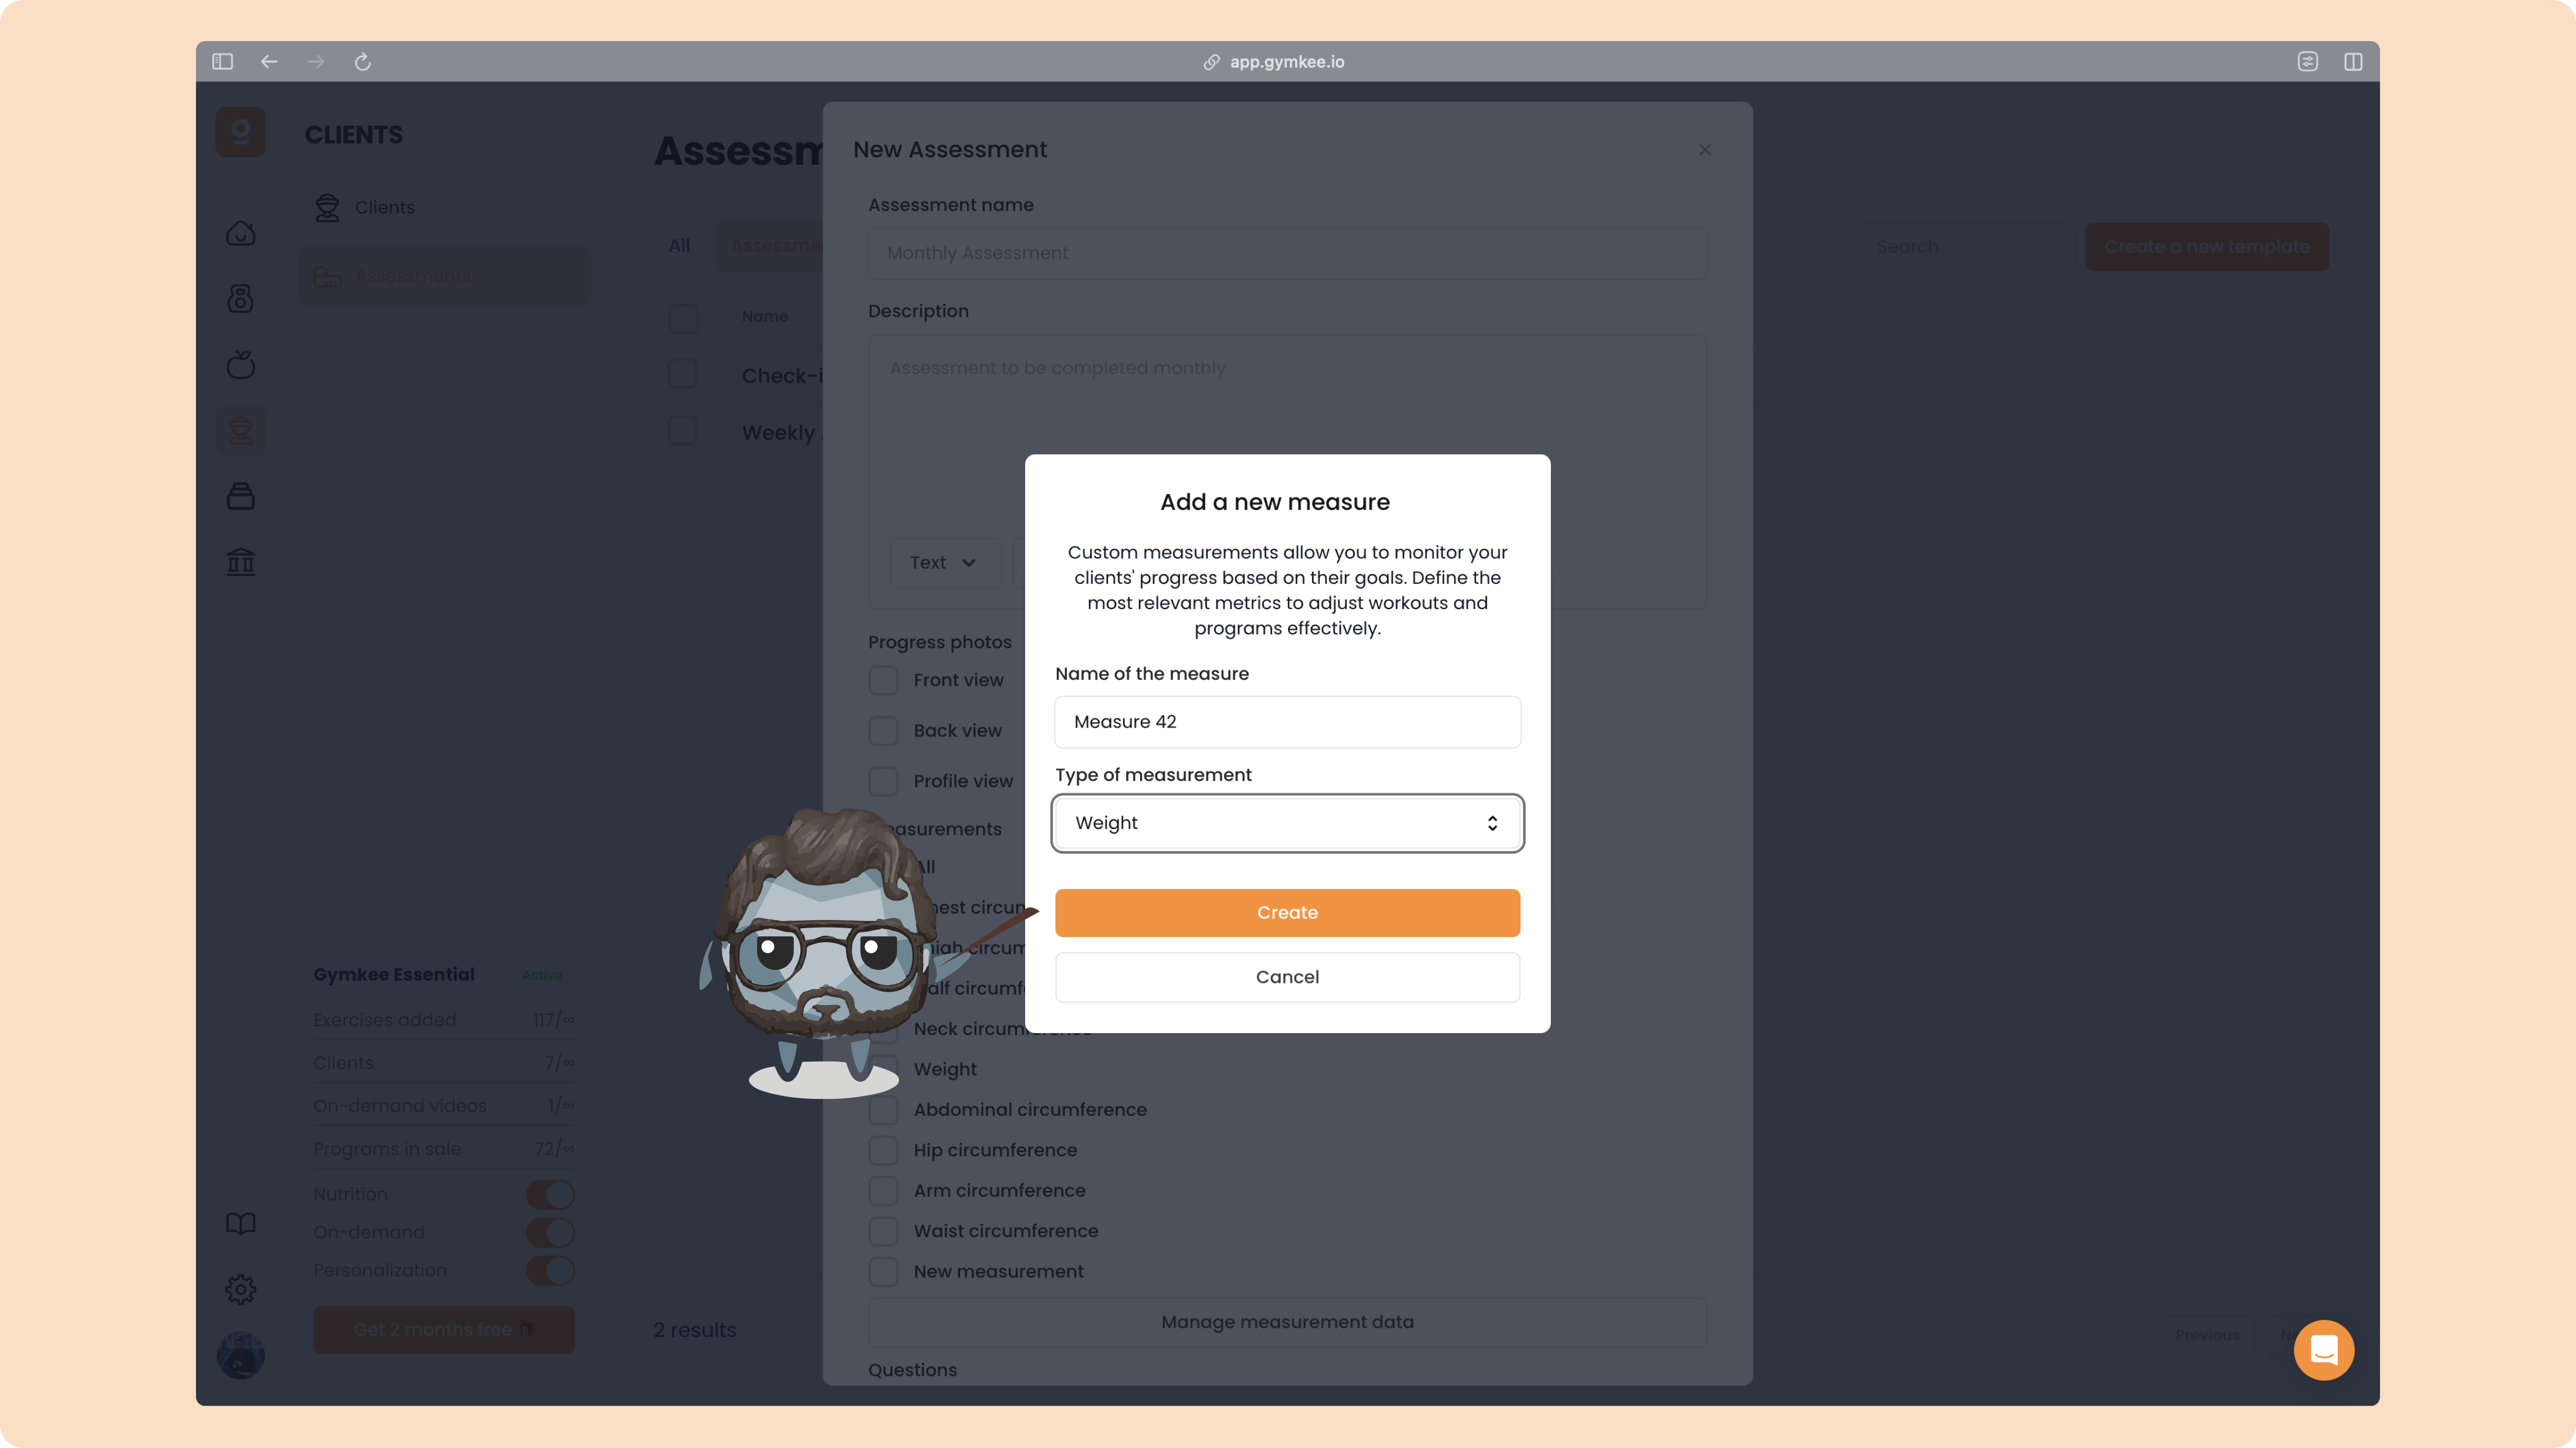
Your new measurement will appear in the list and can now be added to your assessments.
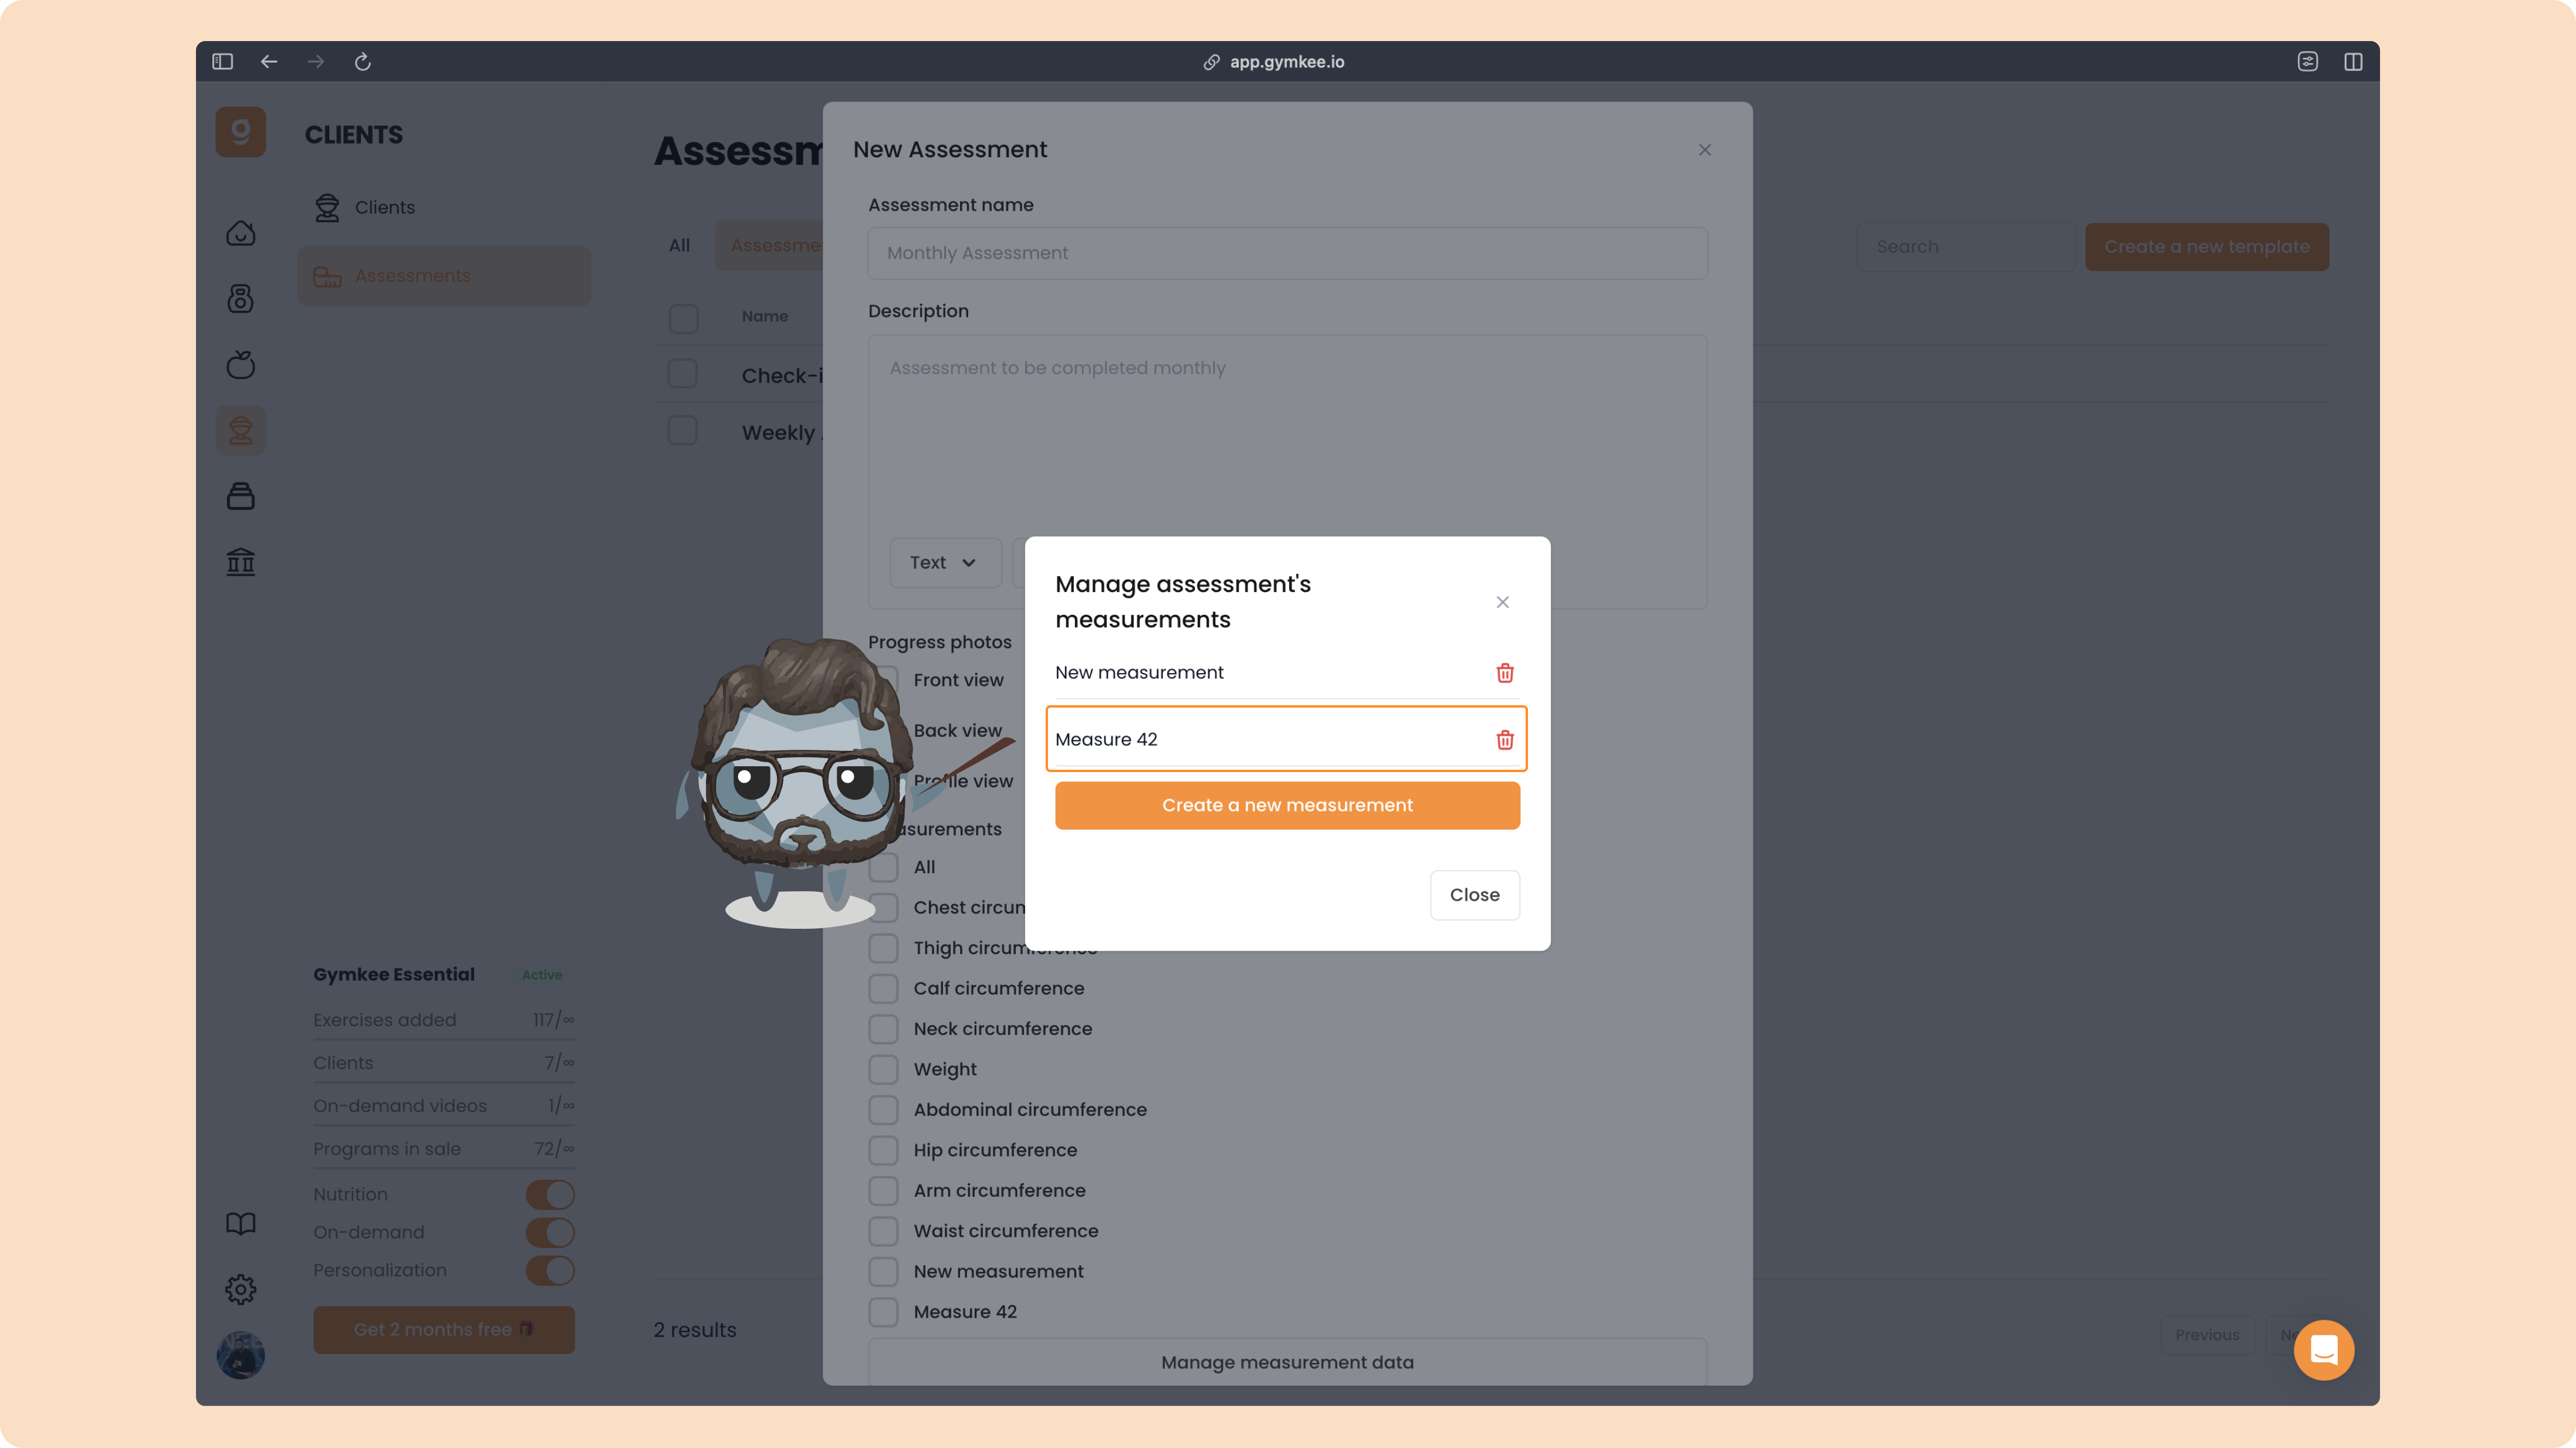
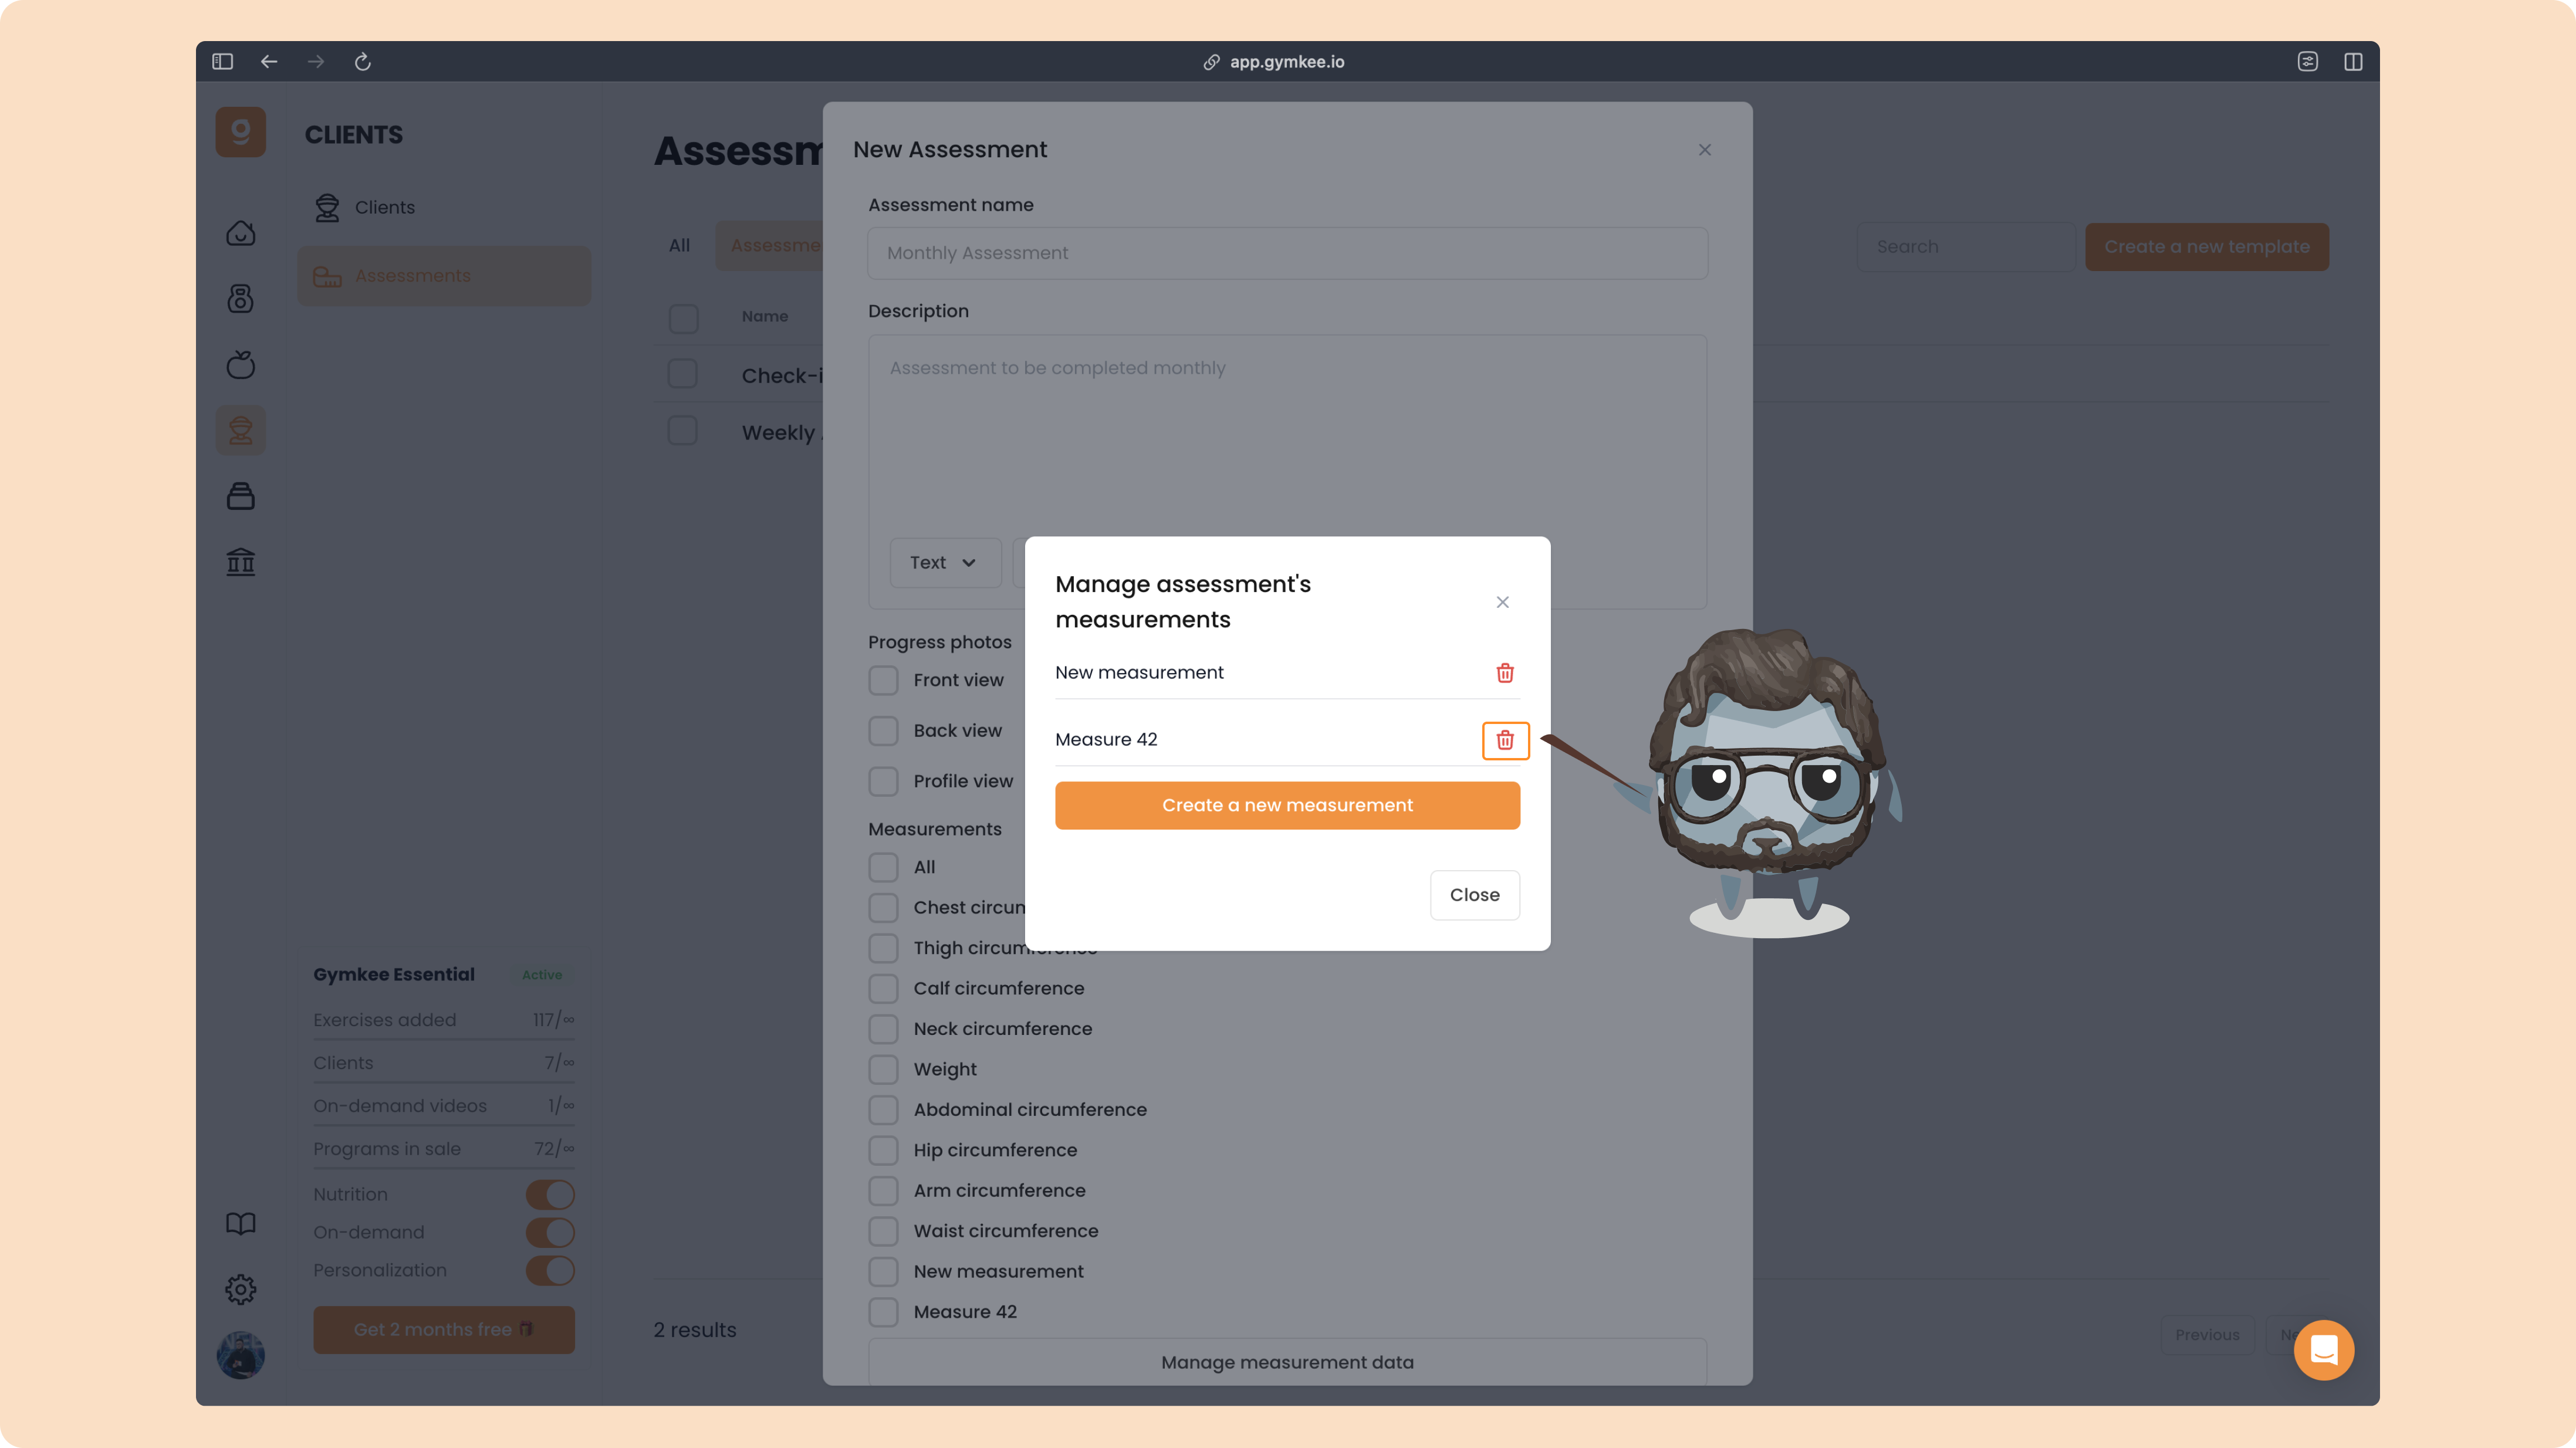
If you ever want to remove one, just click the trash icon to delete it.
After the measurements, you can add custom questions to your assessment. Gymkee includes some standard questions by default, but you can create as many custom ones as you like.
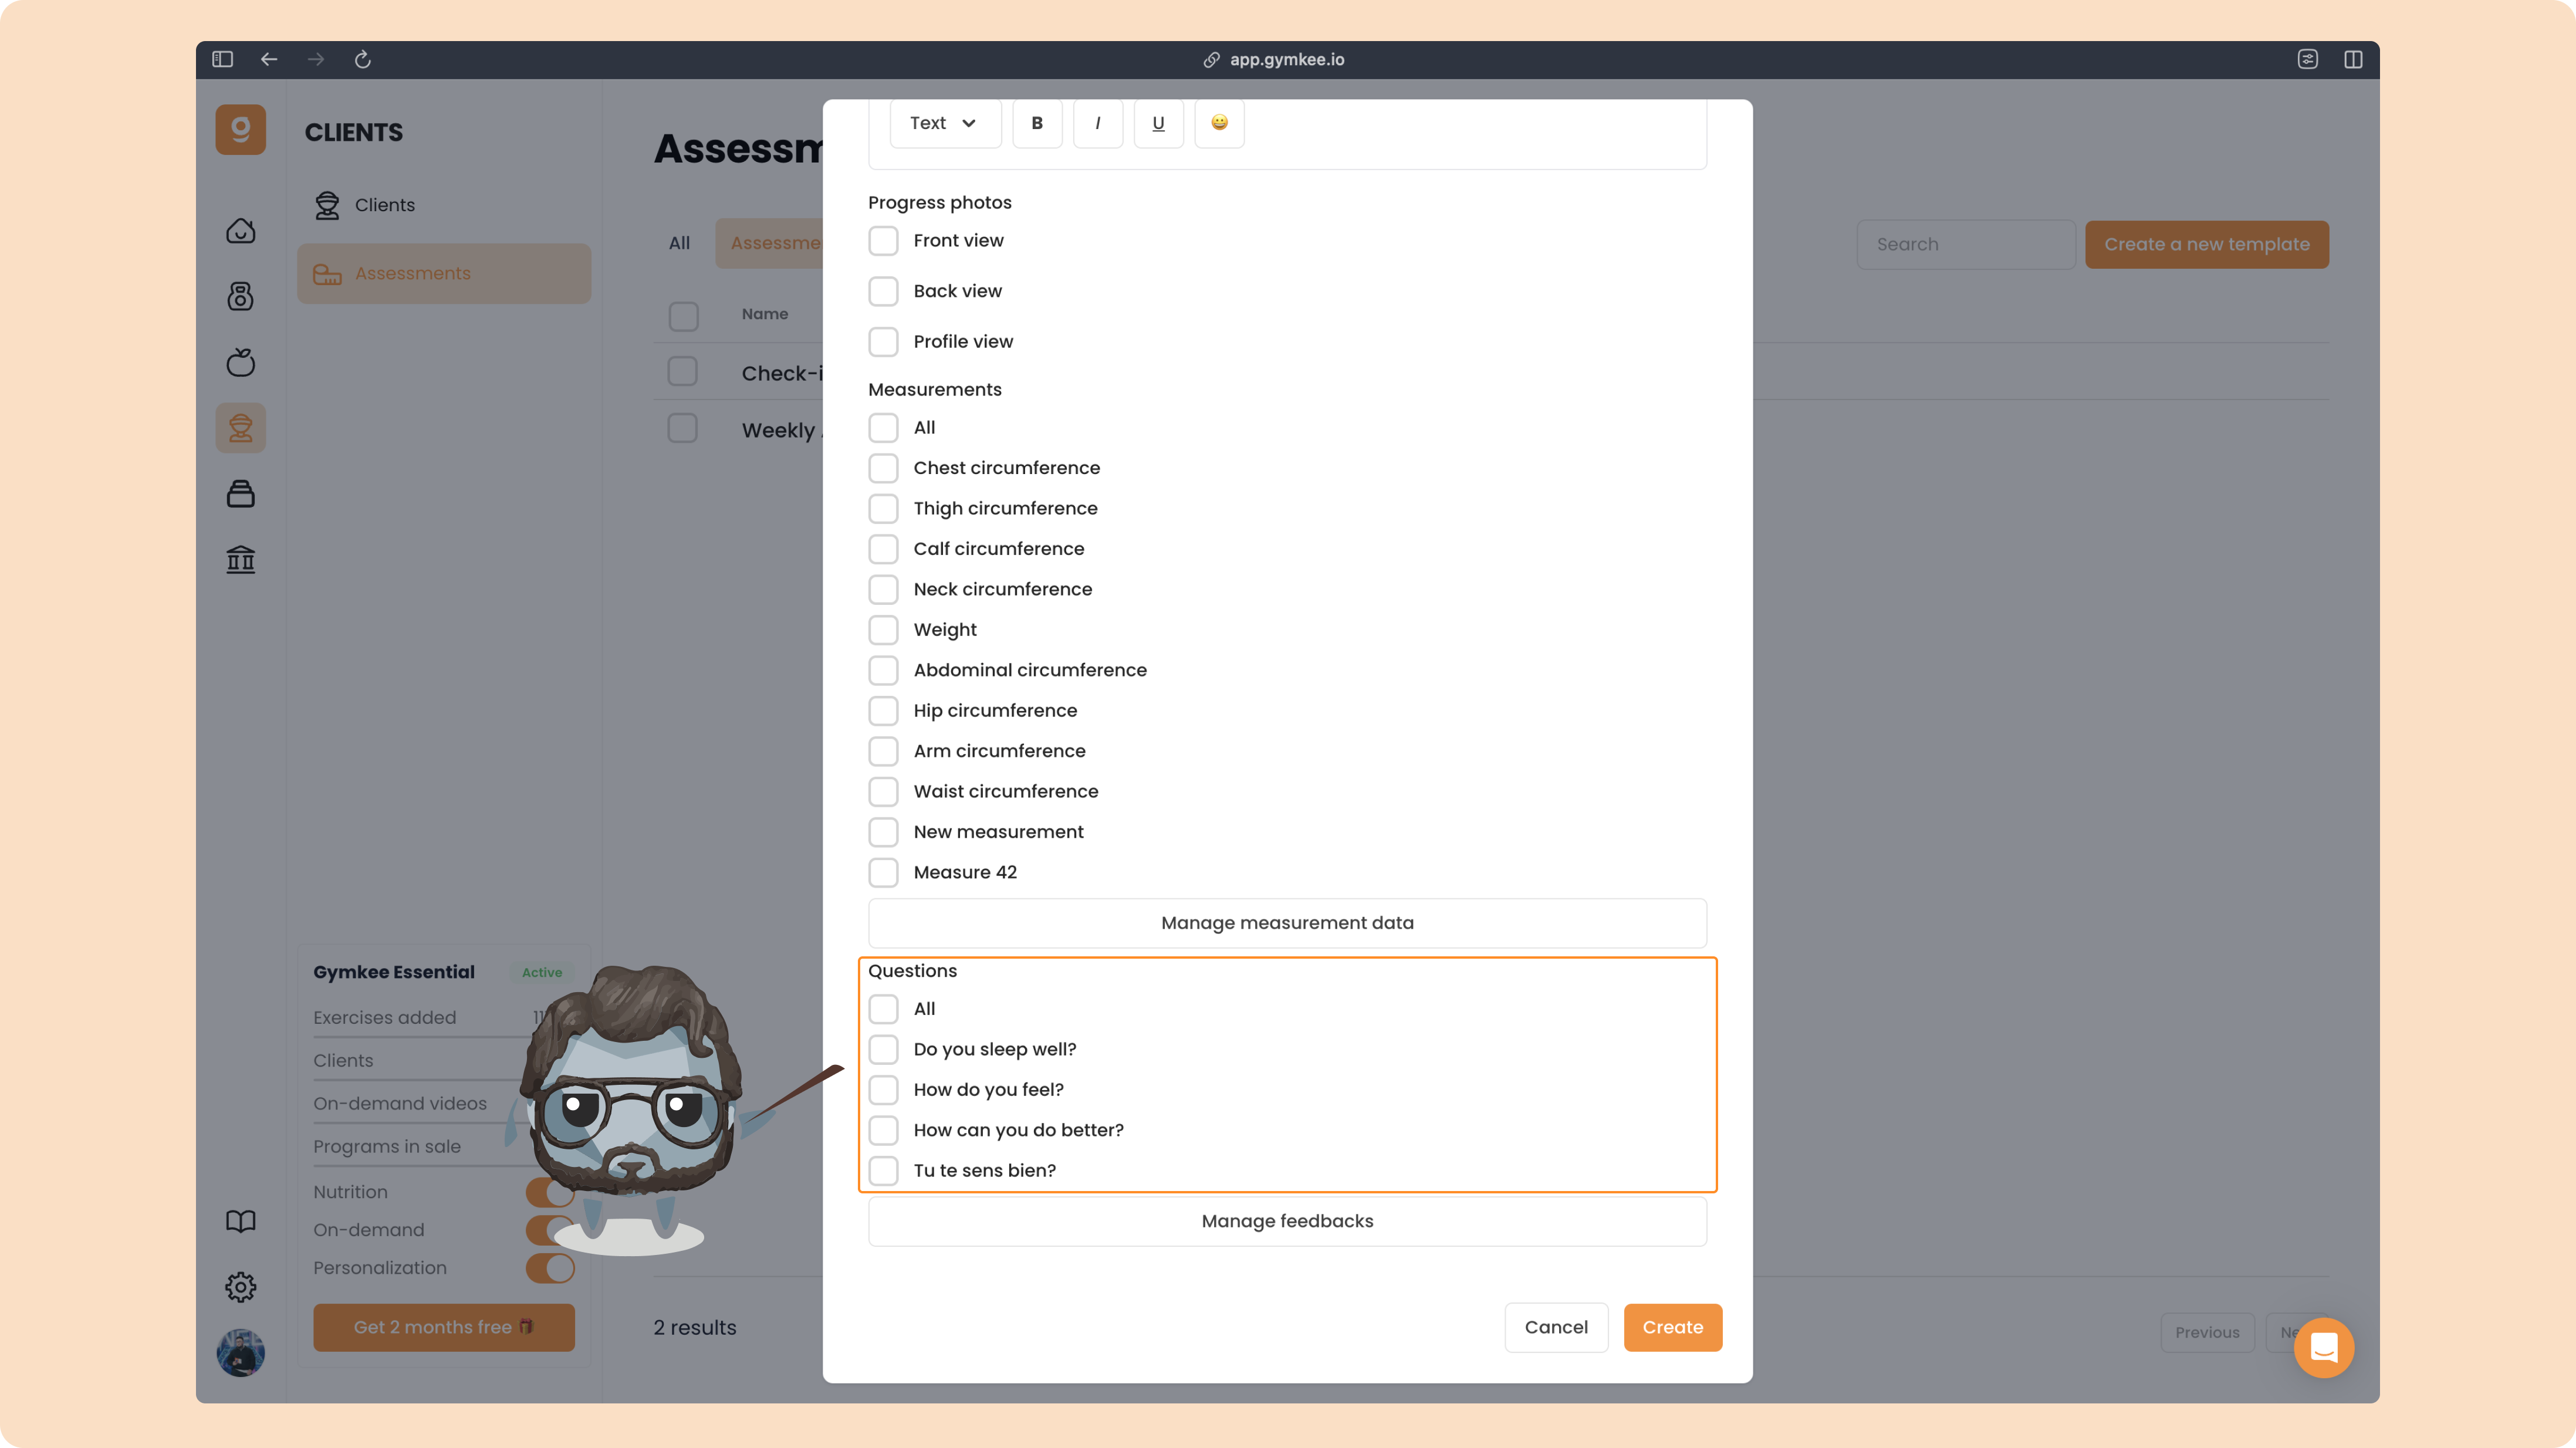
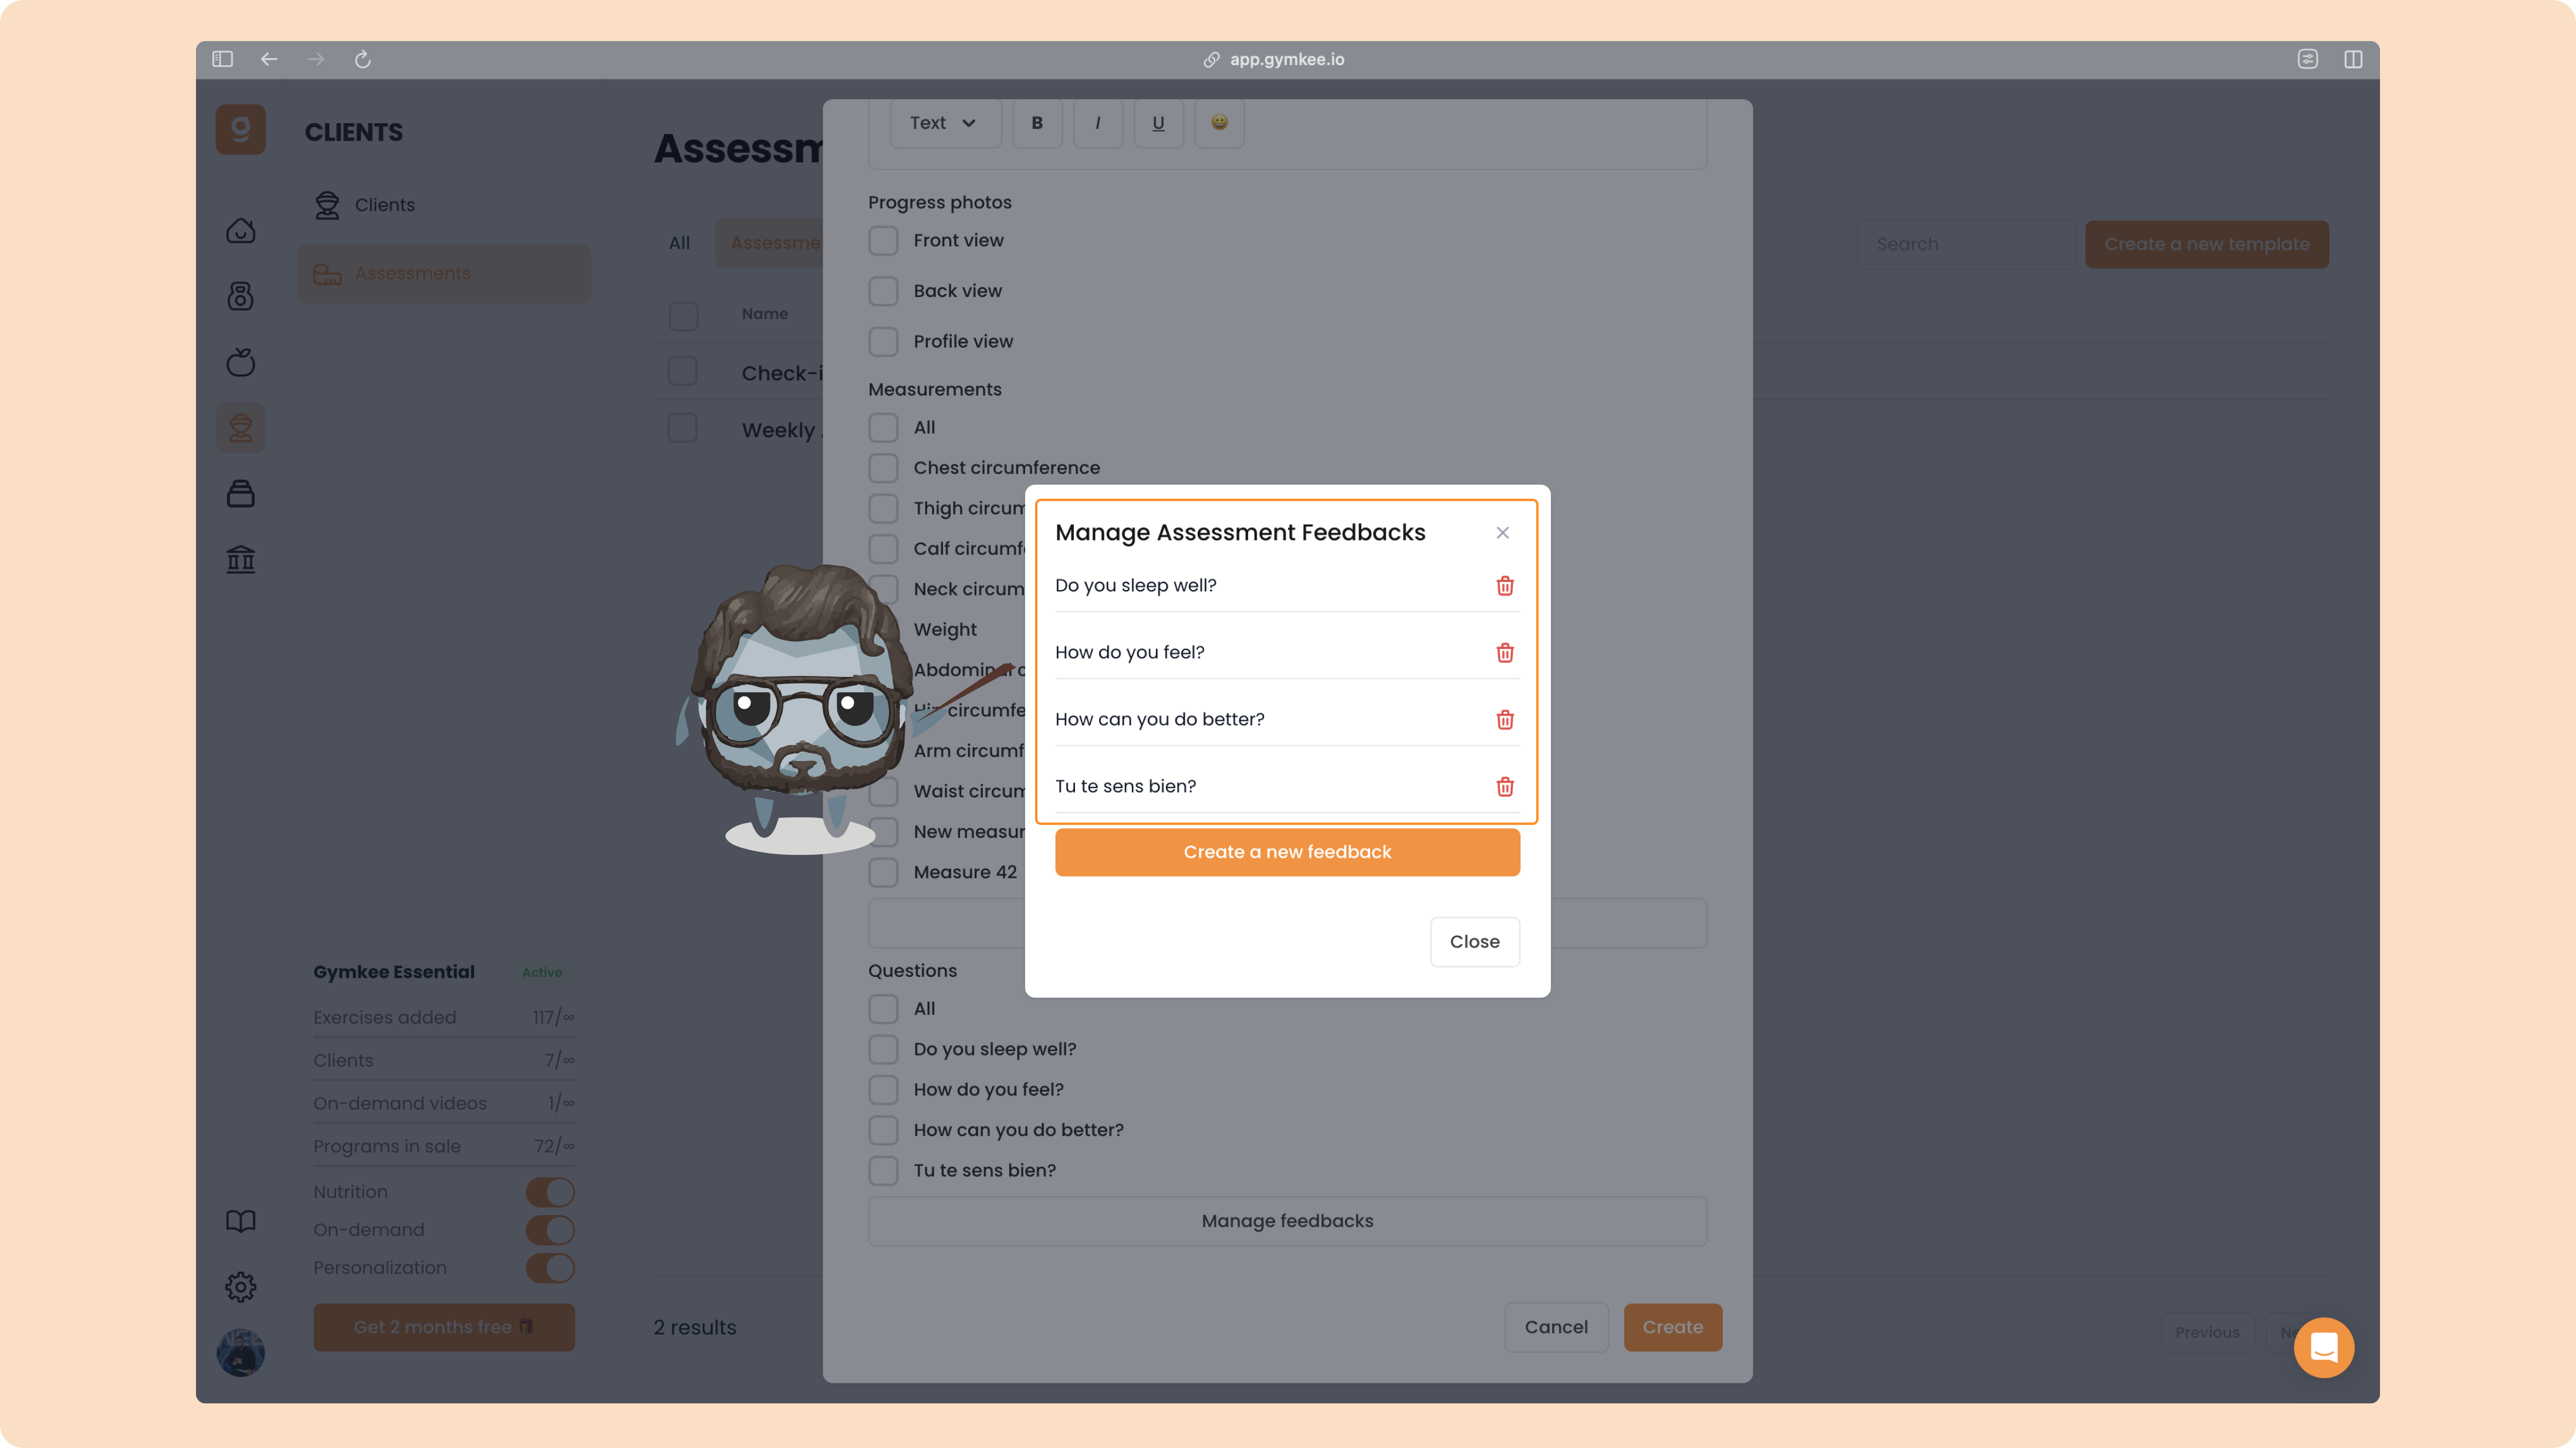
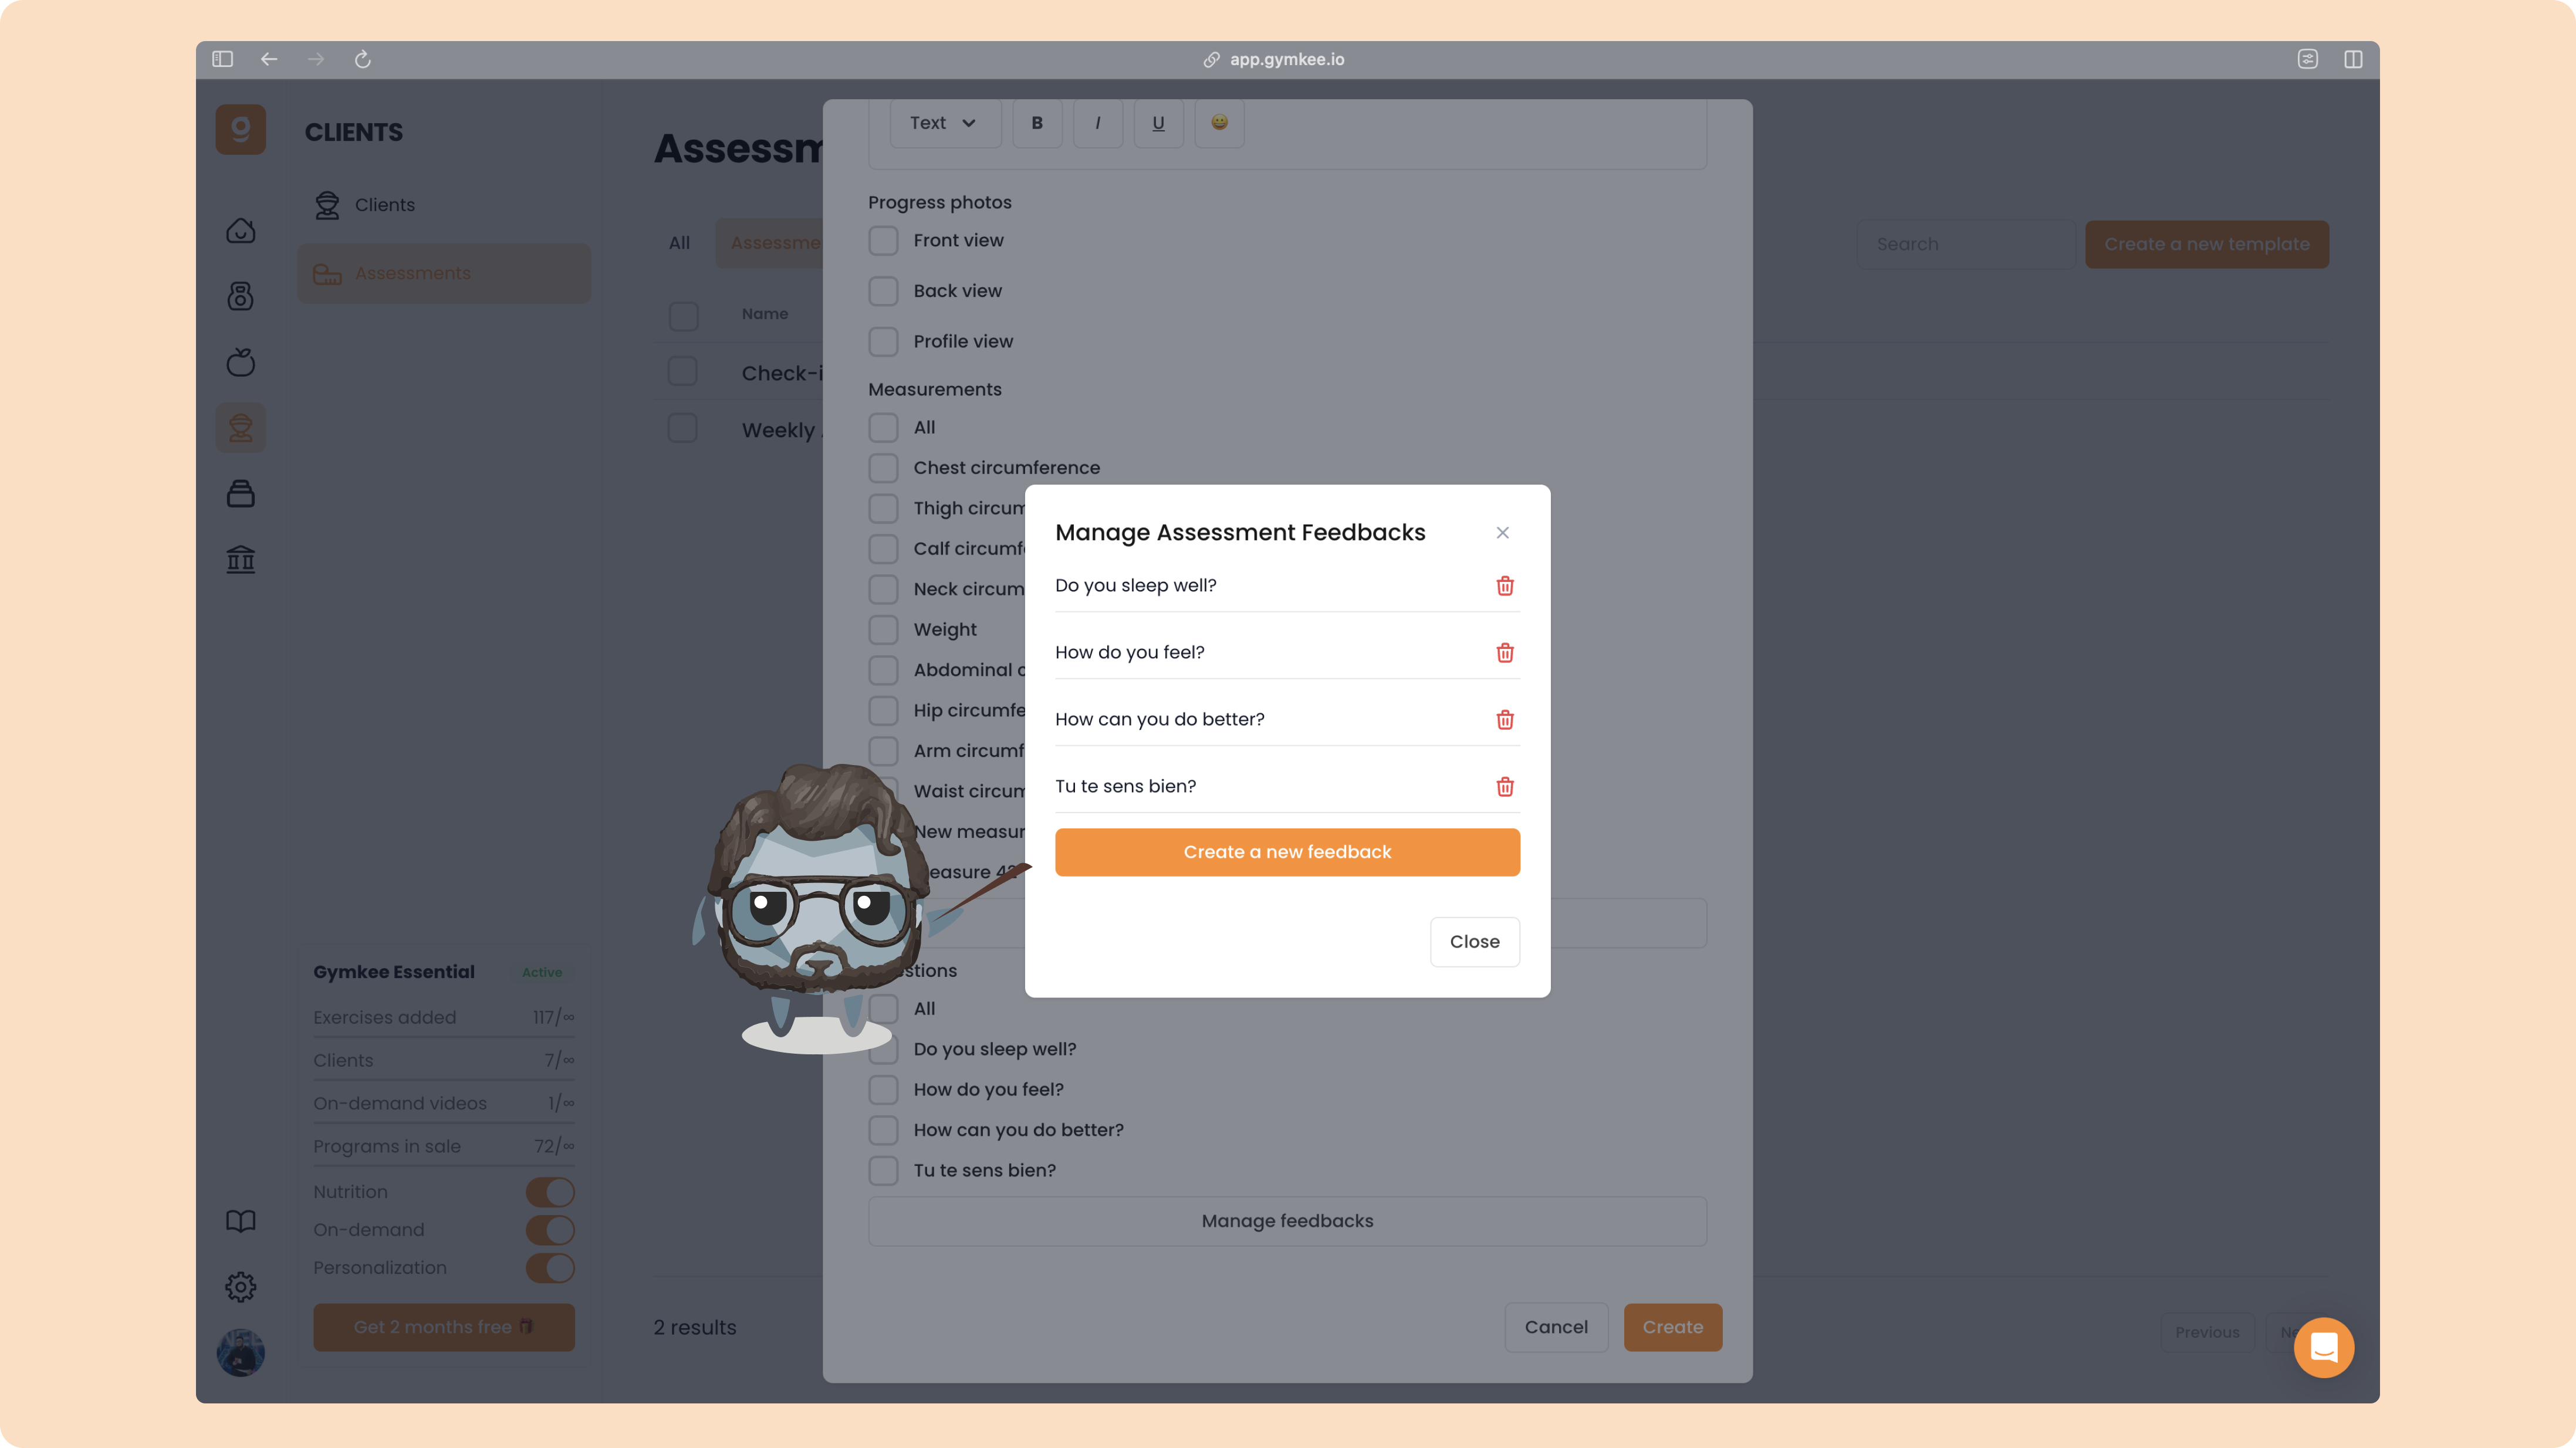
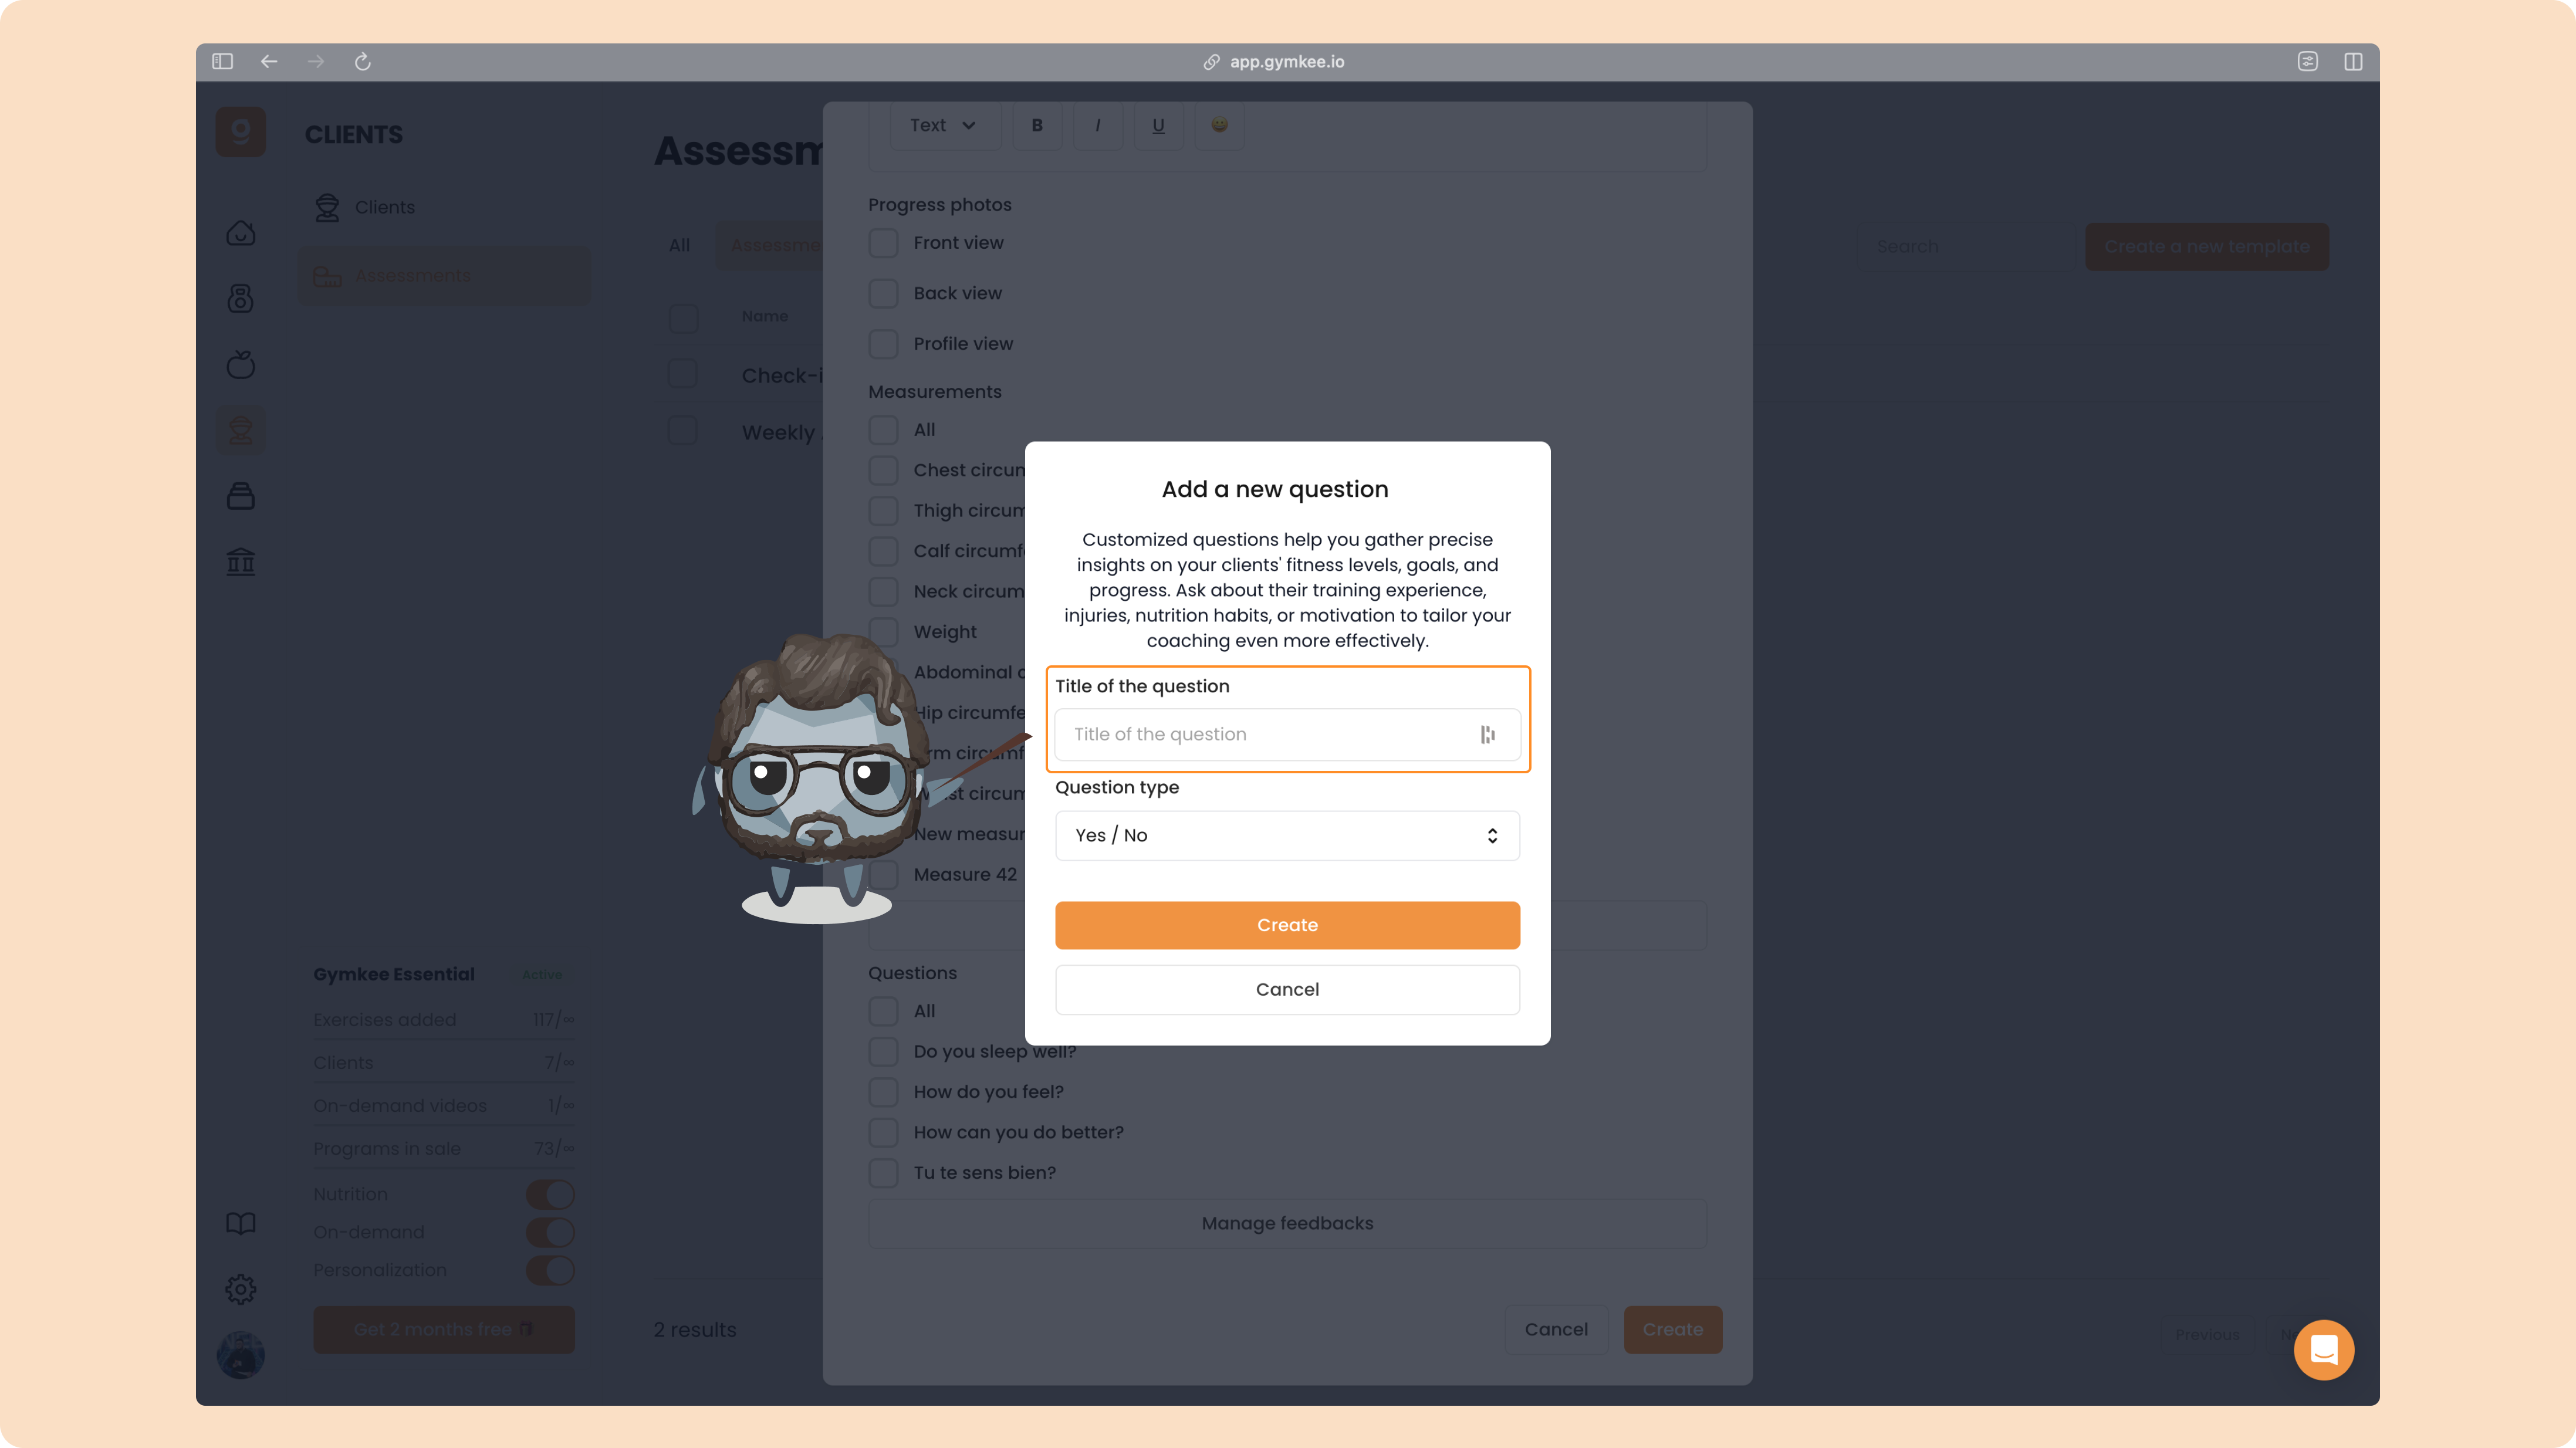
Type in your question:
Then choose the answer type you want your client to use:
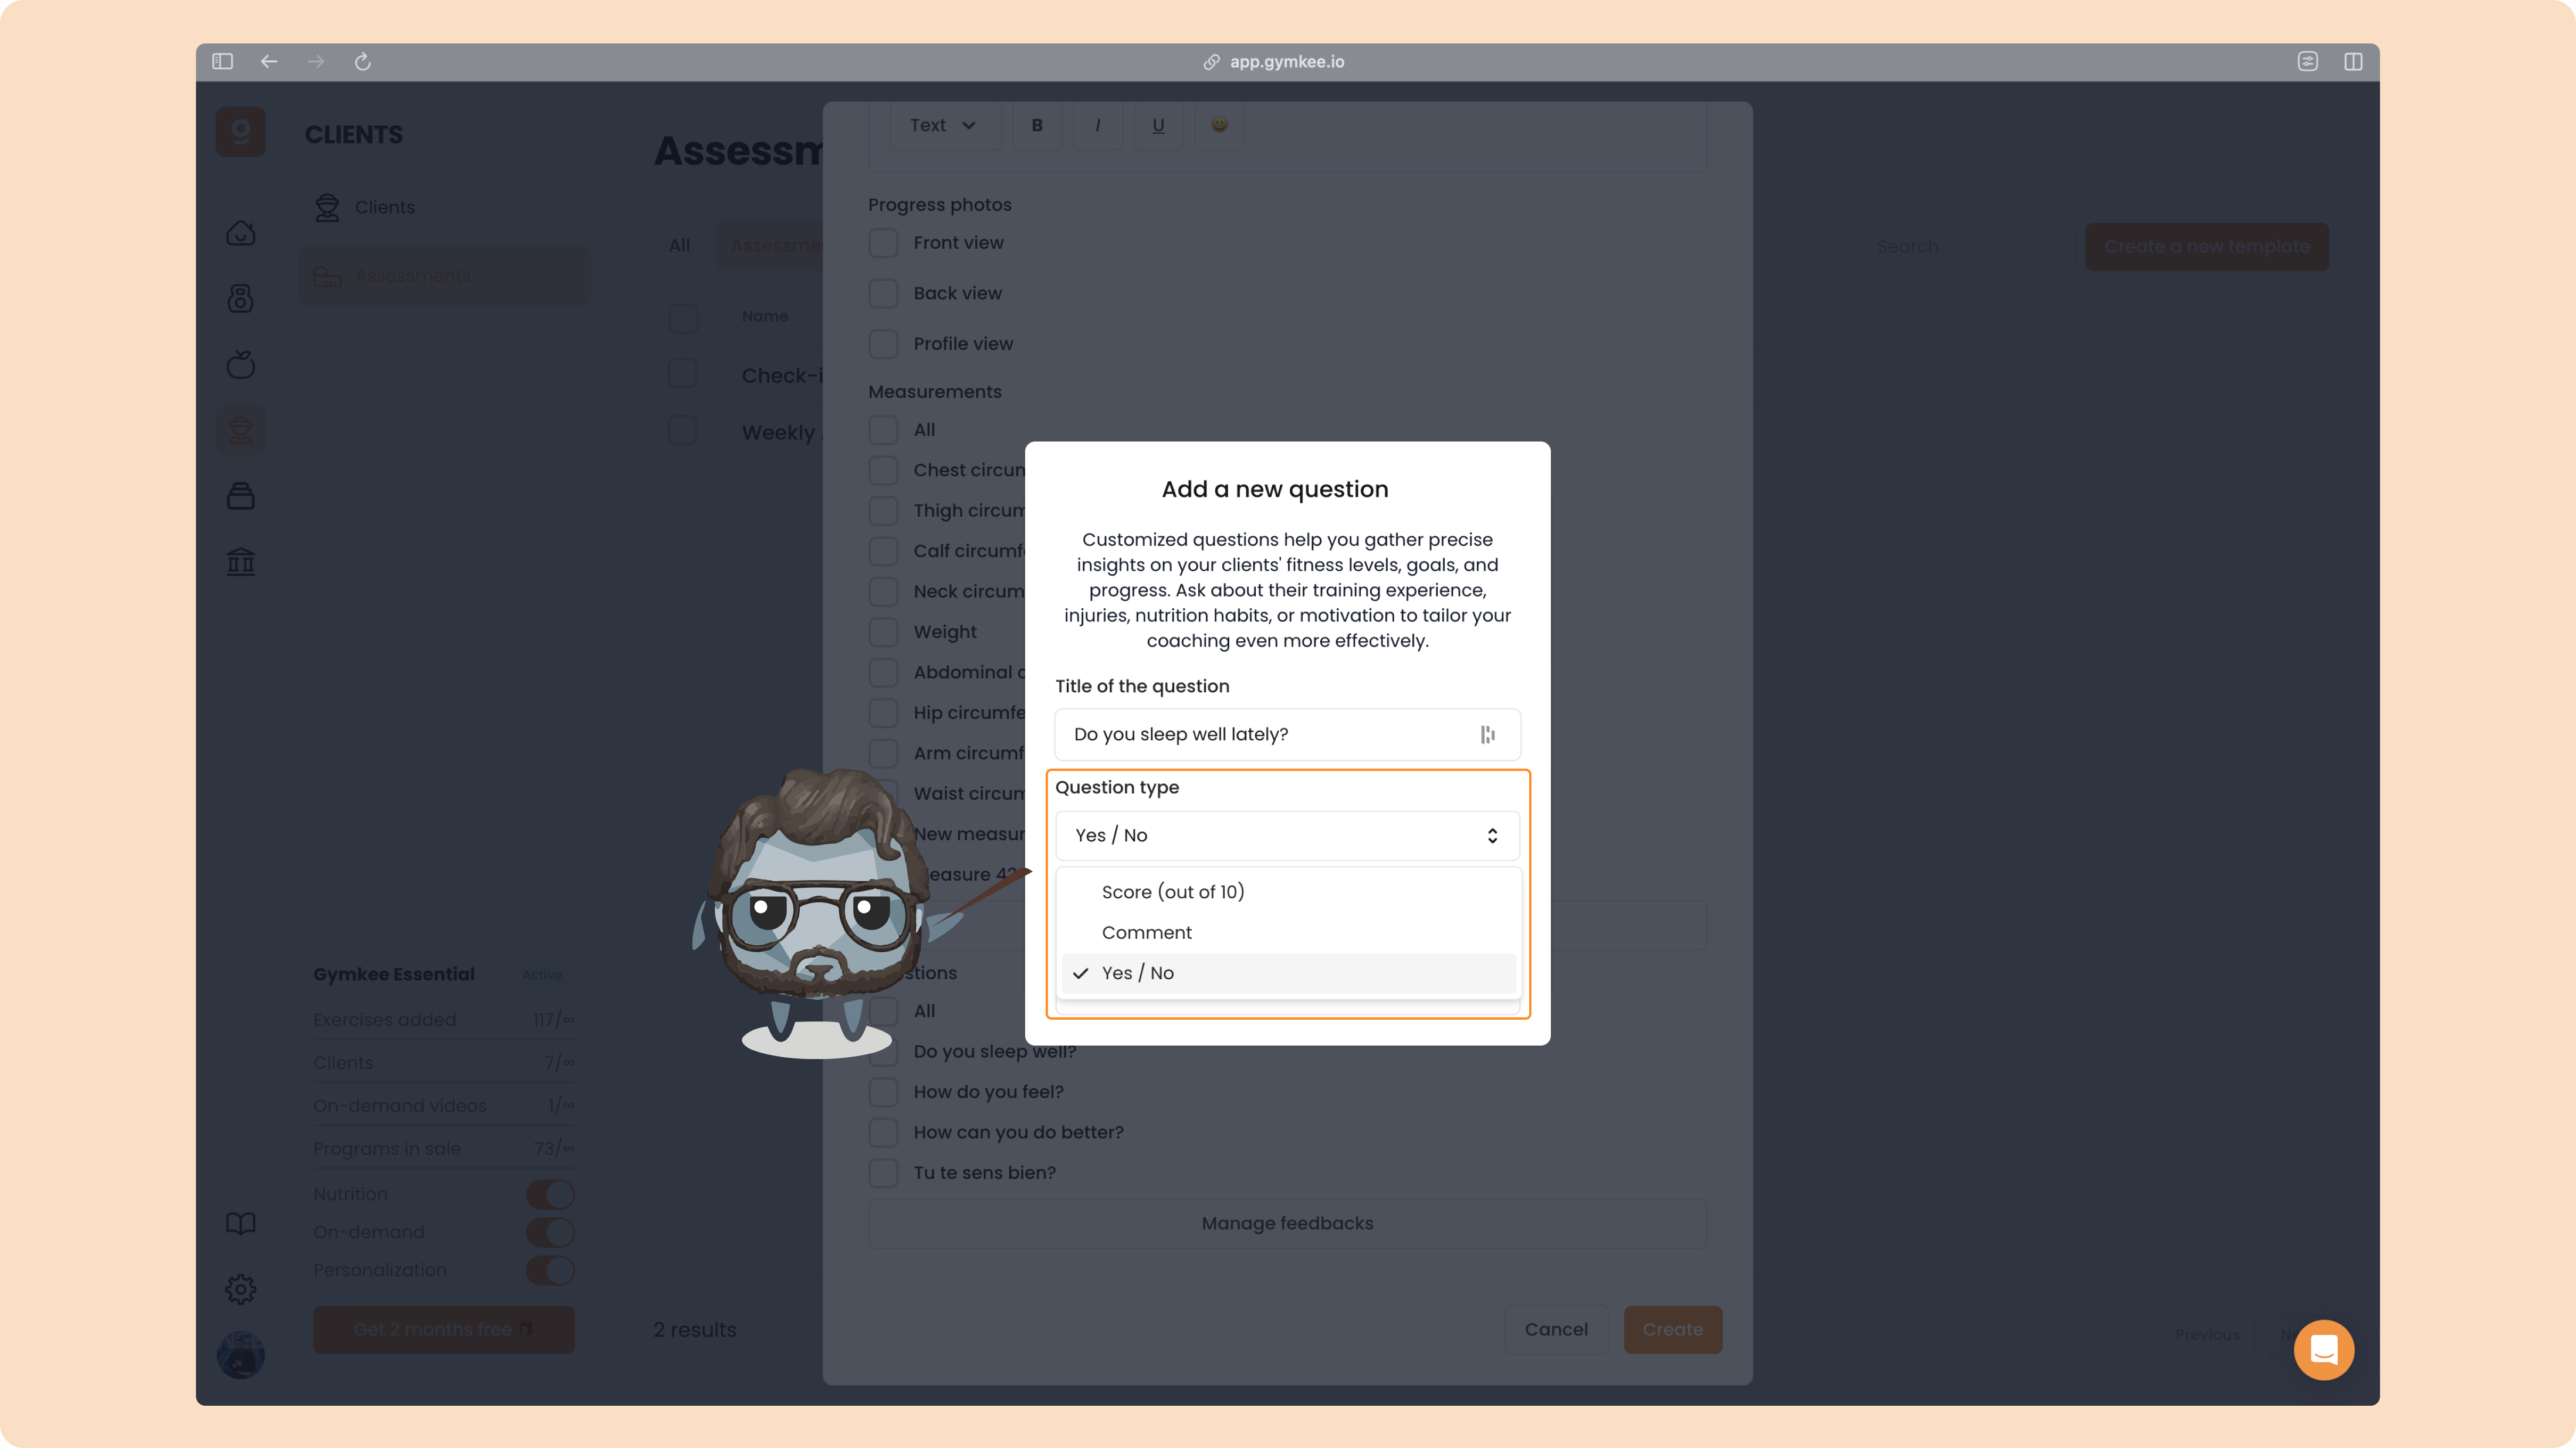
Scale (0–10) → ideal for satisfaction or effort levels
Comment → lets the client write a free-form answer
Yes/No → simple binary choice for quick answers
Once your assessment is ready, click “Create.”
You’ll then find it in your list of templates.
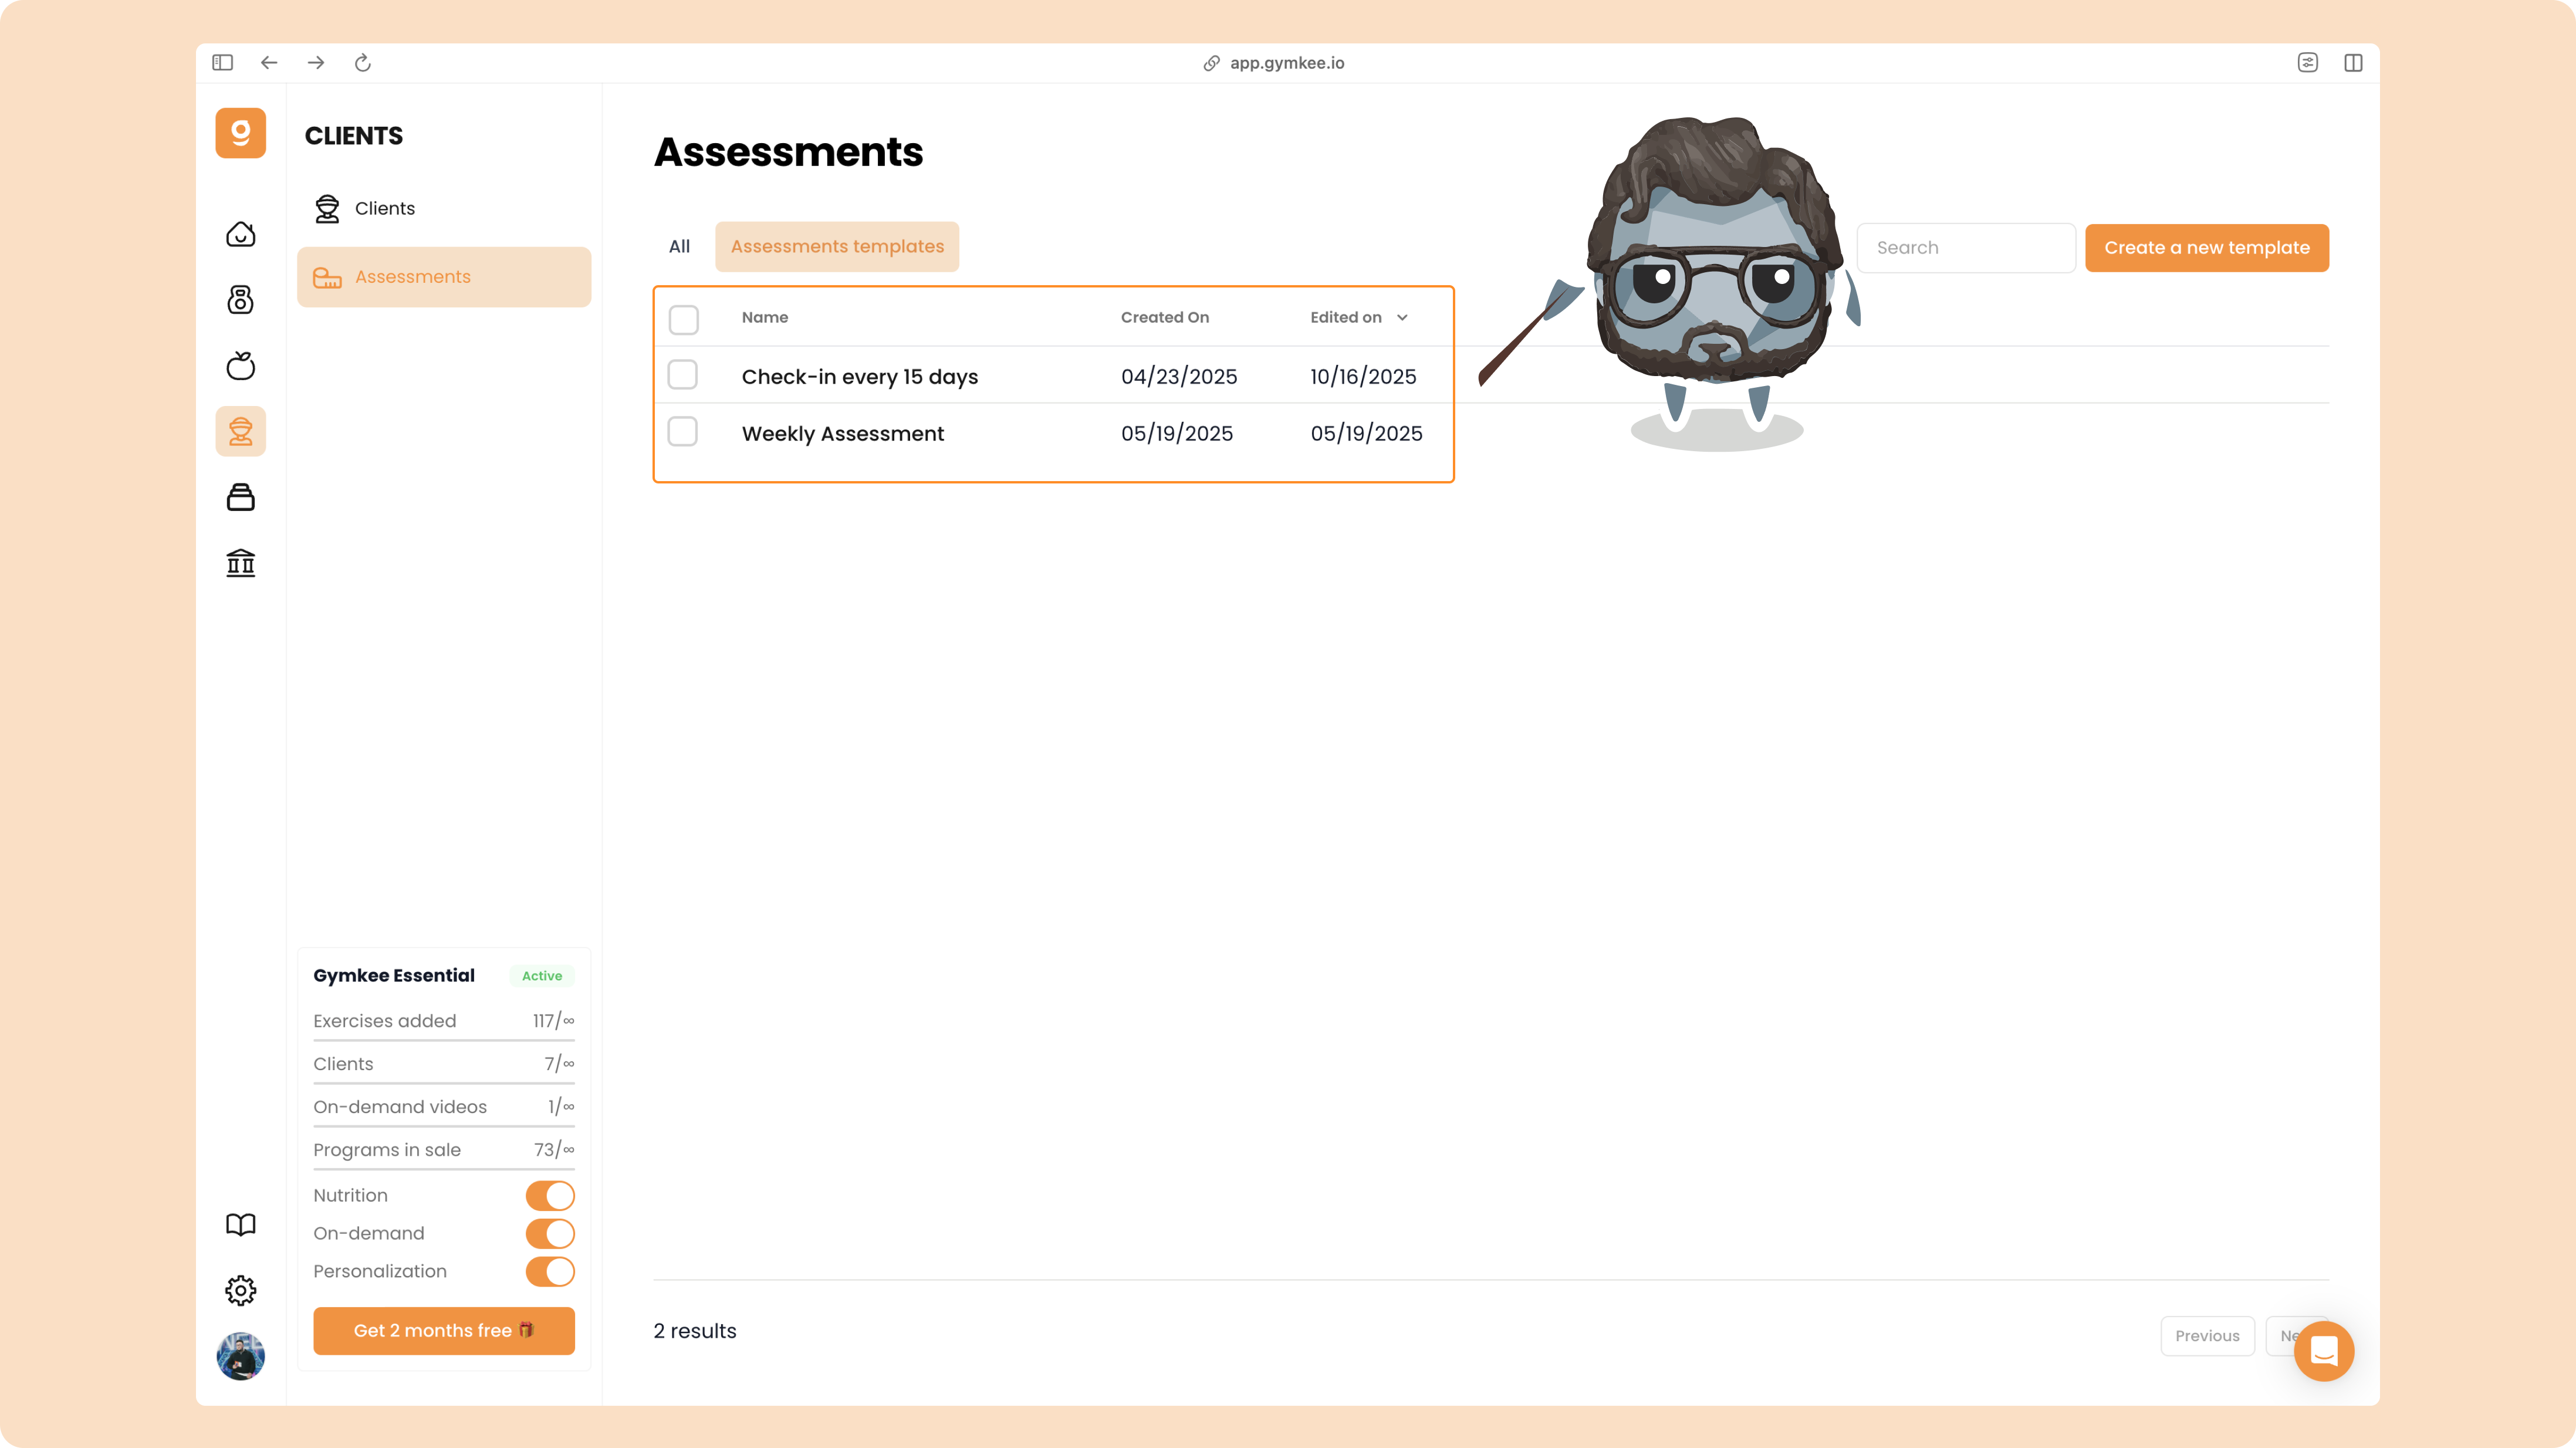
Now that you’ve created your first assessment template, let’s see how to send it to your clients.
Send an assessment and set up recurrence
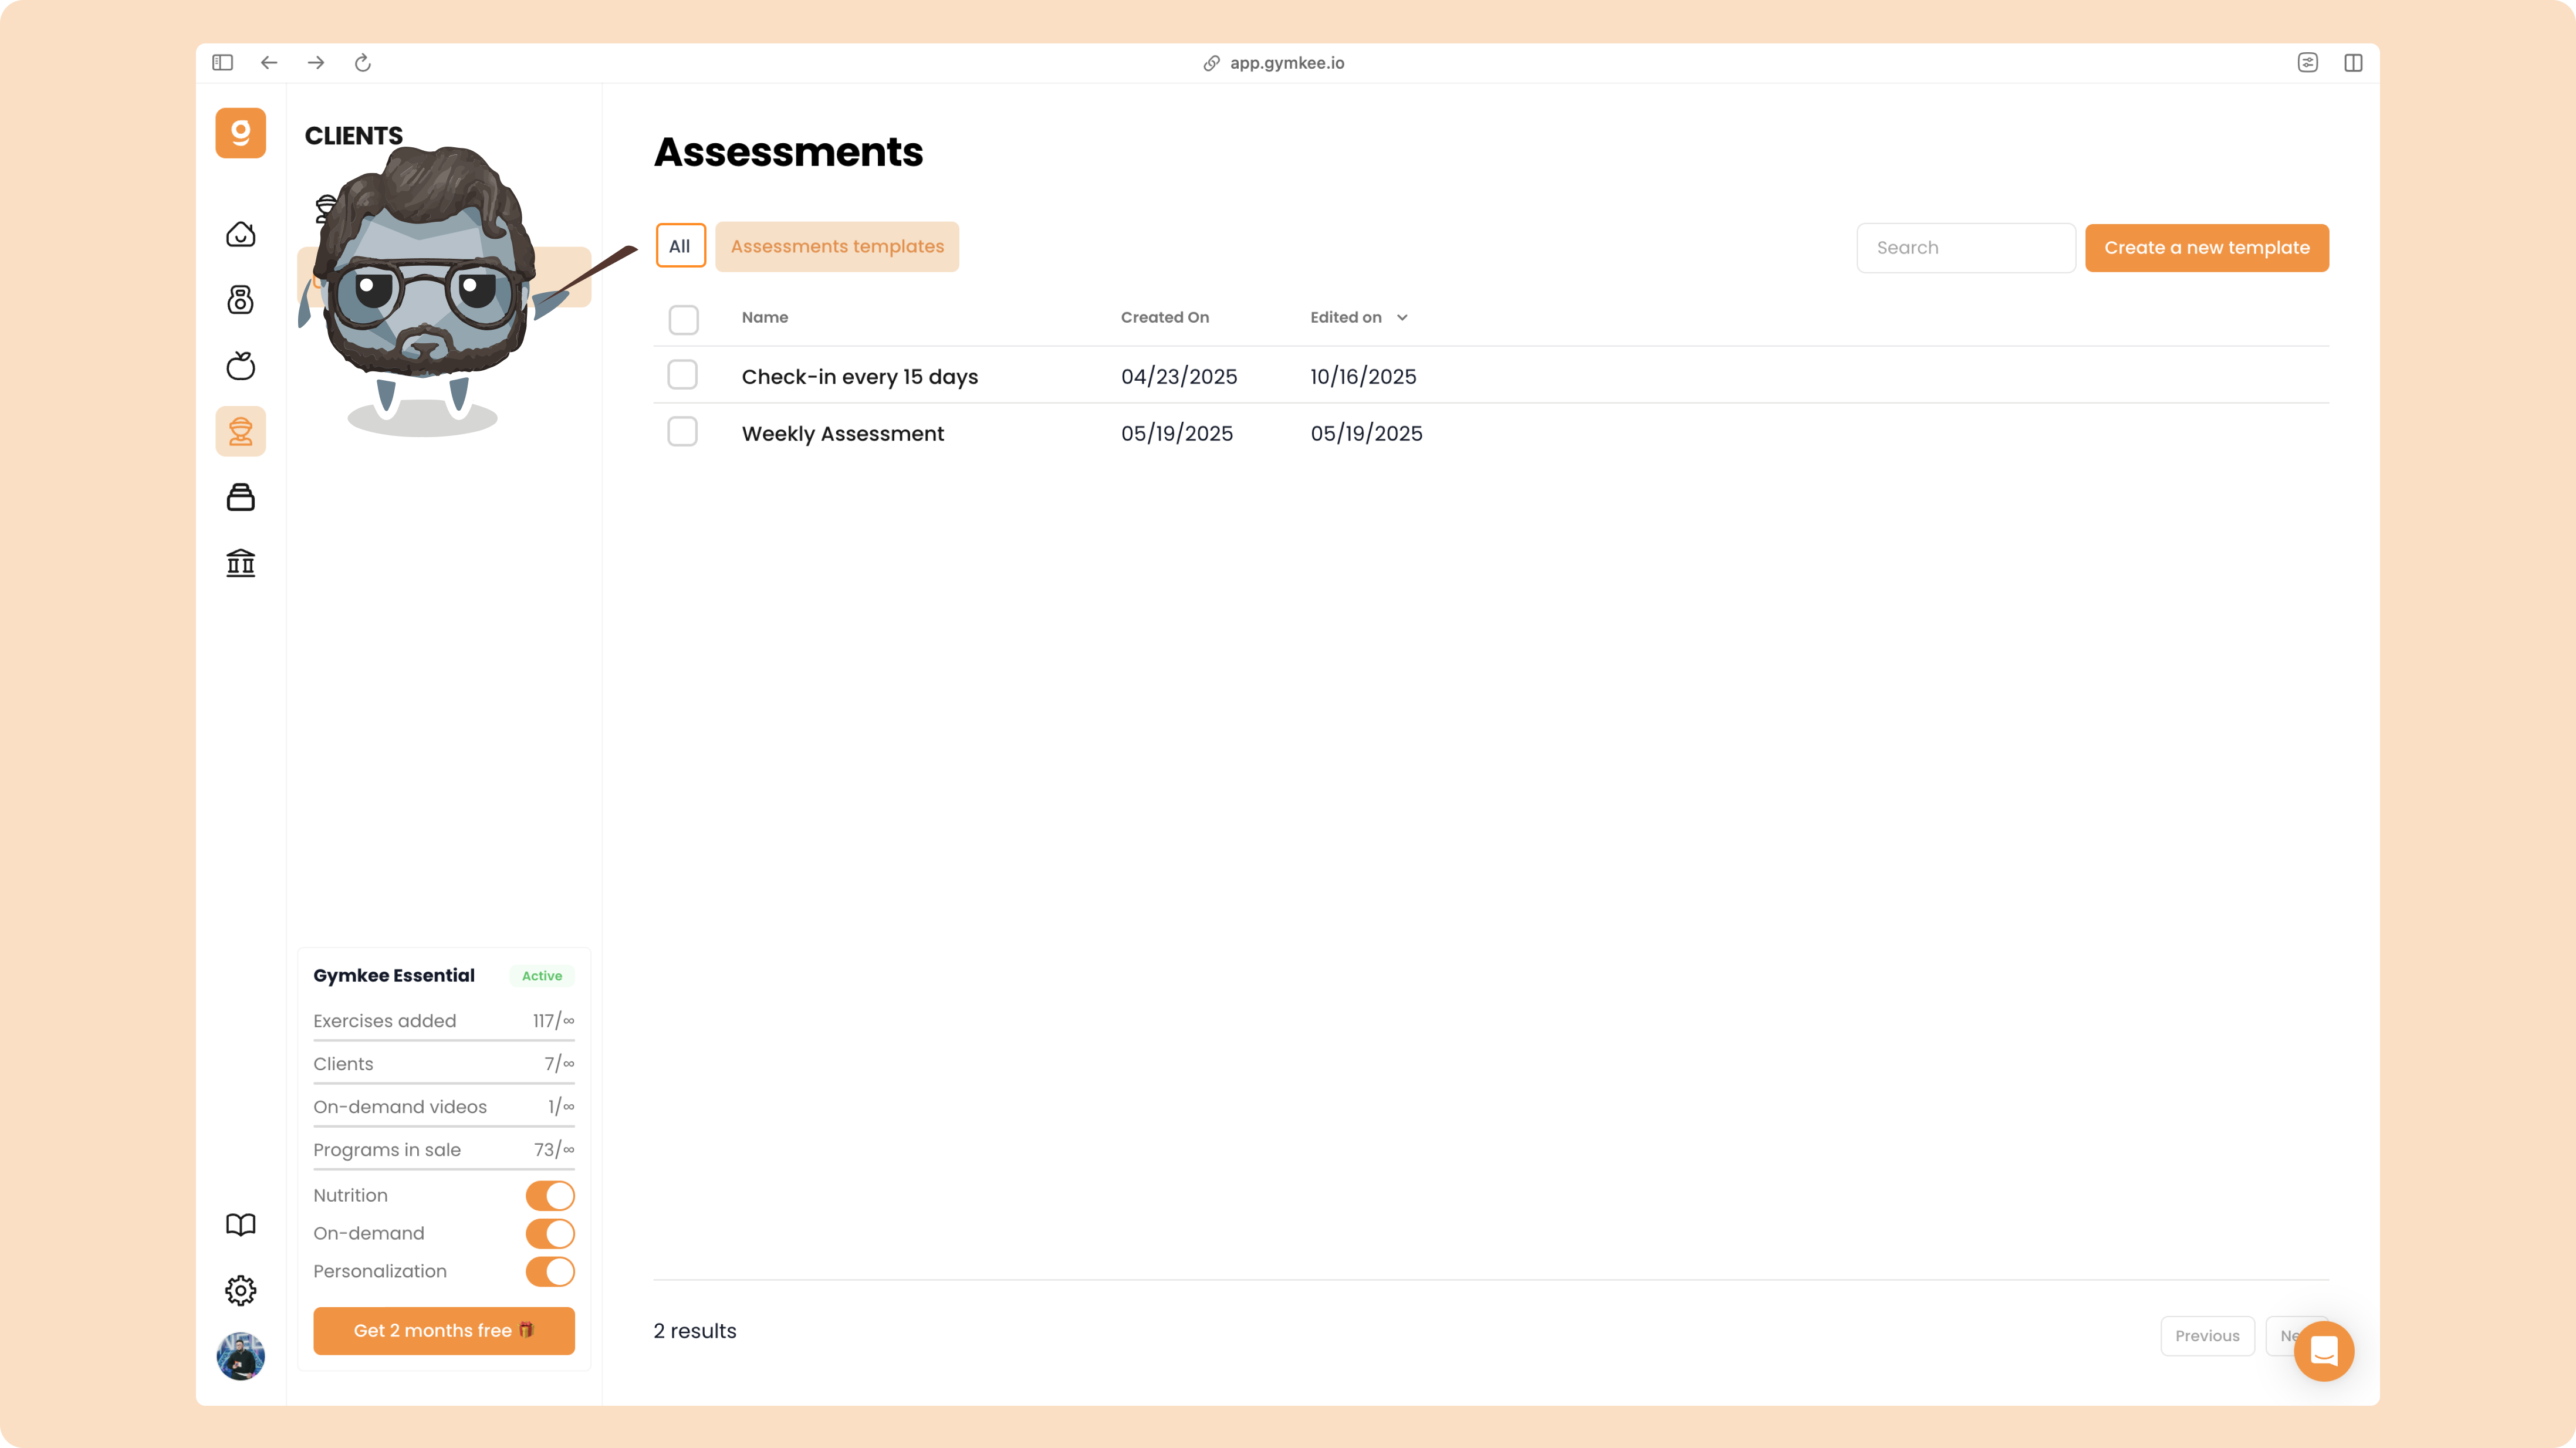
Go back to your list of assessments.
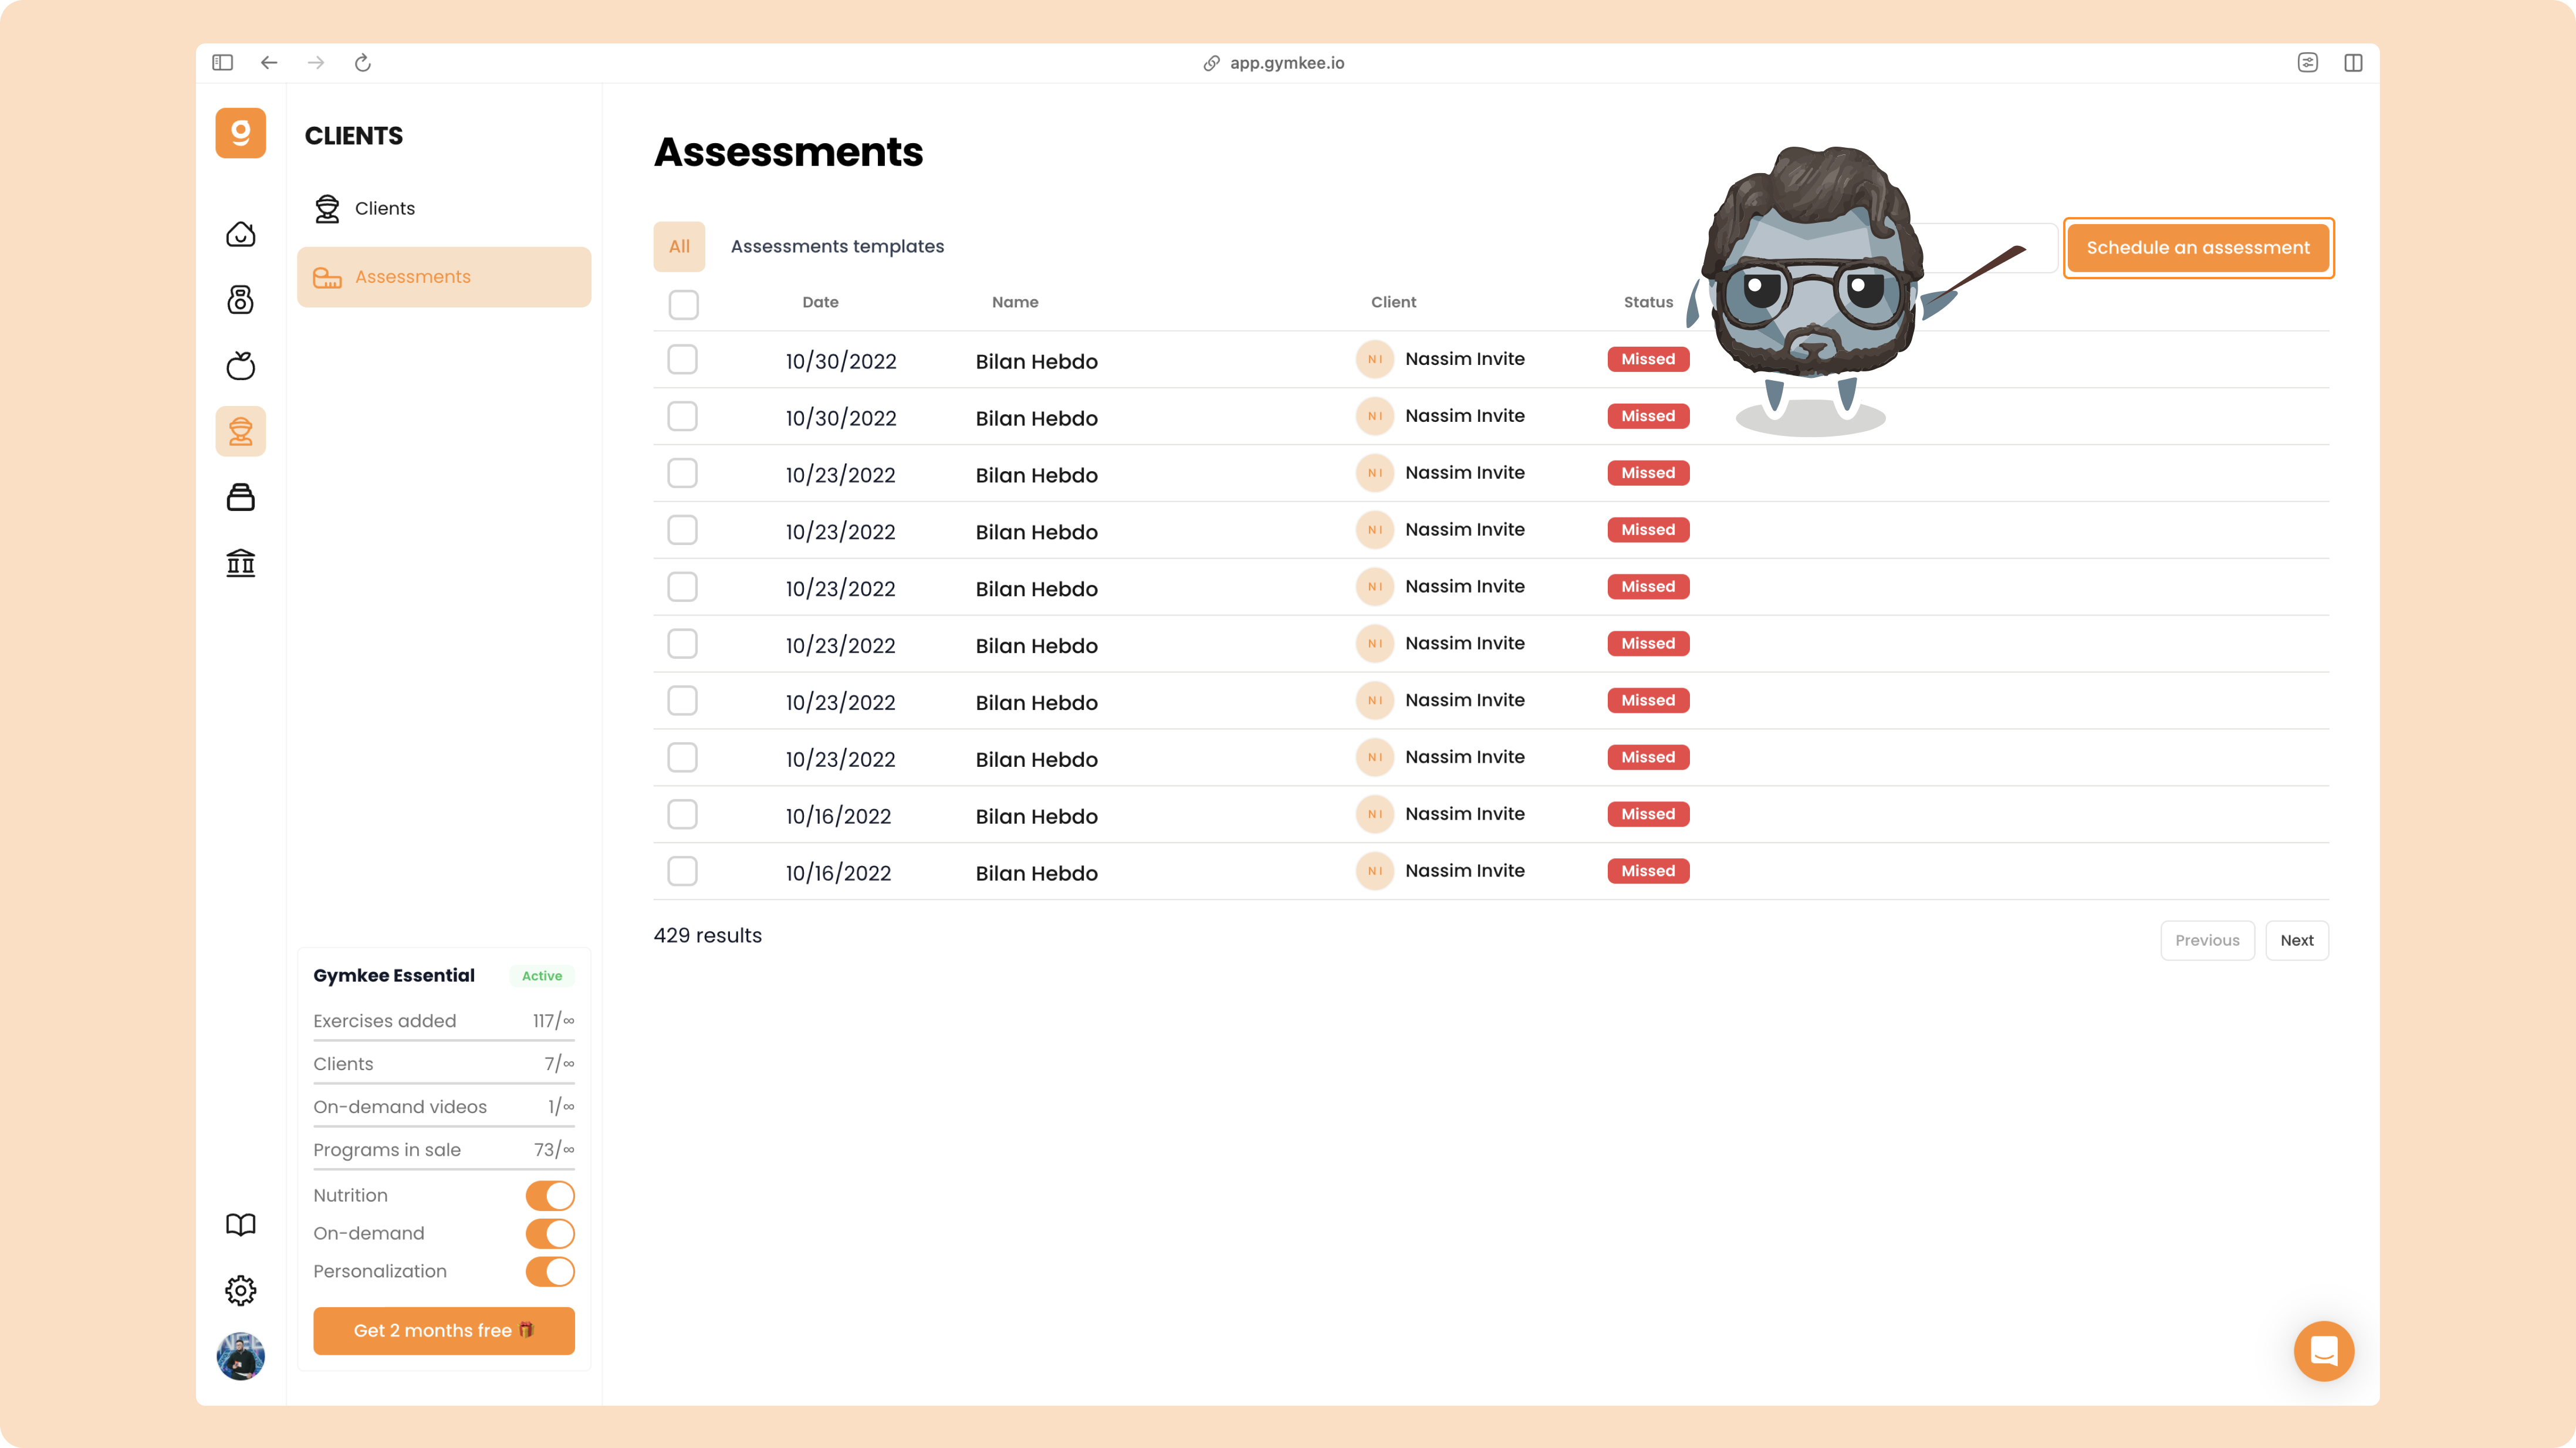
Then click the button “Send an assessment” in the top right corner.
Choose the assessment template you want to send.
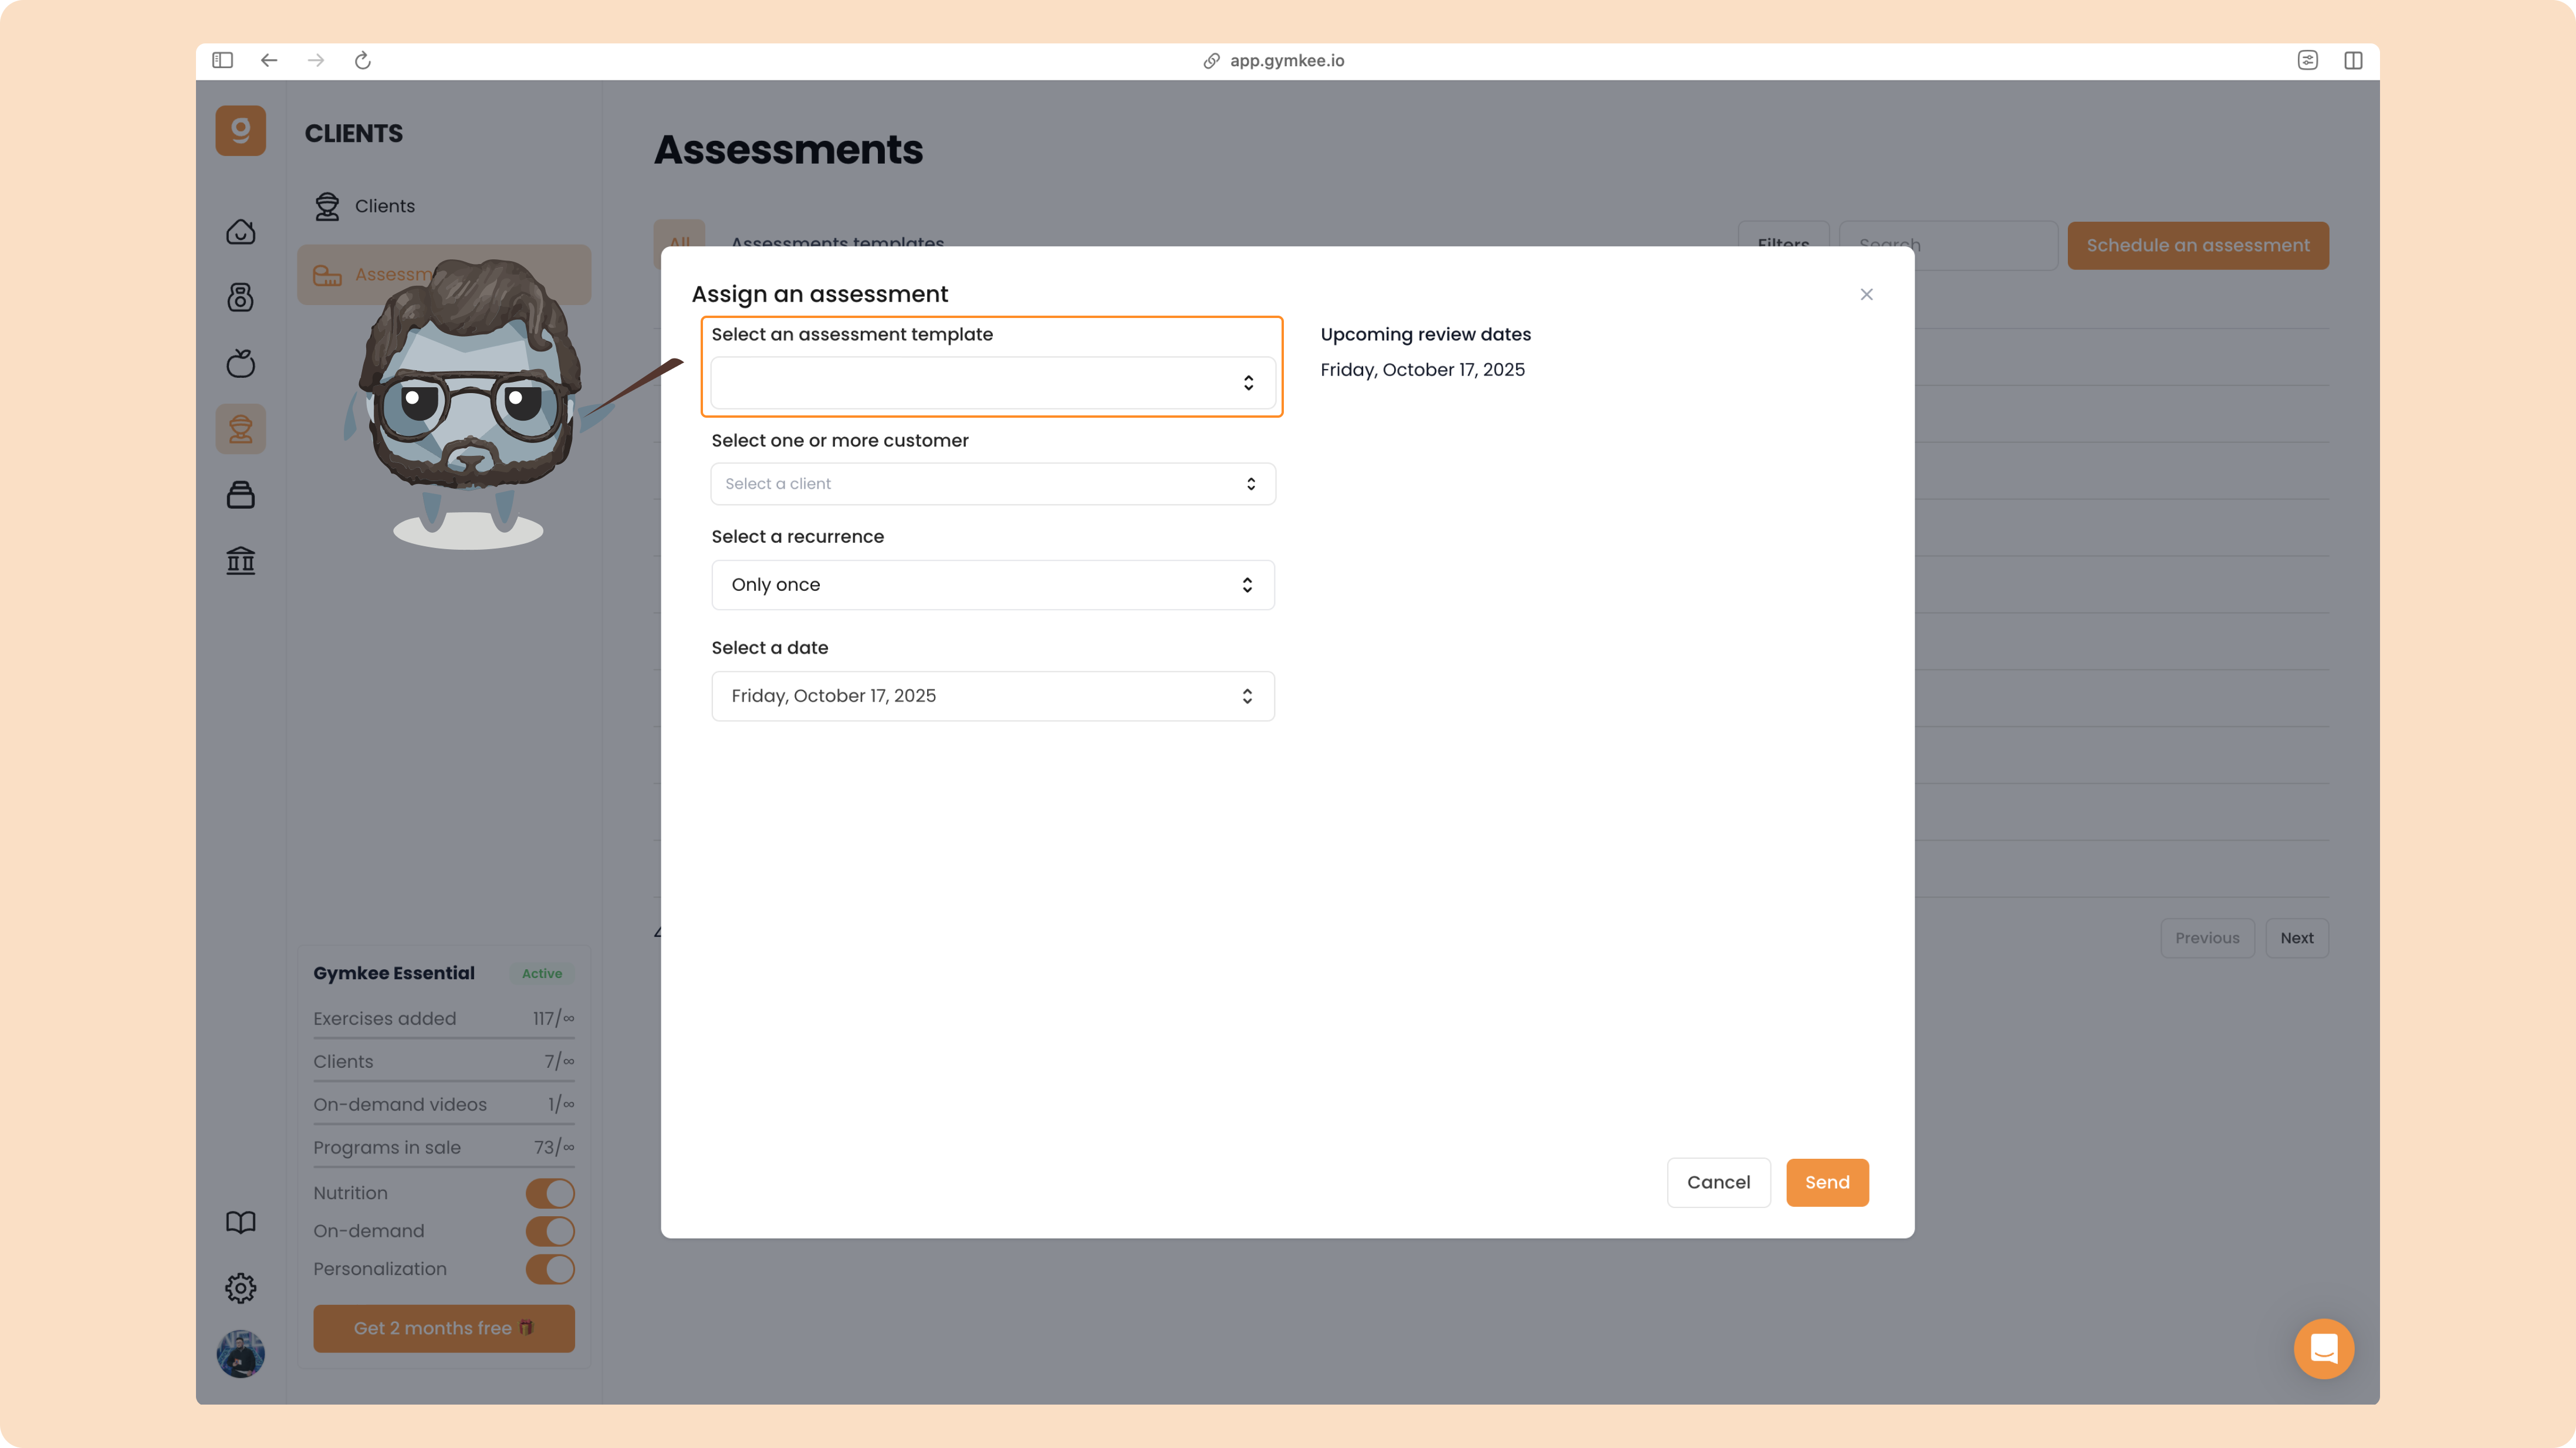
Then, select one or multiple clients you’d like to send it to (you can send the same one to several clients at once).
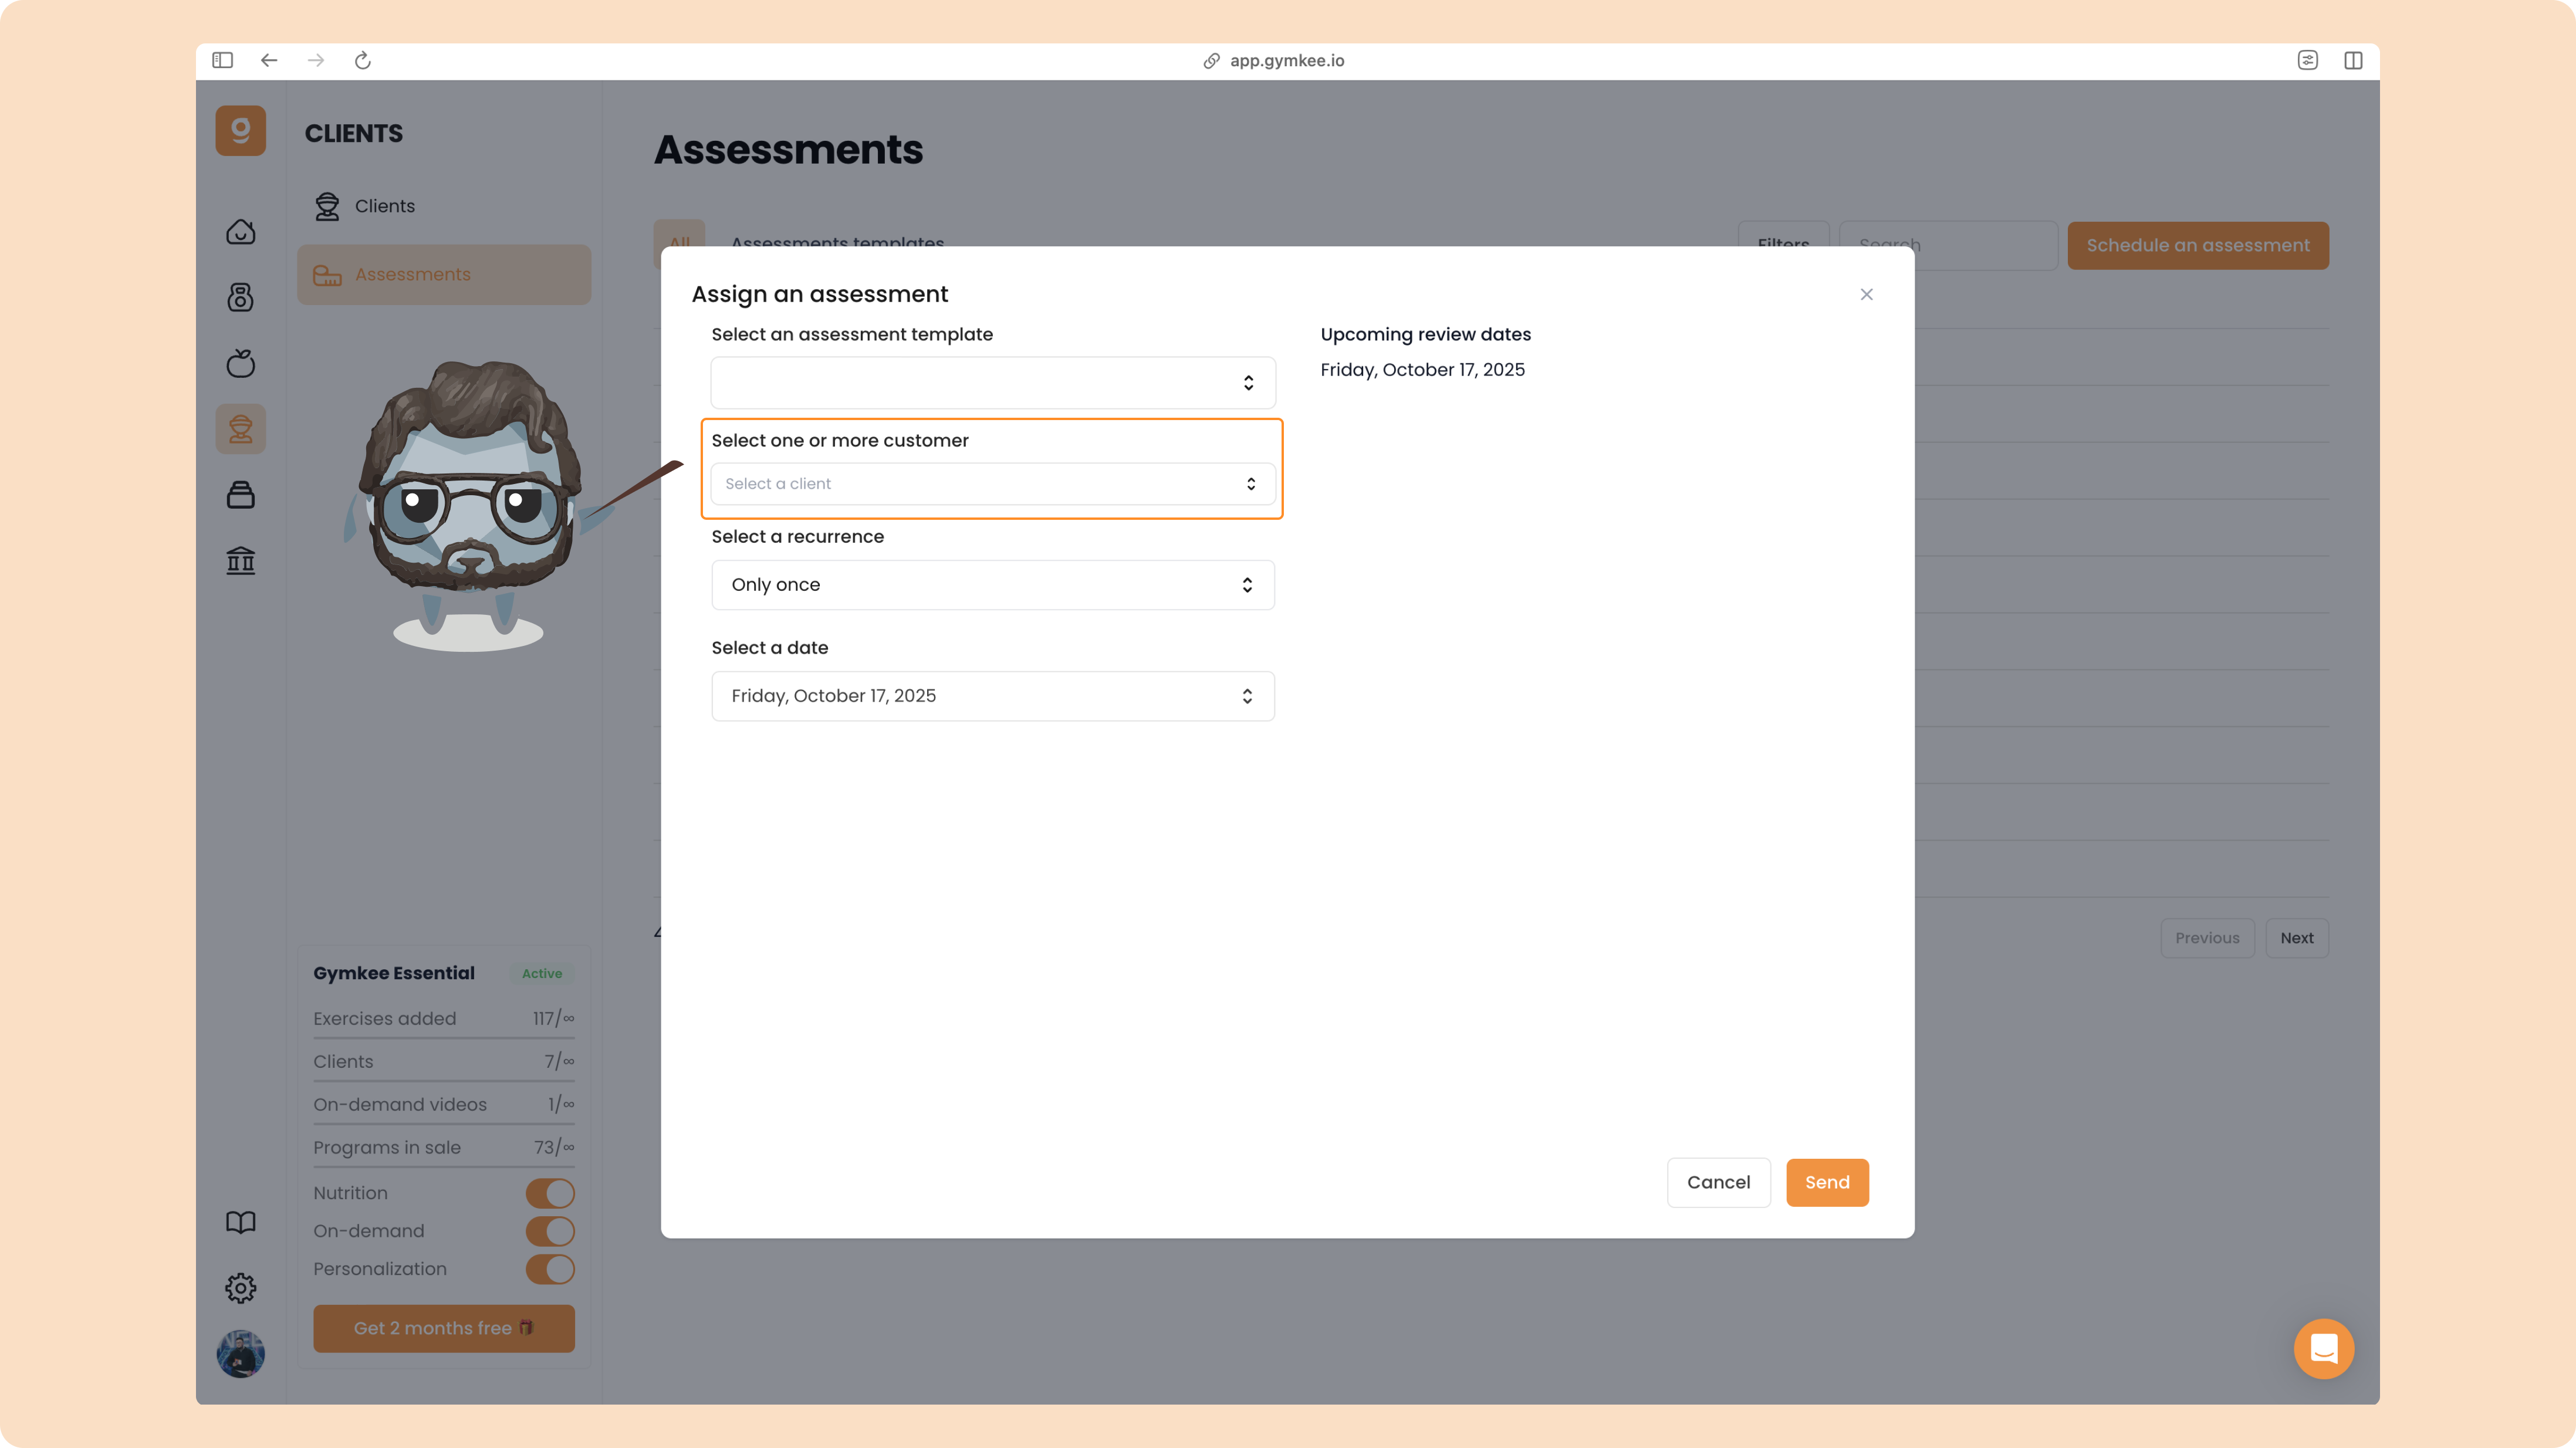
After selecting the template and your clients, you can set the recurrence of the assessment.
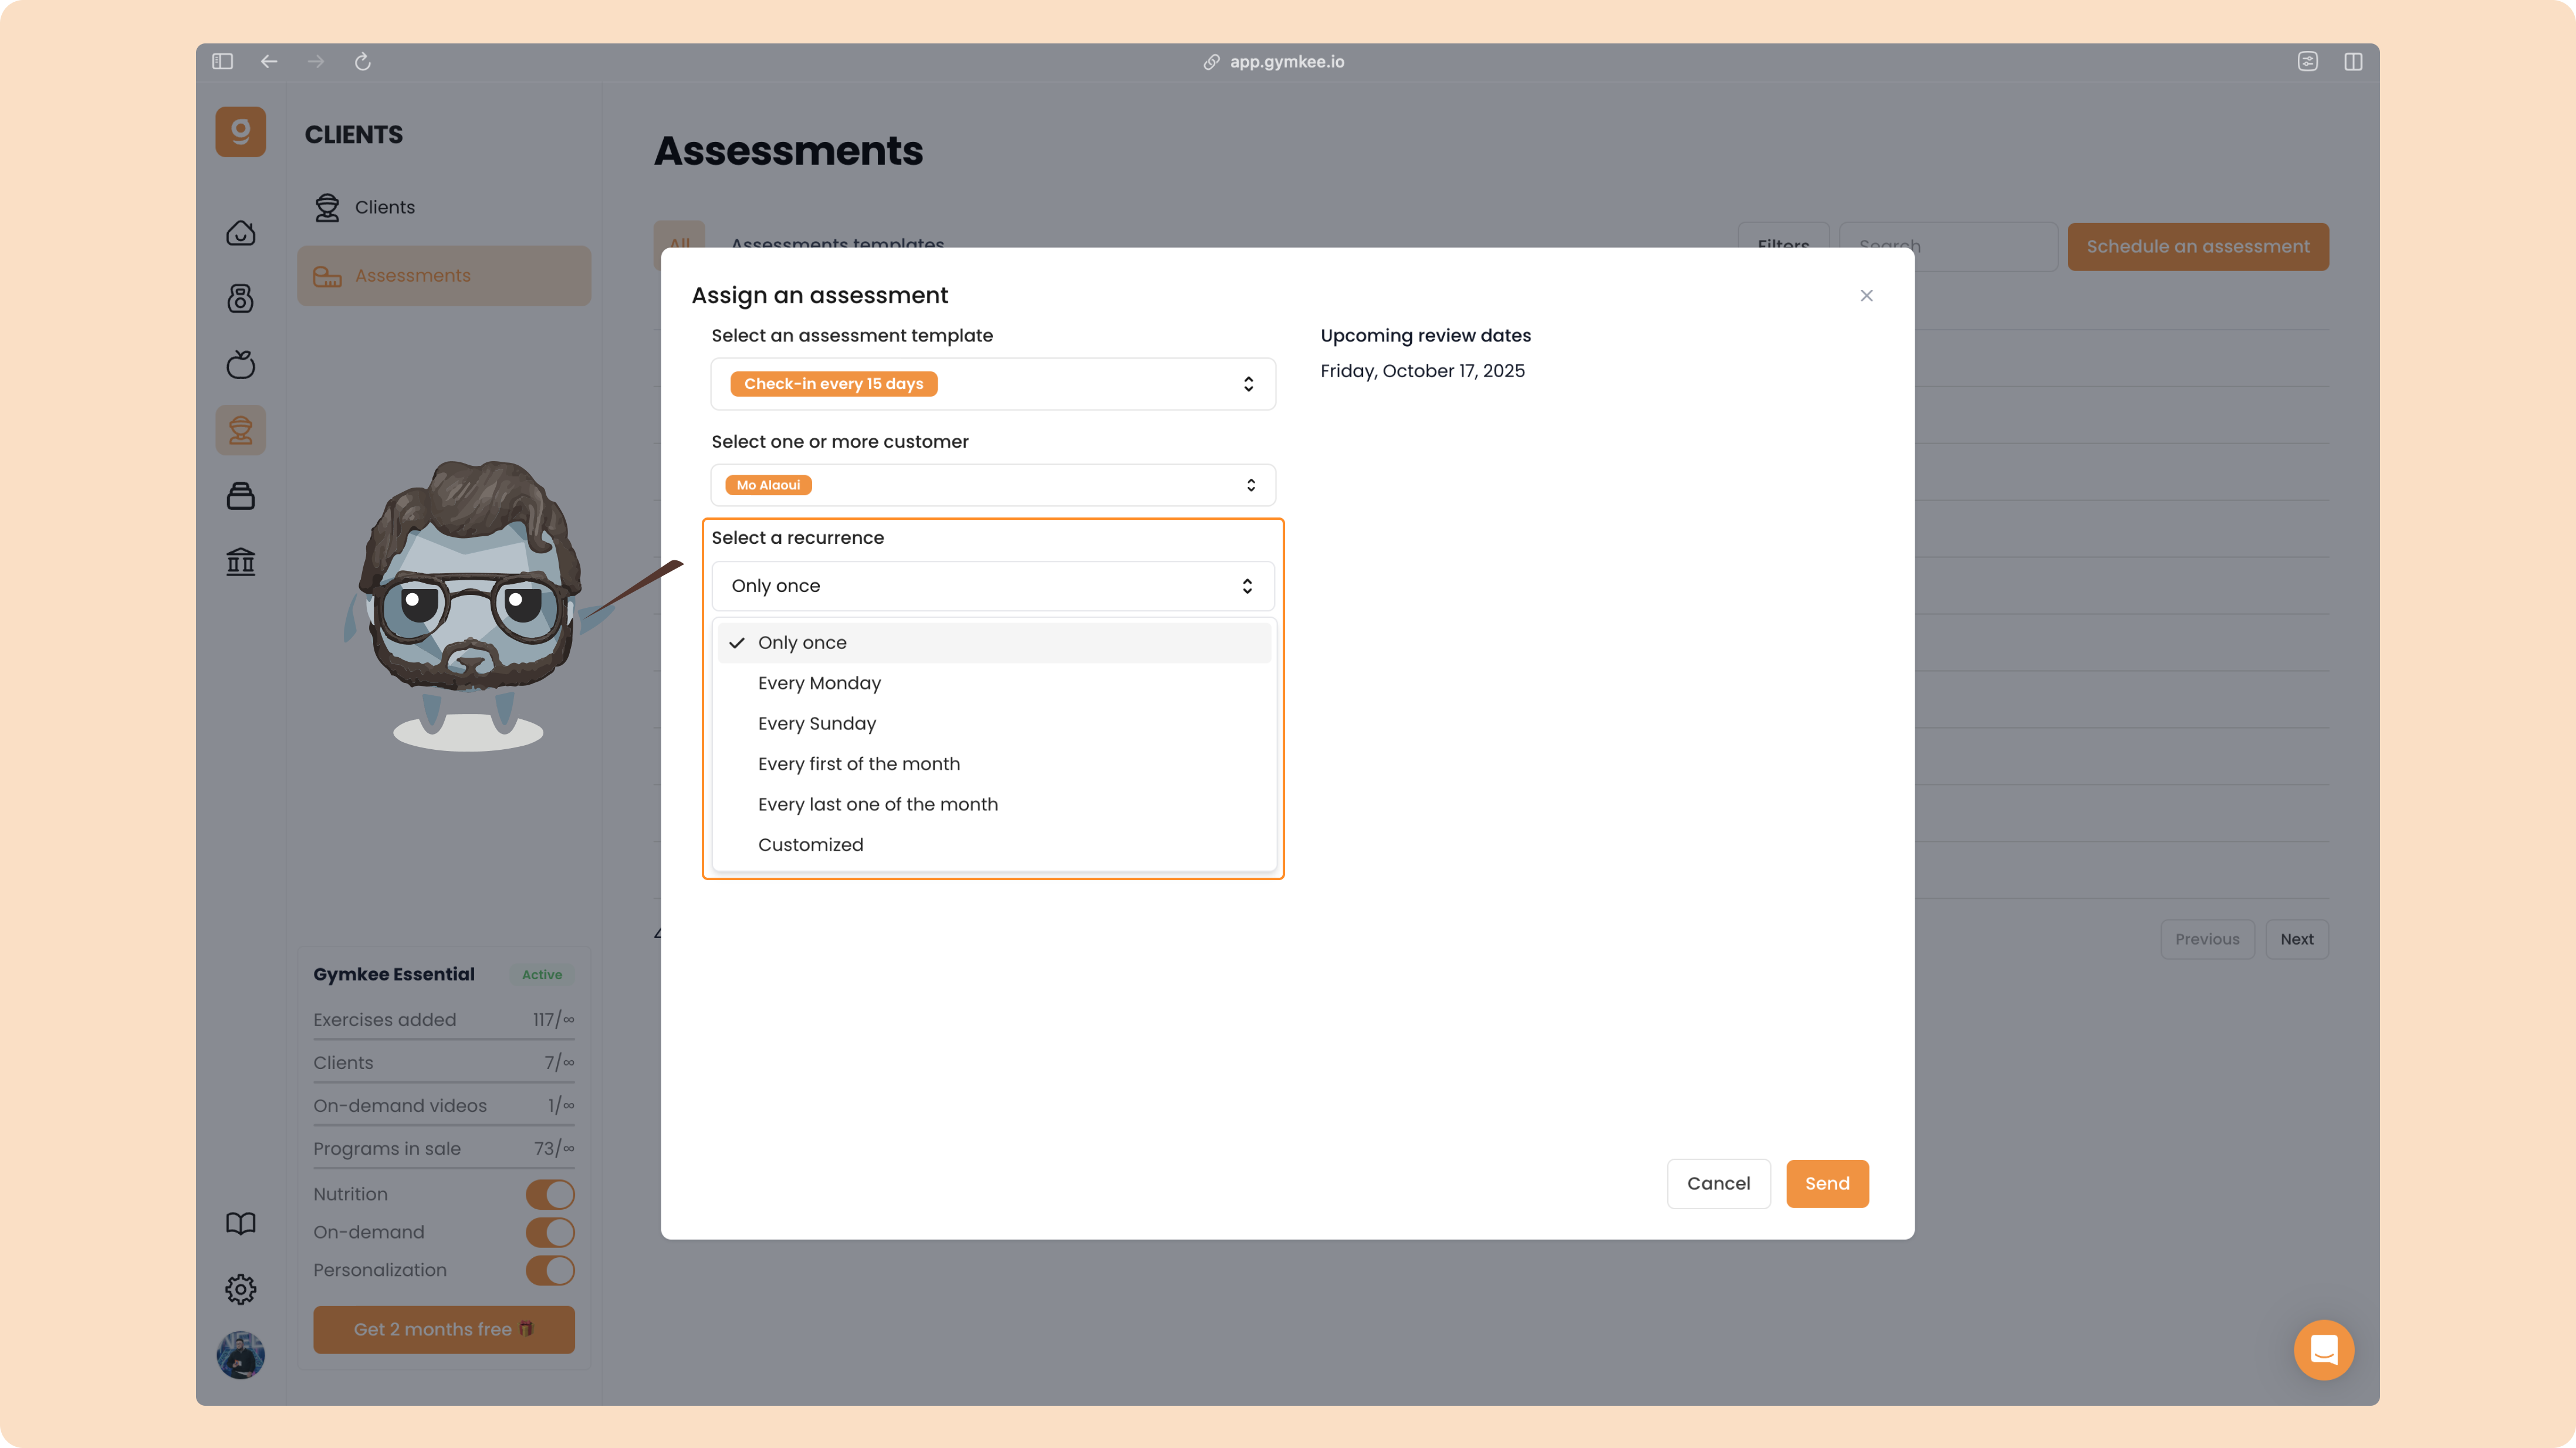
Here are your options:
One time only → send the assessment just once
Every Monday → clients complete it weekly on Mondays
Every Sunday → clients complete it weekly on Sundays
Every 1st of the month → clients fill it at the start of each month
Last day of the month → clients complete it at month’s end
Custom → set your own schedule freely
If you choose a custom recurrence, click “Custom.”
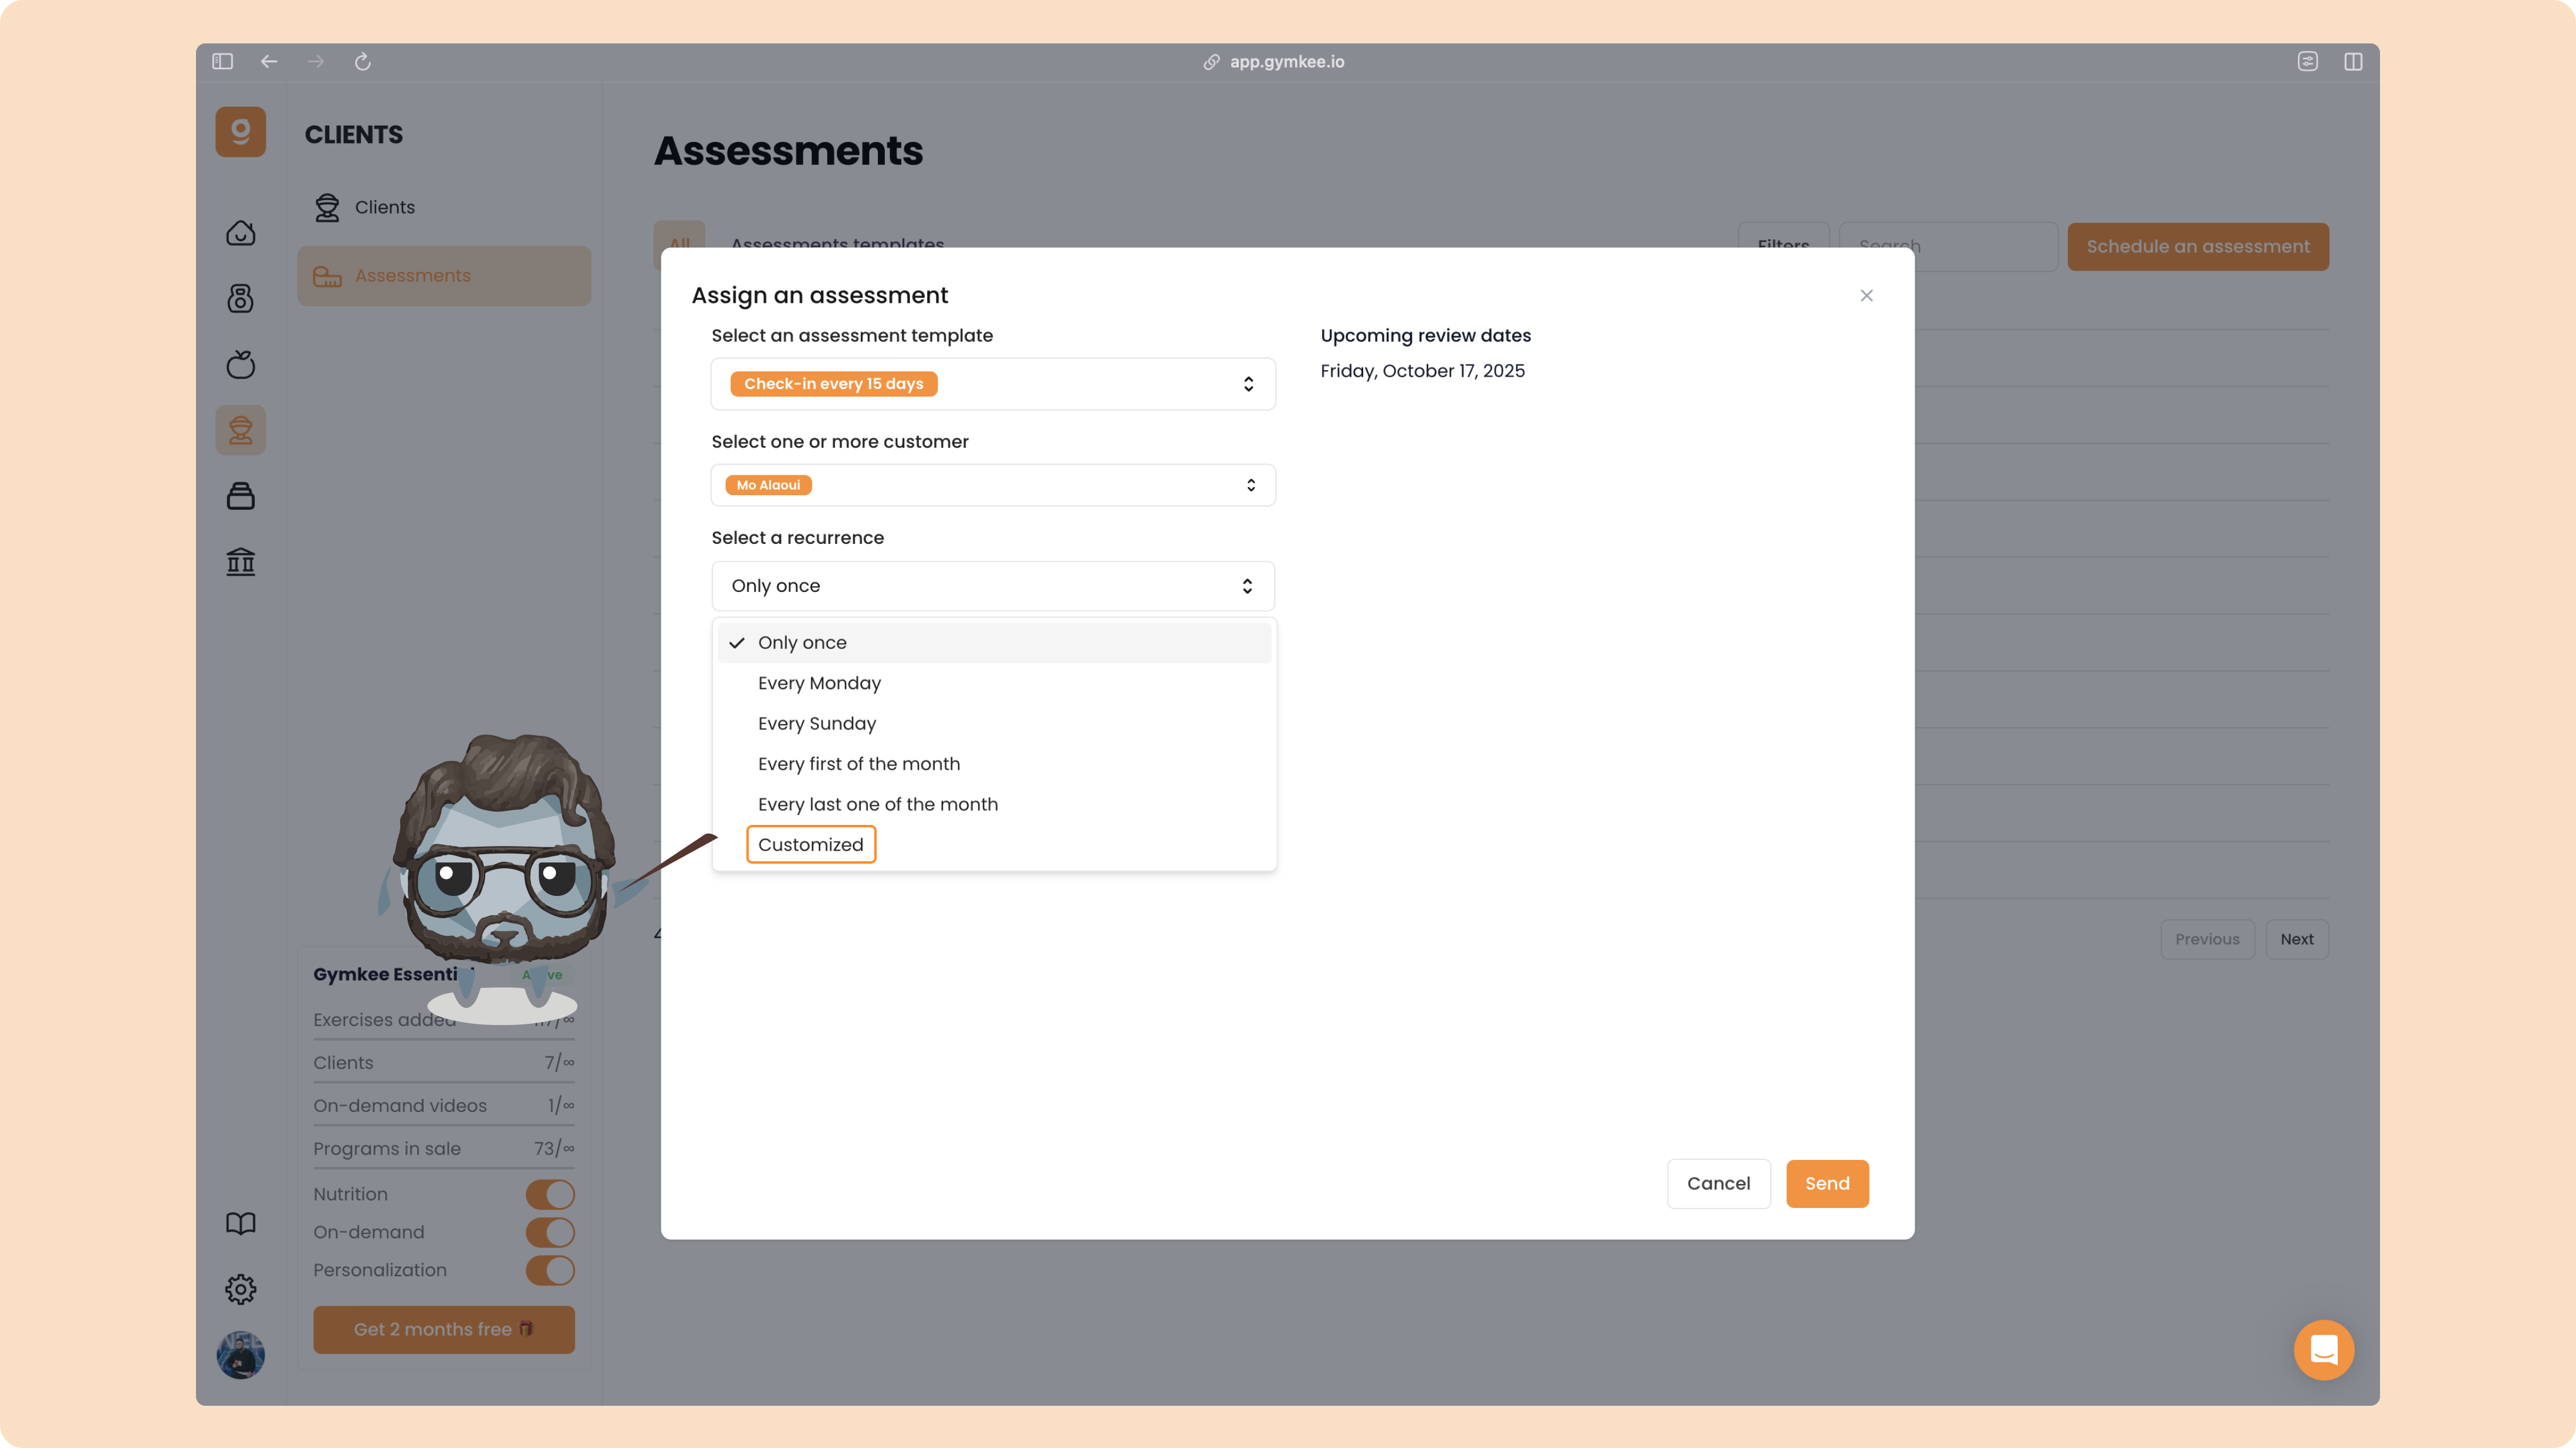
You’ll then be able to pick the exact frequency you want.
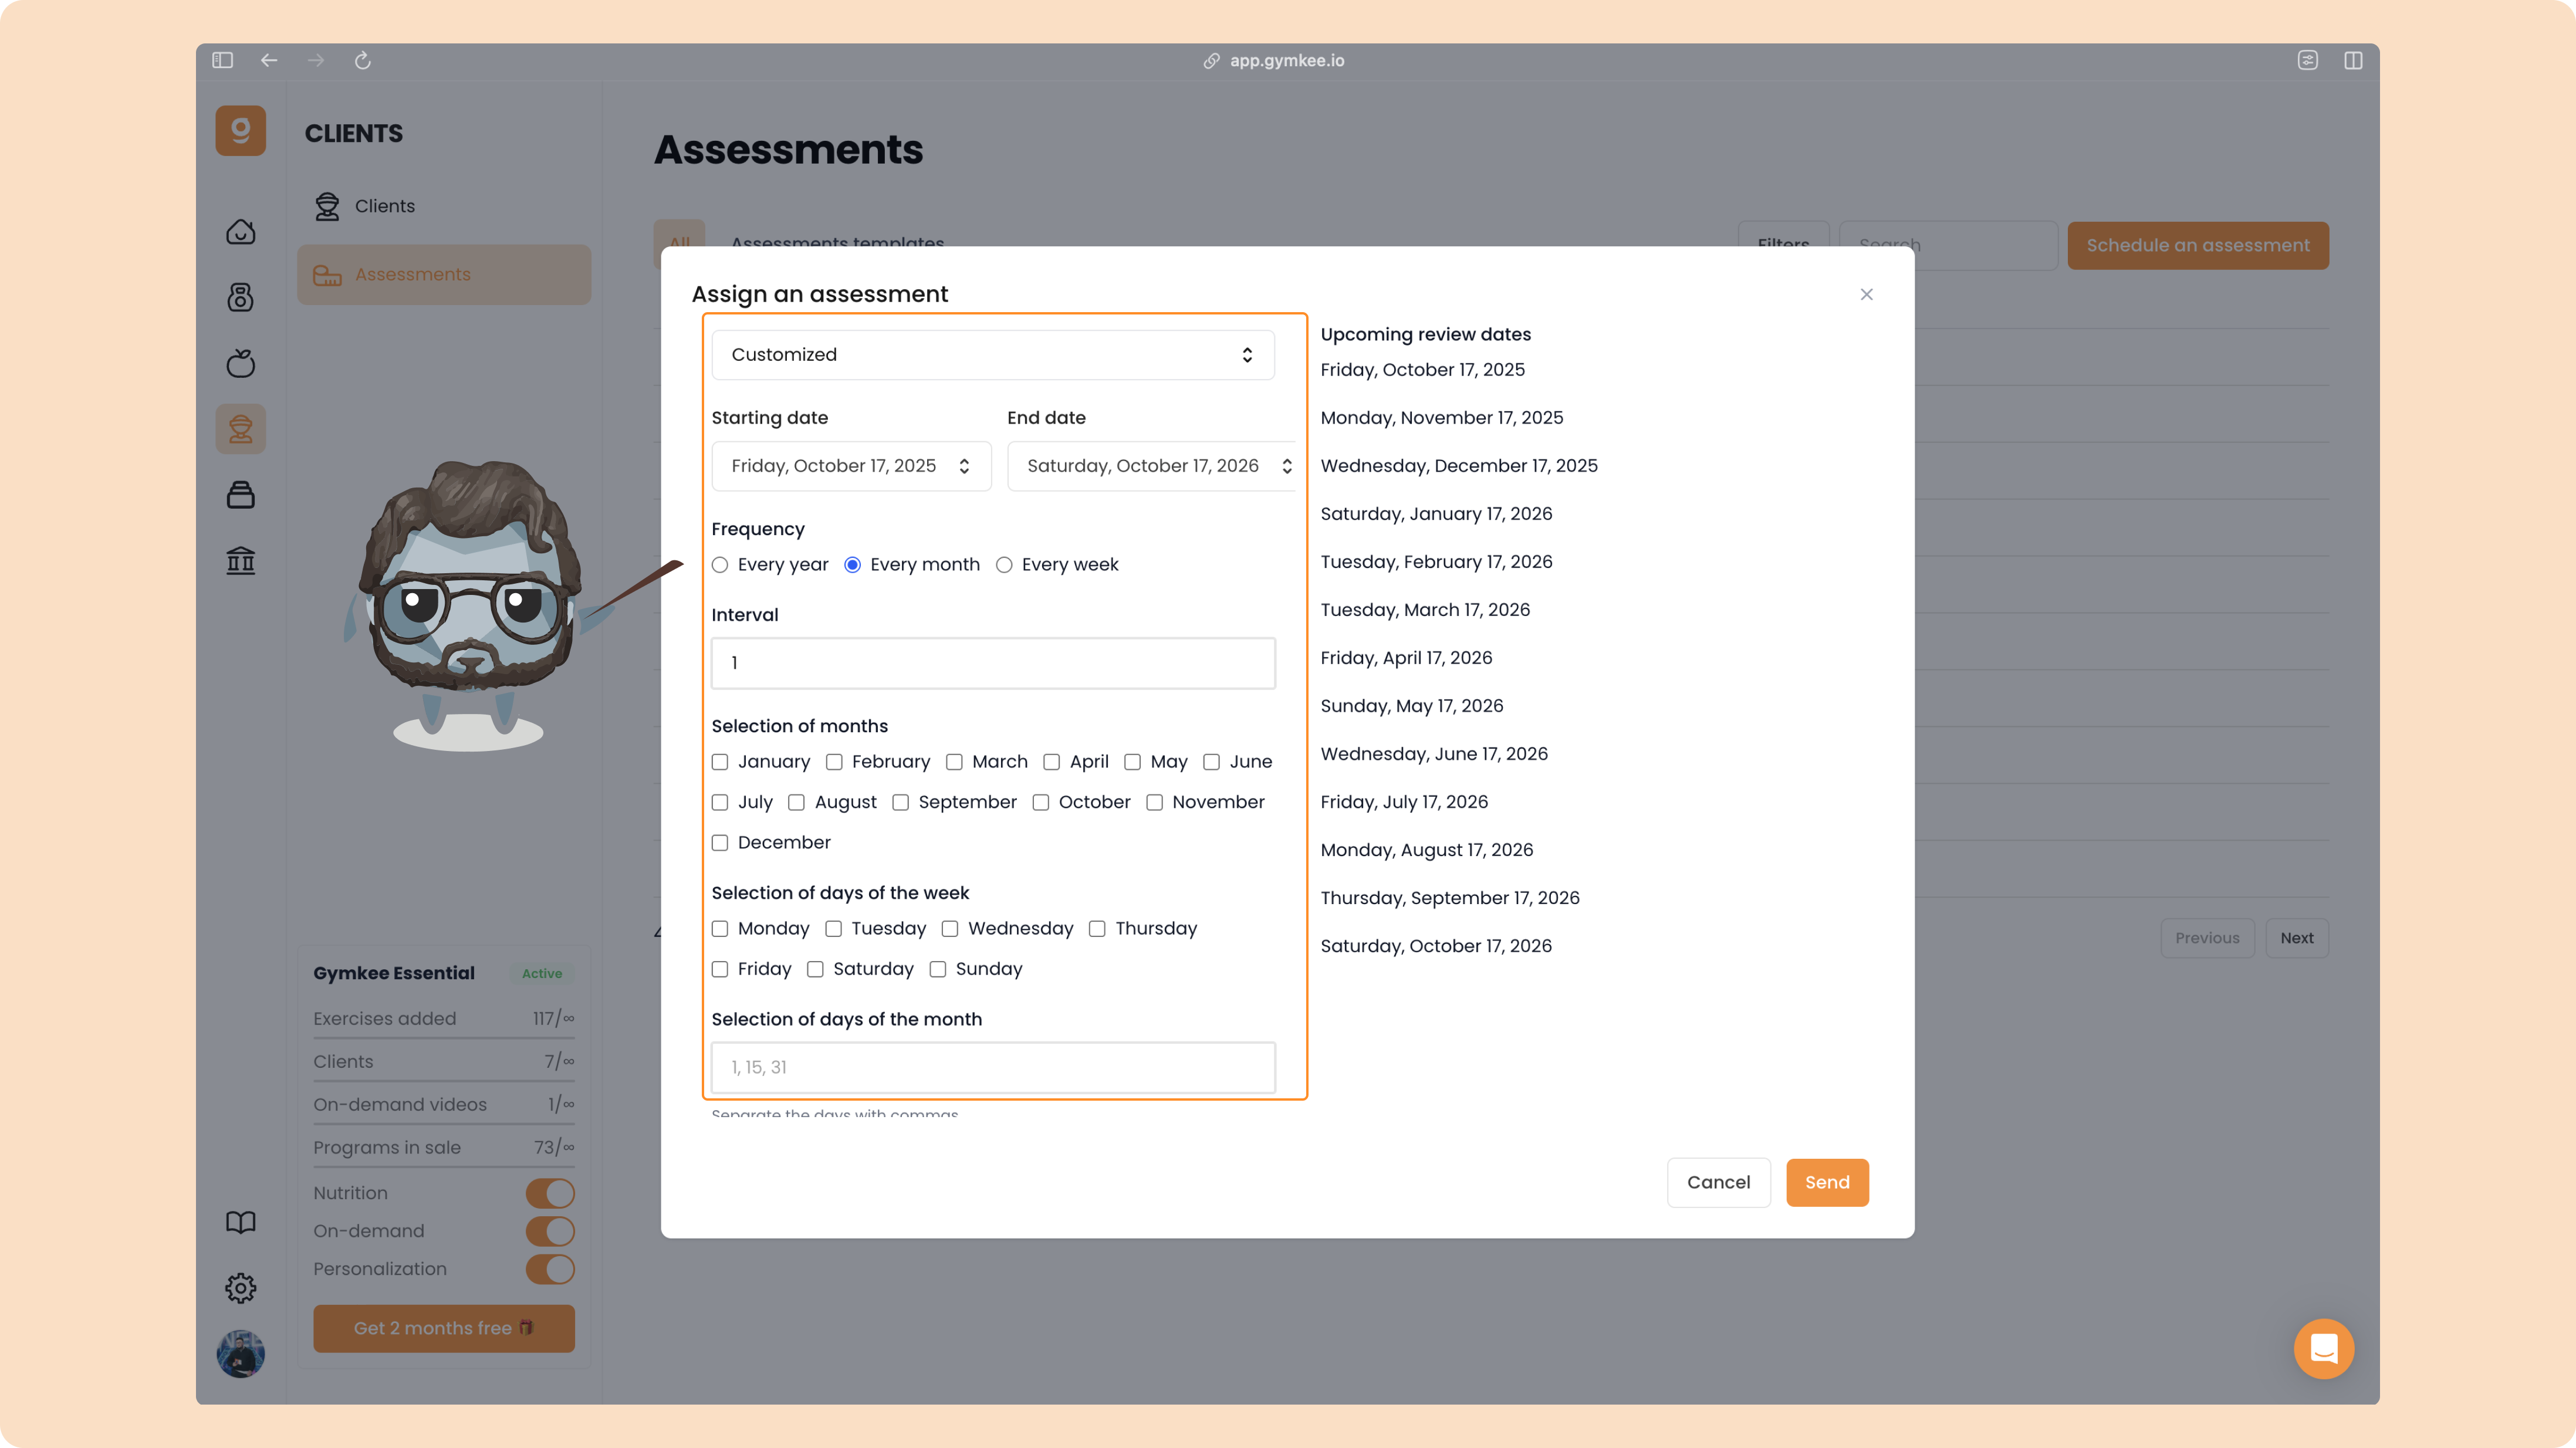
On the right, you’ll see a visual calendar showing the precise dates when clients will receive the reminder to complete their check-in.
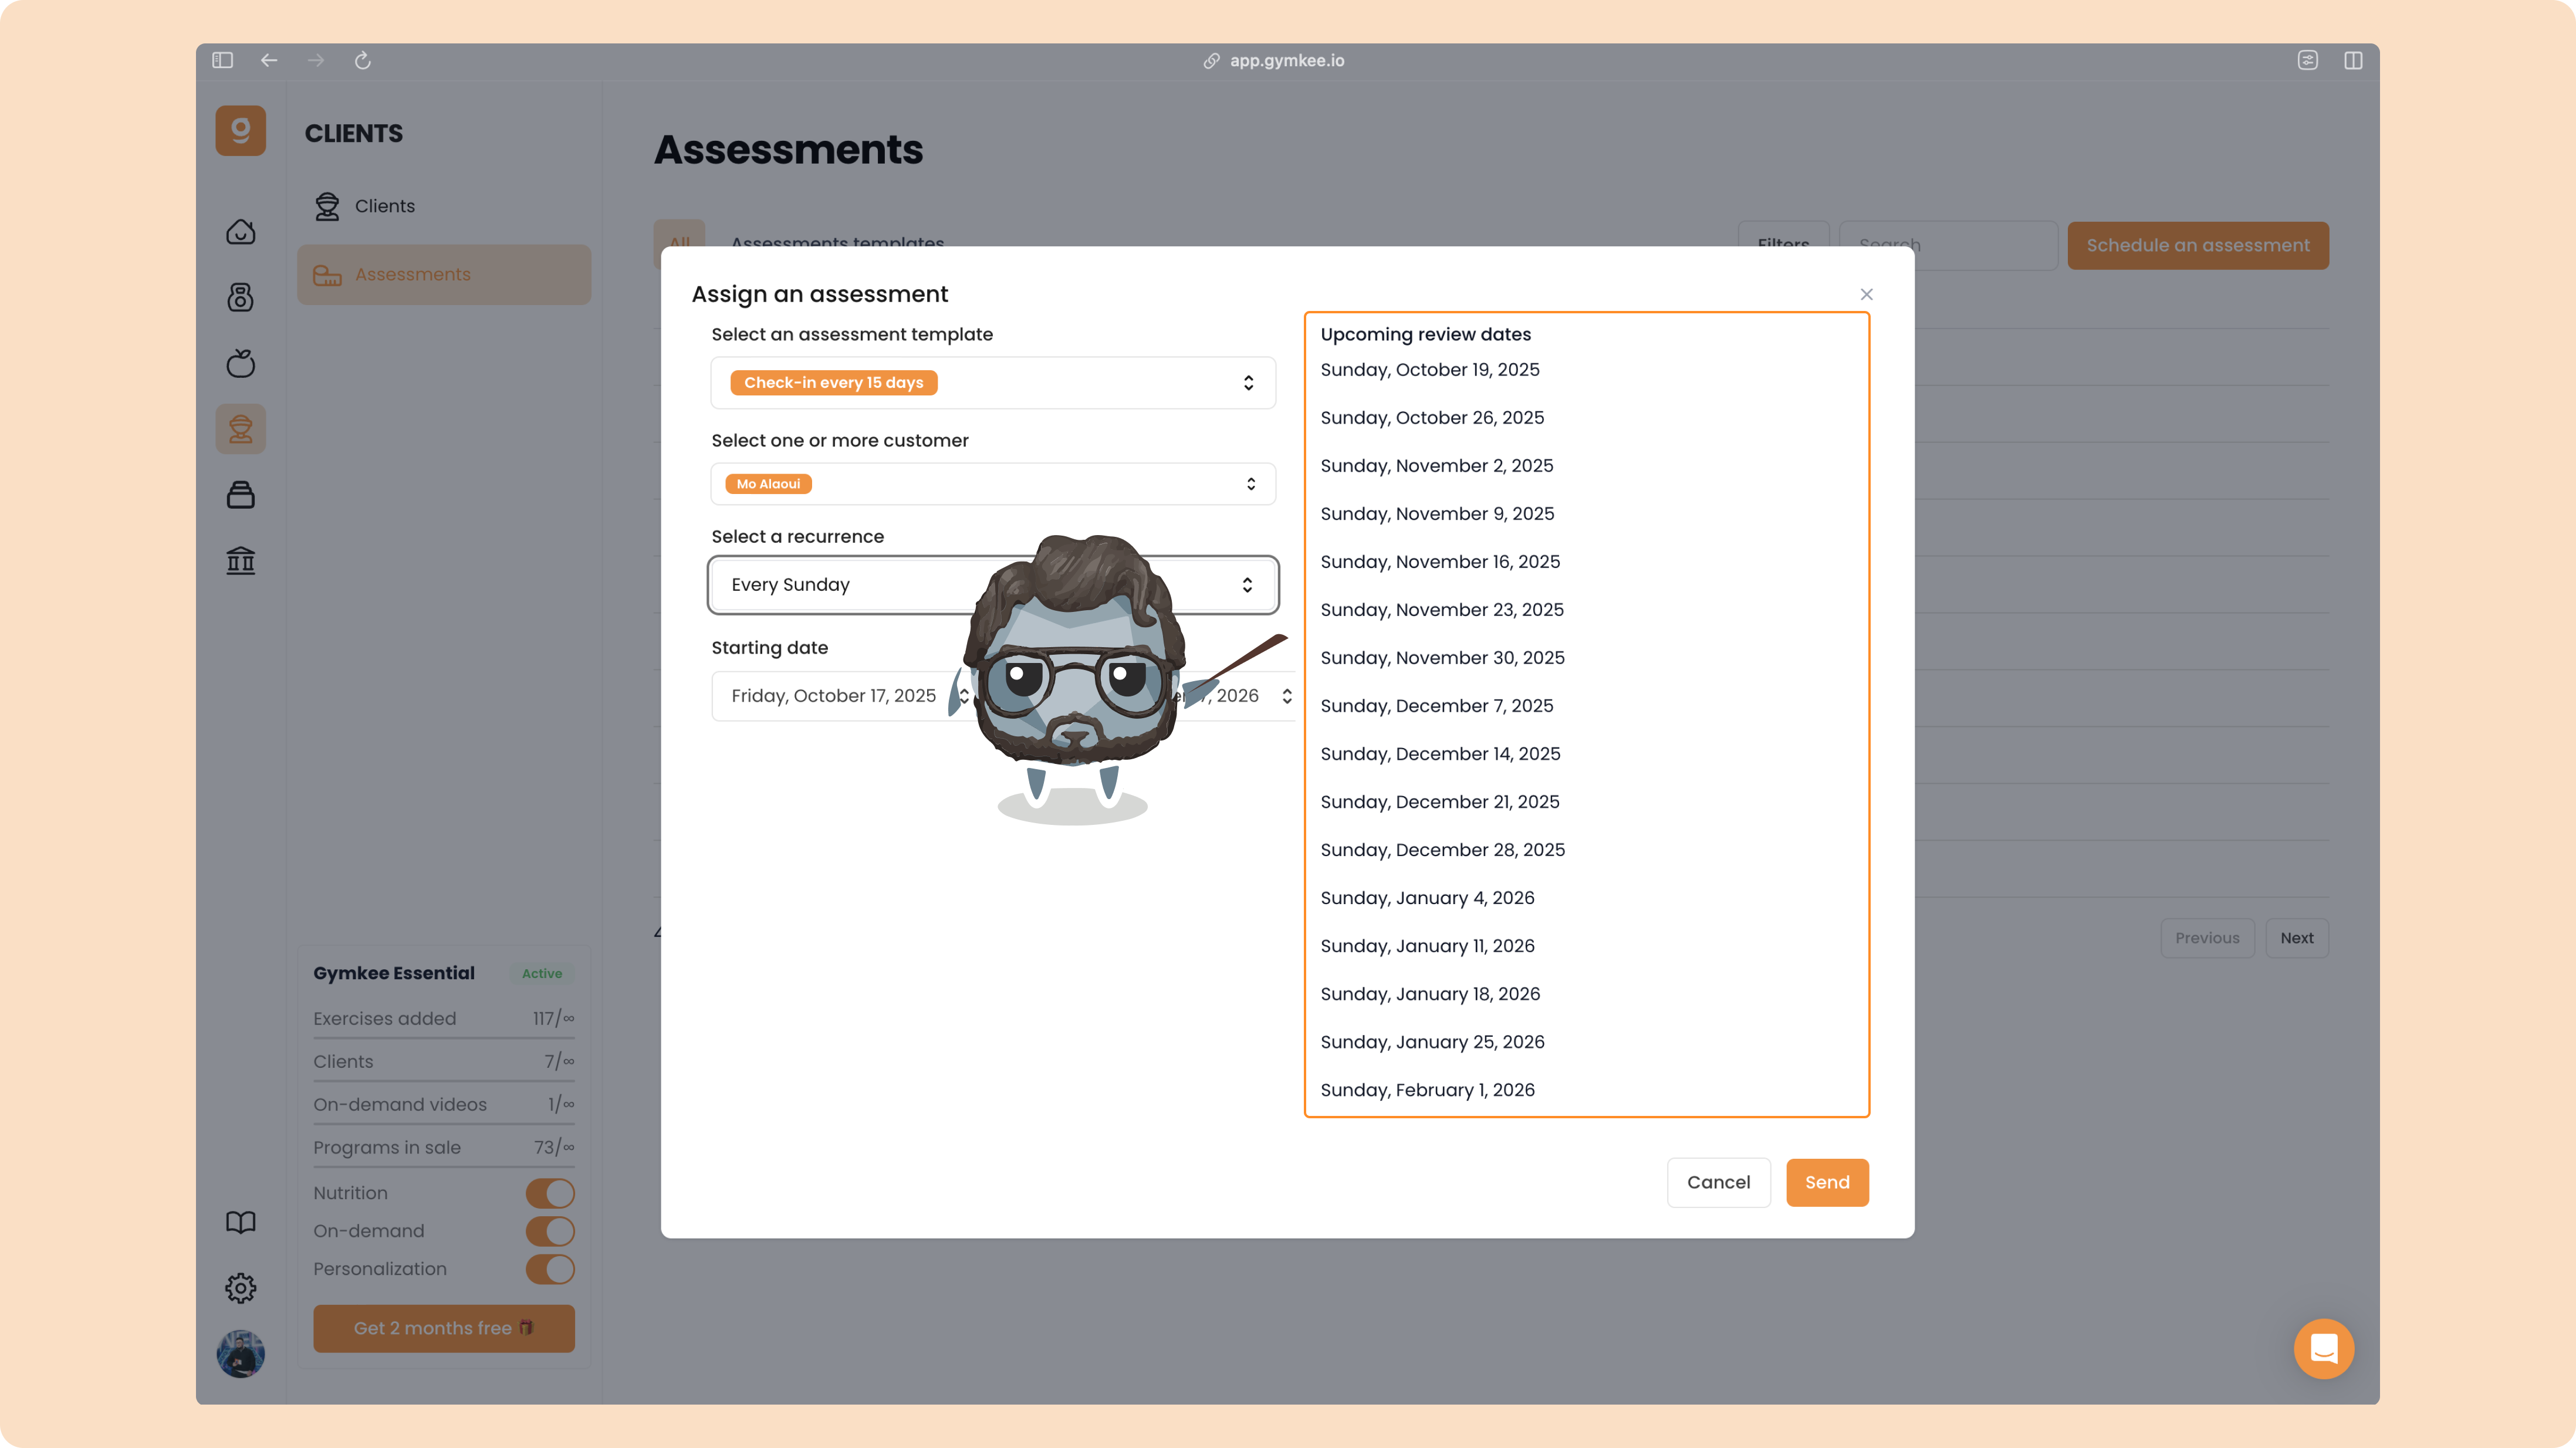
Once you’re done, click “Send.”
Your assessment will be scheduled automatically based on your settings.
And that’s it — you now know how to create, send, and automate client assessments on Gymkee to keep track of their progress effortlessly.