
On Gymkee, if the option is activated, you can track your nutrition directly inside the app.
In this video, I’ll give you the full tour of the Nutrition section.
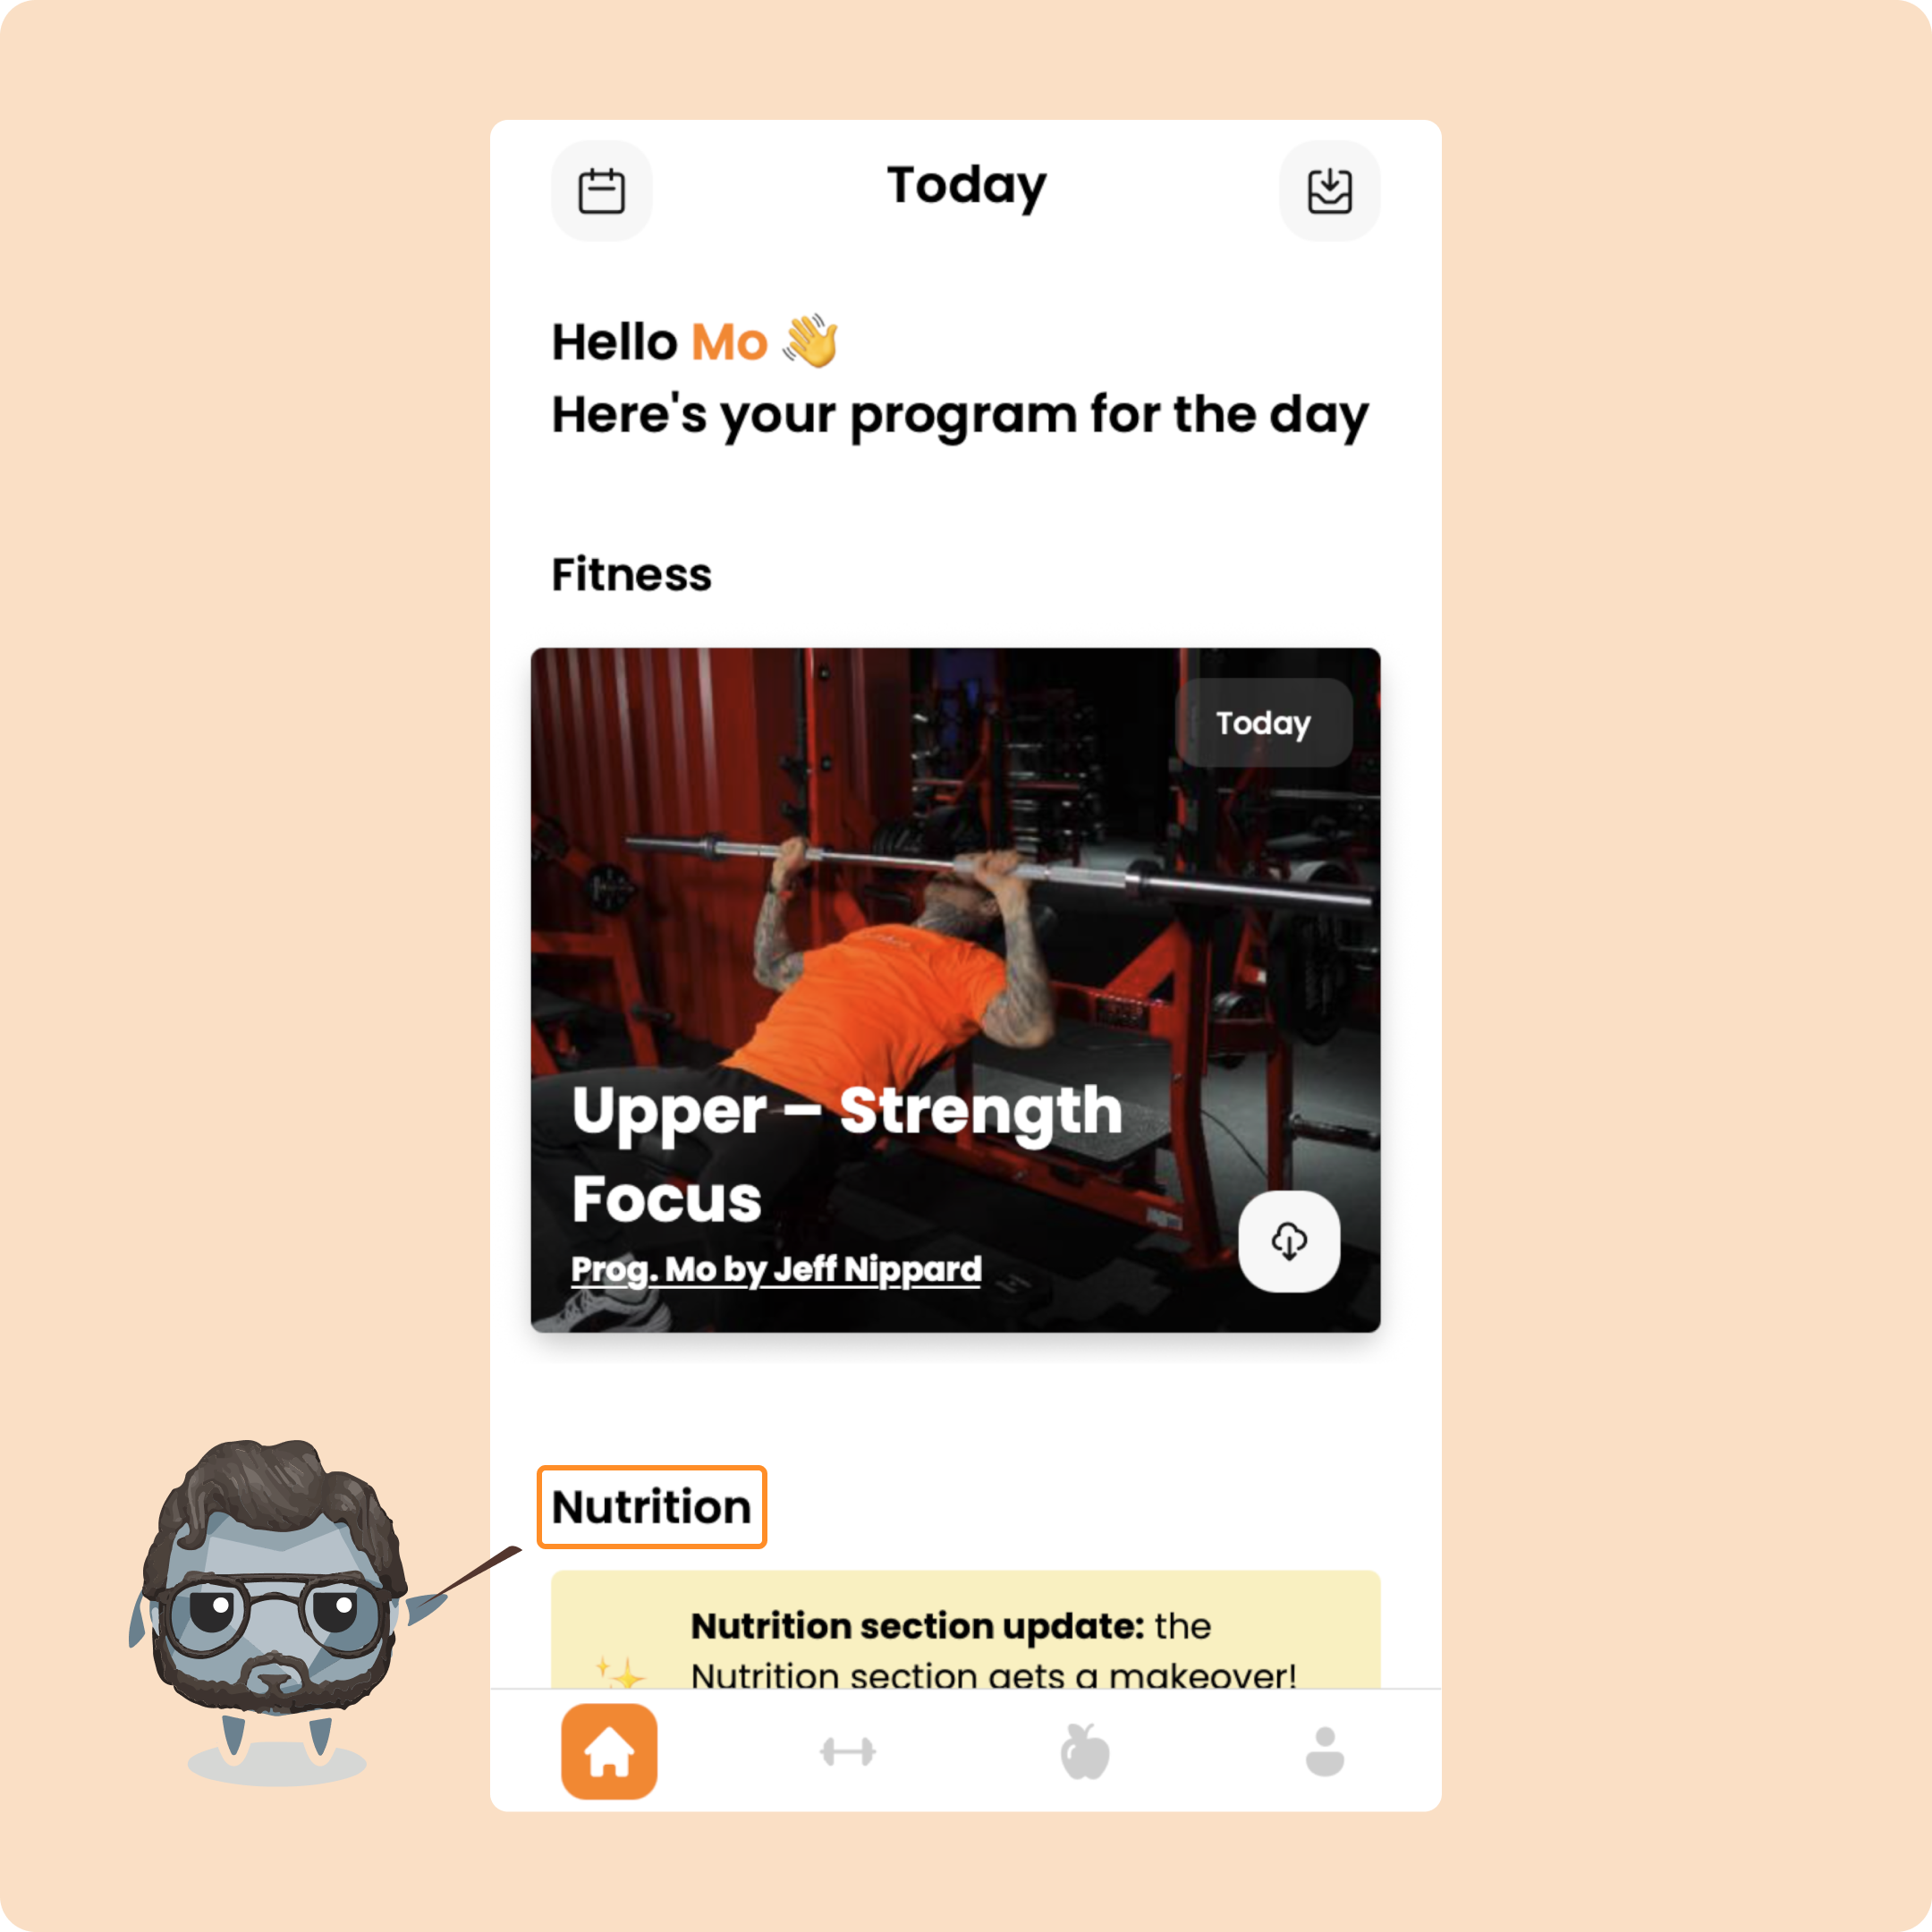
You can access it straight from your home screen, under the “Nutrition” tab.
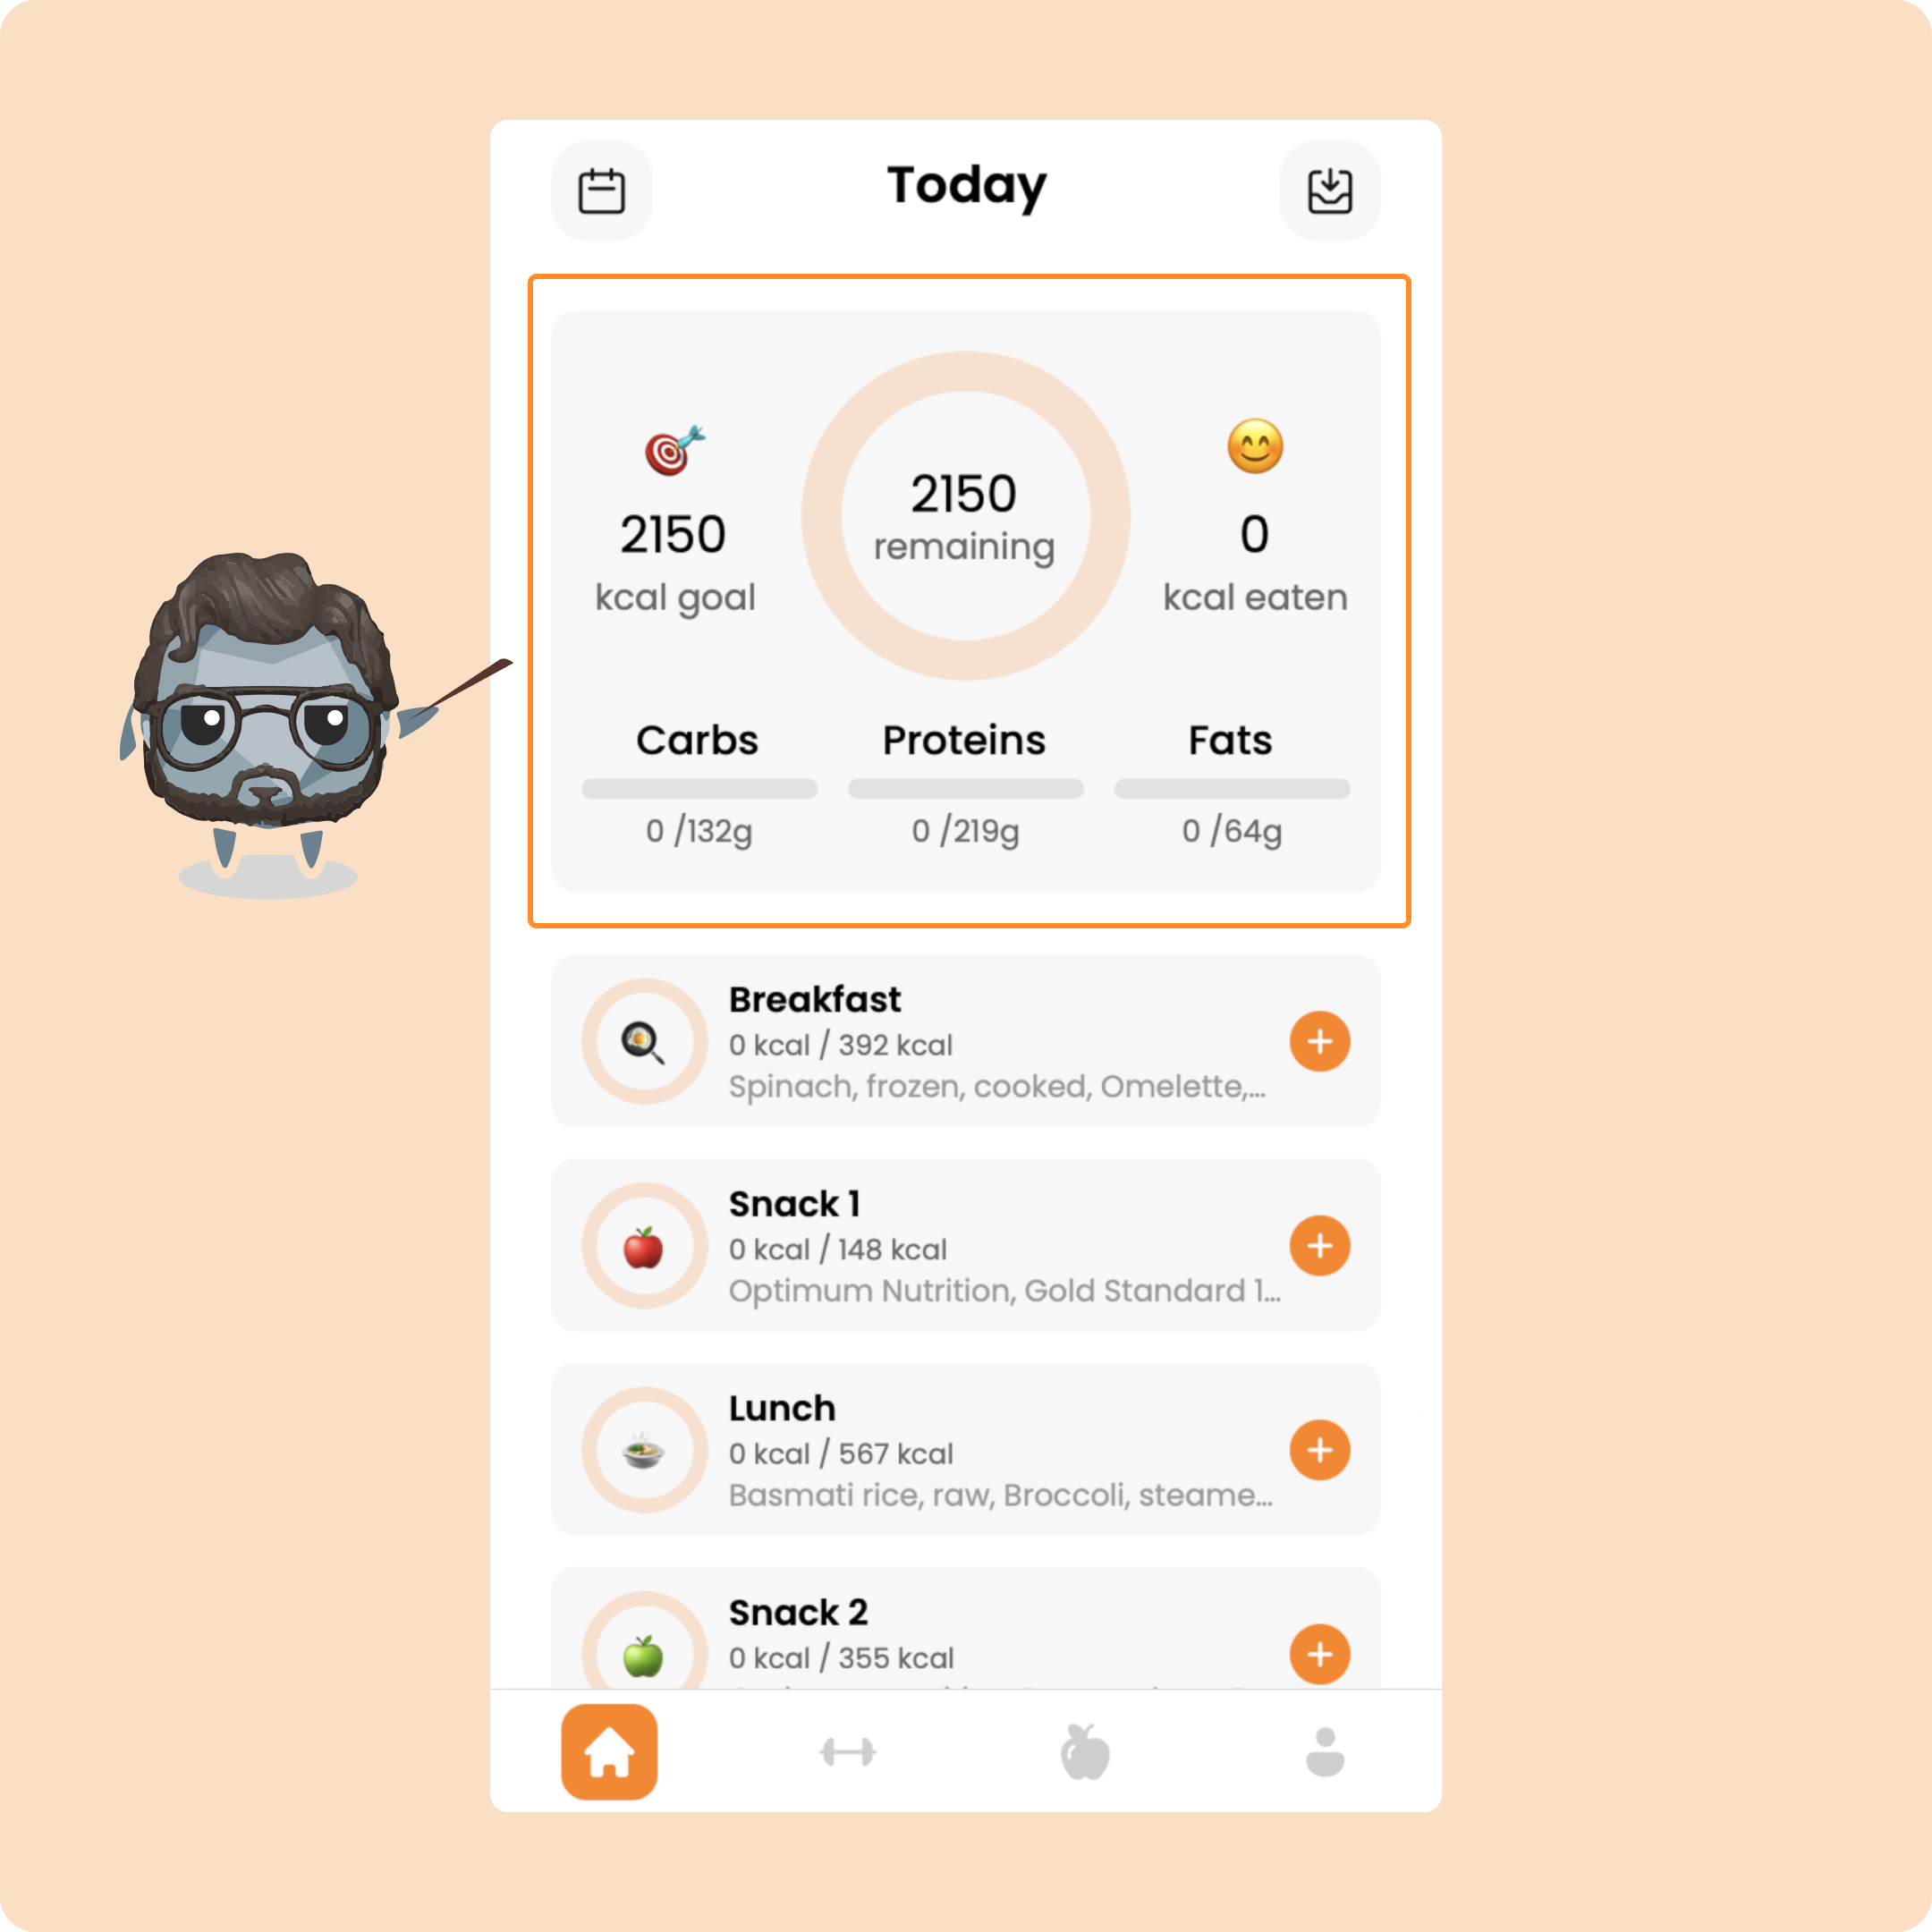
If you don’t have a calorie goal or a meal plan set for the day, you’ll simply see an overview of the calories you’ve consumed, along with a breakdown of carbs, fats, and proteins.
If a program has set a nutrition goal for you, you’ll see both your daily target and what you’ve consumed so far.
Logging your first meal
Let’s log our first meal together.
Say I’m following a meal plan.
Here, I’ll see all the meals I’m supposed to eat during the day.
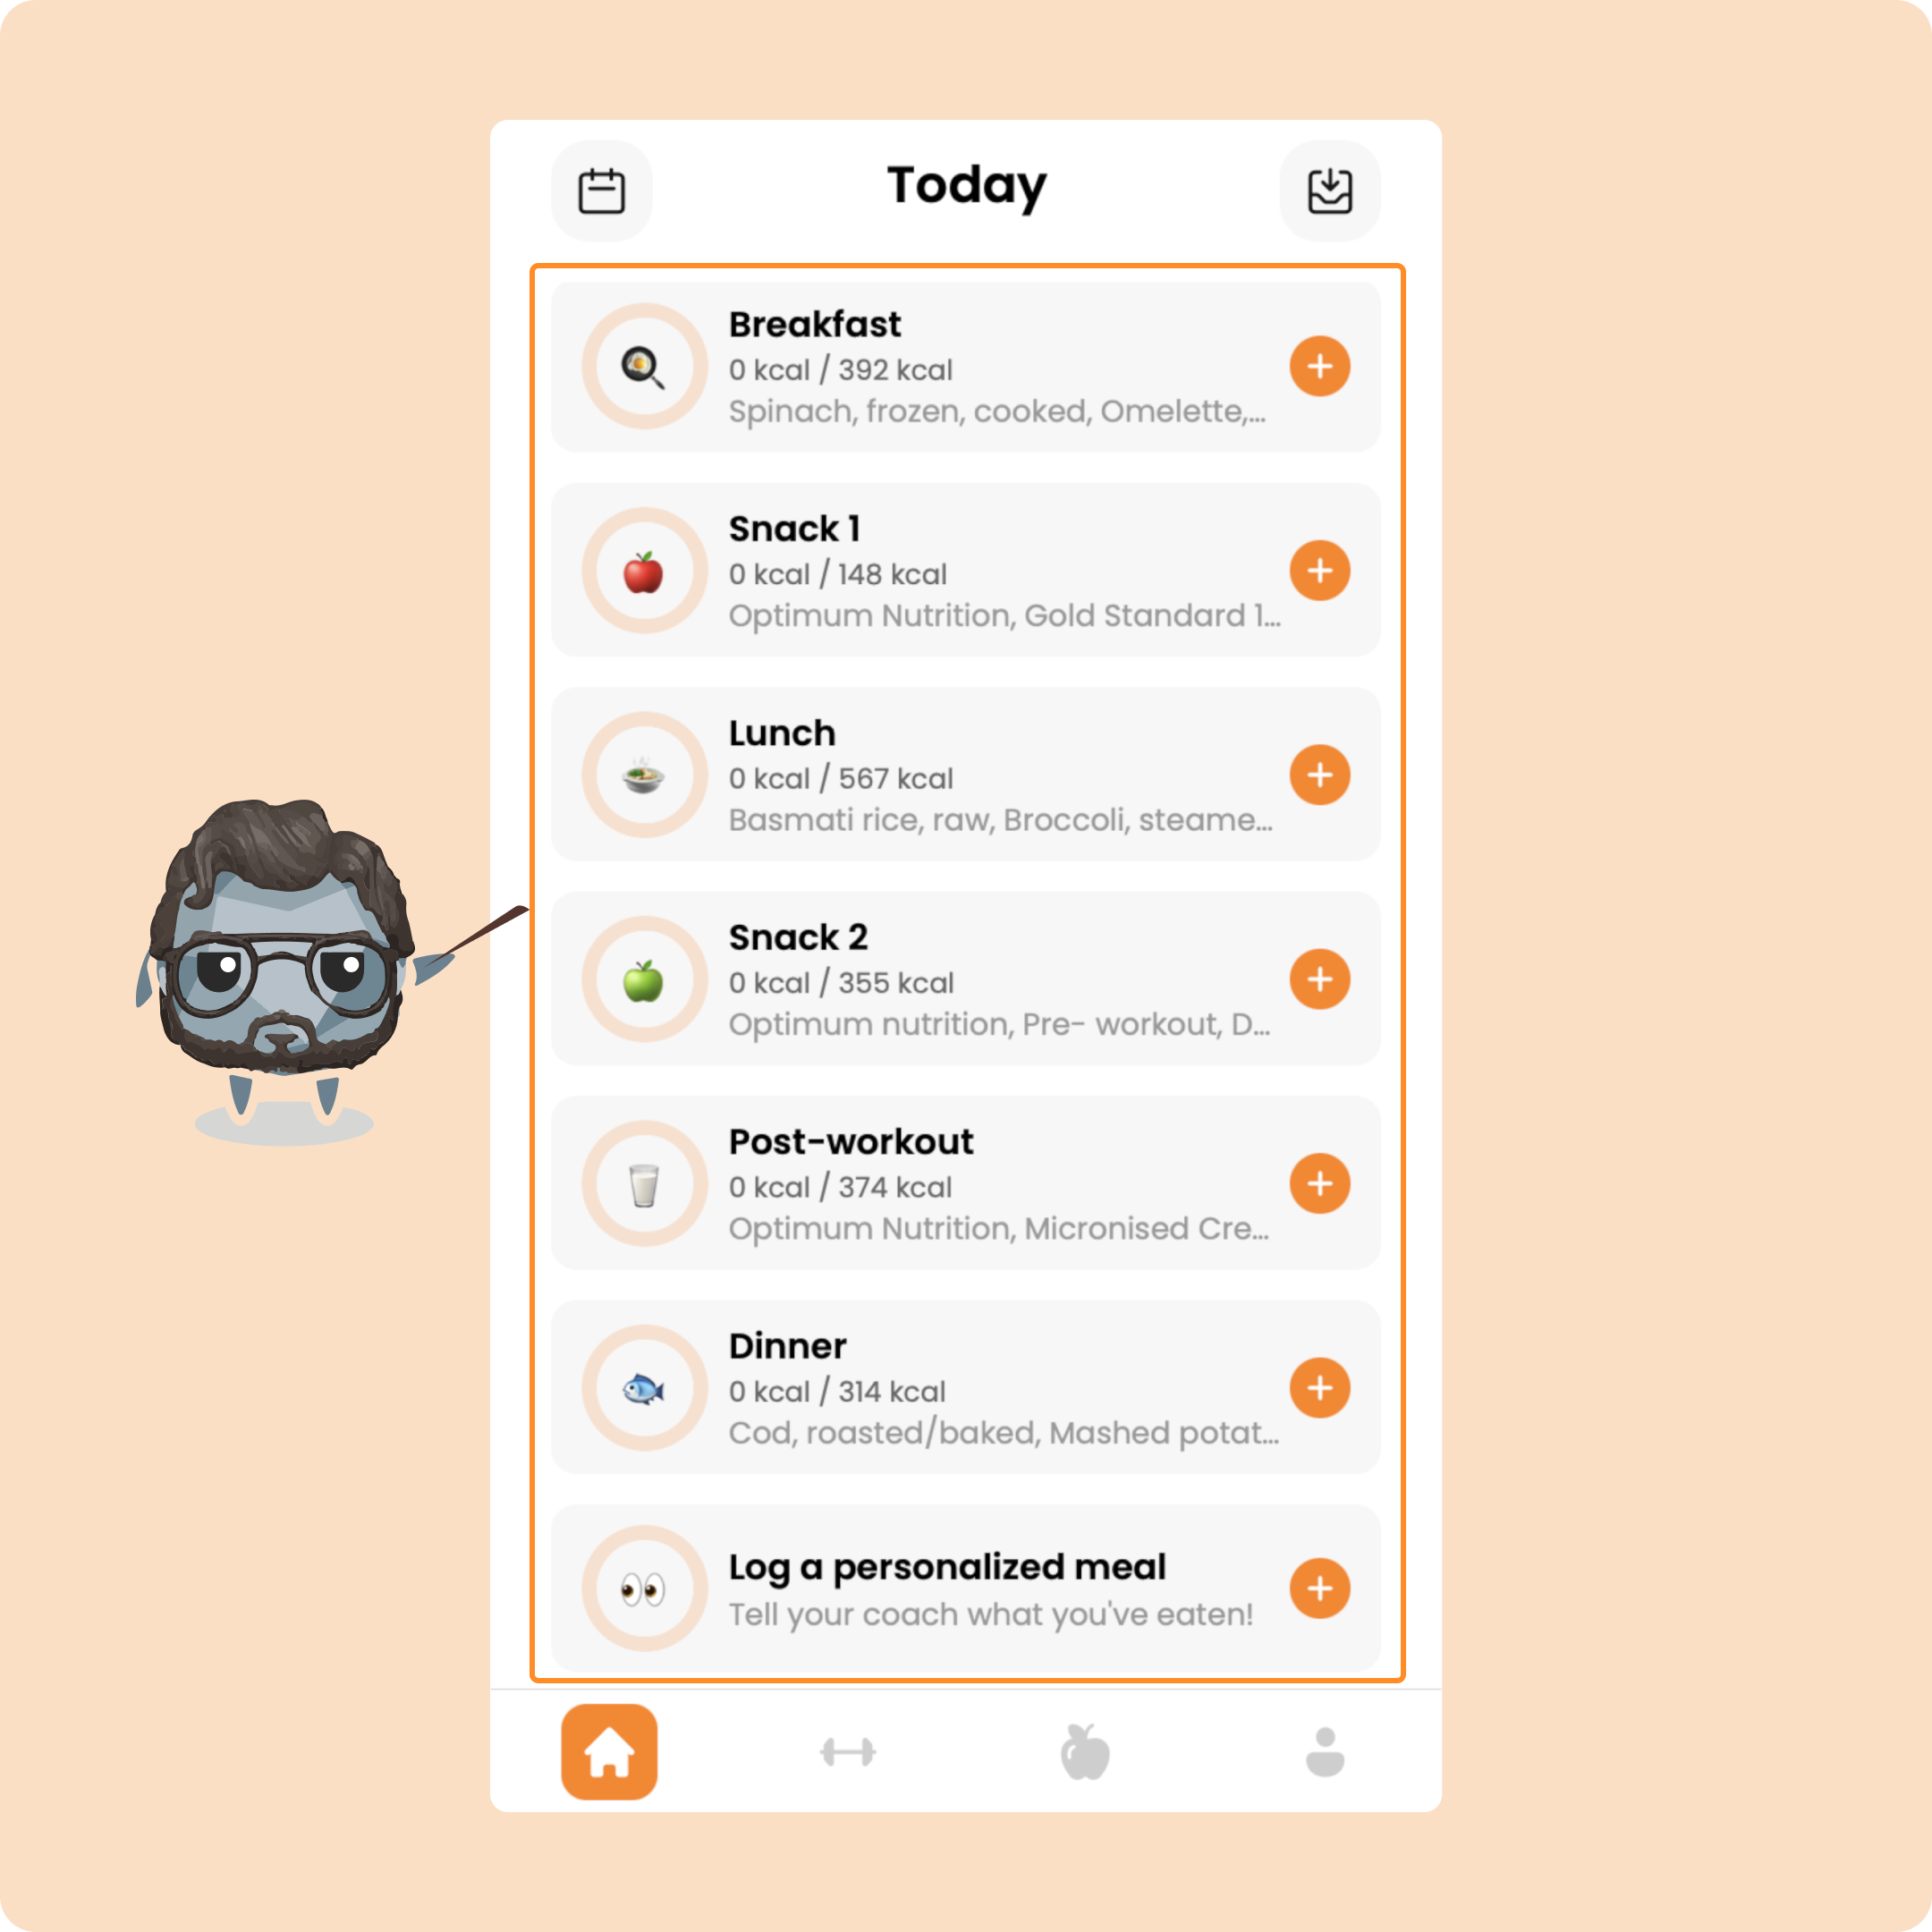
And if I eat something extra outside of my plan — like a snack — I can log it too by clicking on “Log a custom meal.”
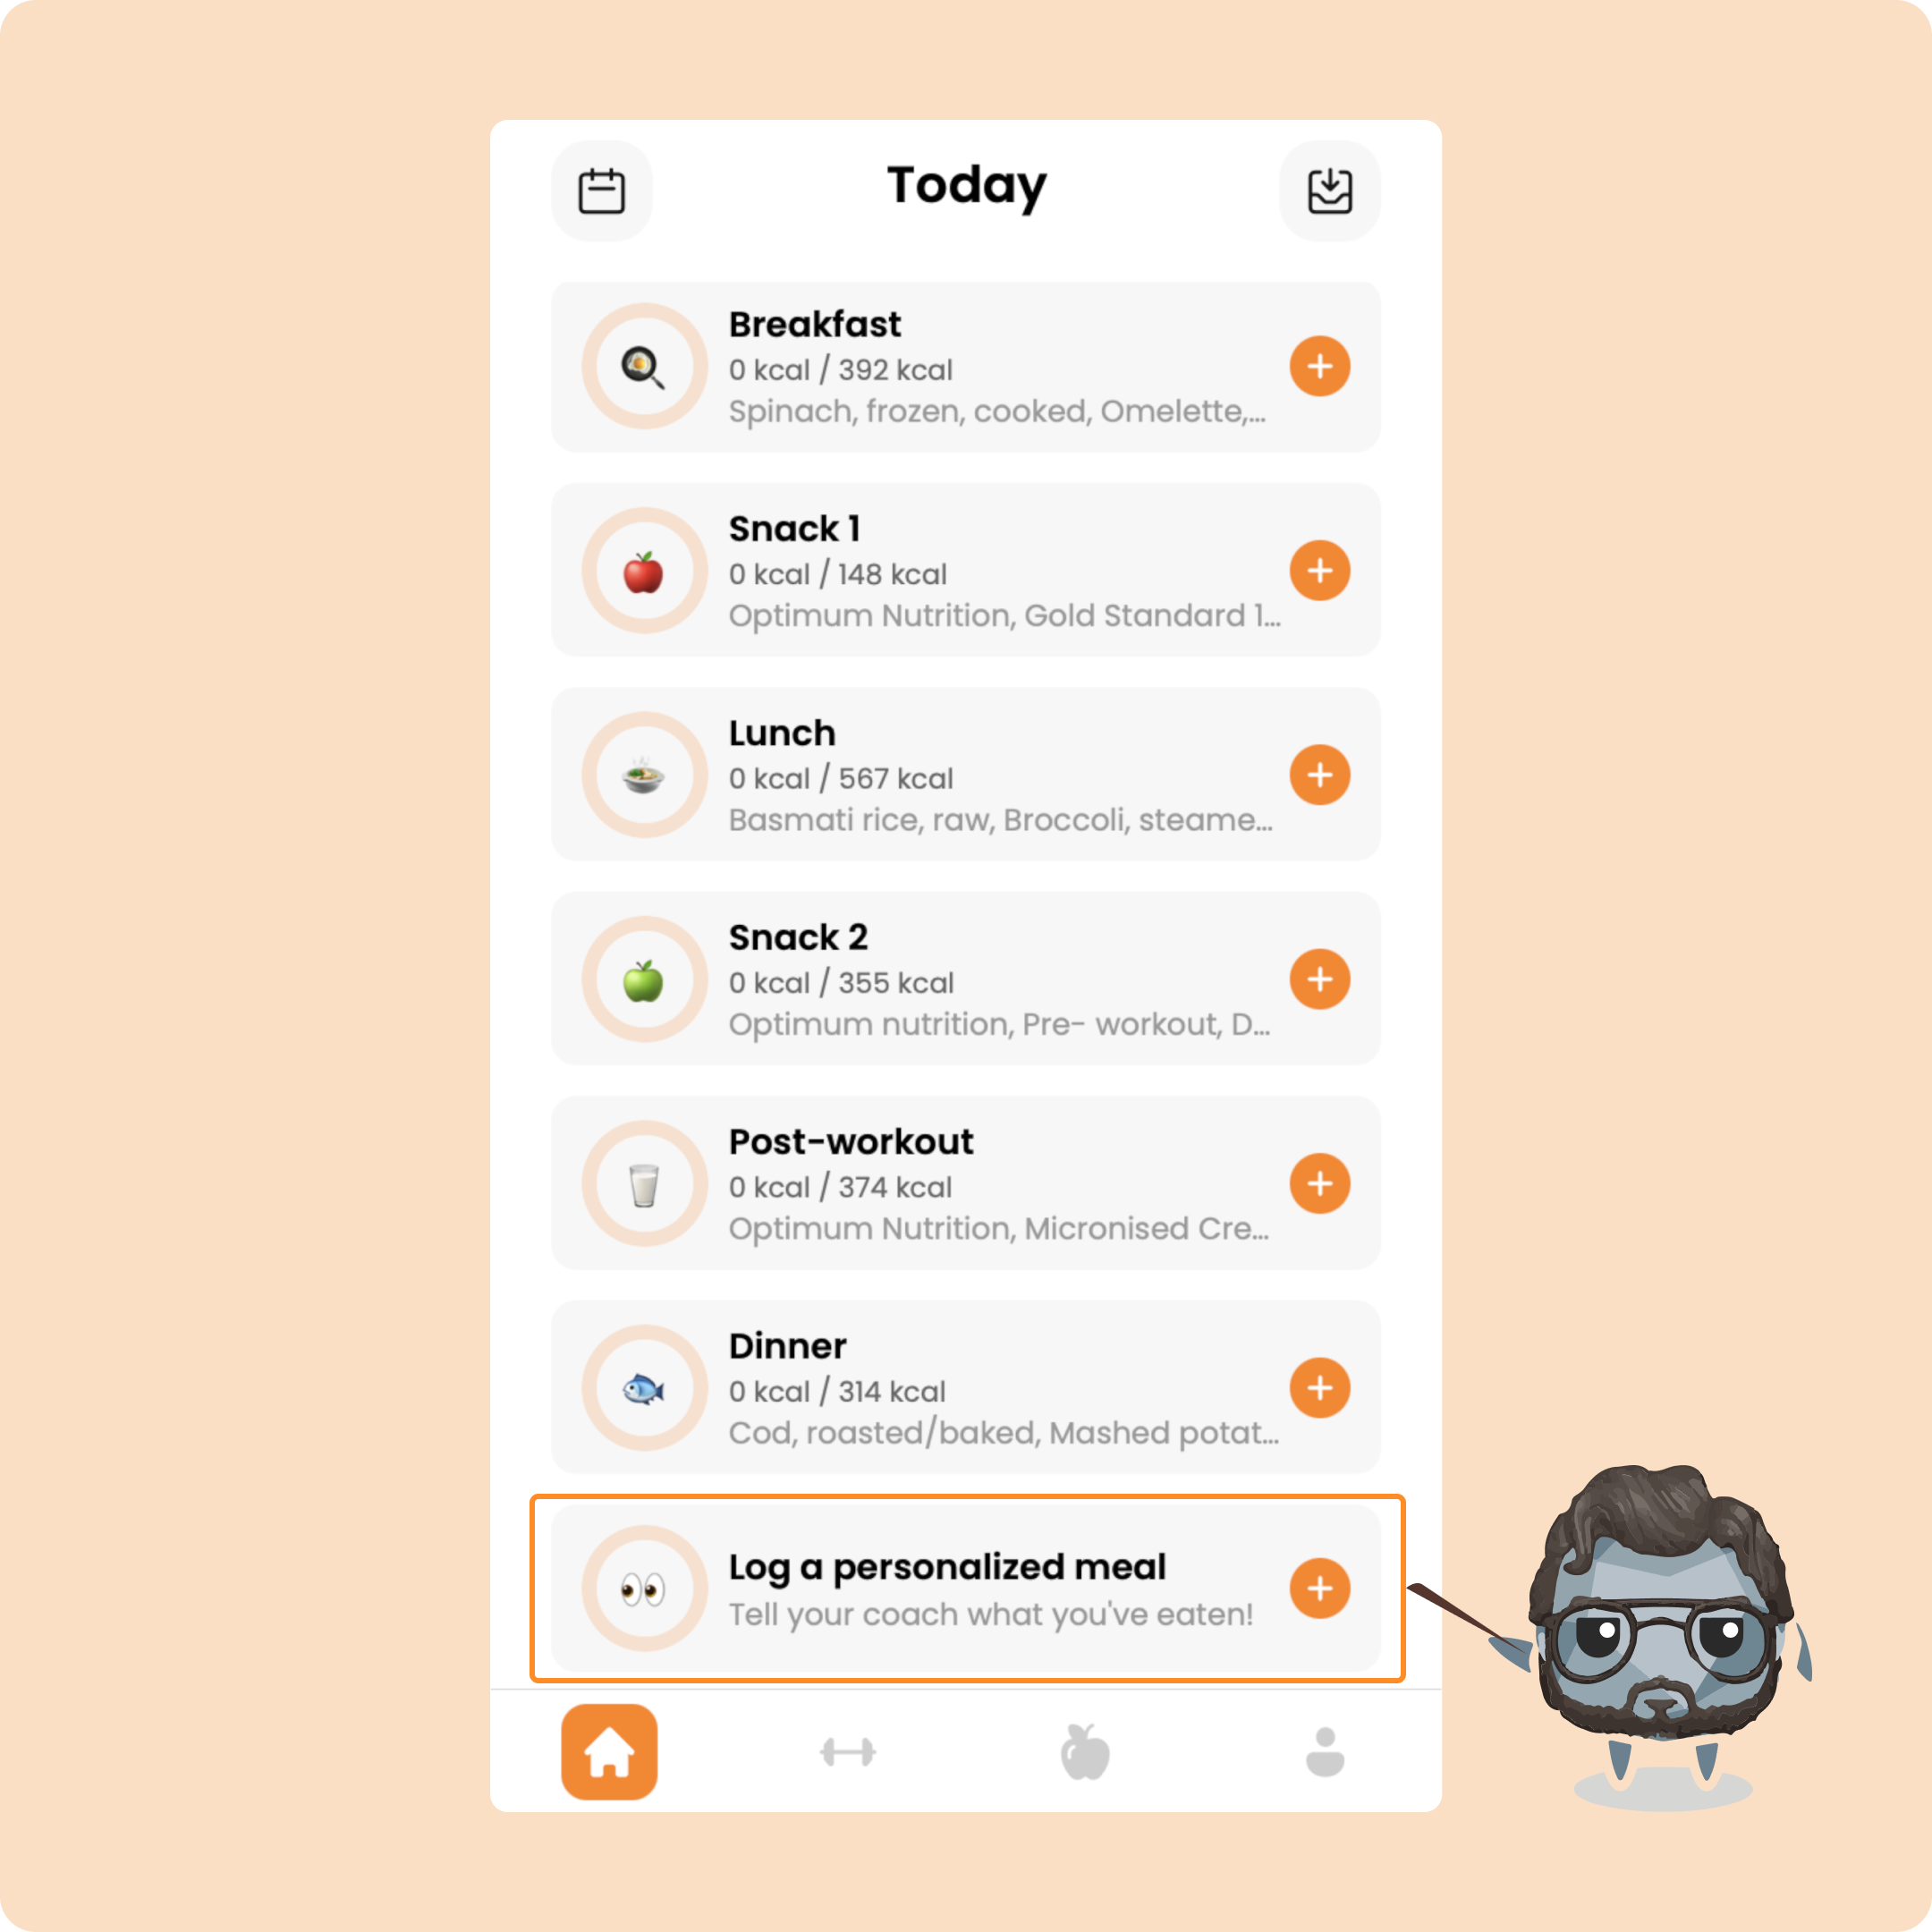
But since I’m a good student, I’ll just stick to my plan for now.
To view a meal, just click on it.
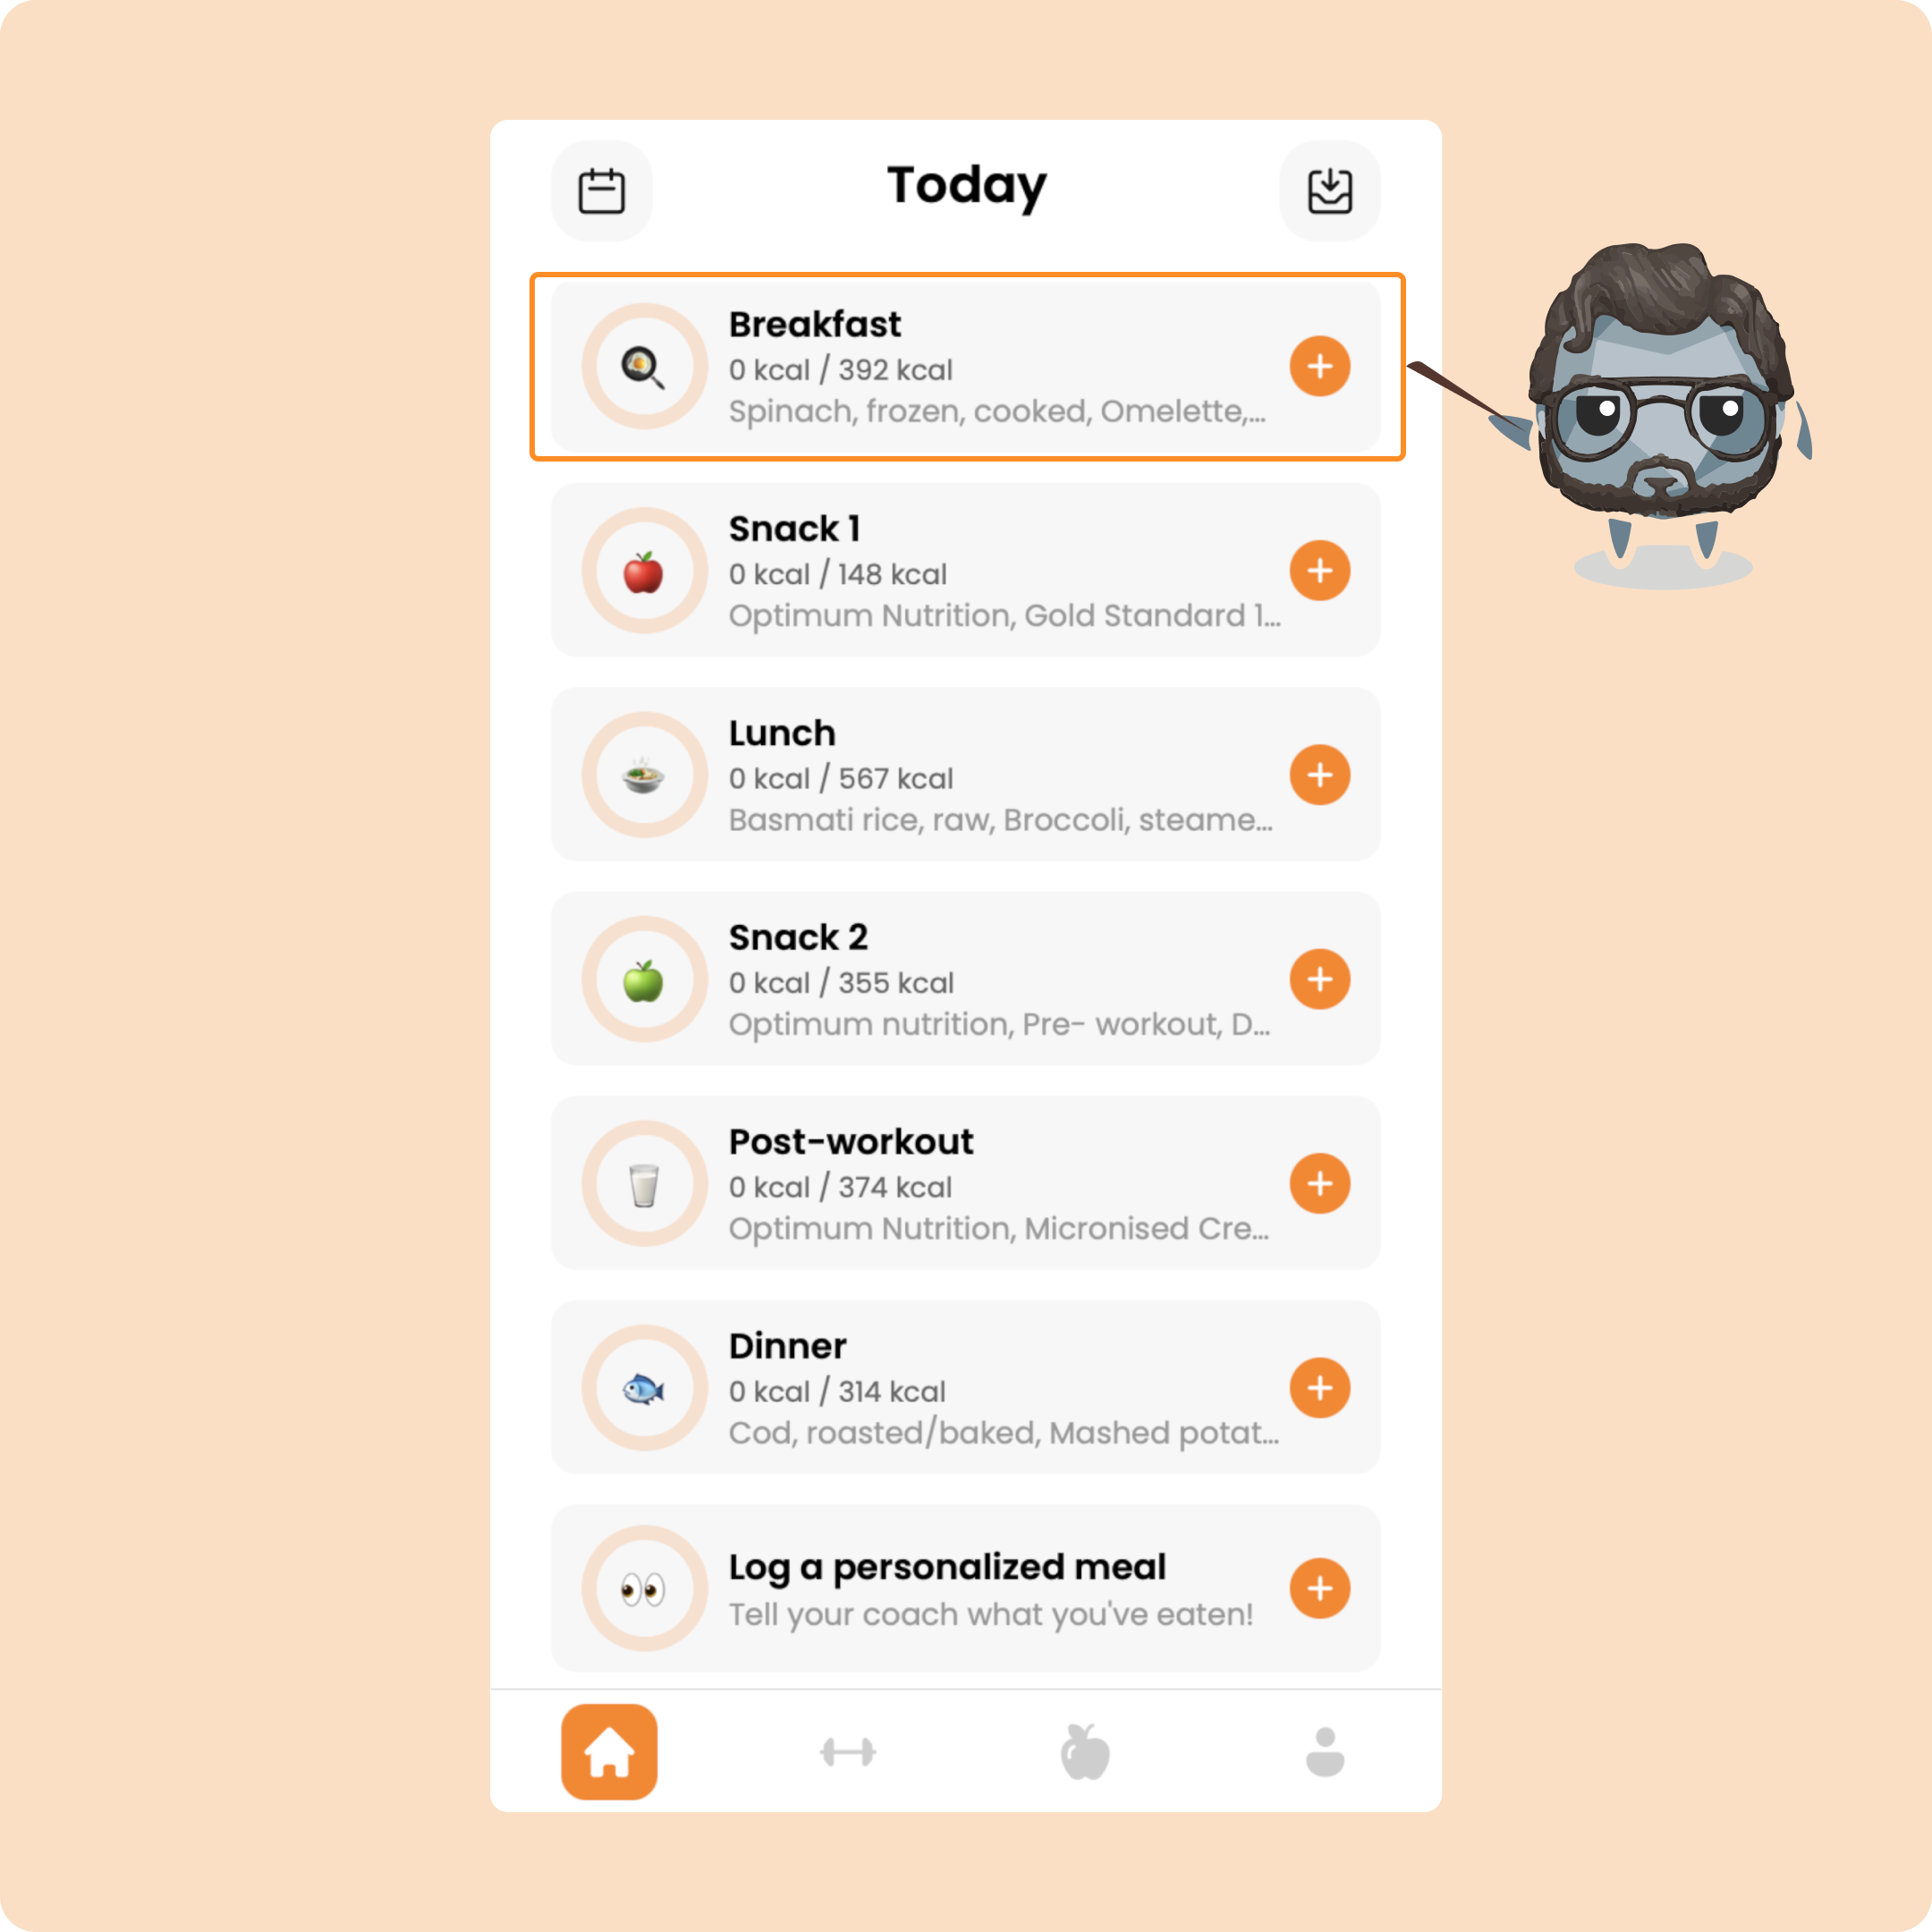
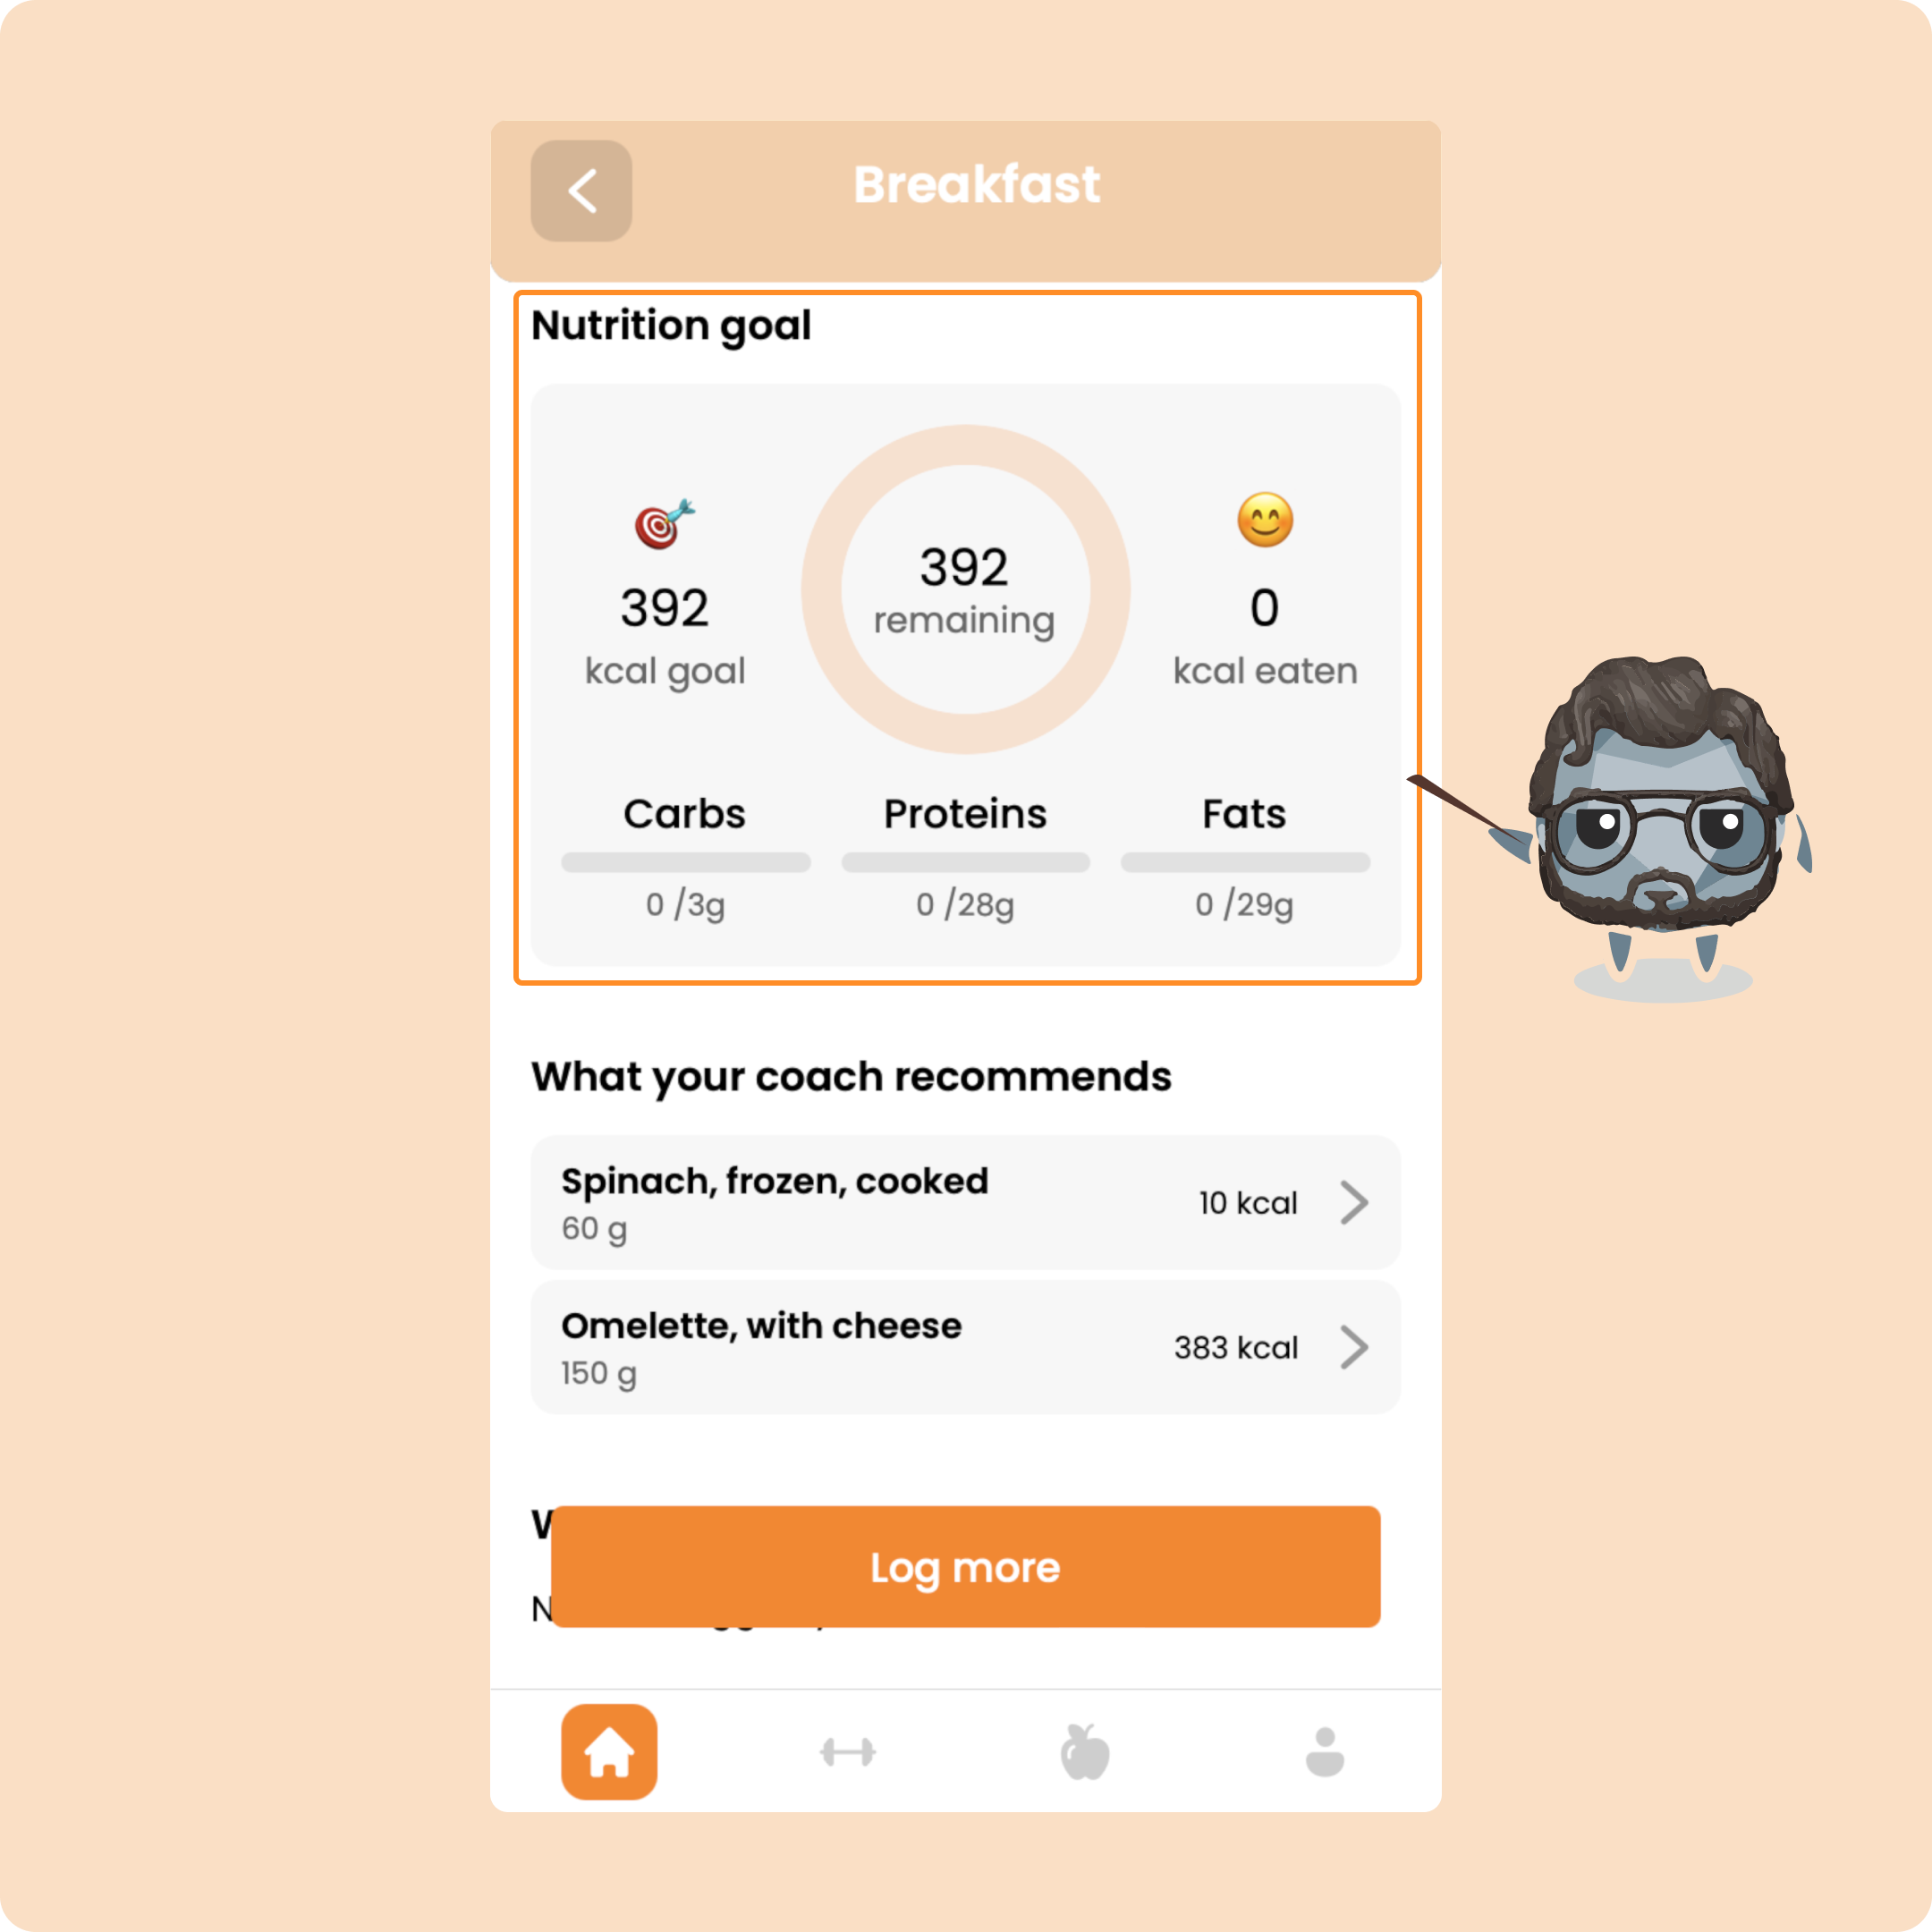
First, I’ll see an overview of the calories and macros for that meal.
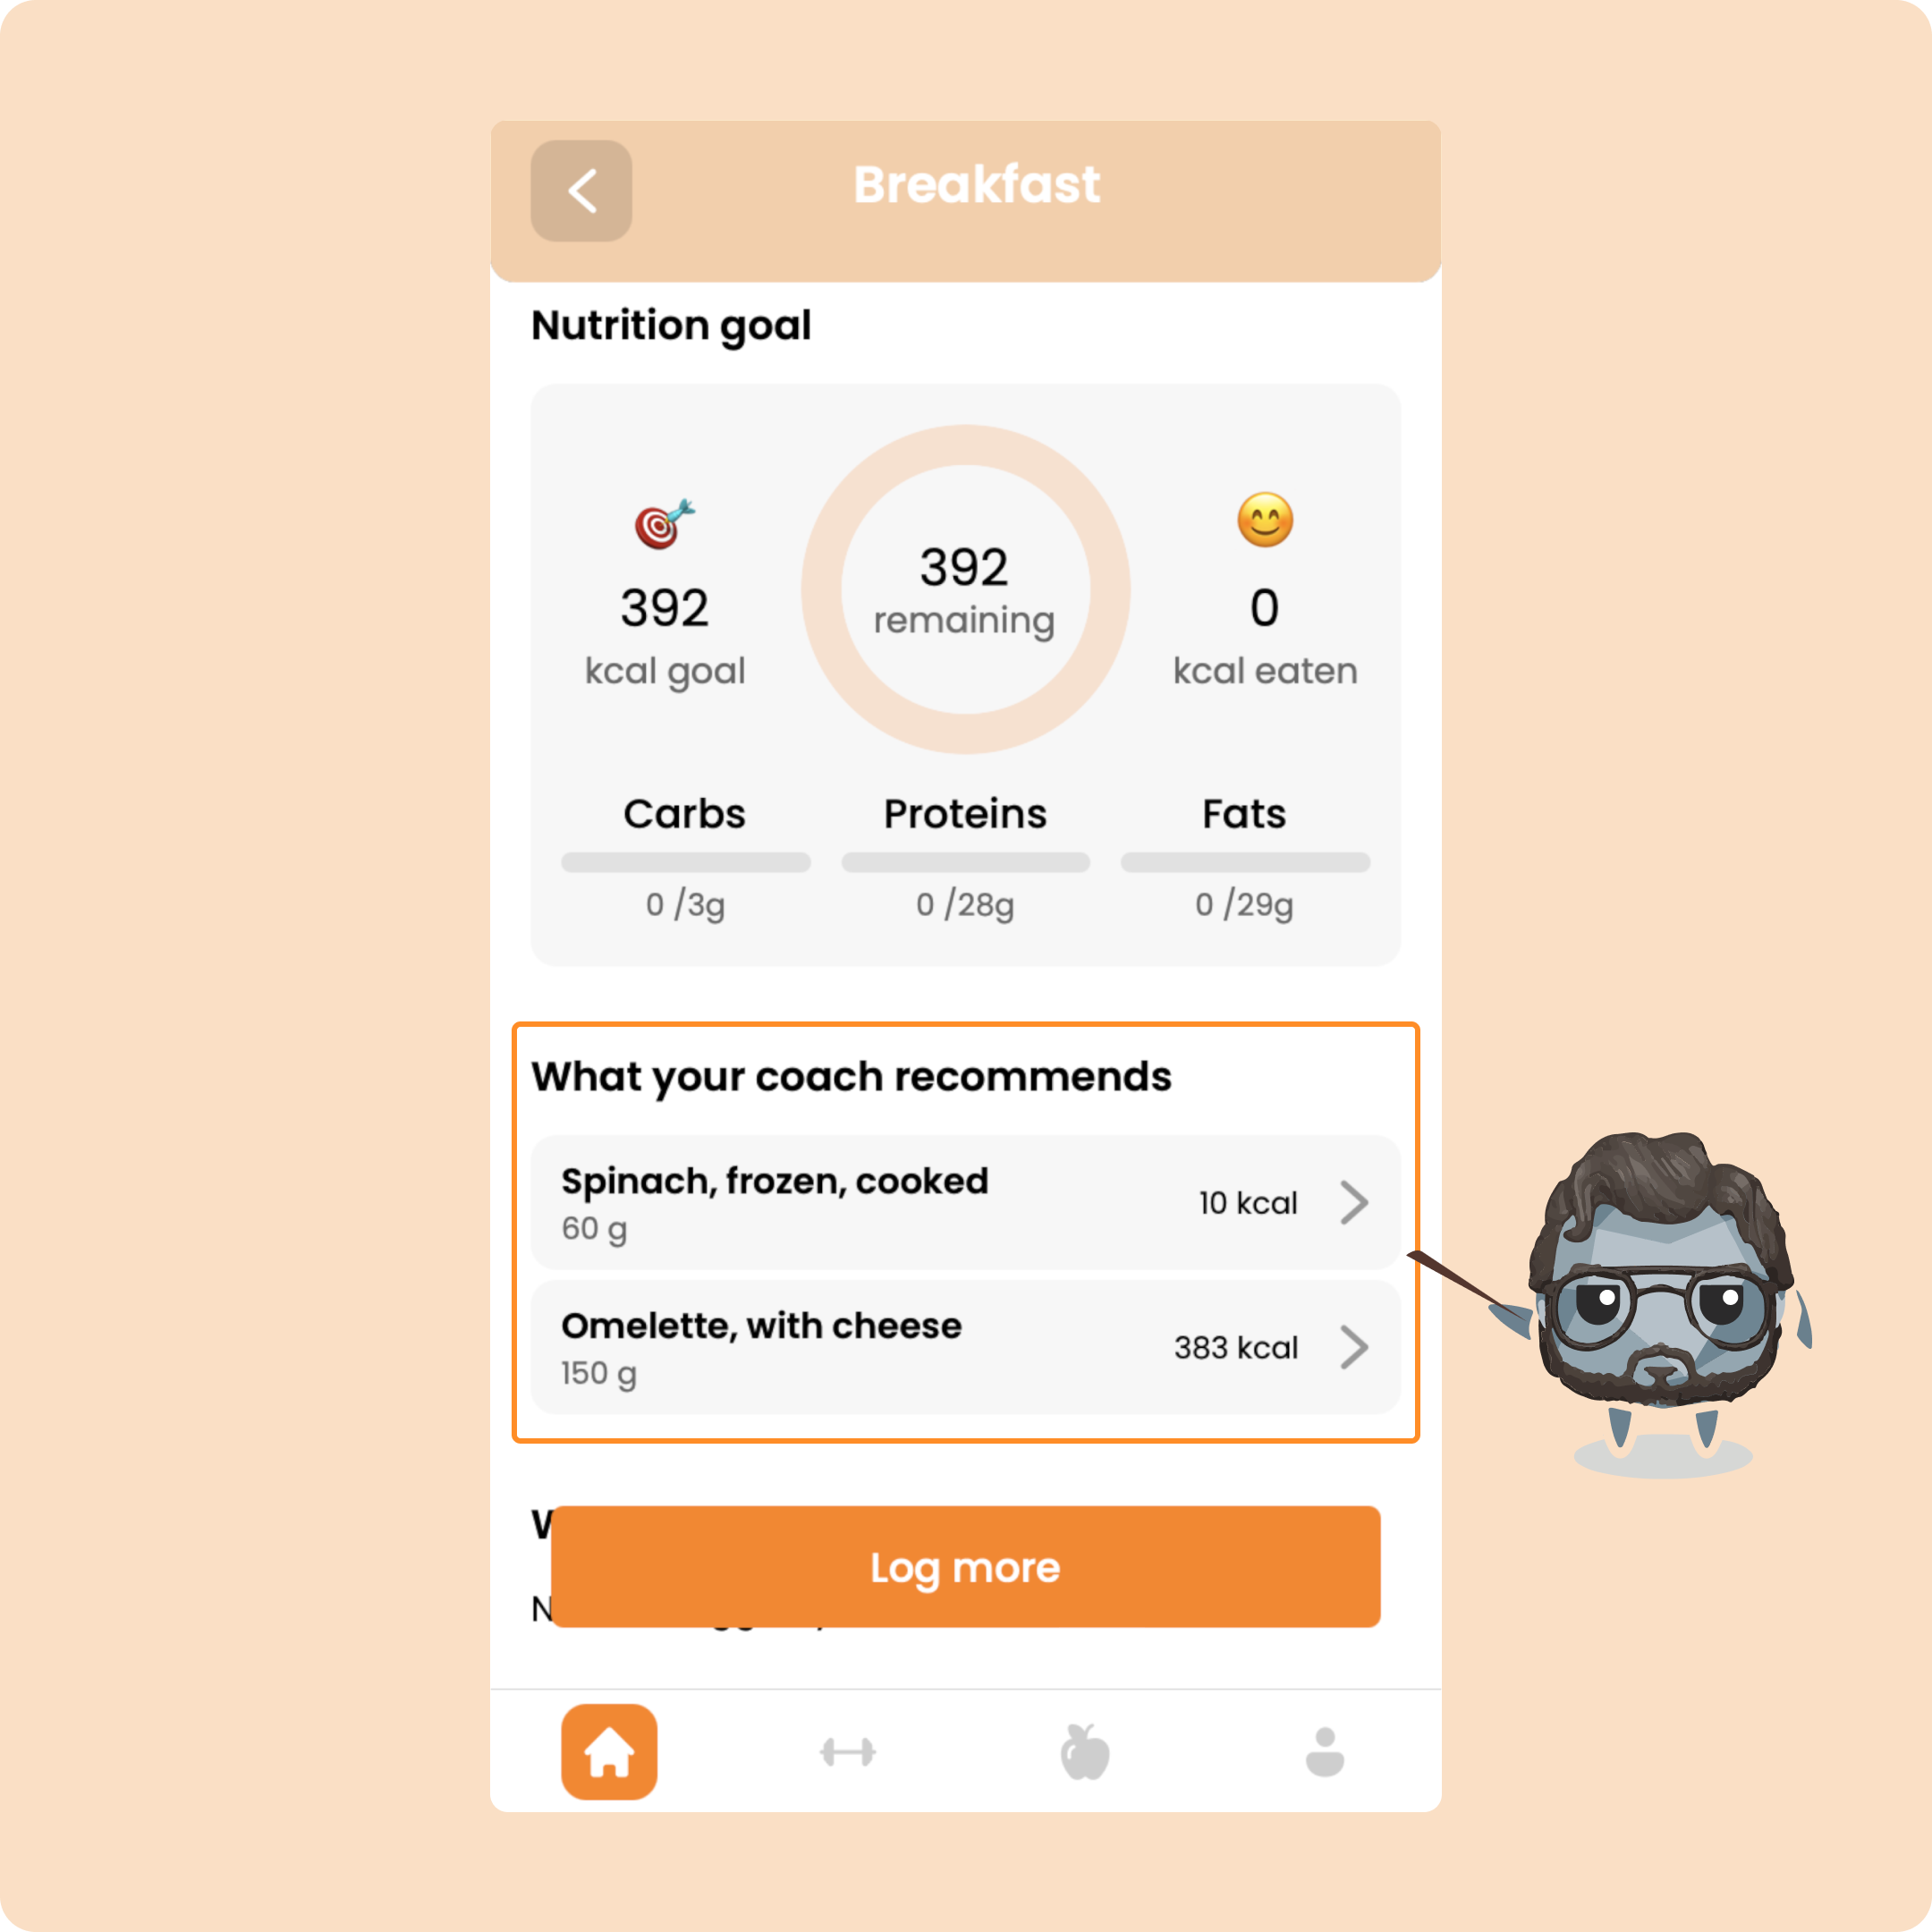
Then I’ll see the detailed list of foods included in the meal plan.
To log a food item, click on it and enter the amount you ate, based on the pre-set unit.
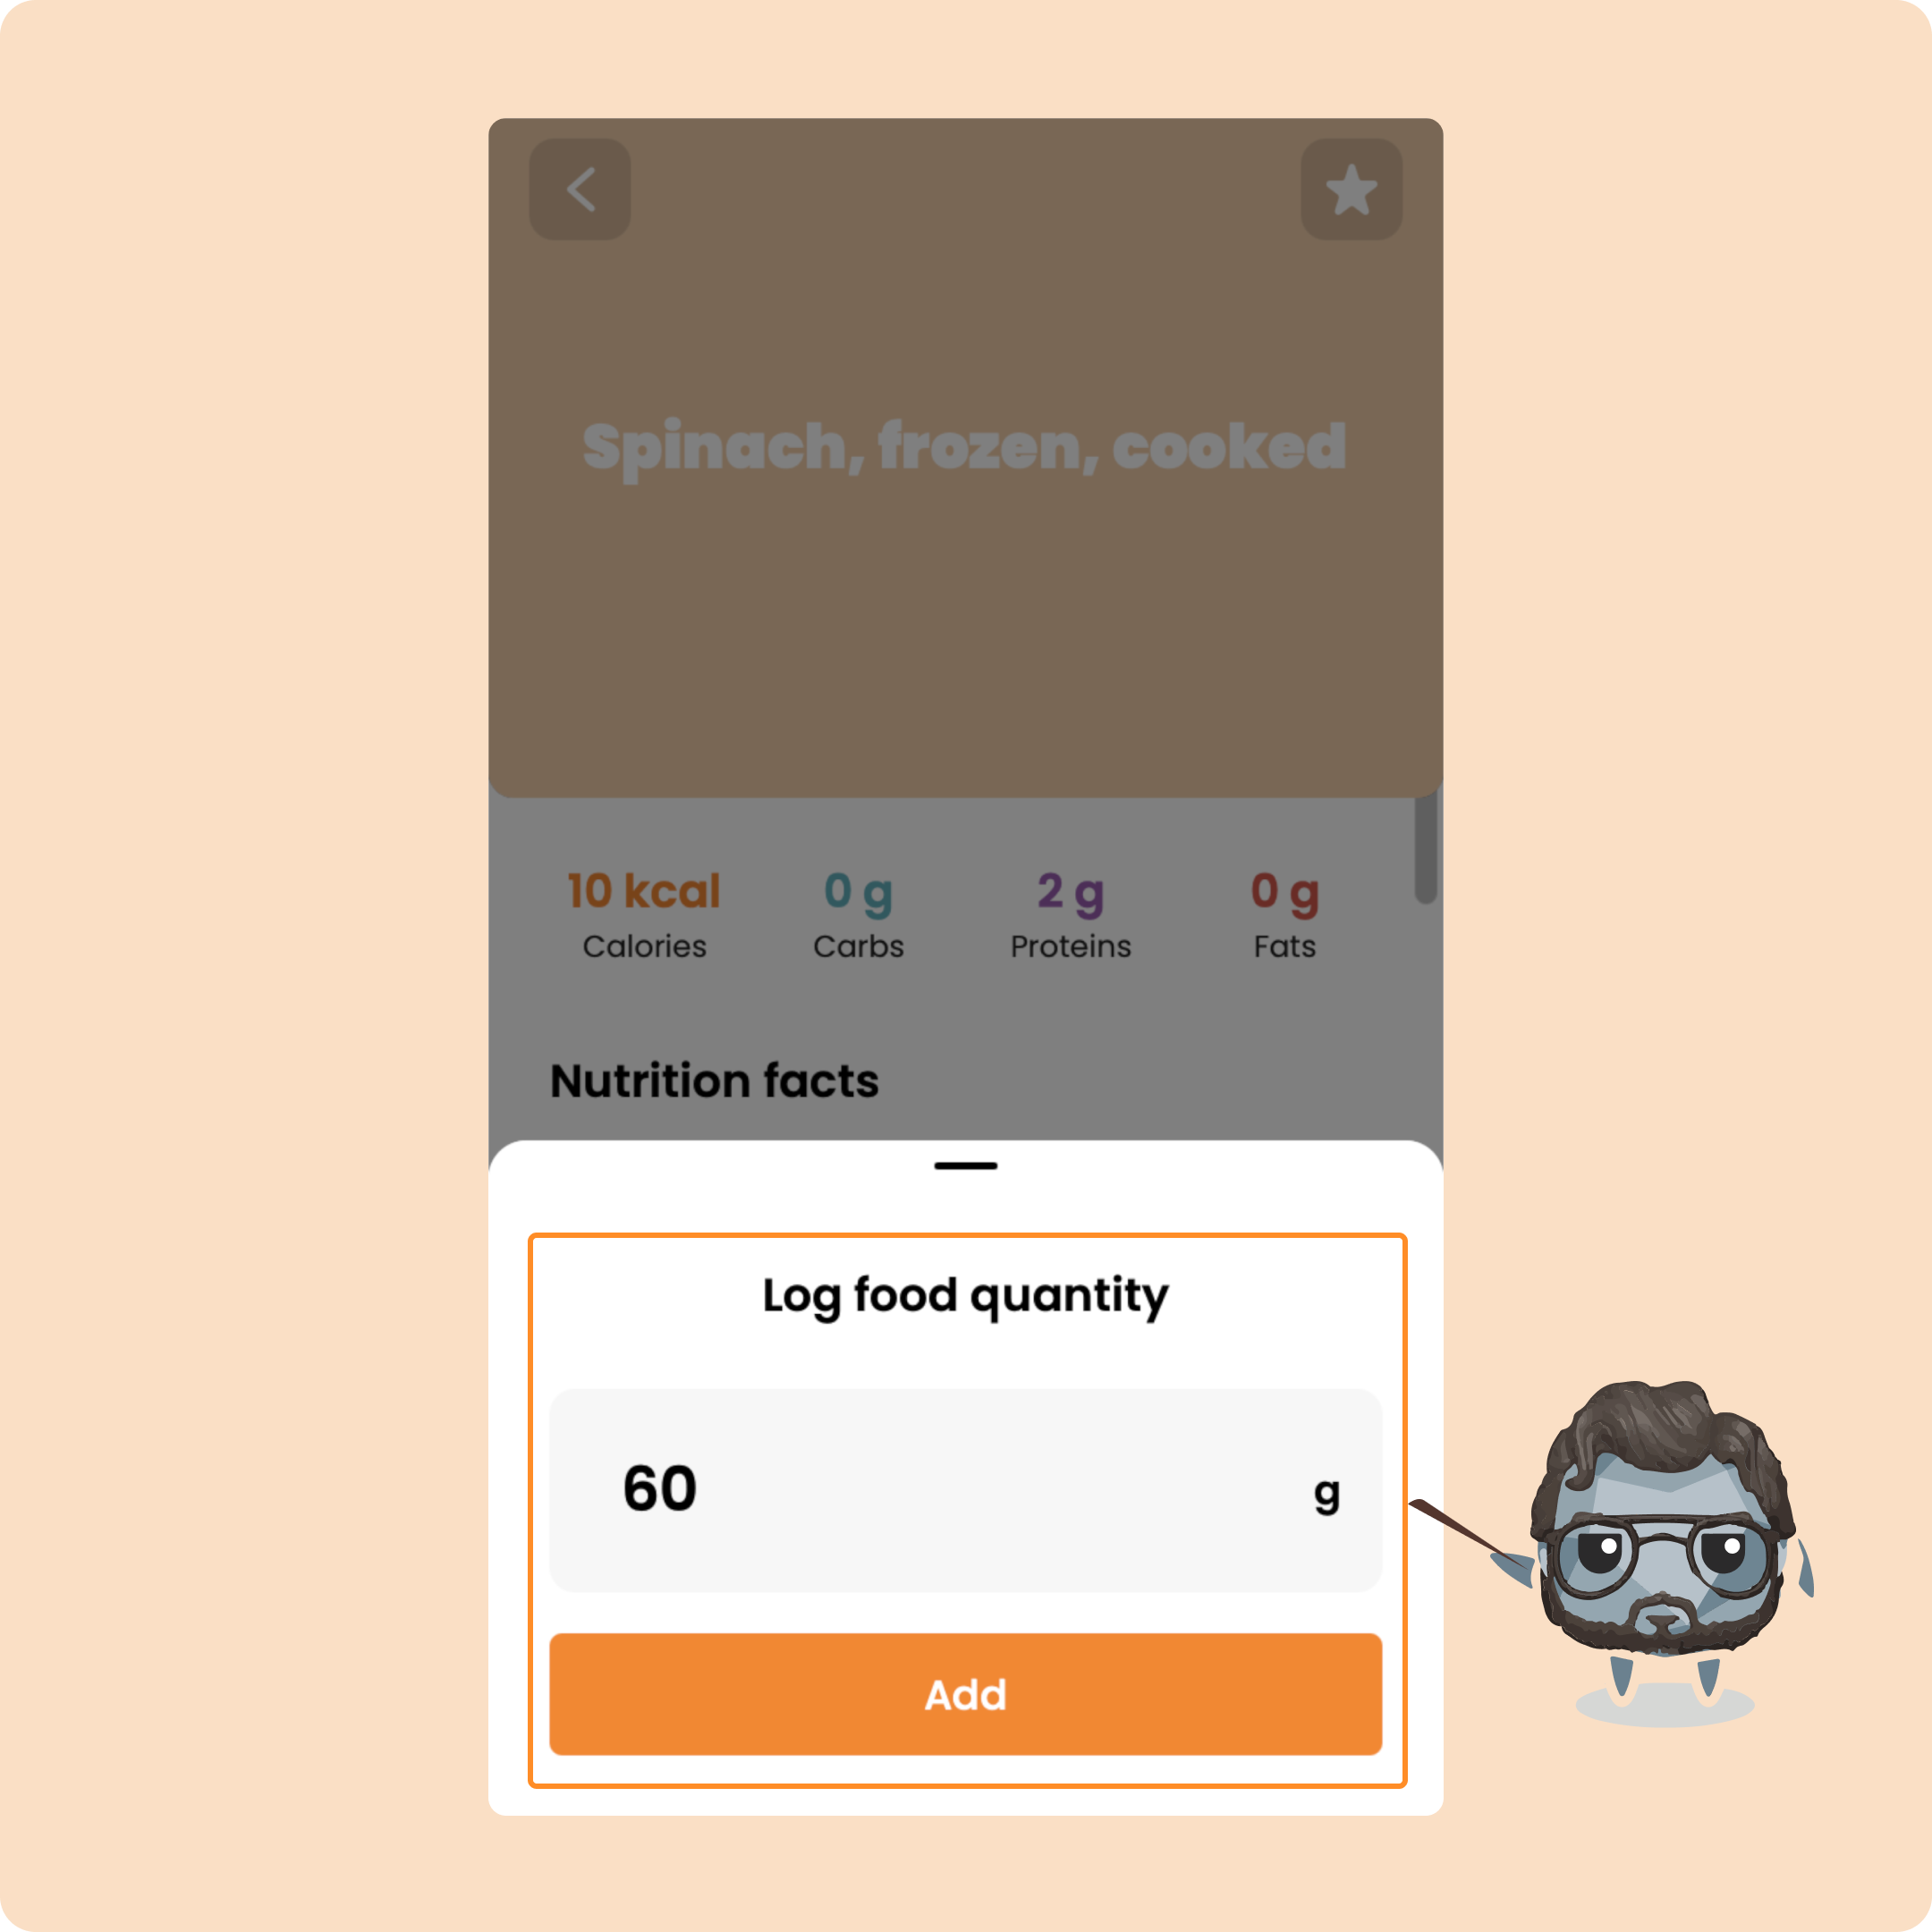
You can do this for every food item.
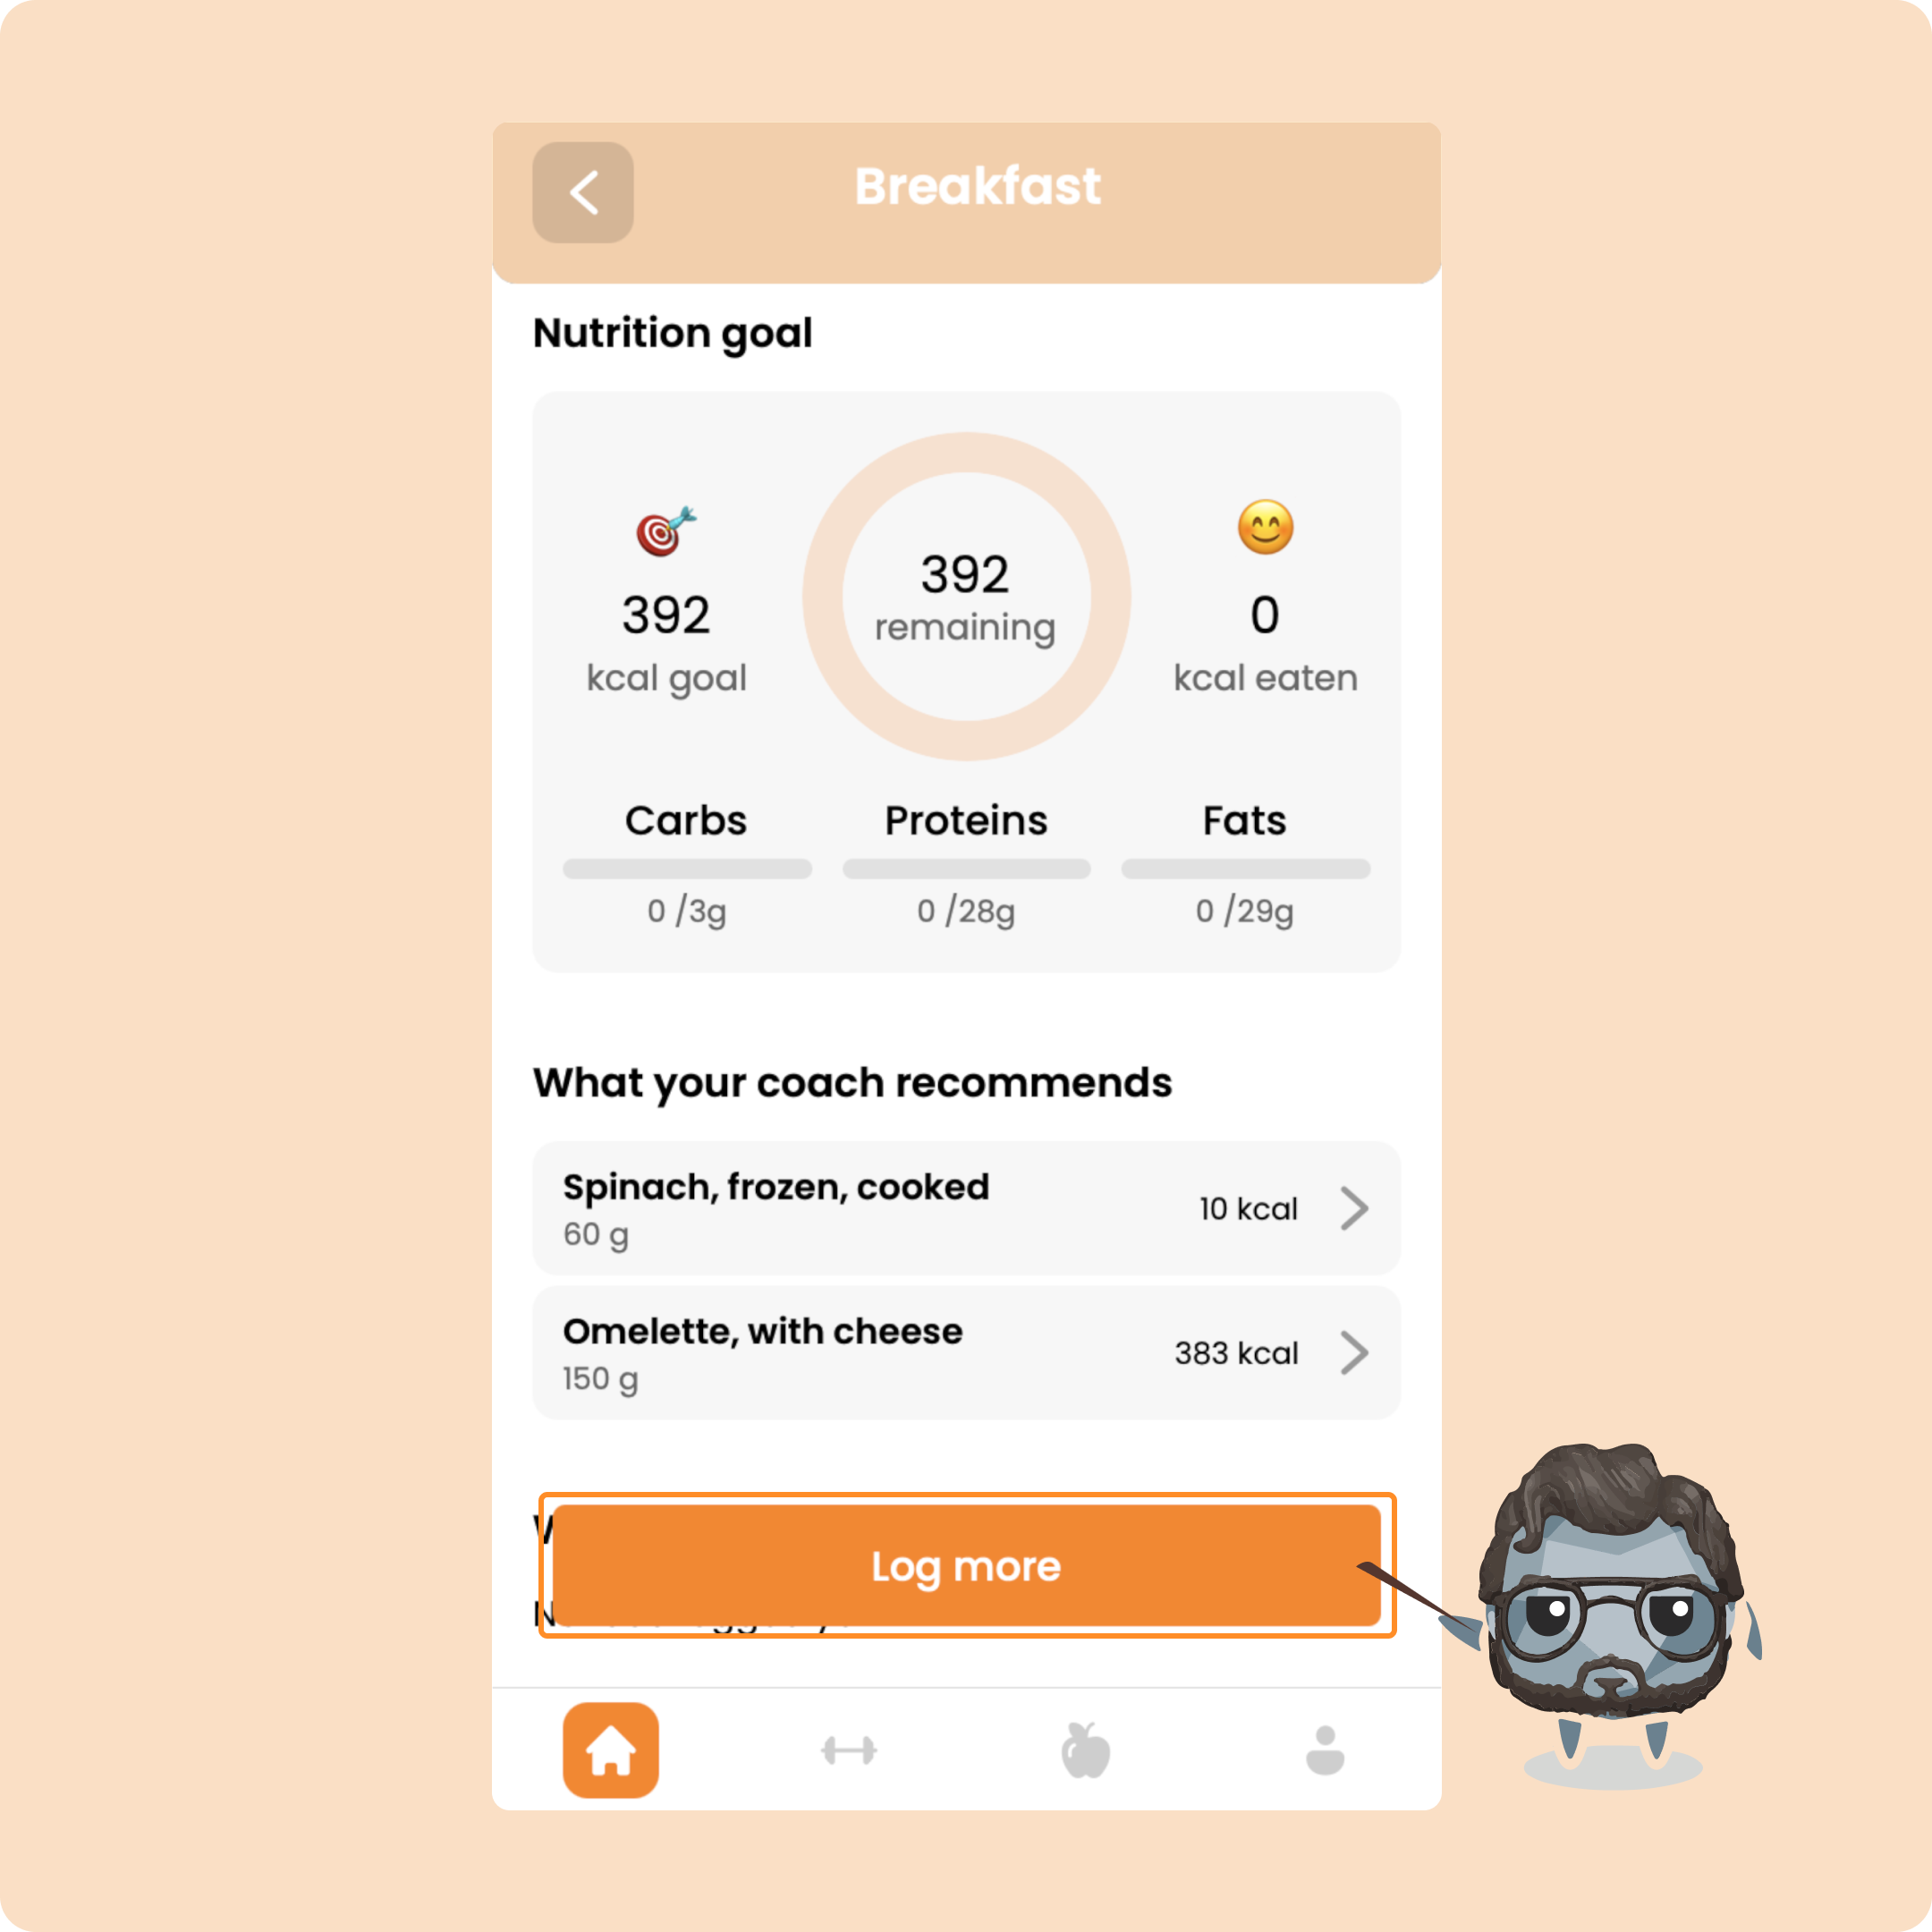
You’ll see what your coach recommended — and you can also add your own foods.
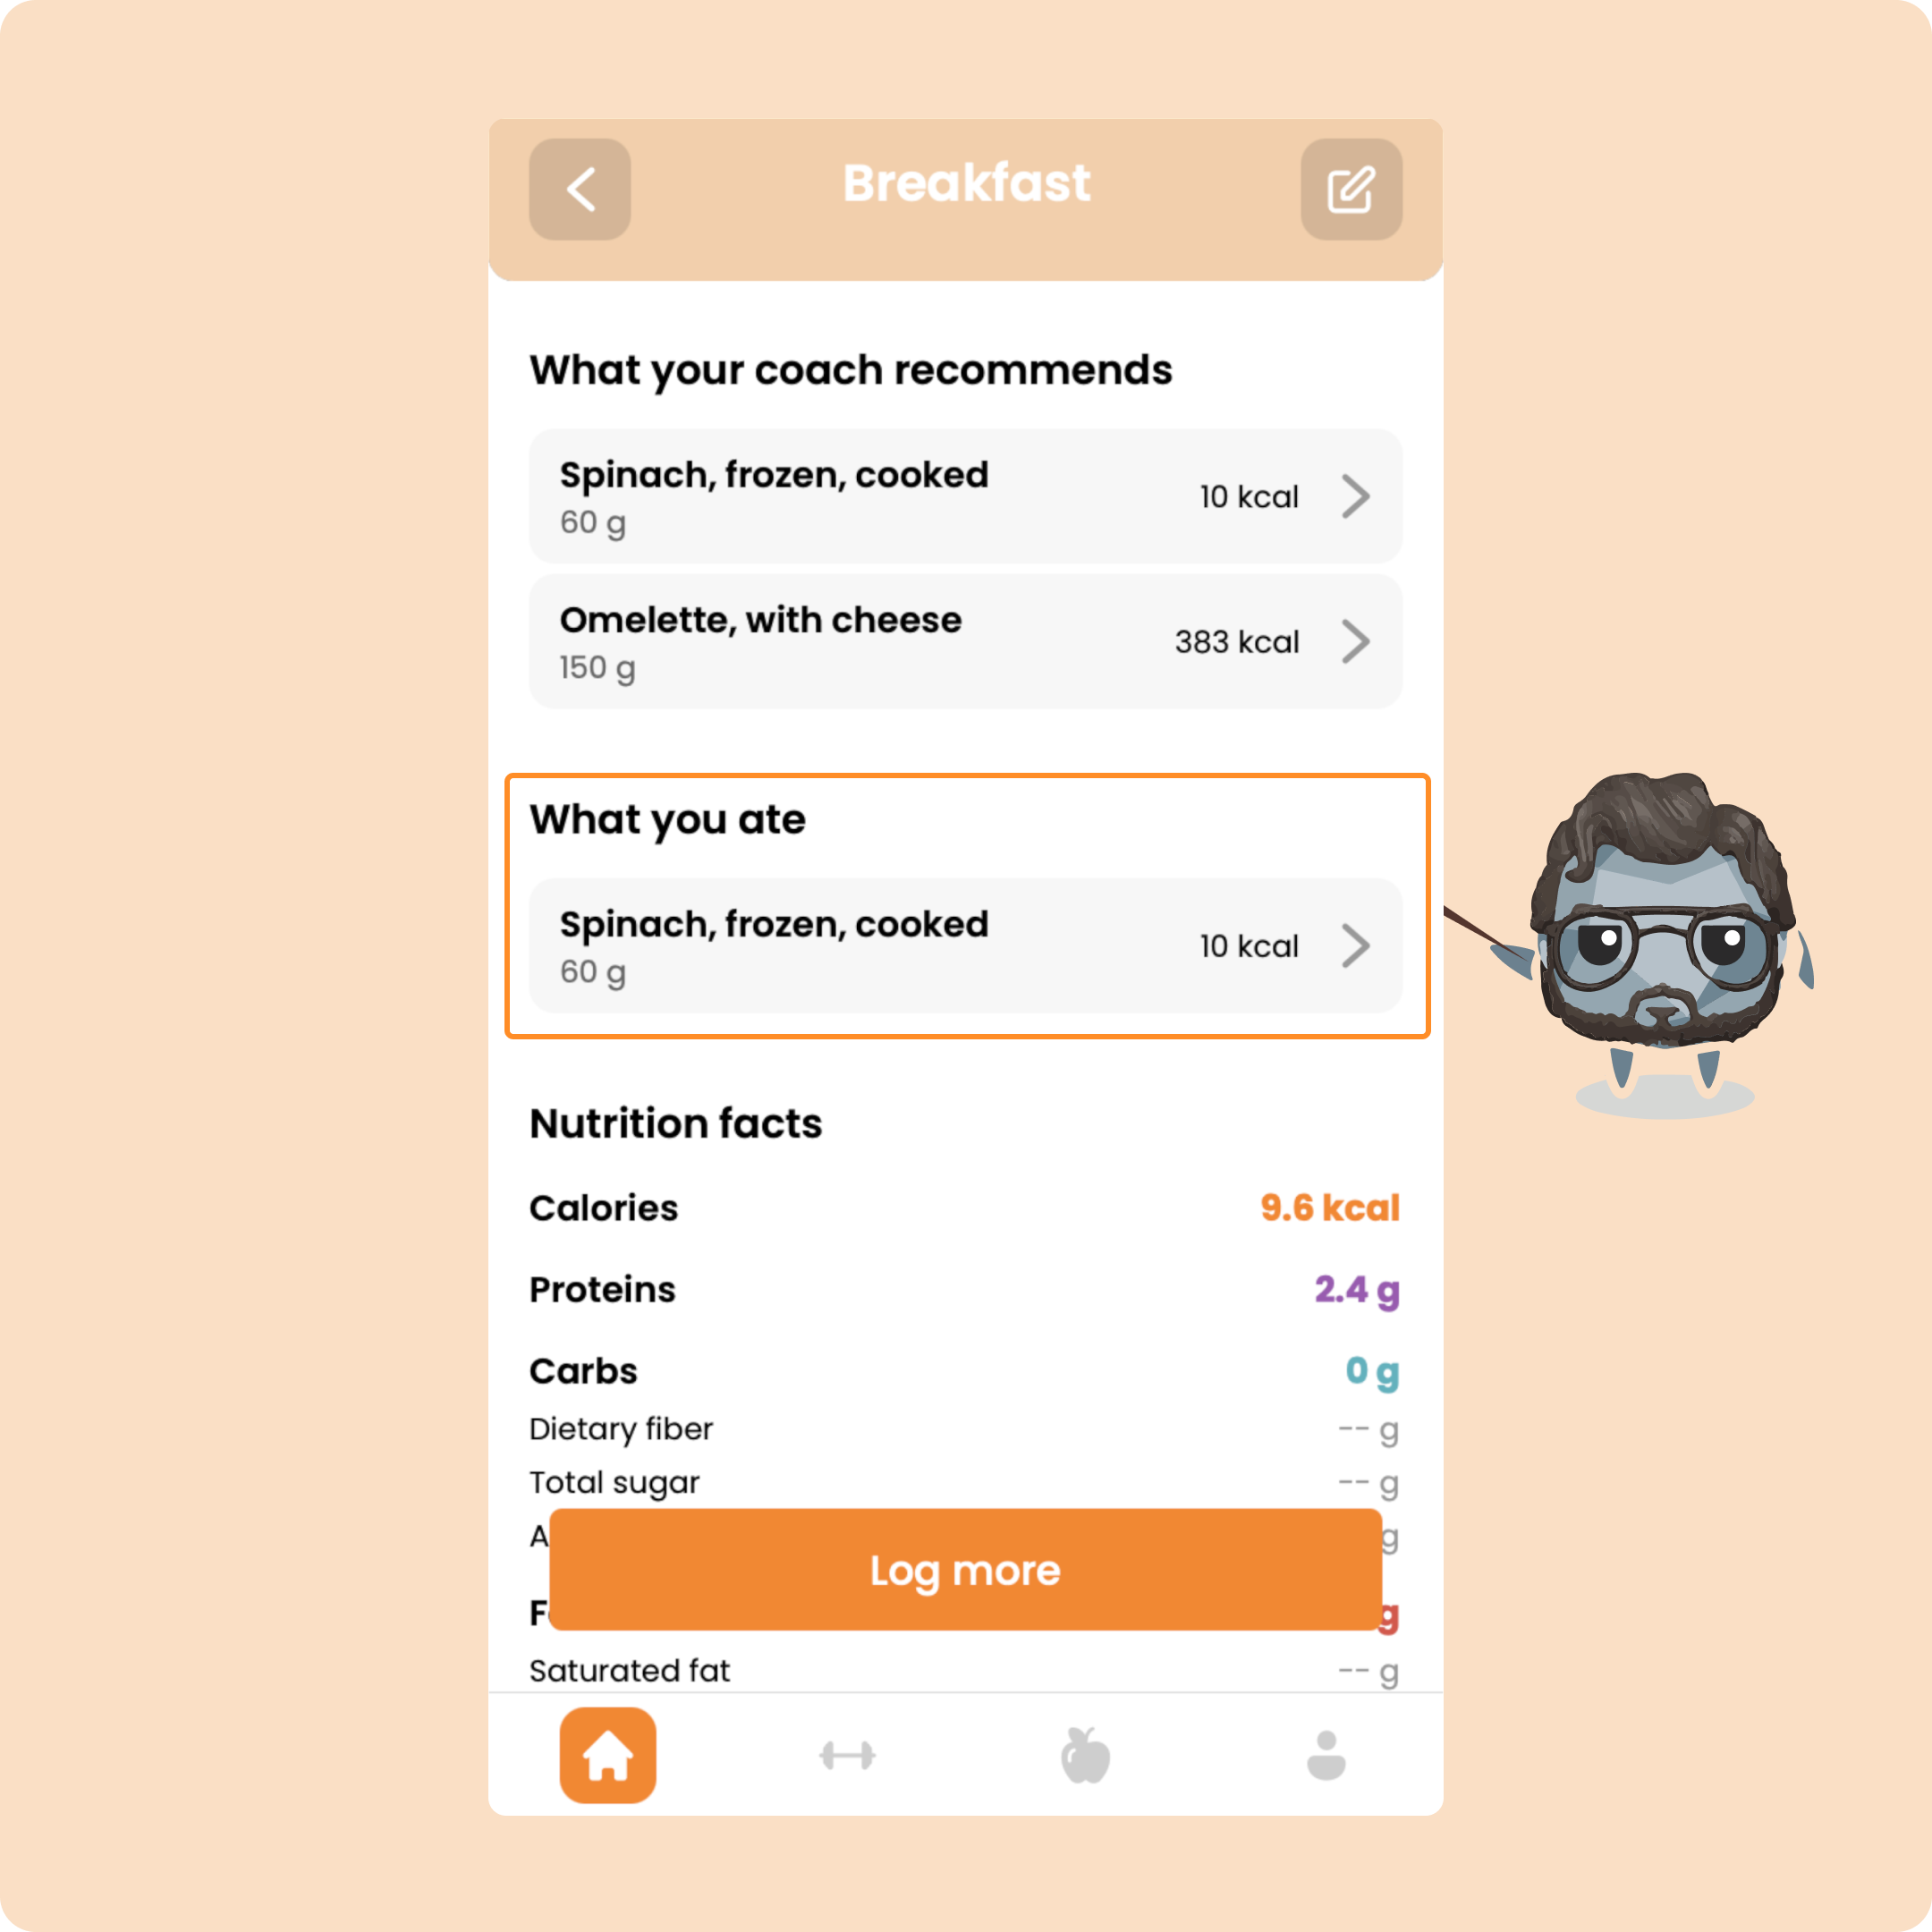
If you ate something that wasn’t on your plan, click “Log more.”
Adding foods
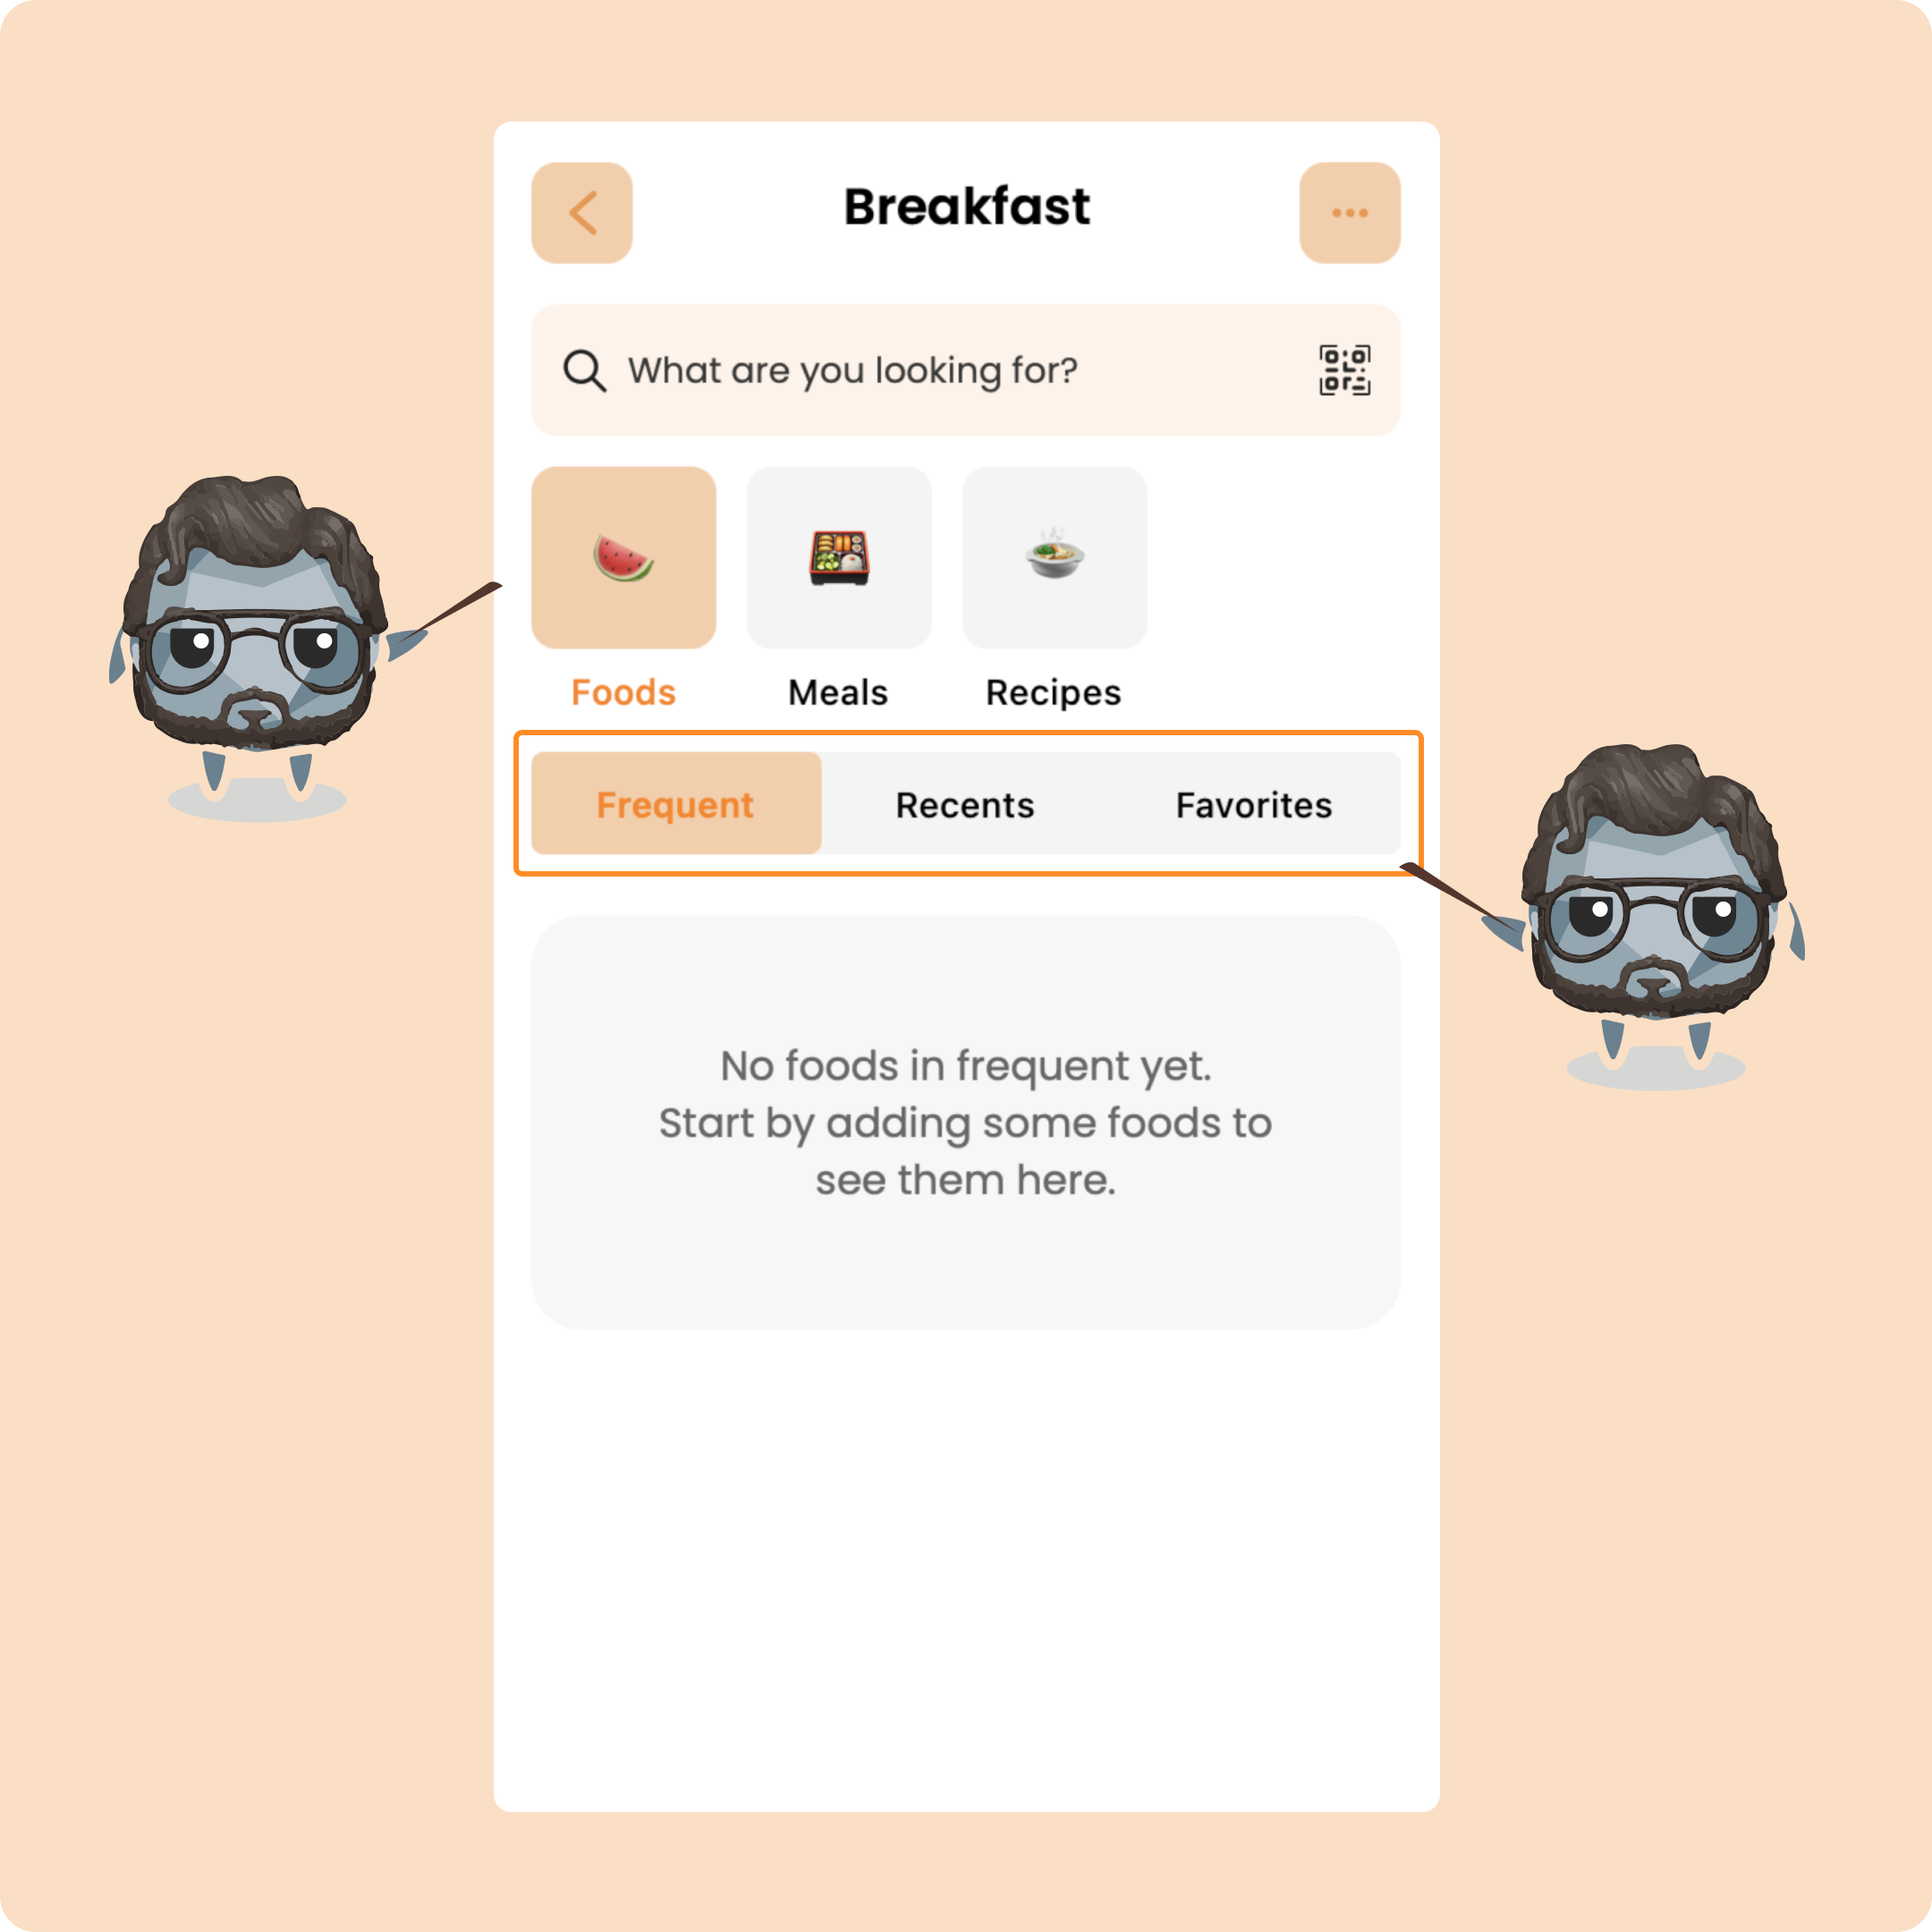
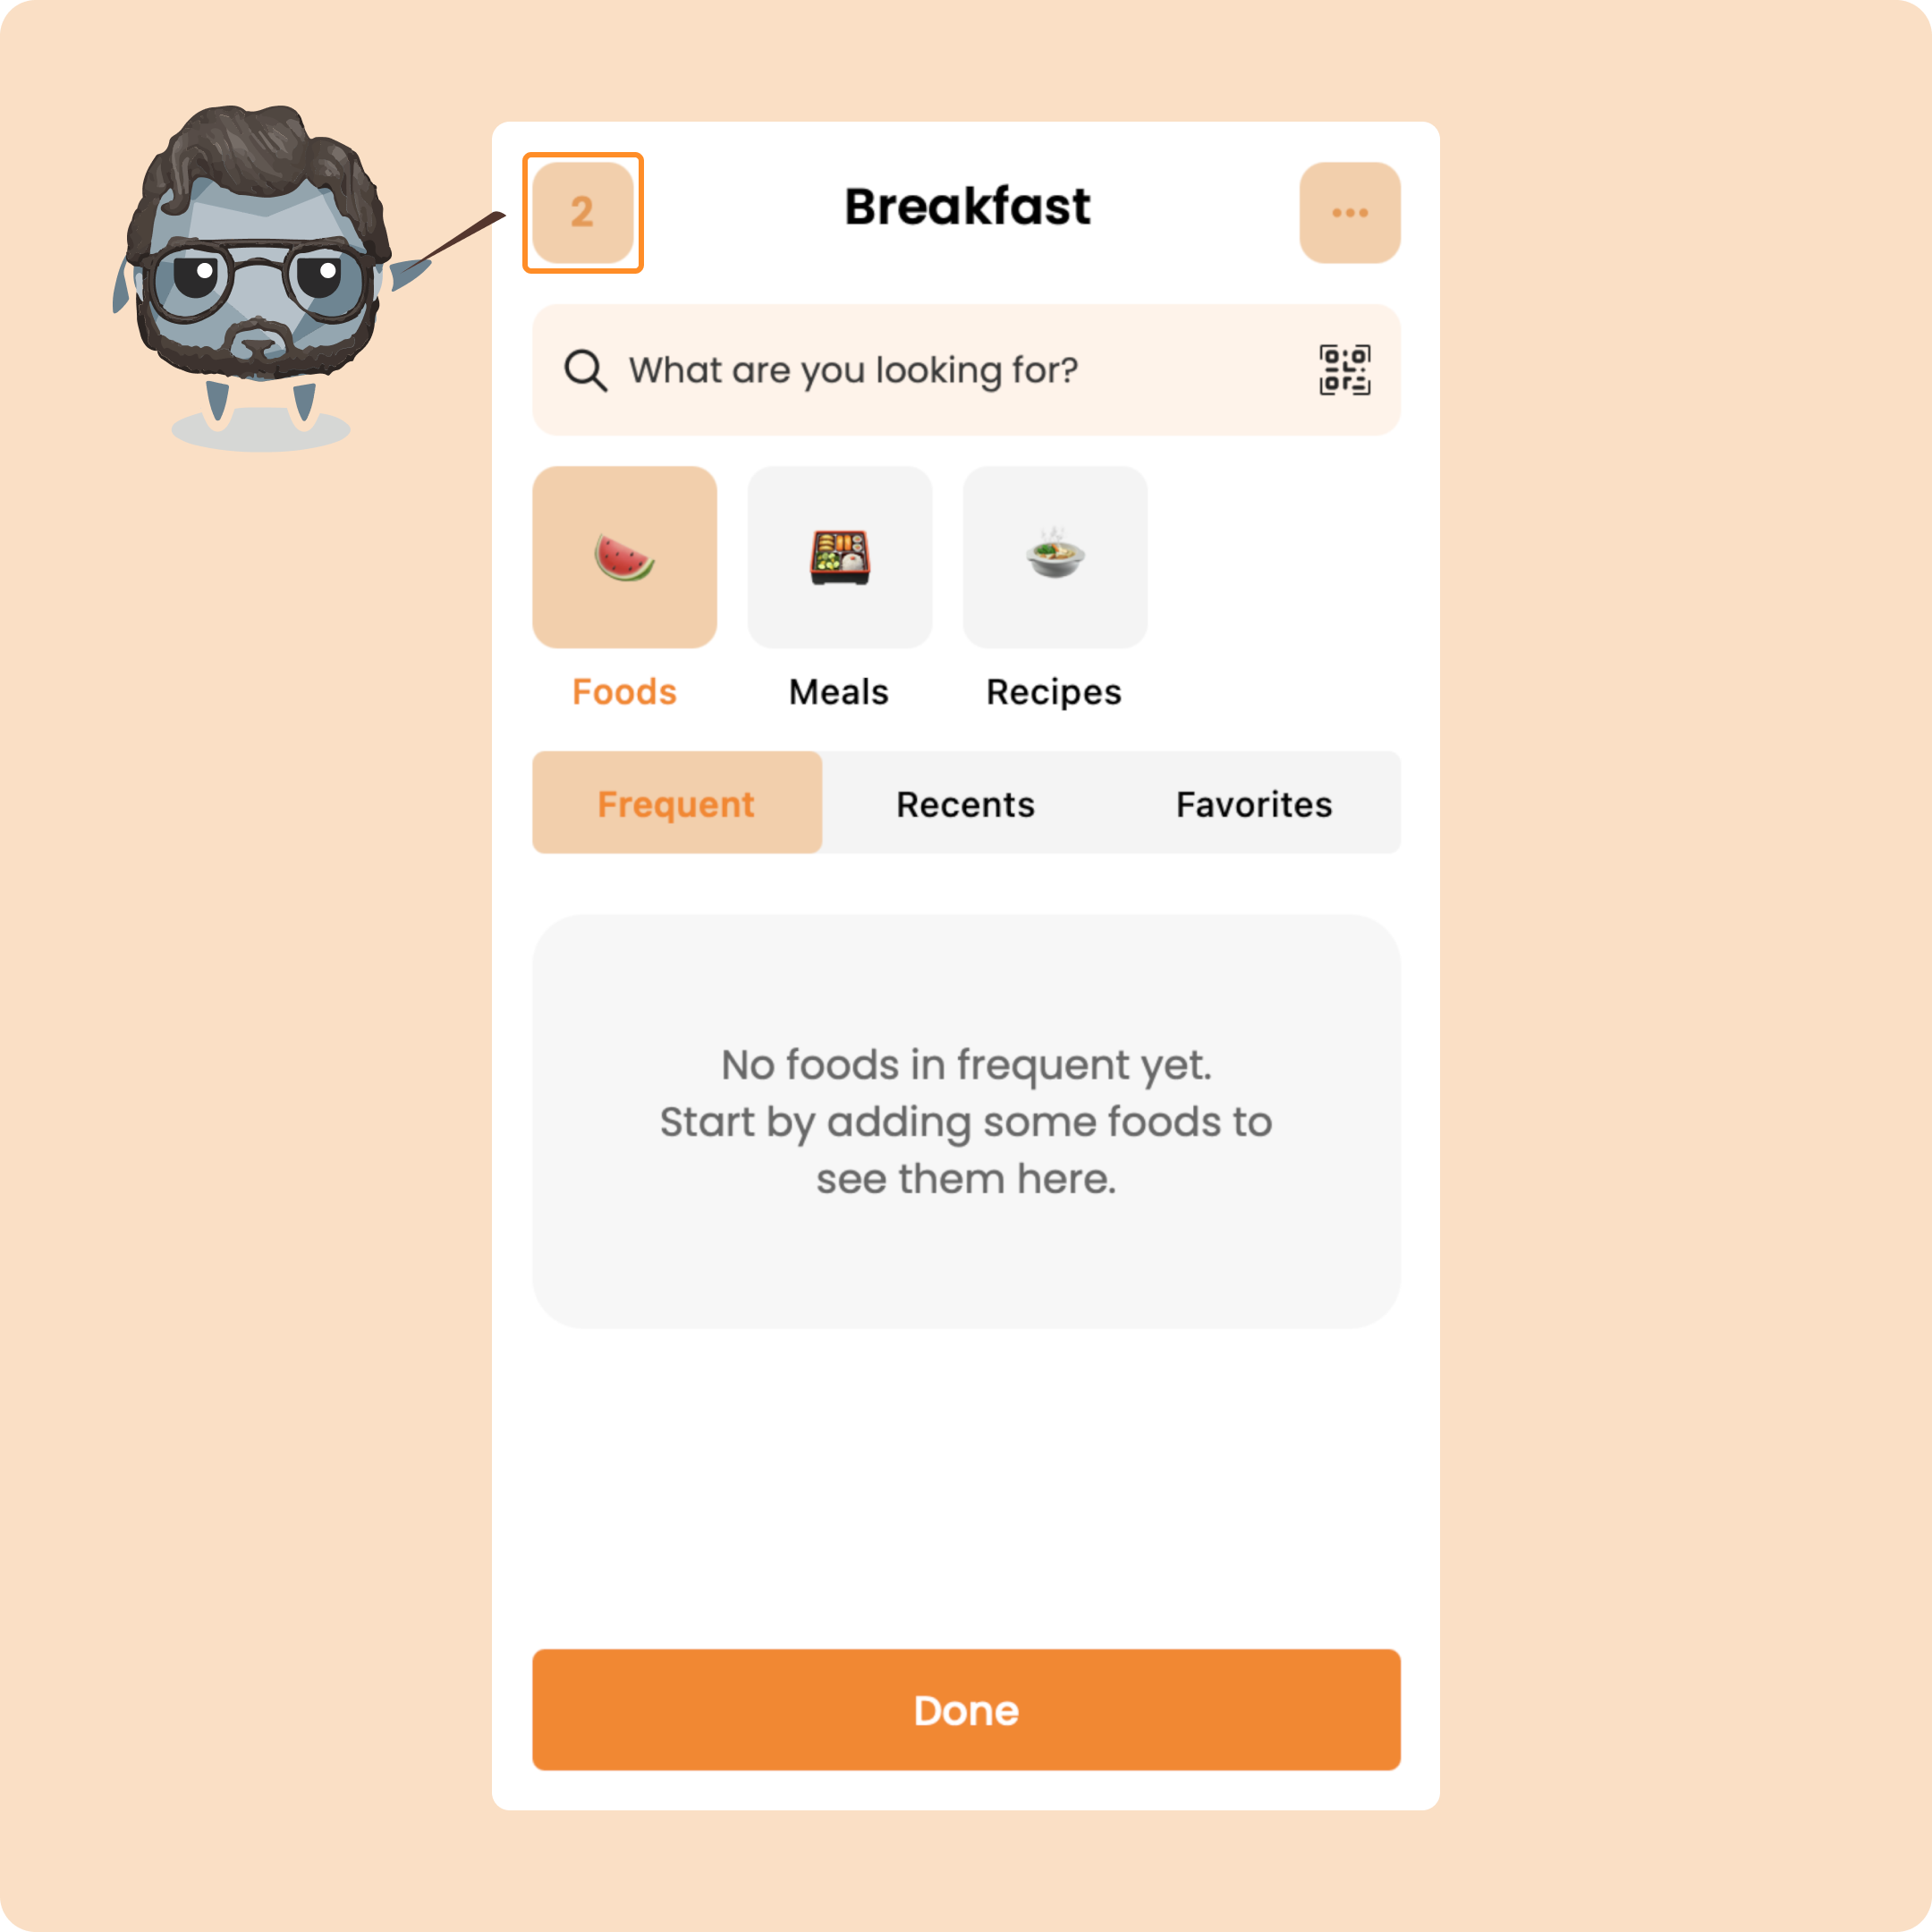
Here you’ll see 3 categories: foods, meals, and recipes.
For each, you’ll find your most frequent items, the most recent ones, and your favorites.
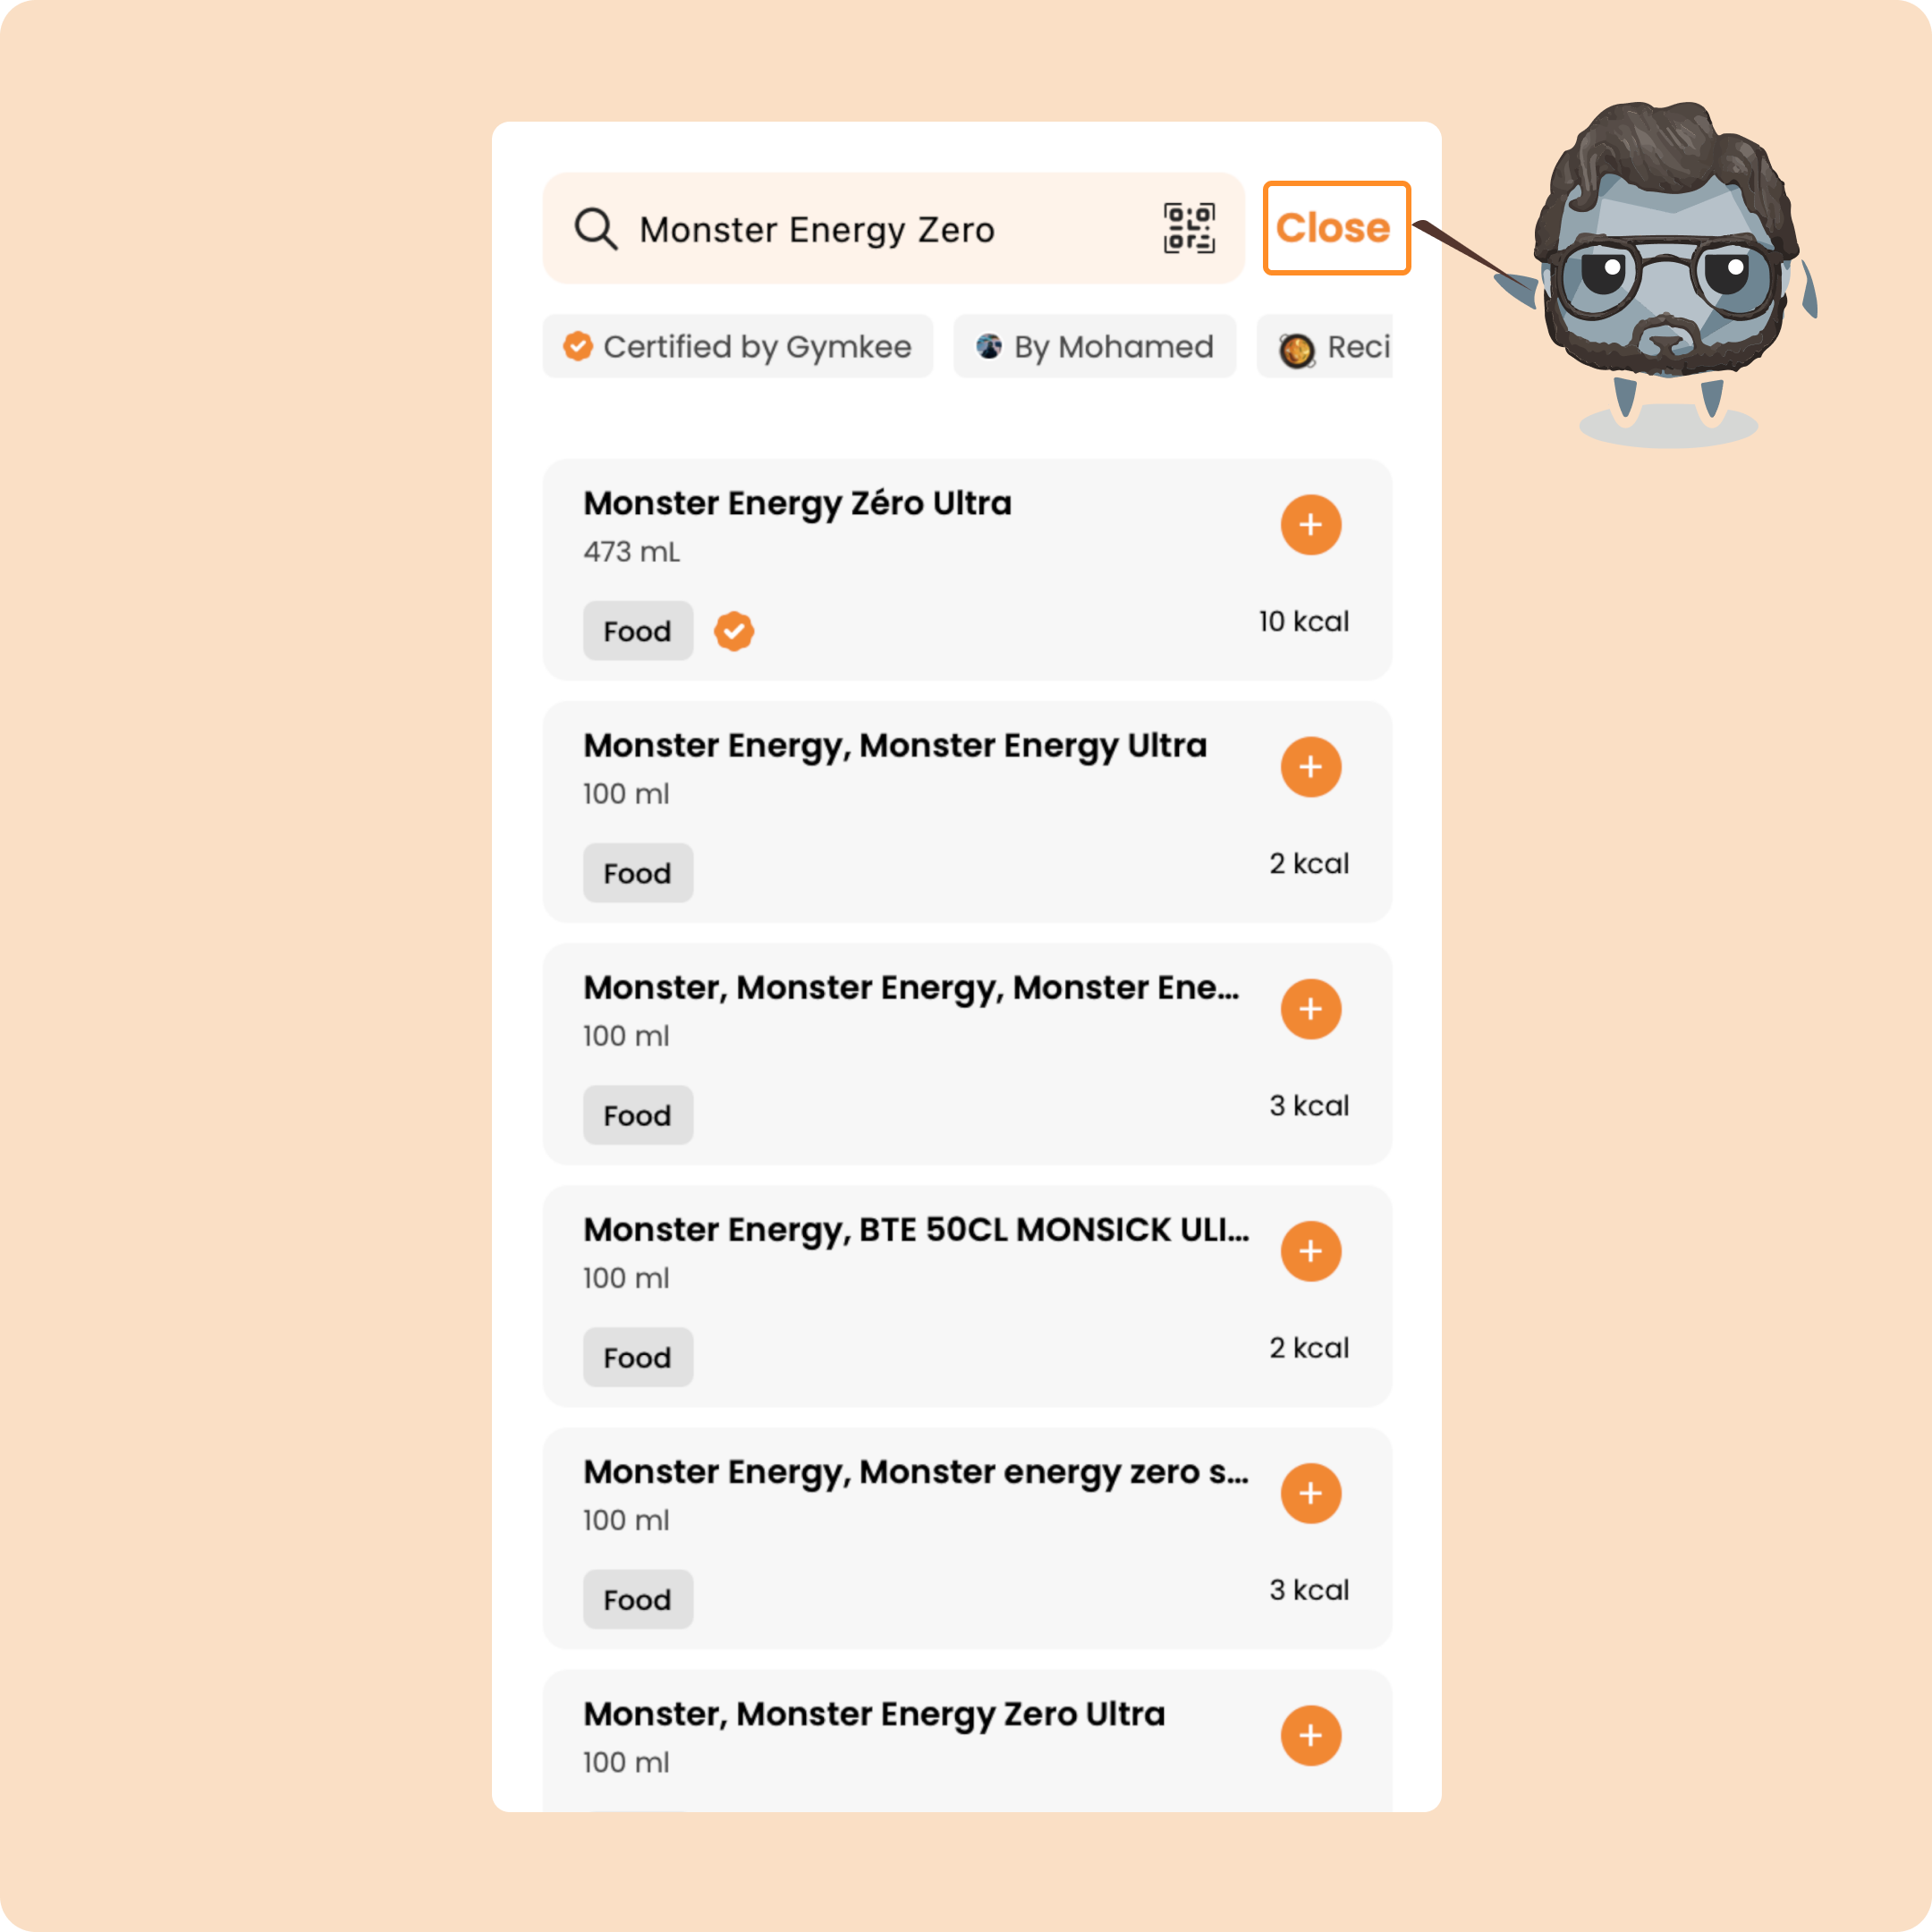
To search for a food, use the search bar and type it in.
You’ll get a first list of results. If you don’t find the one you want, just click the button to launch a deeper search in our databases.
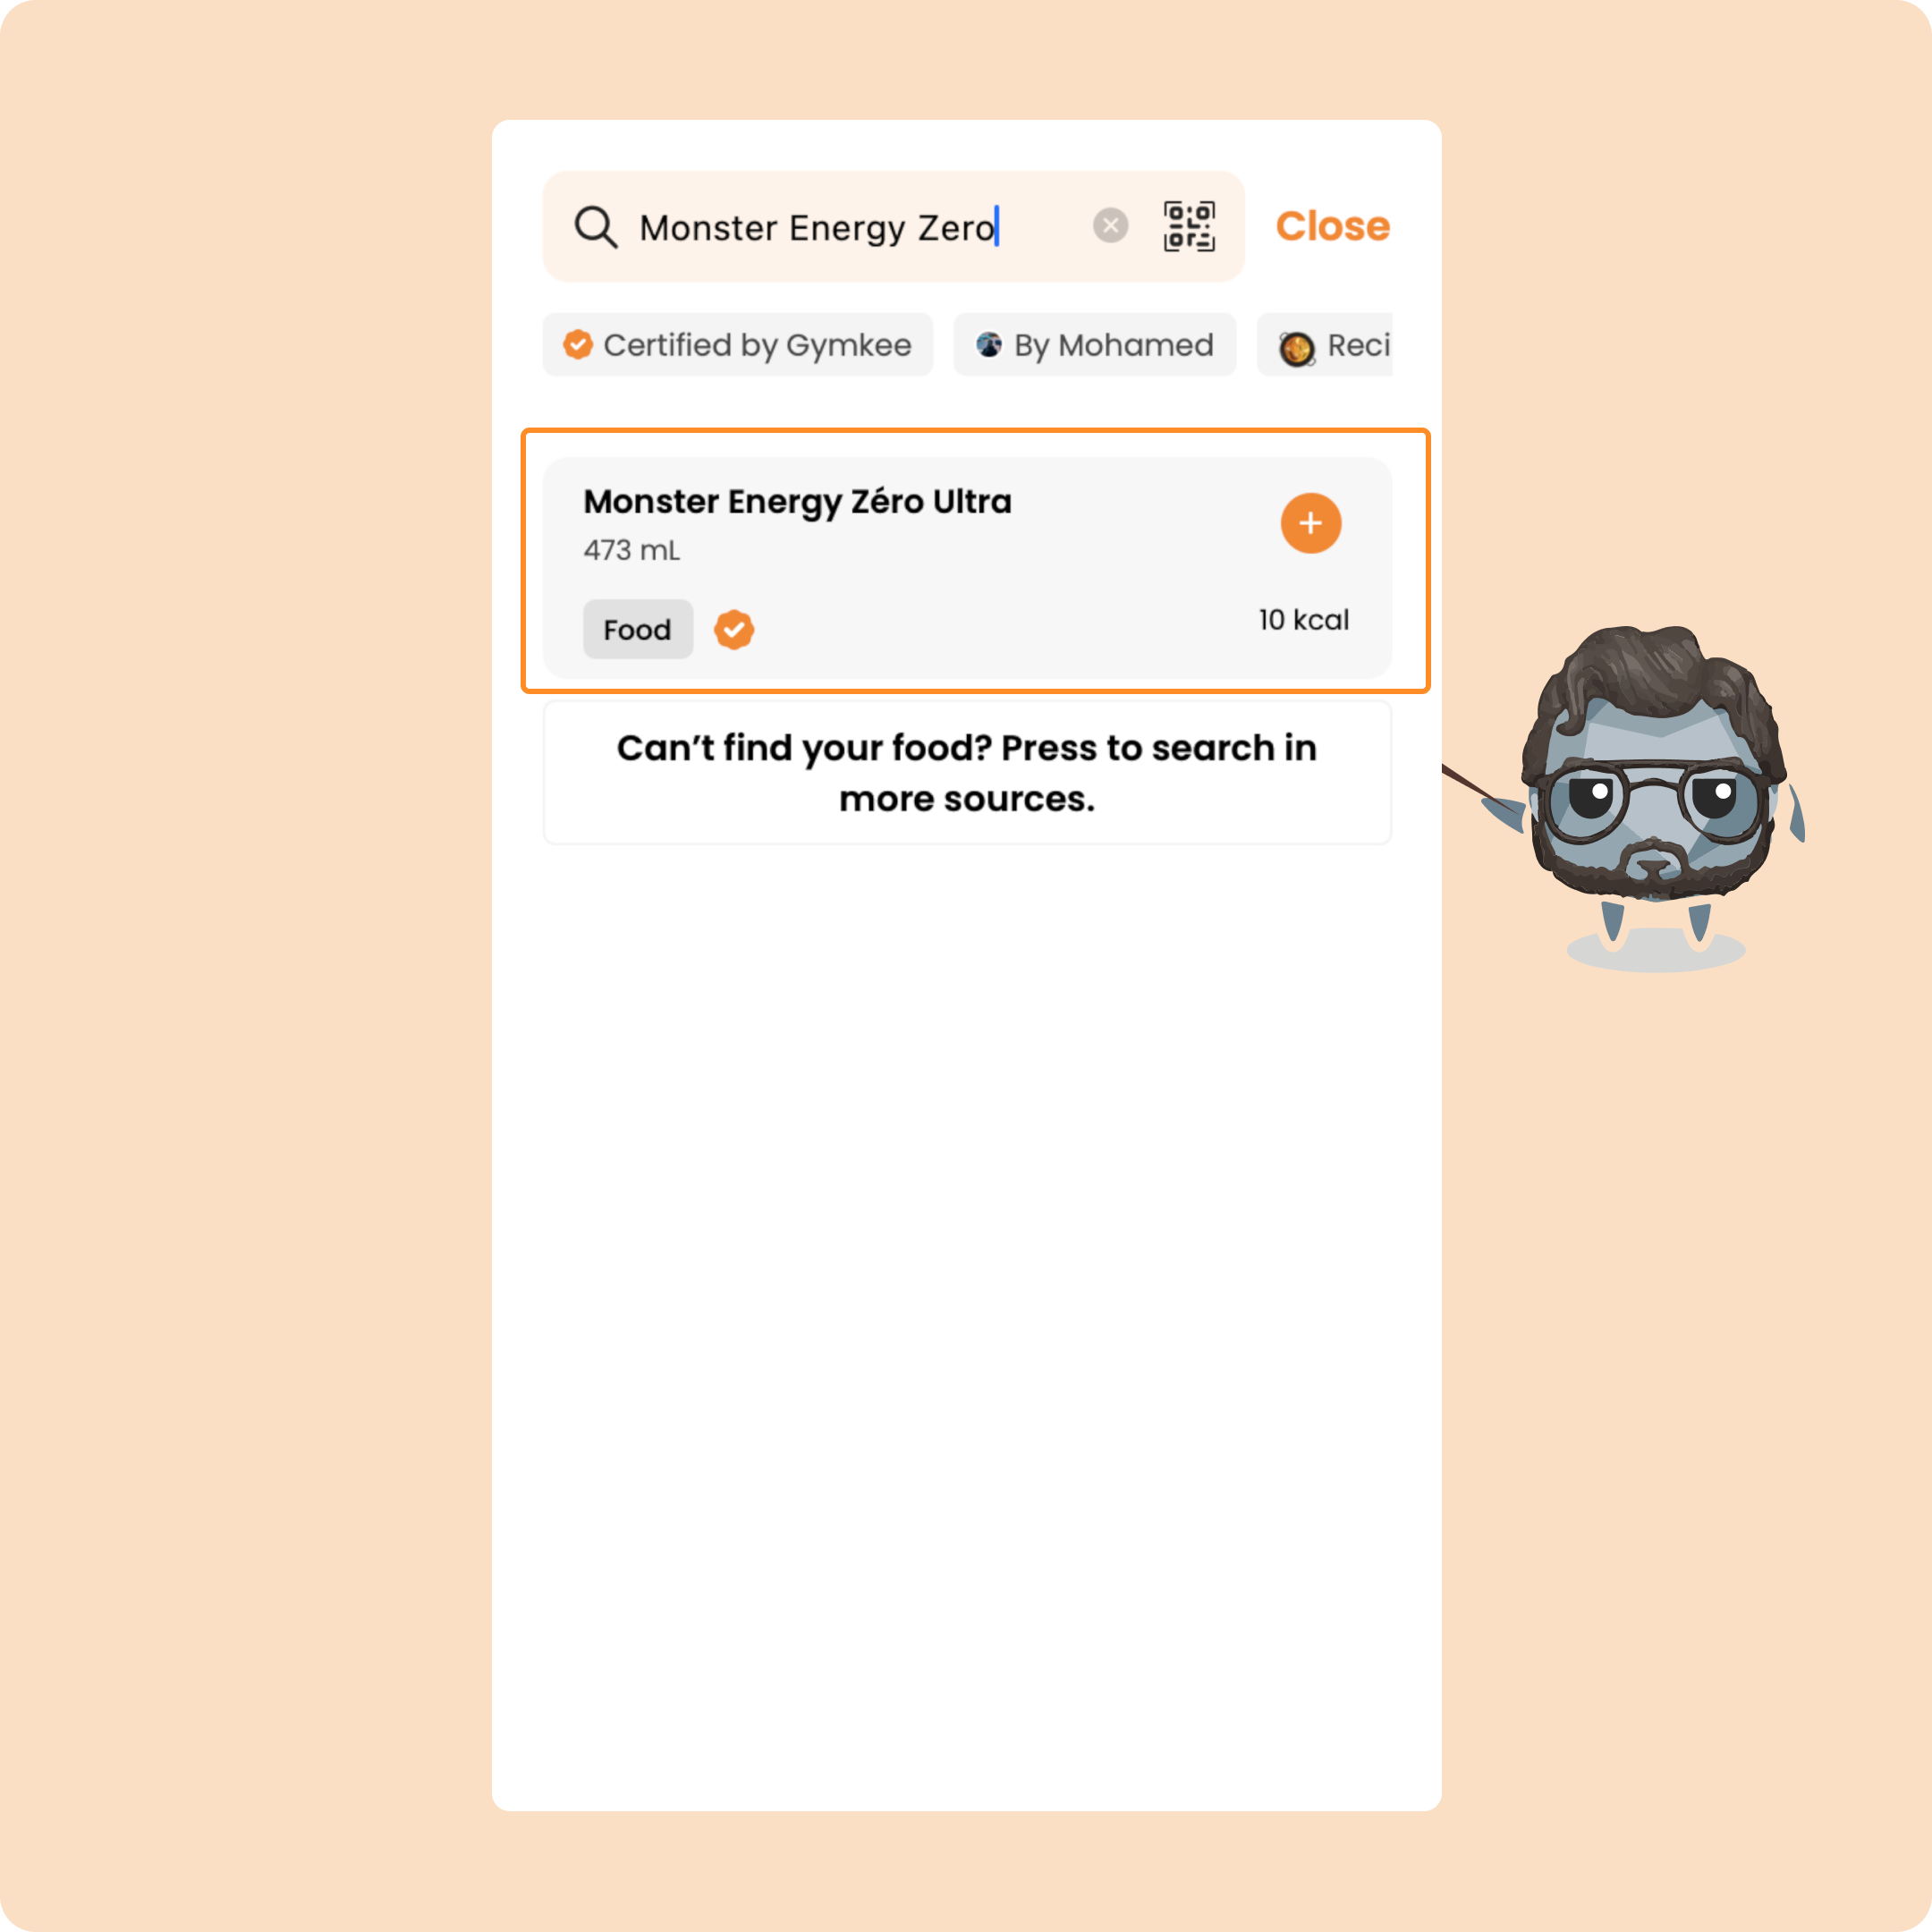
Then you’ve got two options:
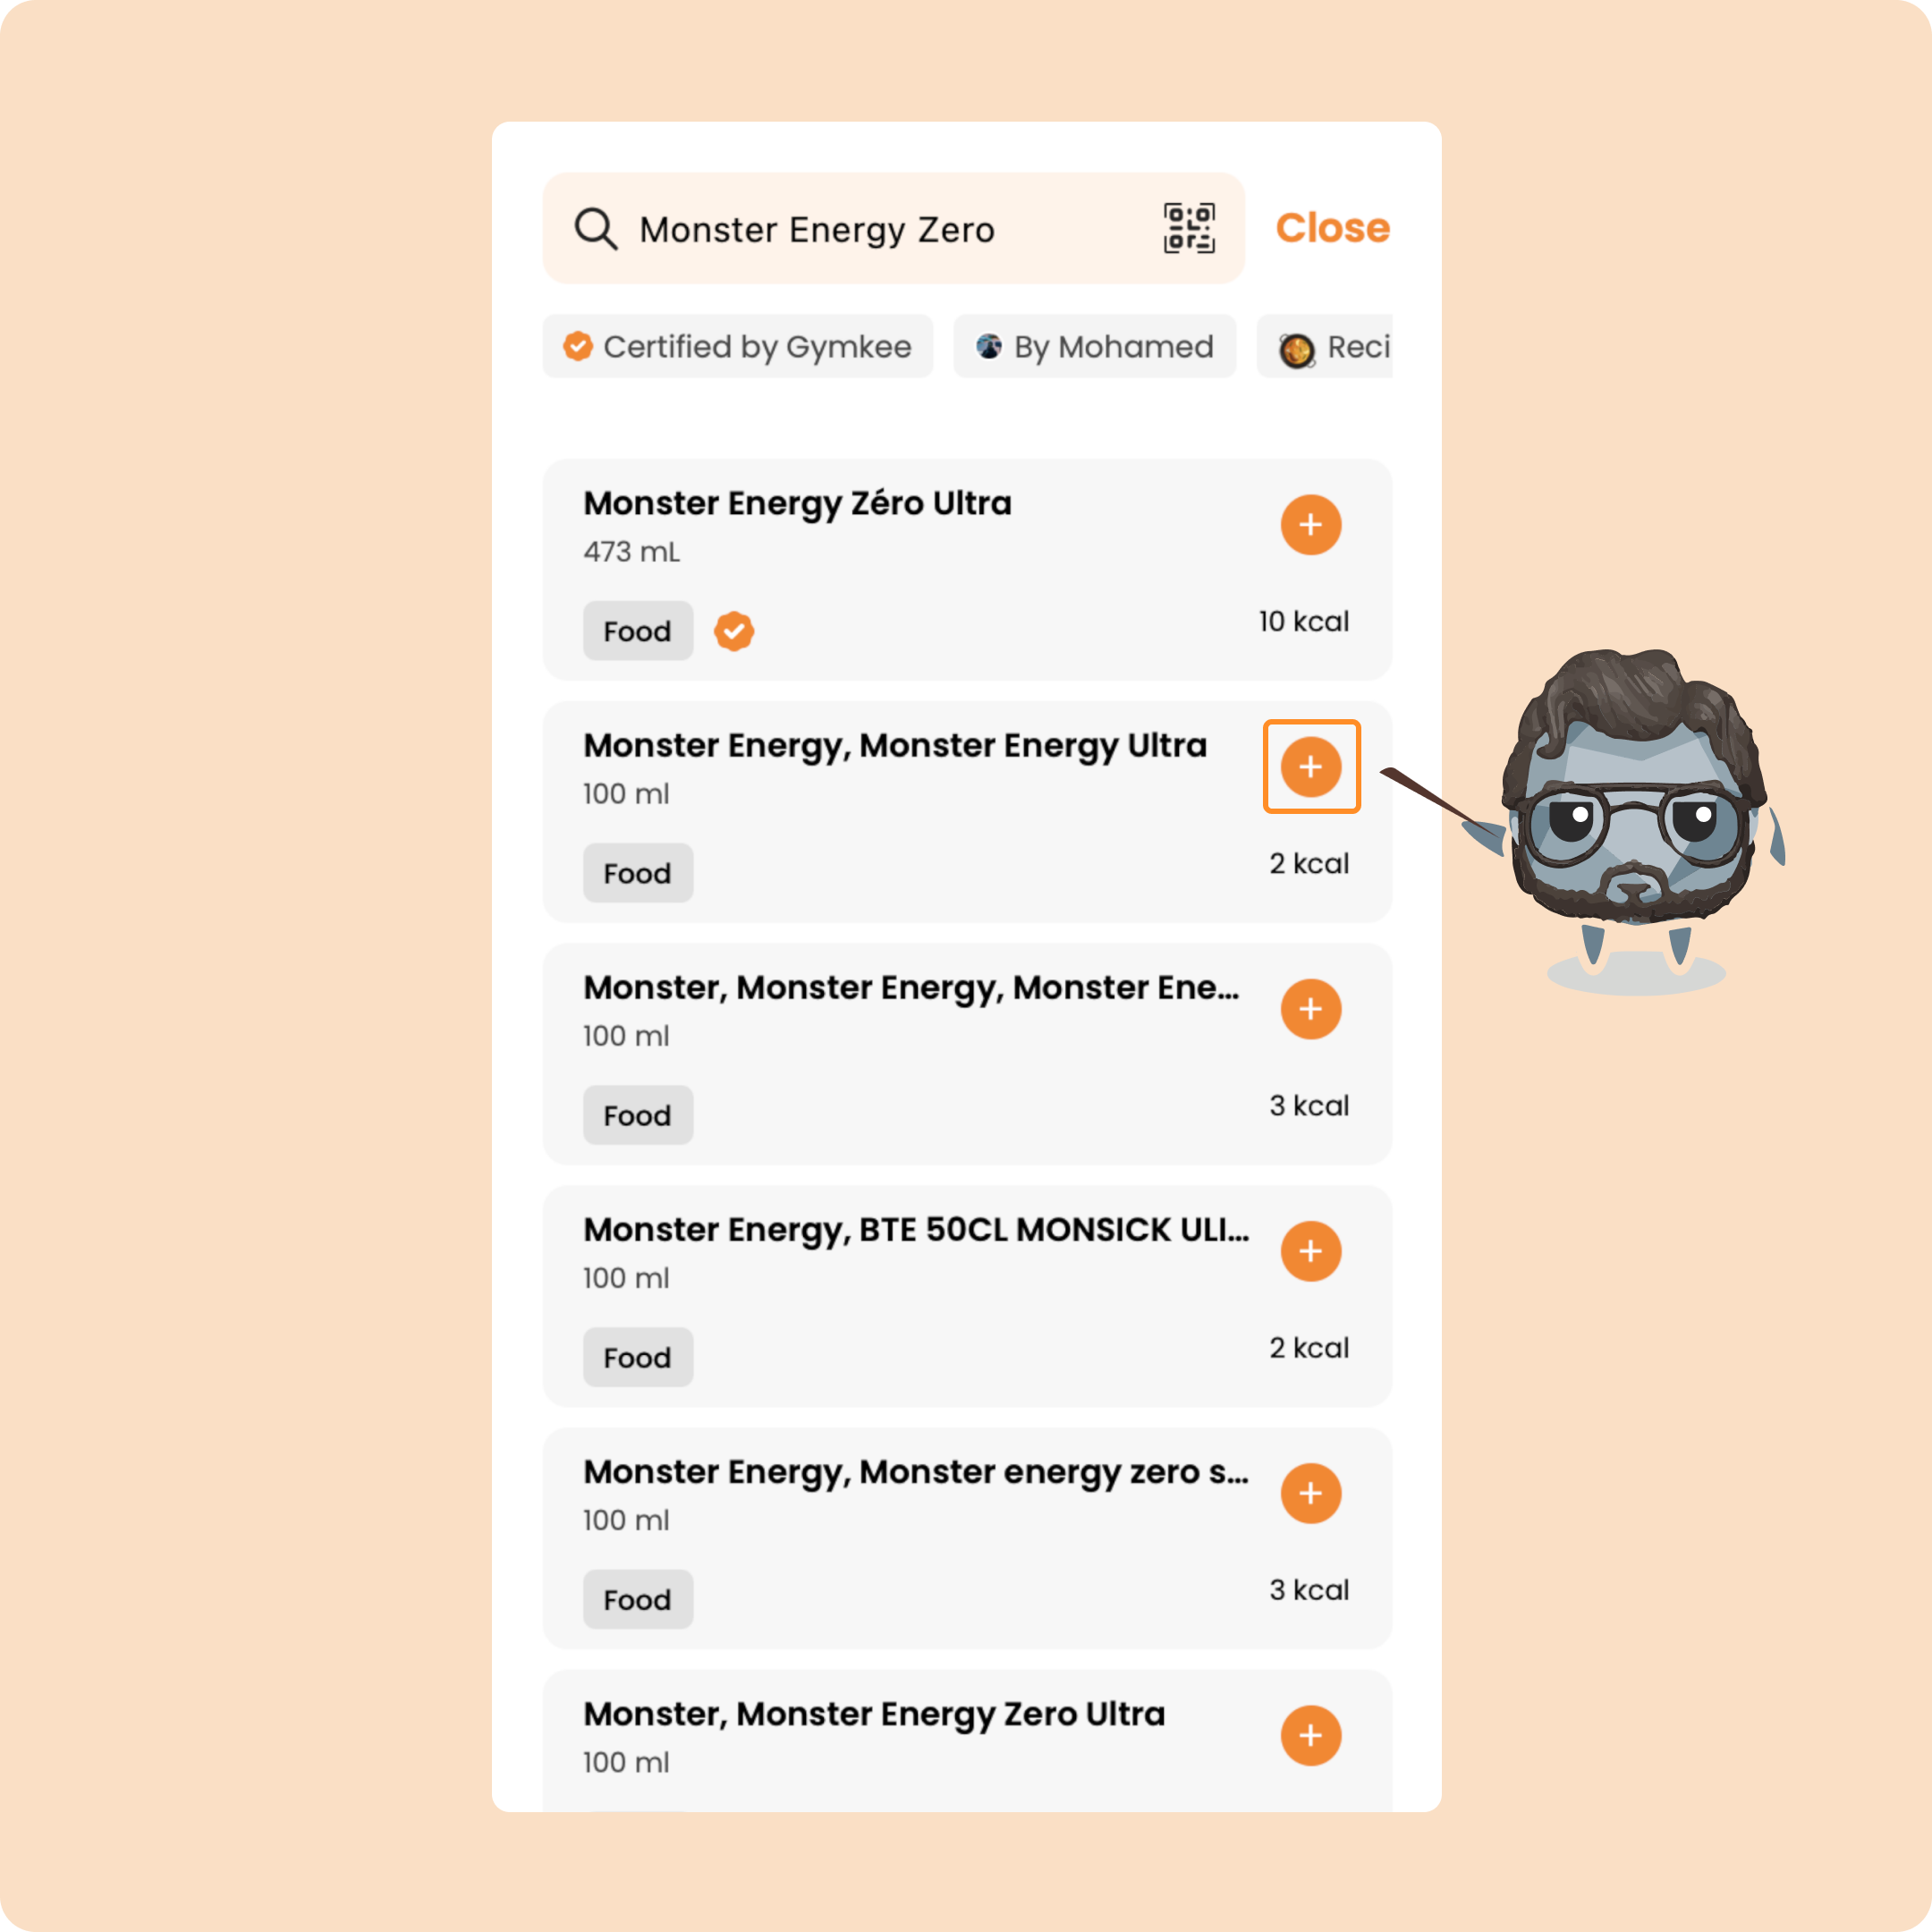
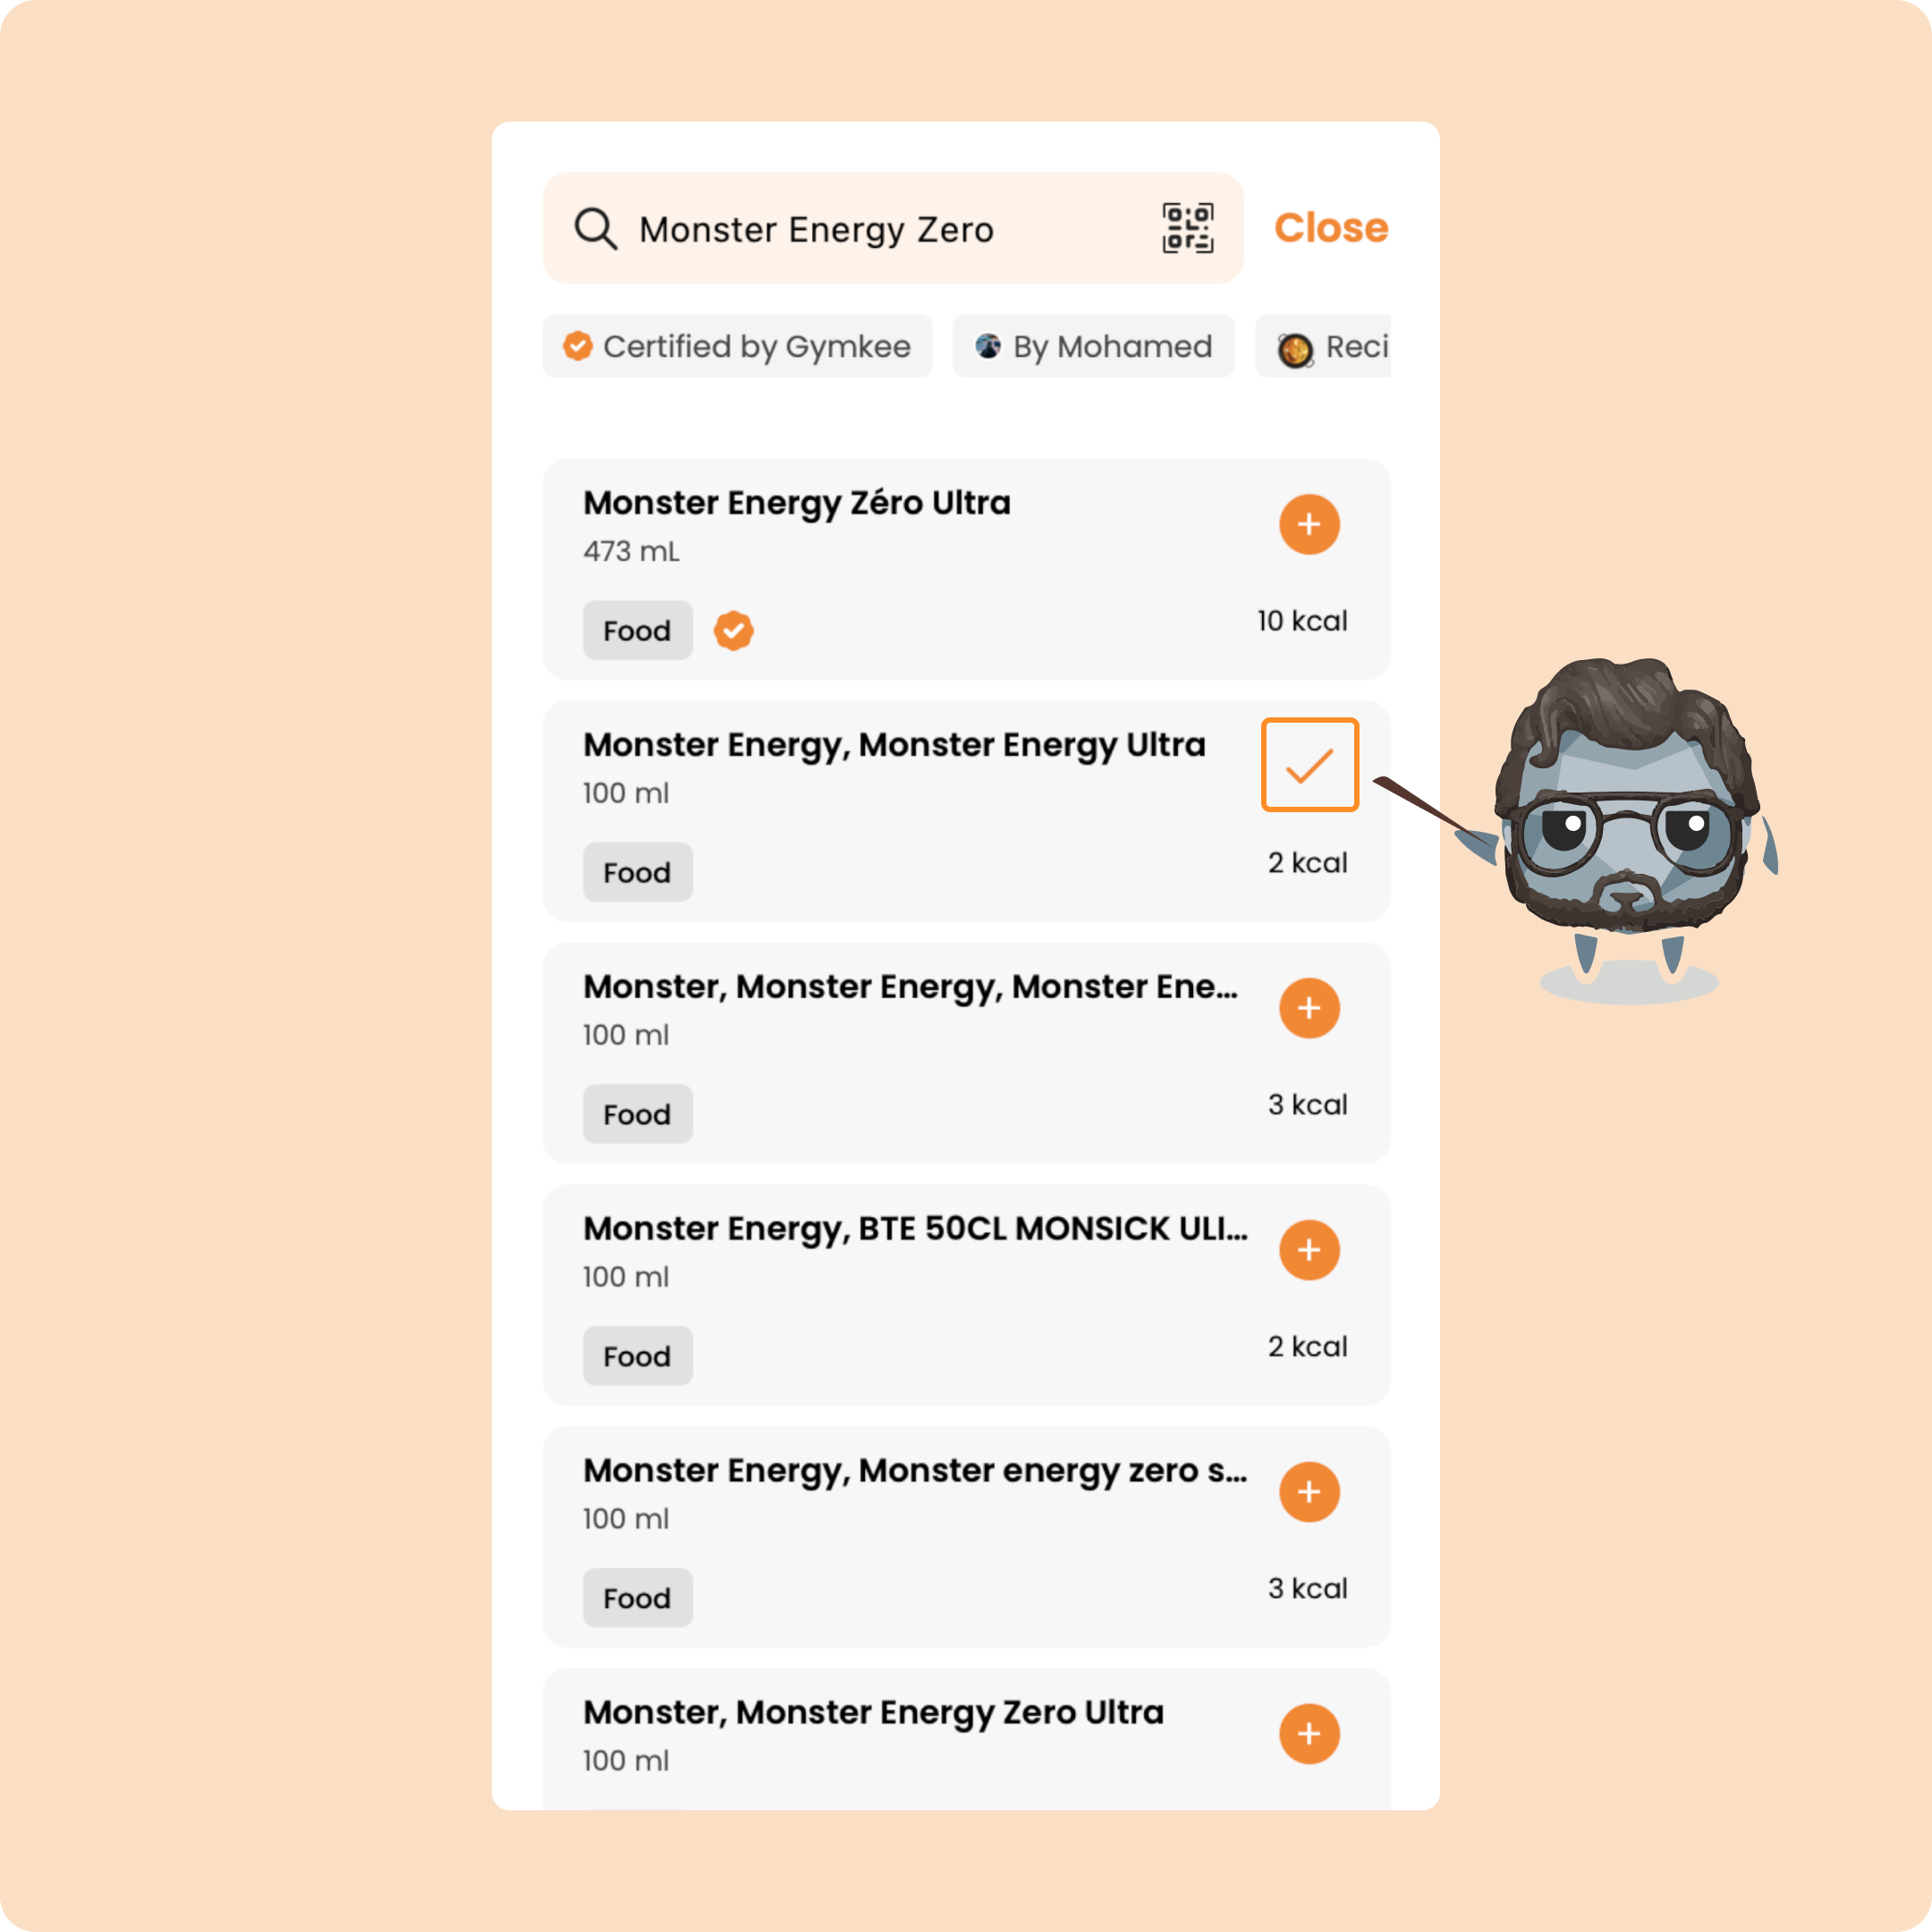
→ Press the little “+” to add the food as it is, at its default value (you can edit it later).
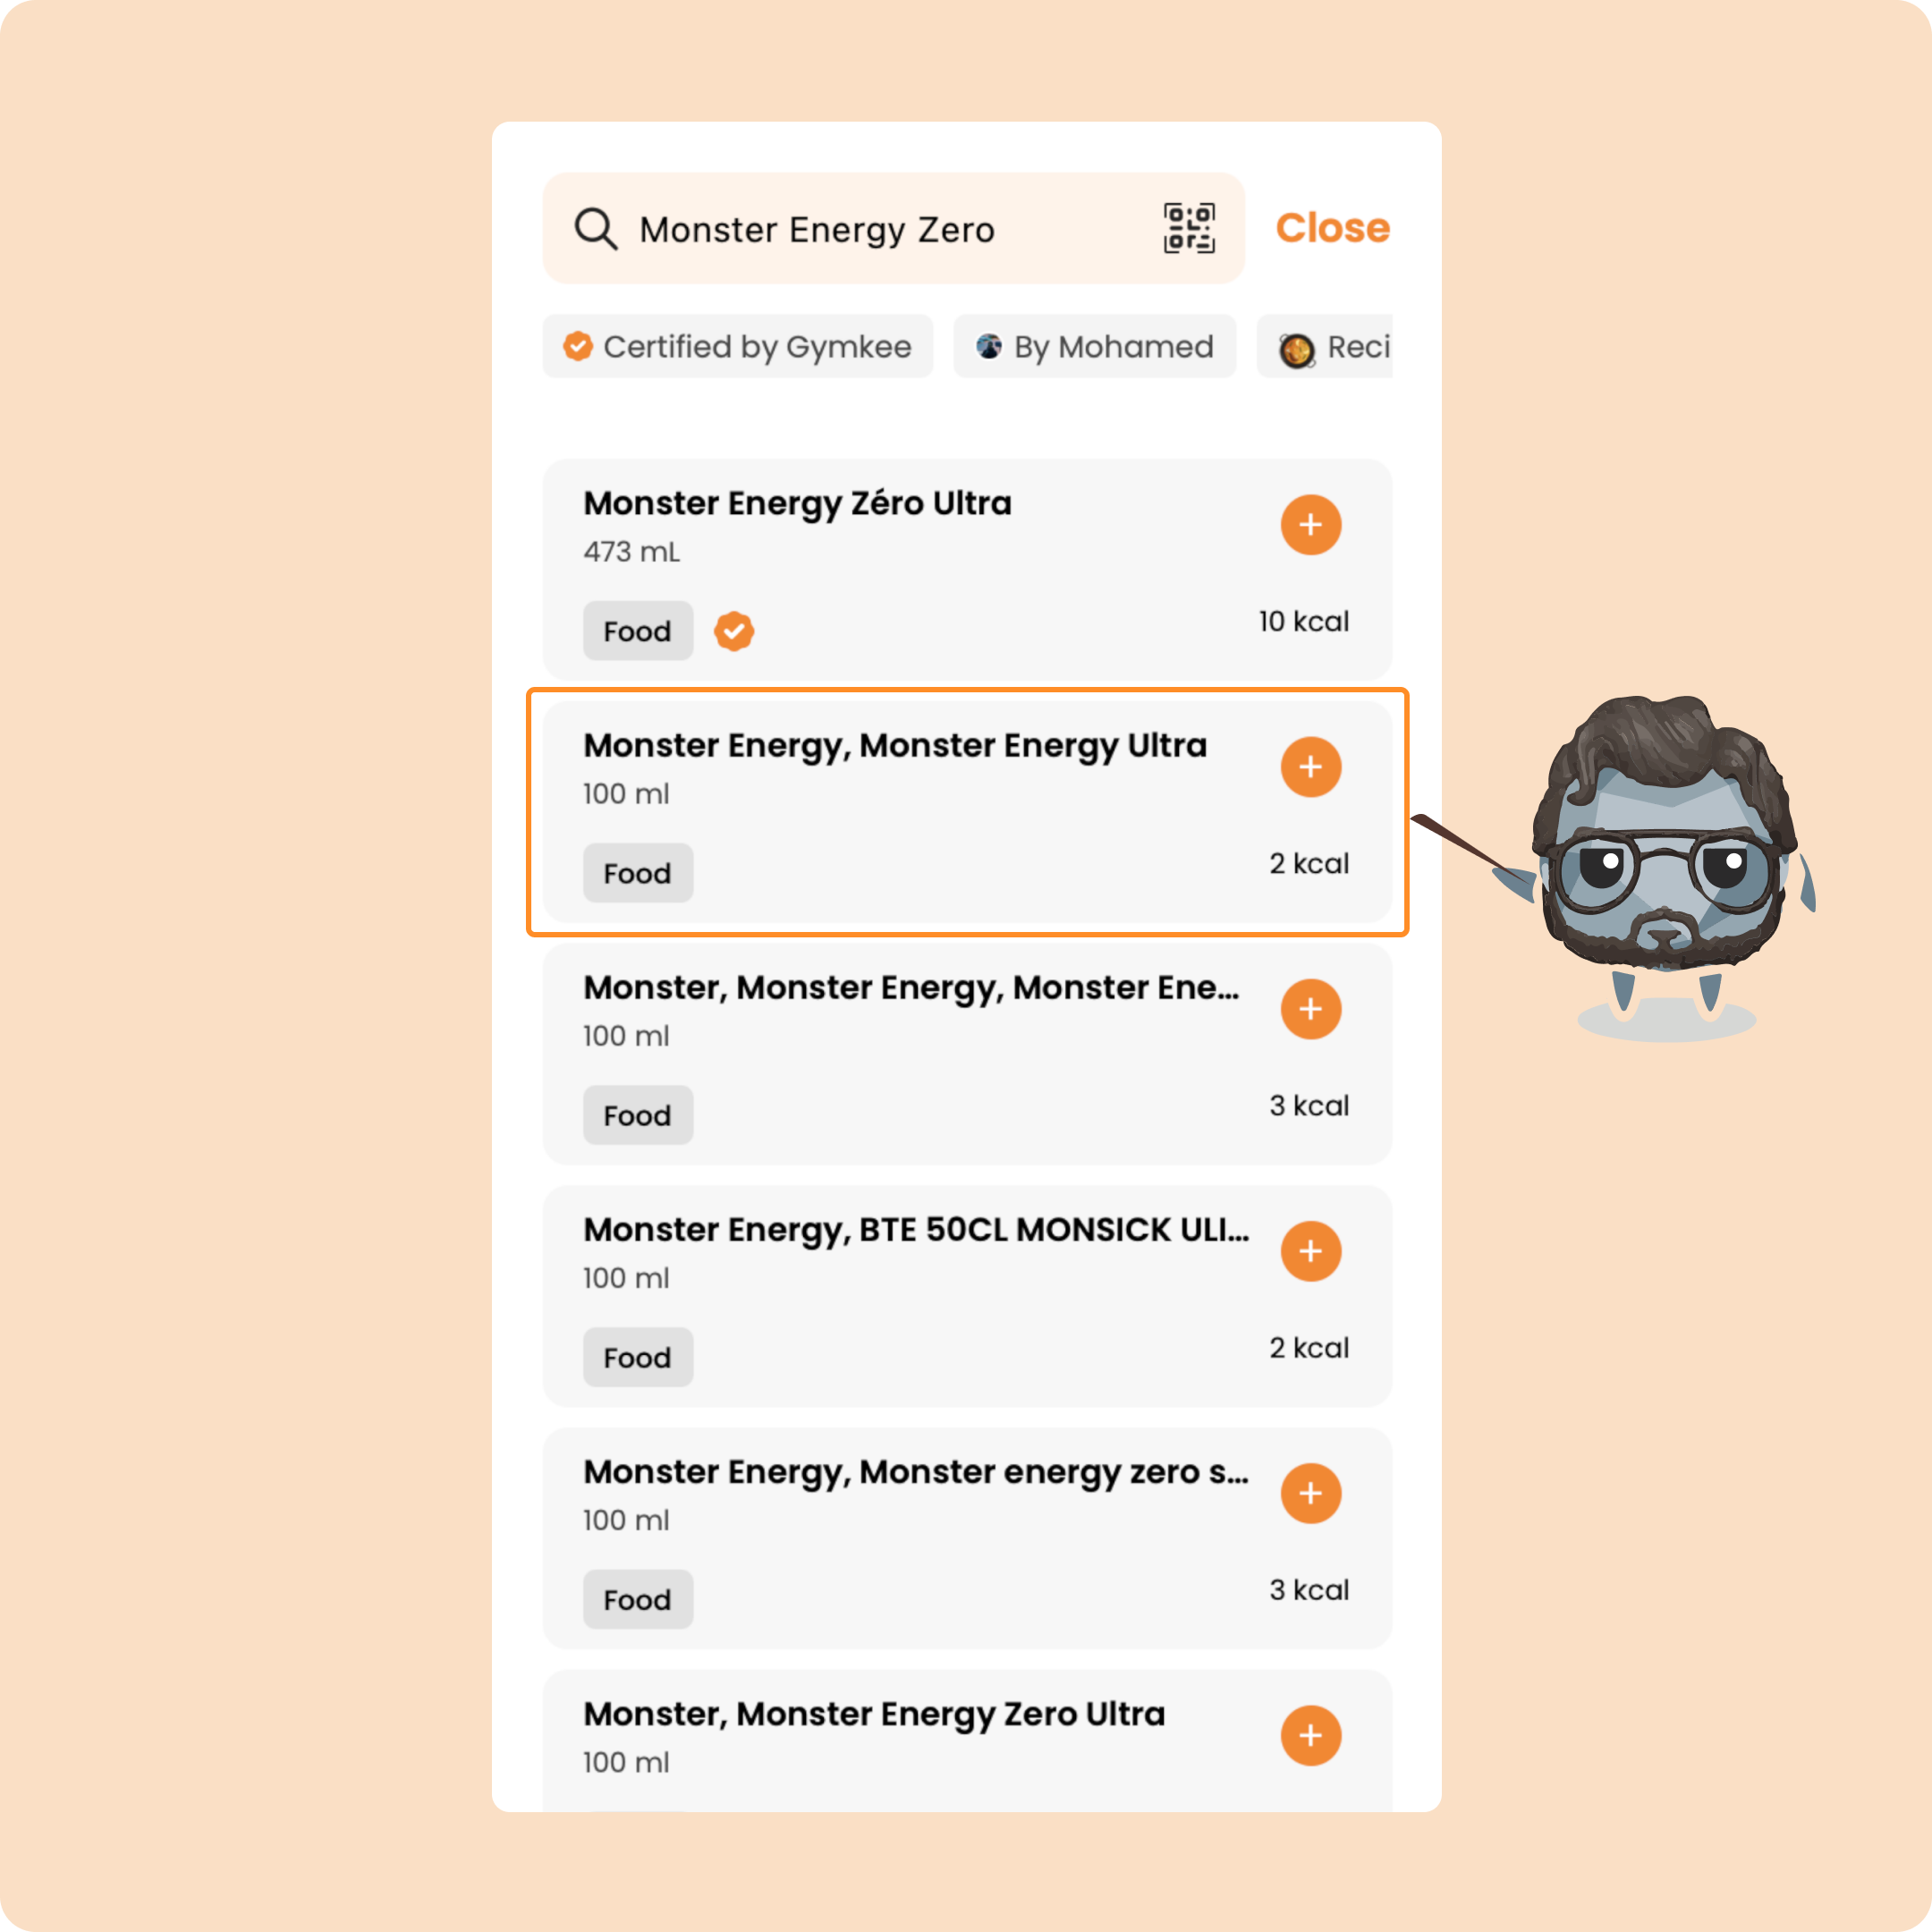
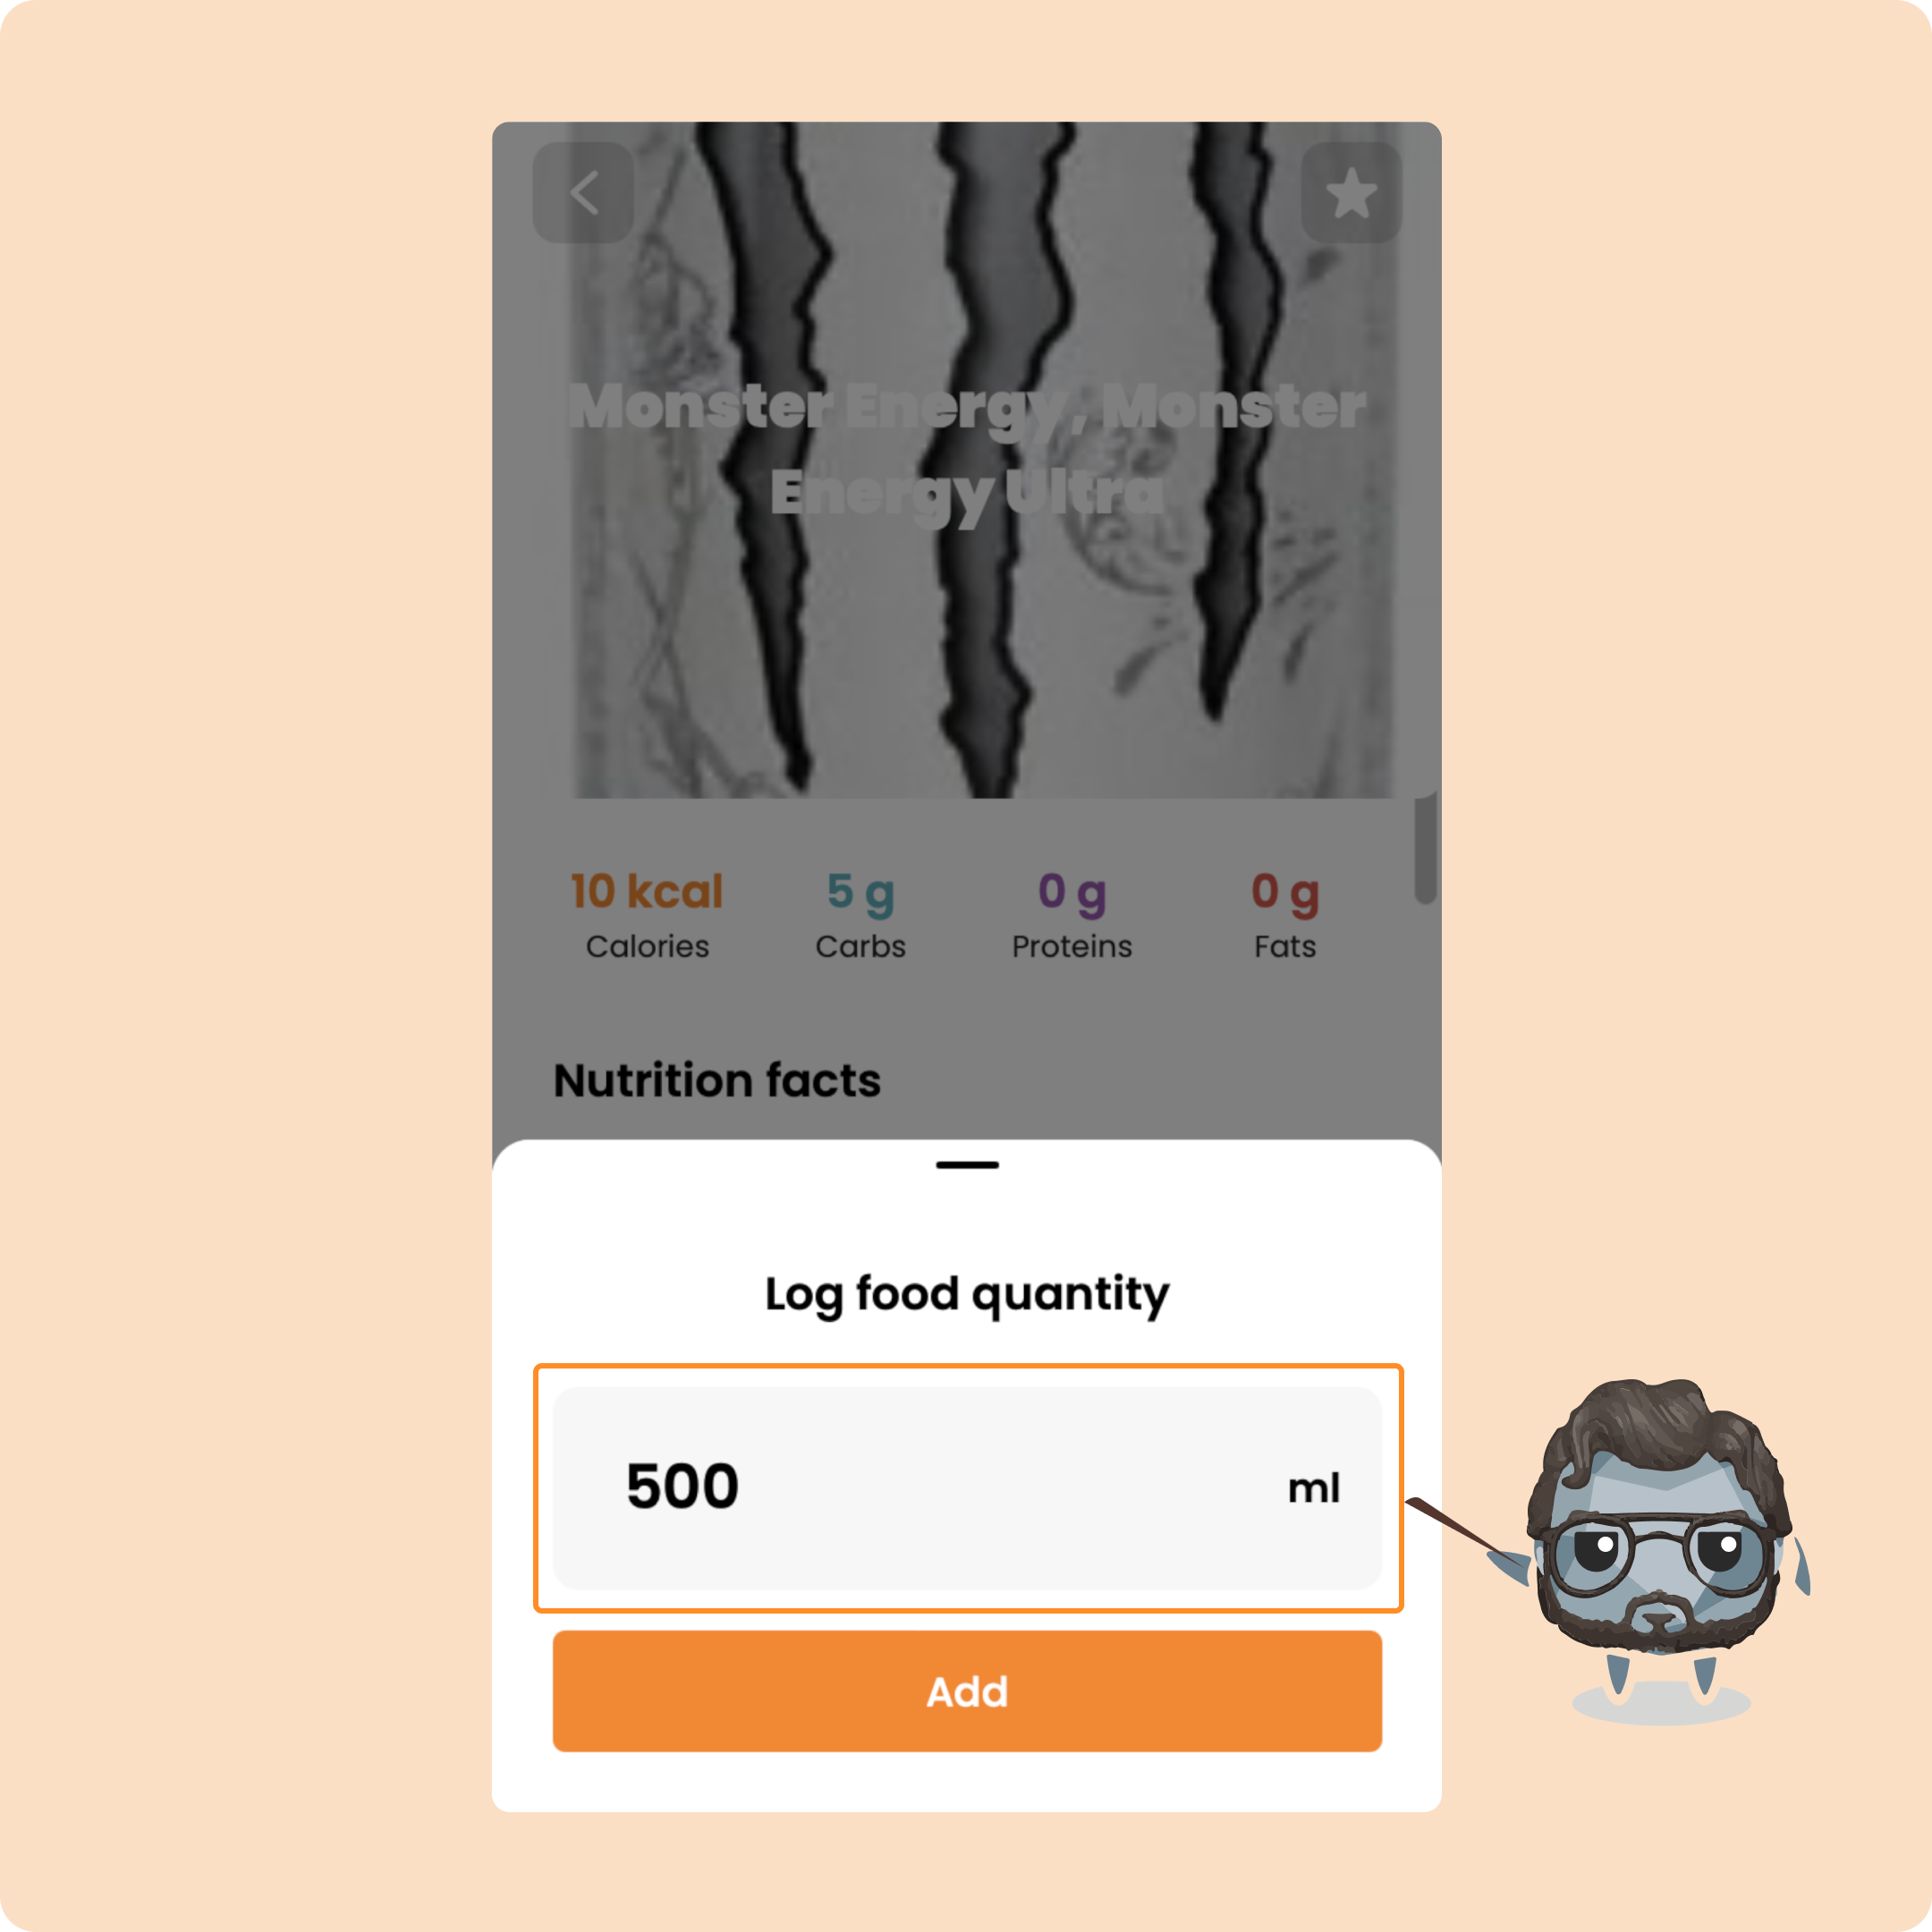
→ Or click on the food and enter the exact value directly.
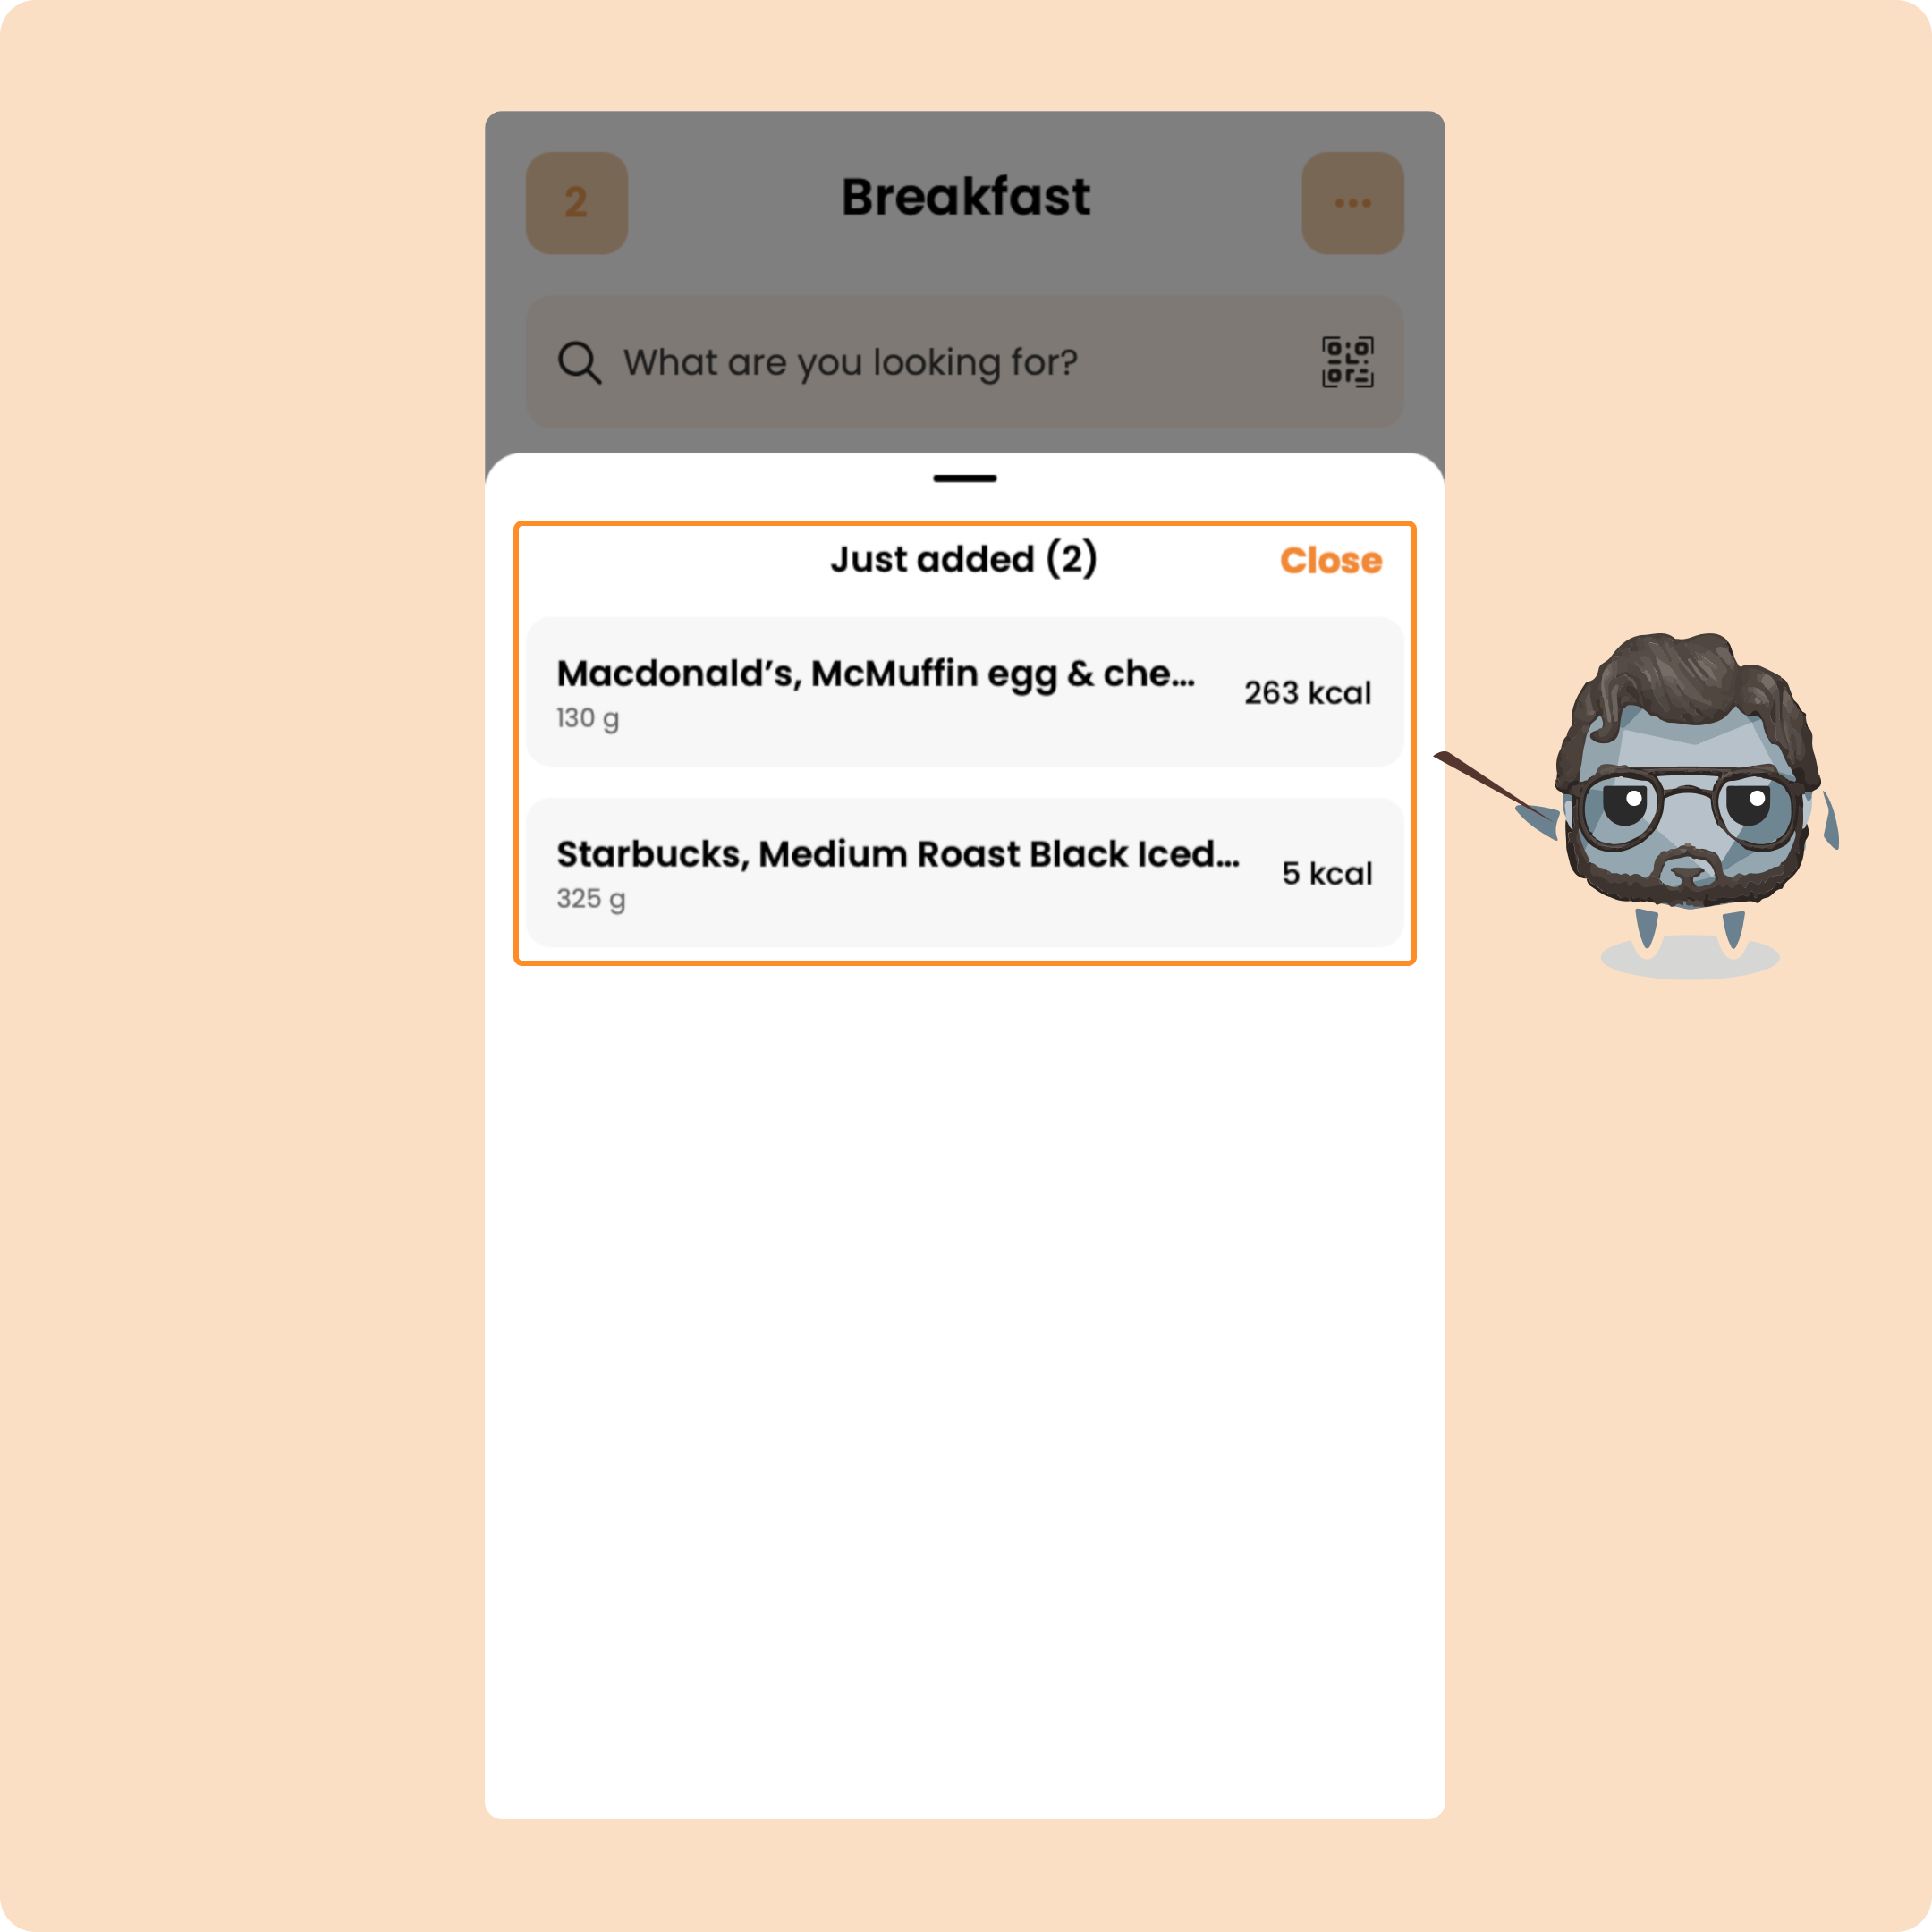
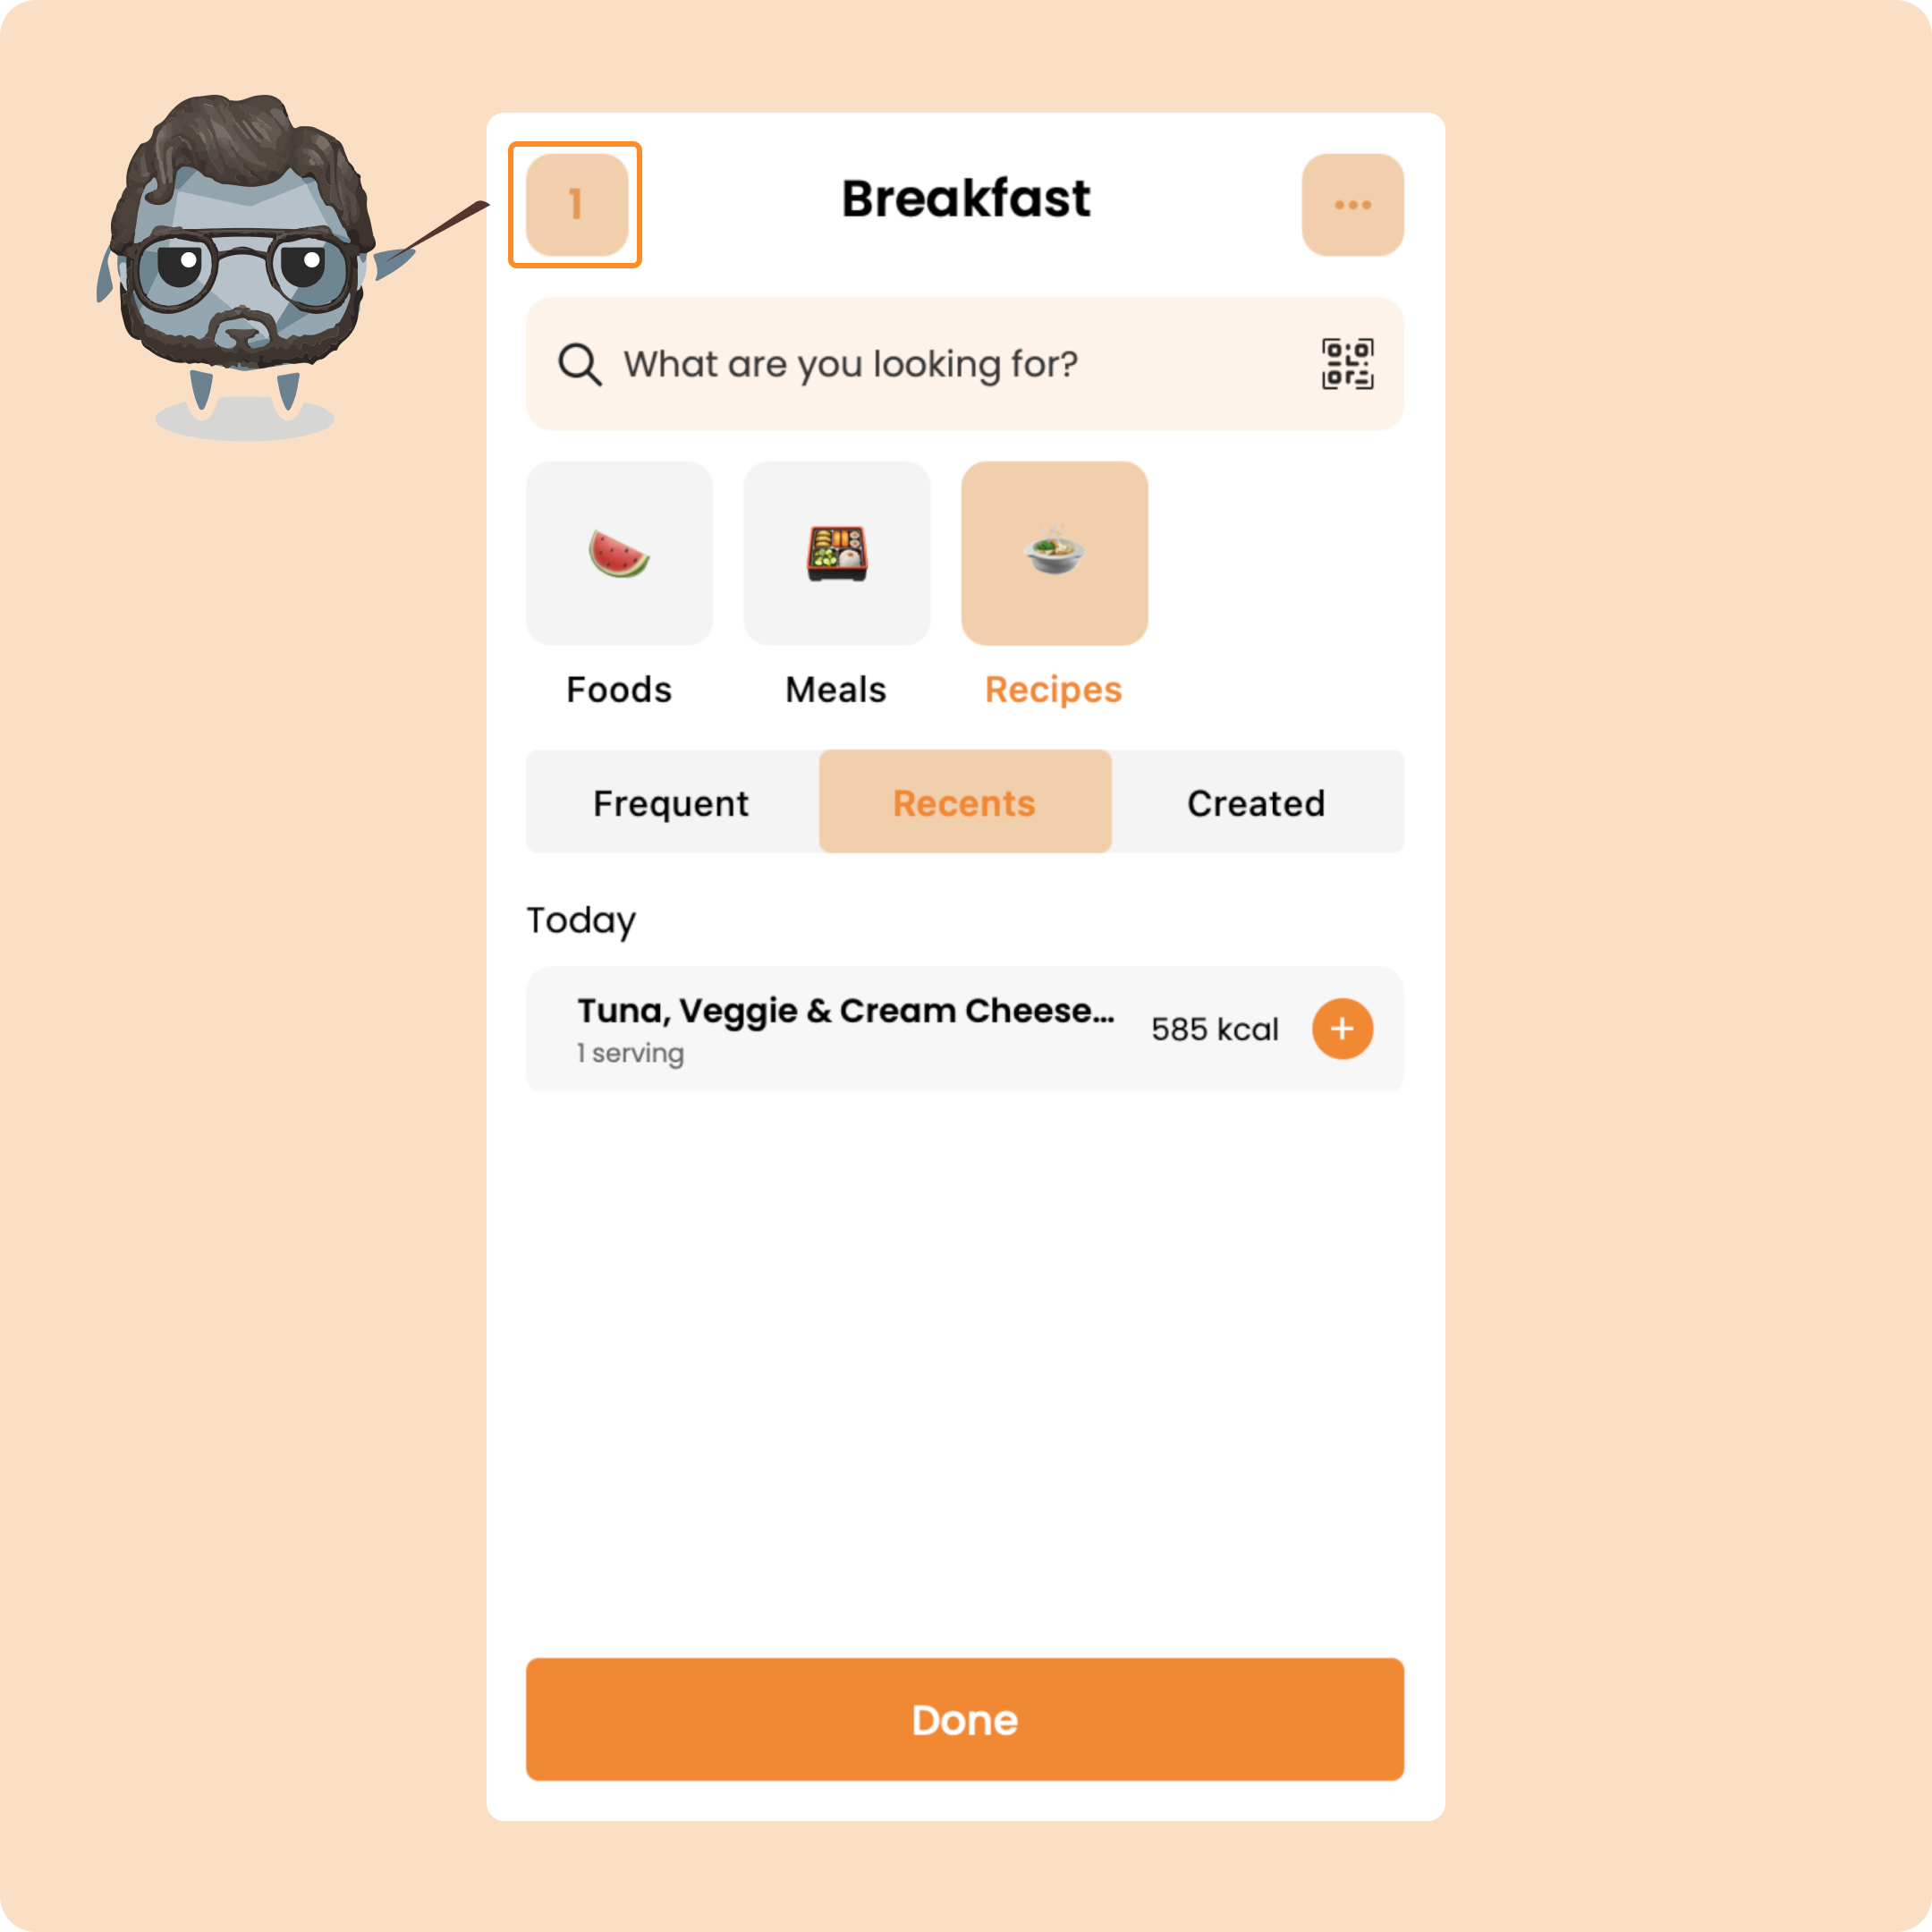
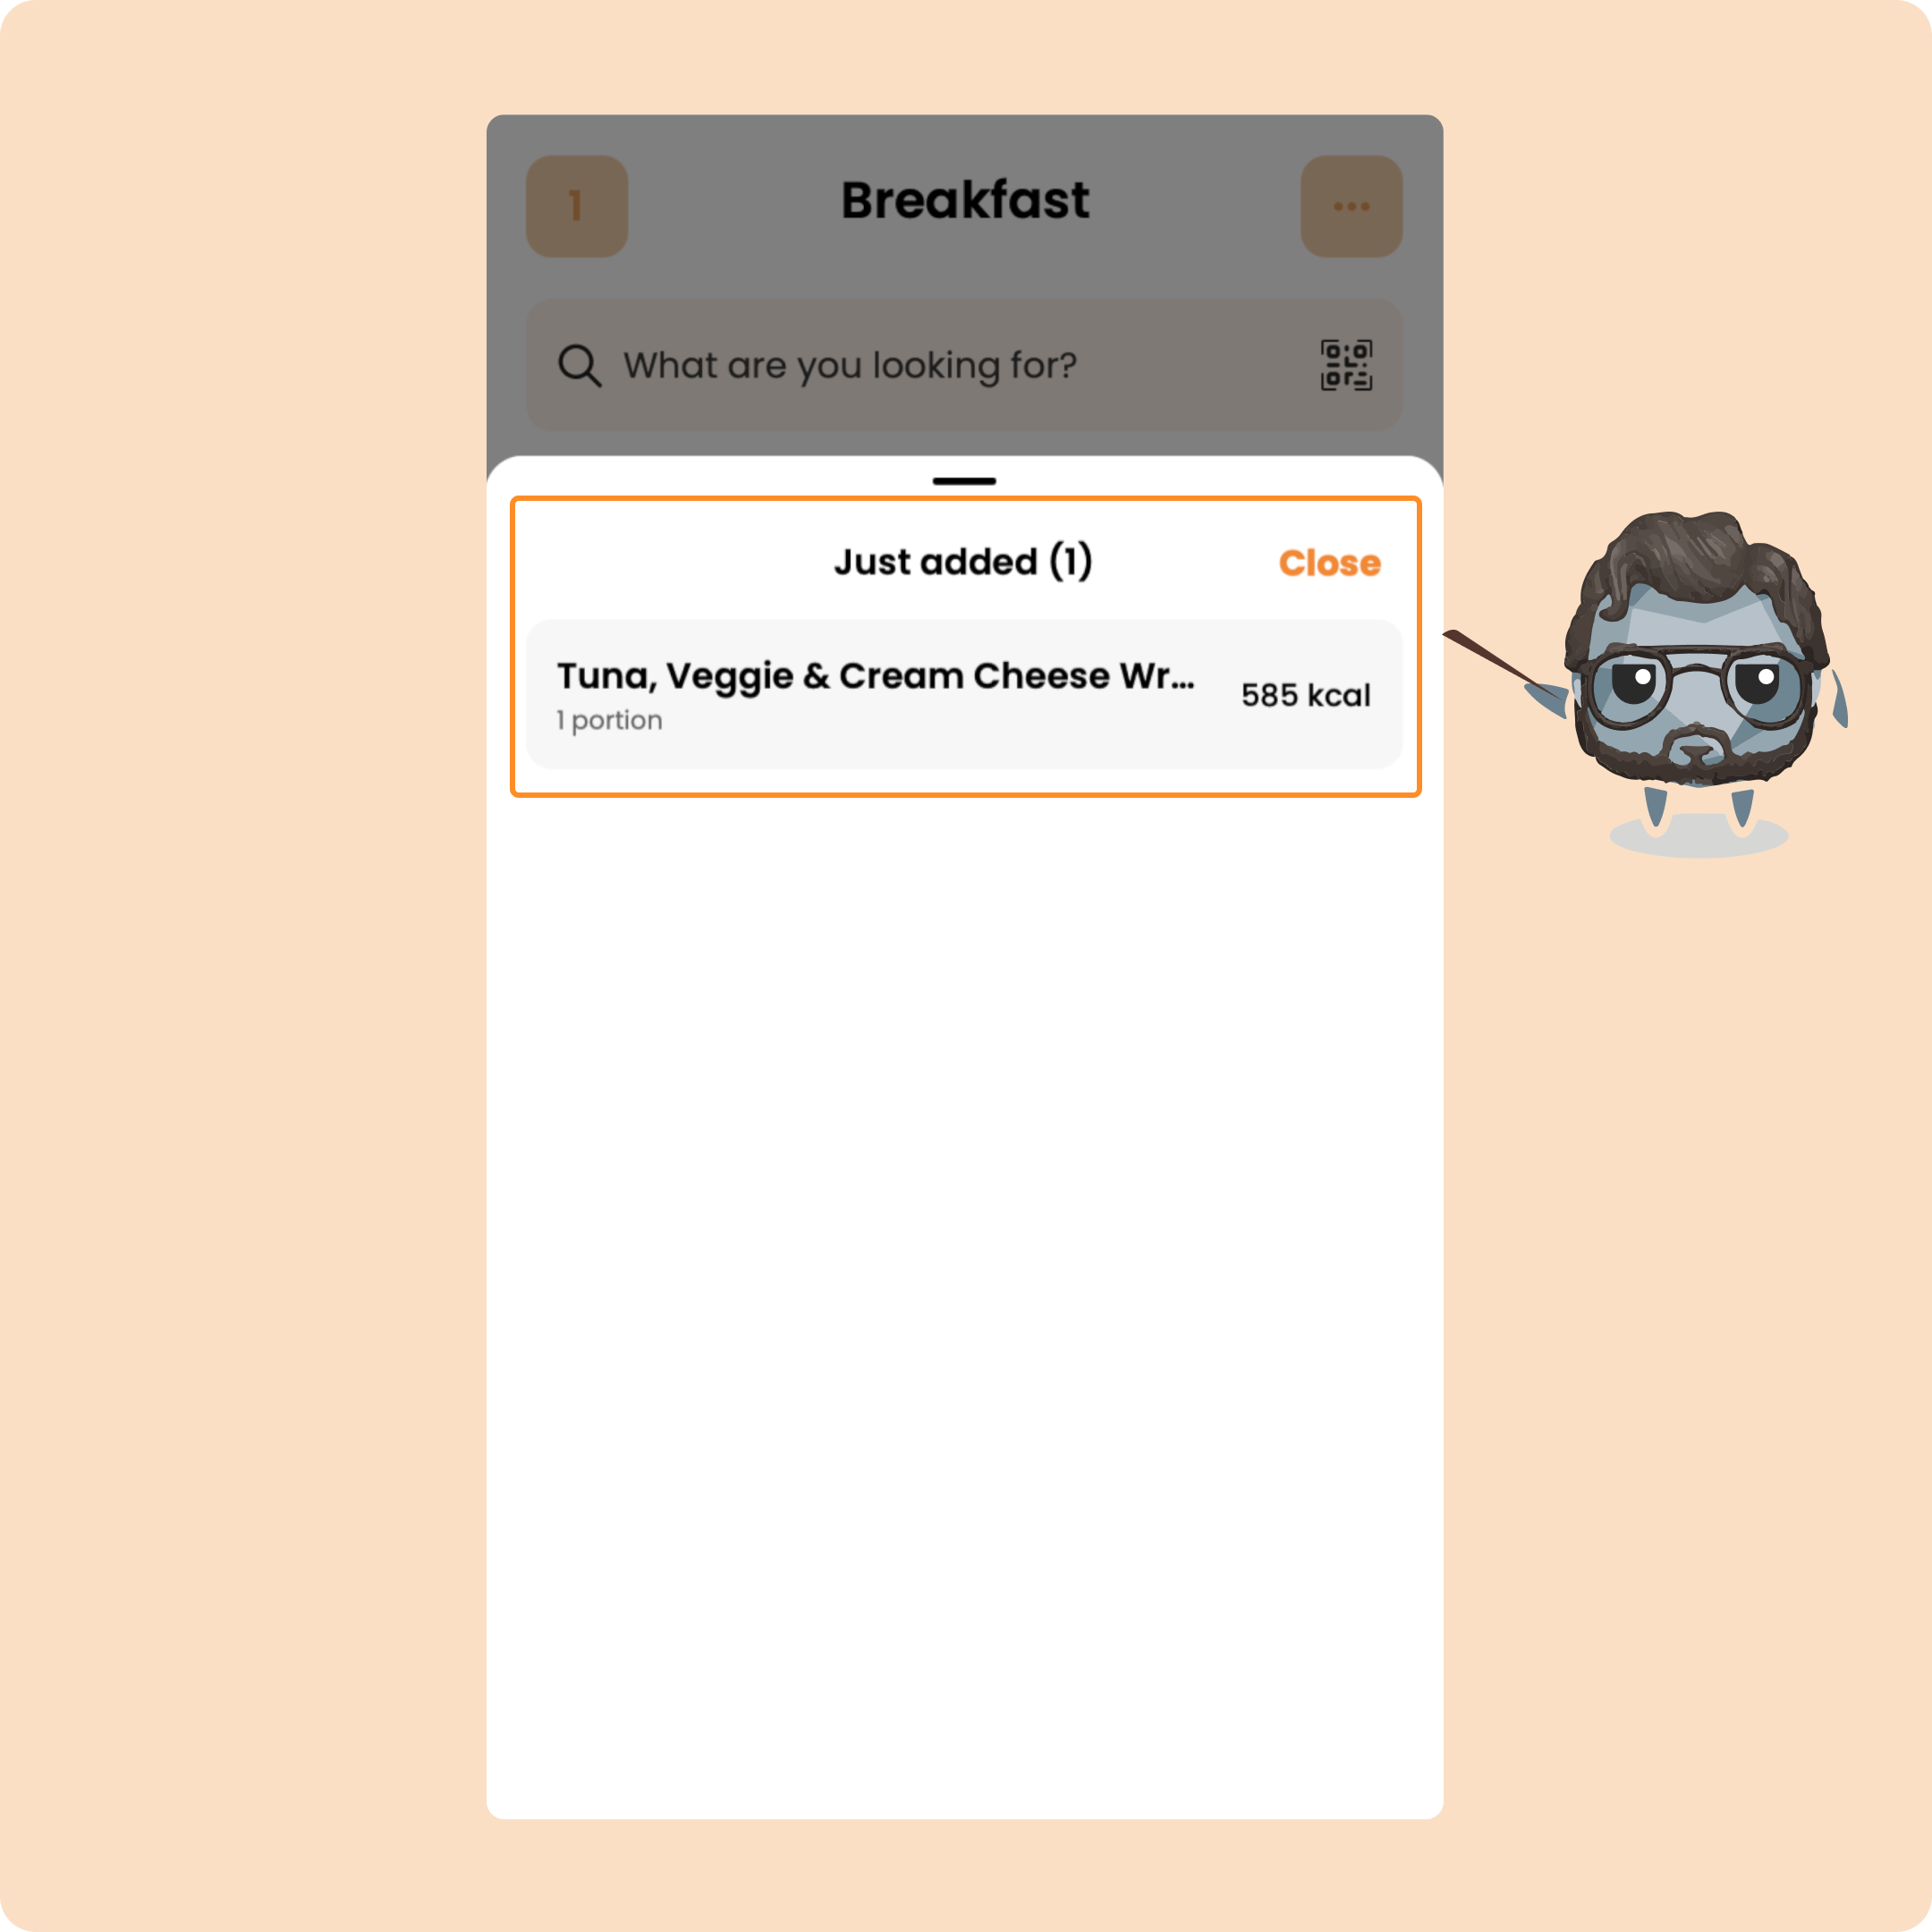
Once you’ve added your first food, you’ll see it listed in the top left corner with your other logged foods.
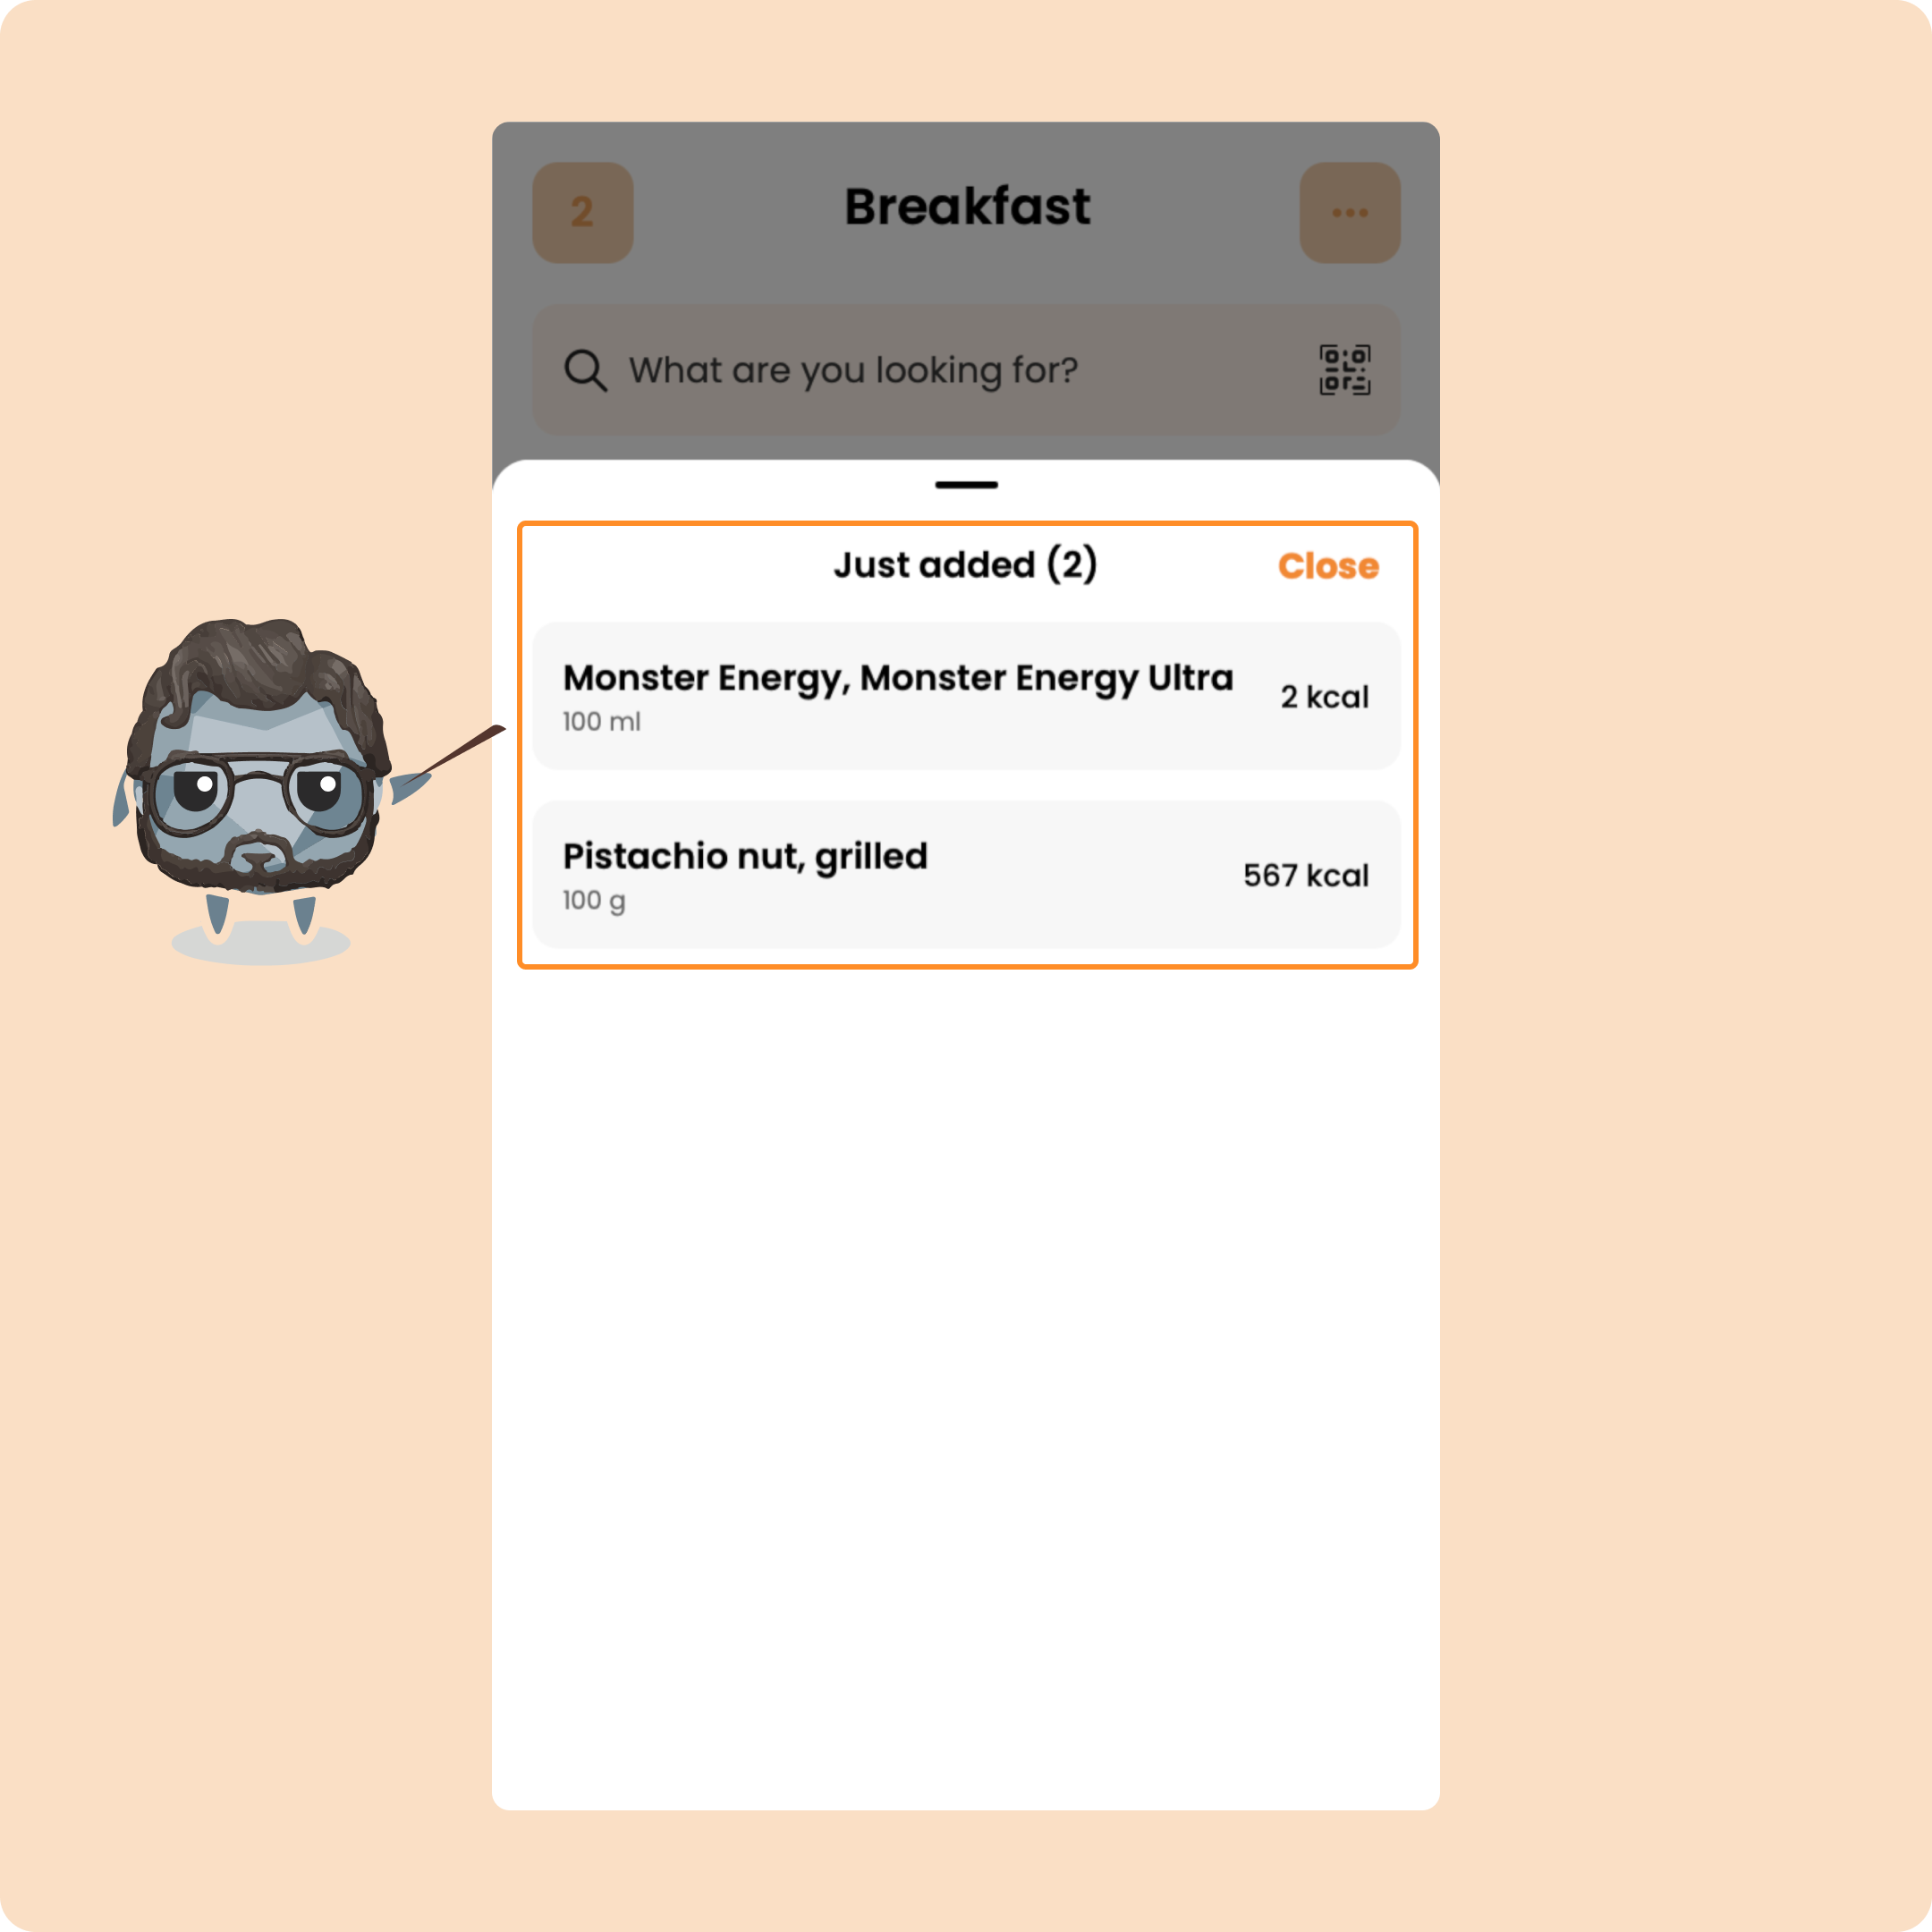
If you want to delete it, just swipe left.
You can continue adding foods, or click “Finish.”
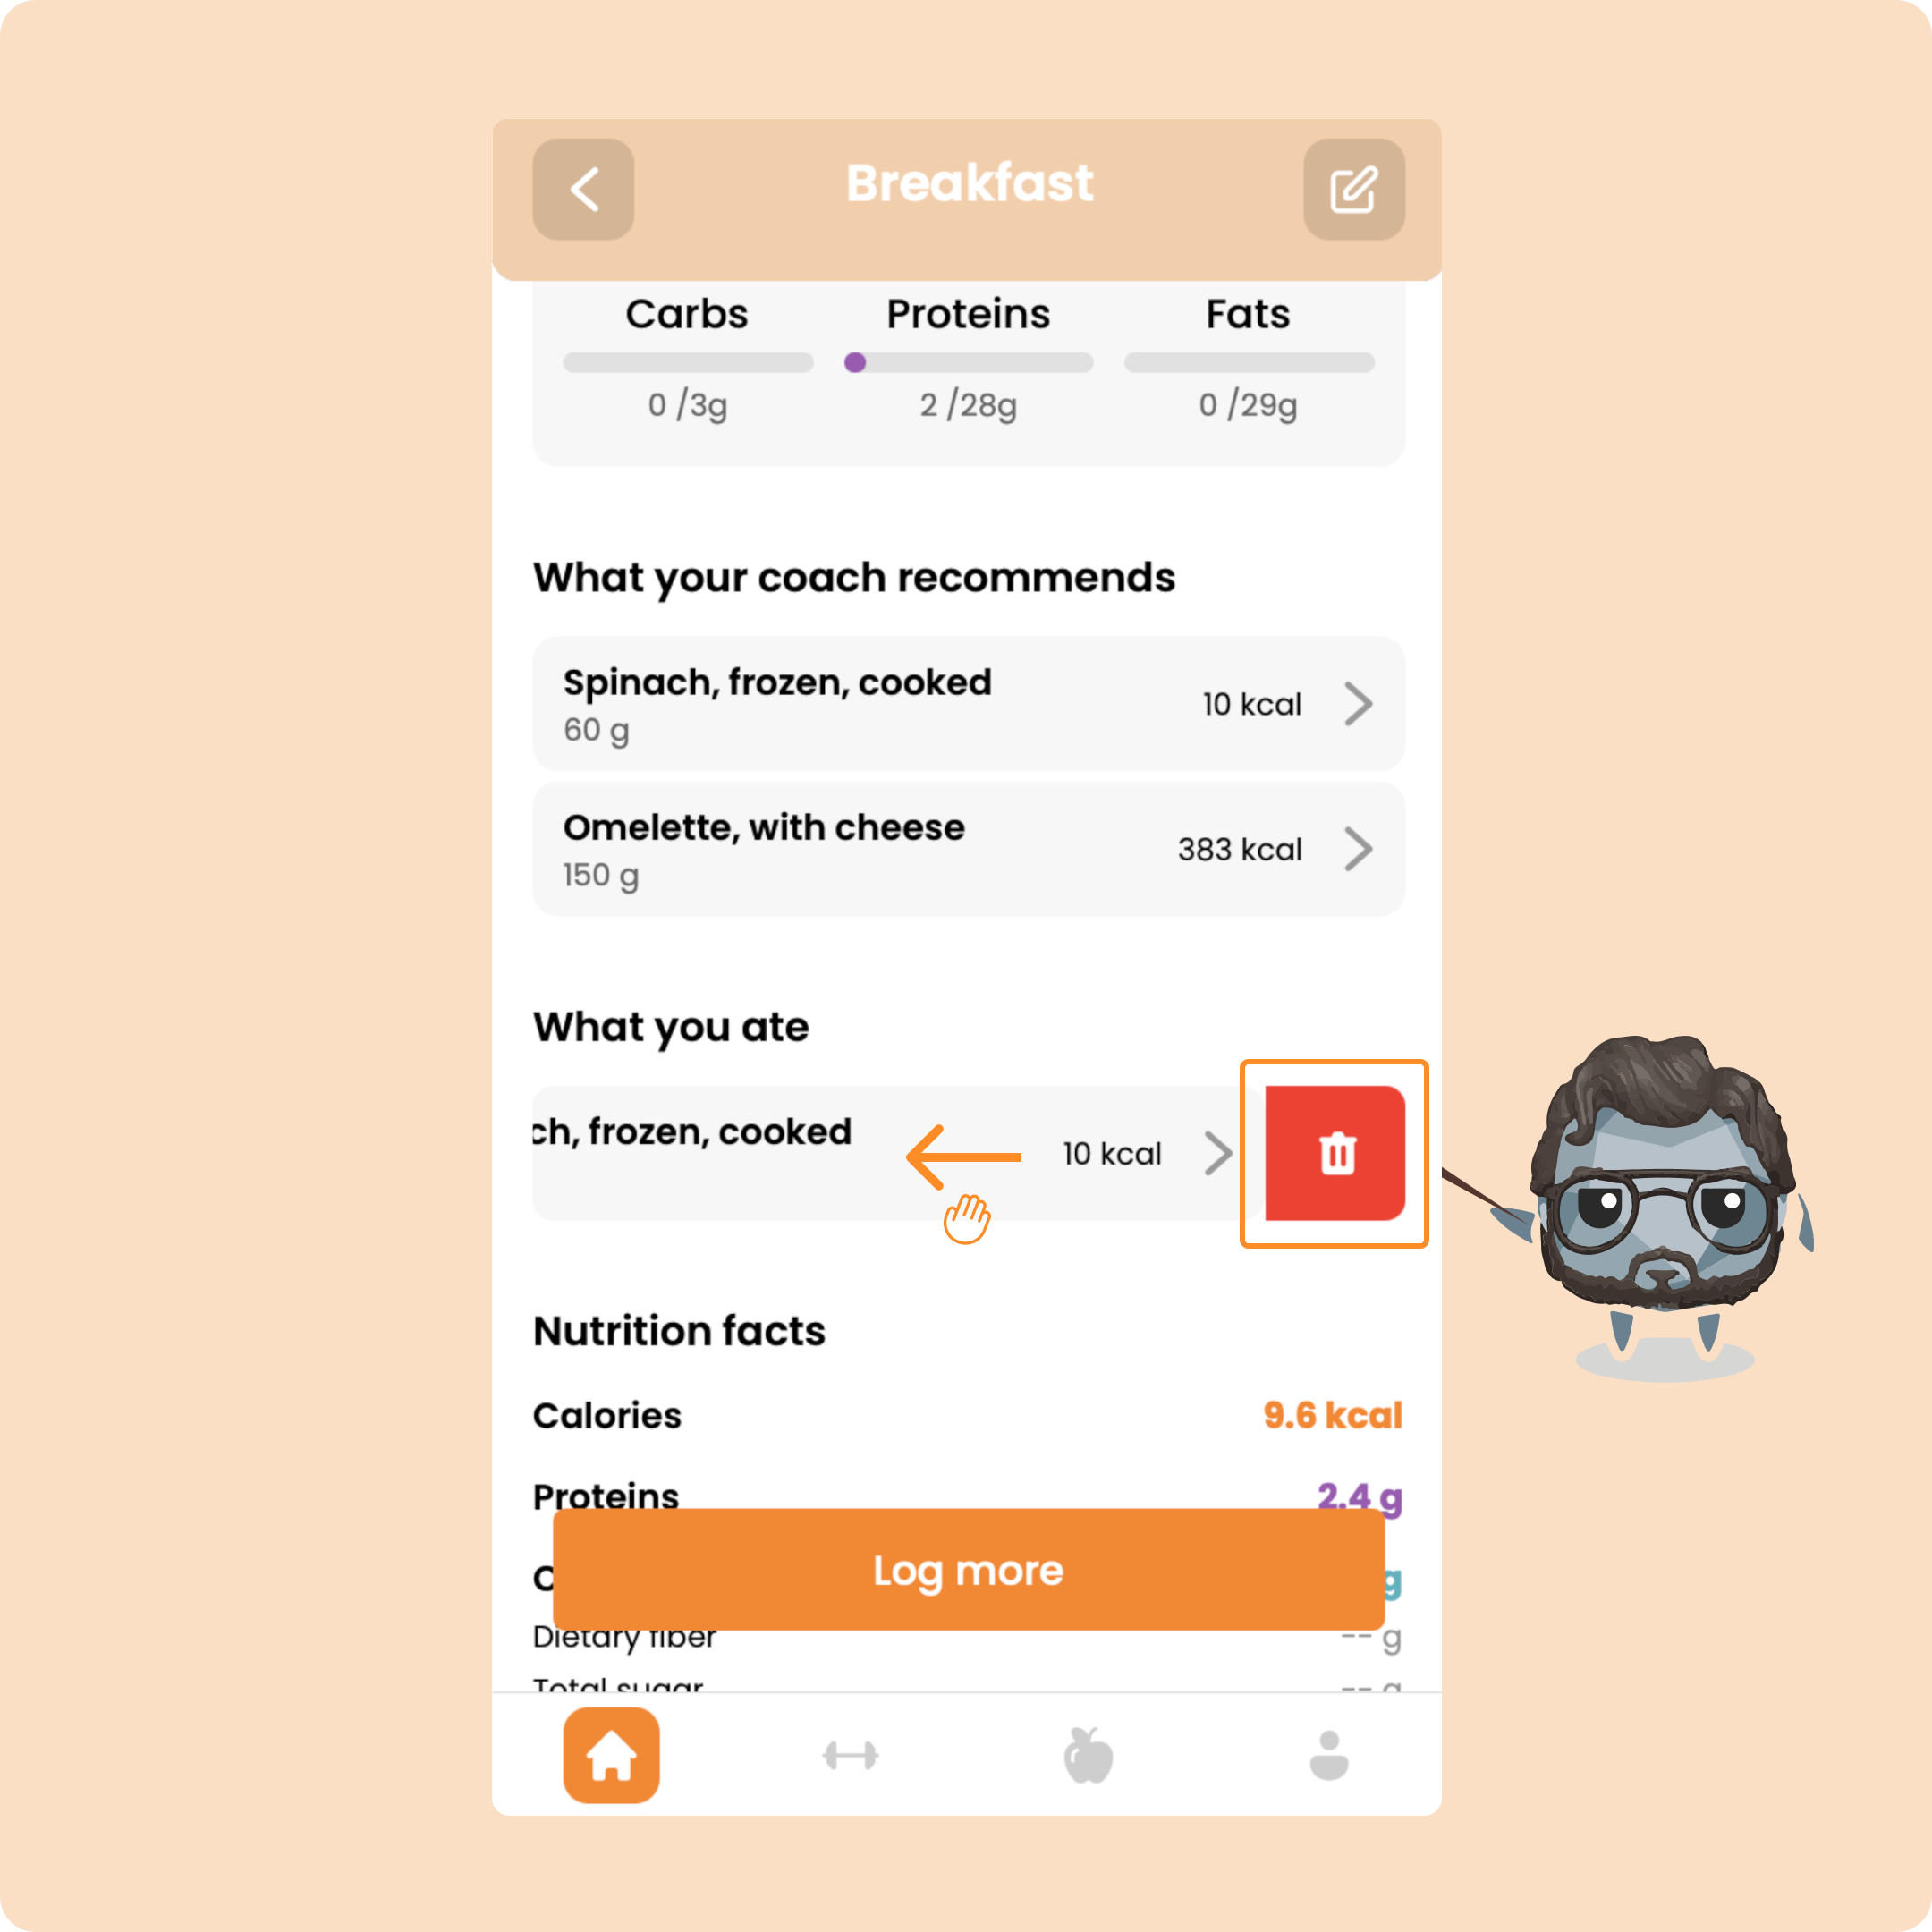
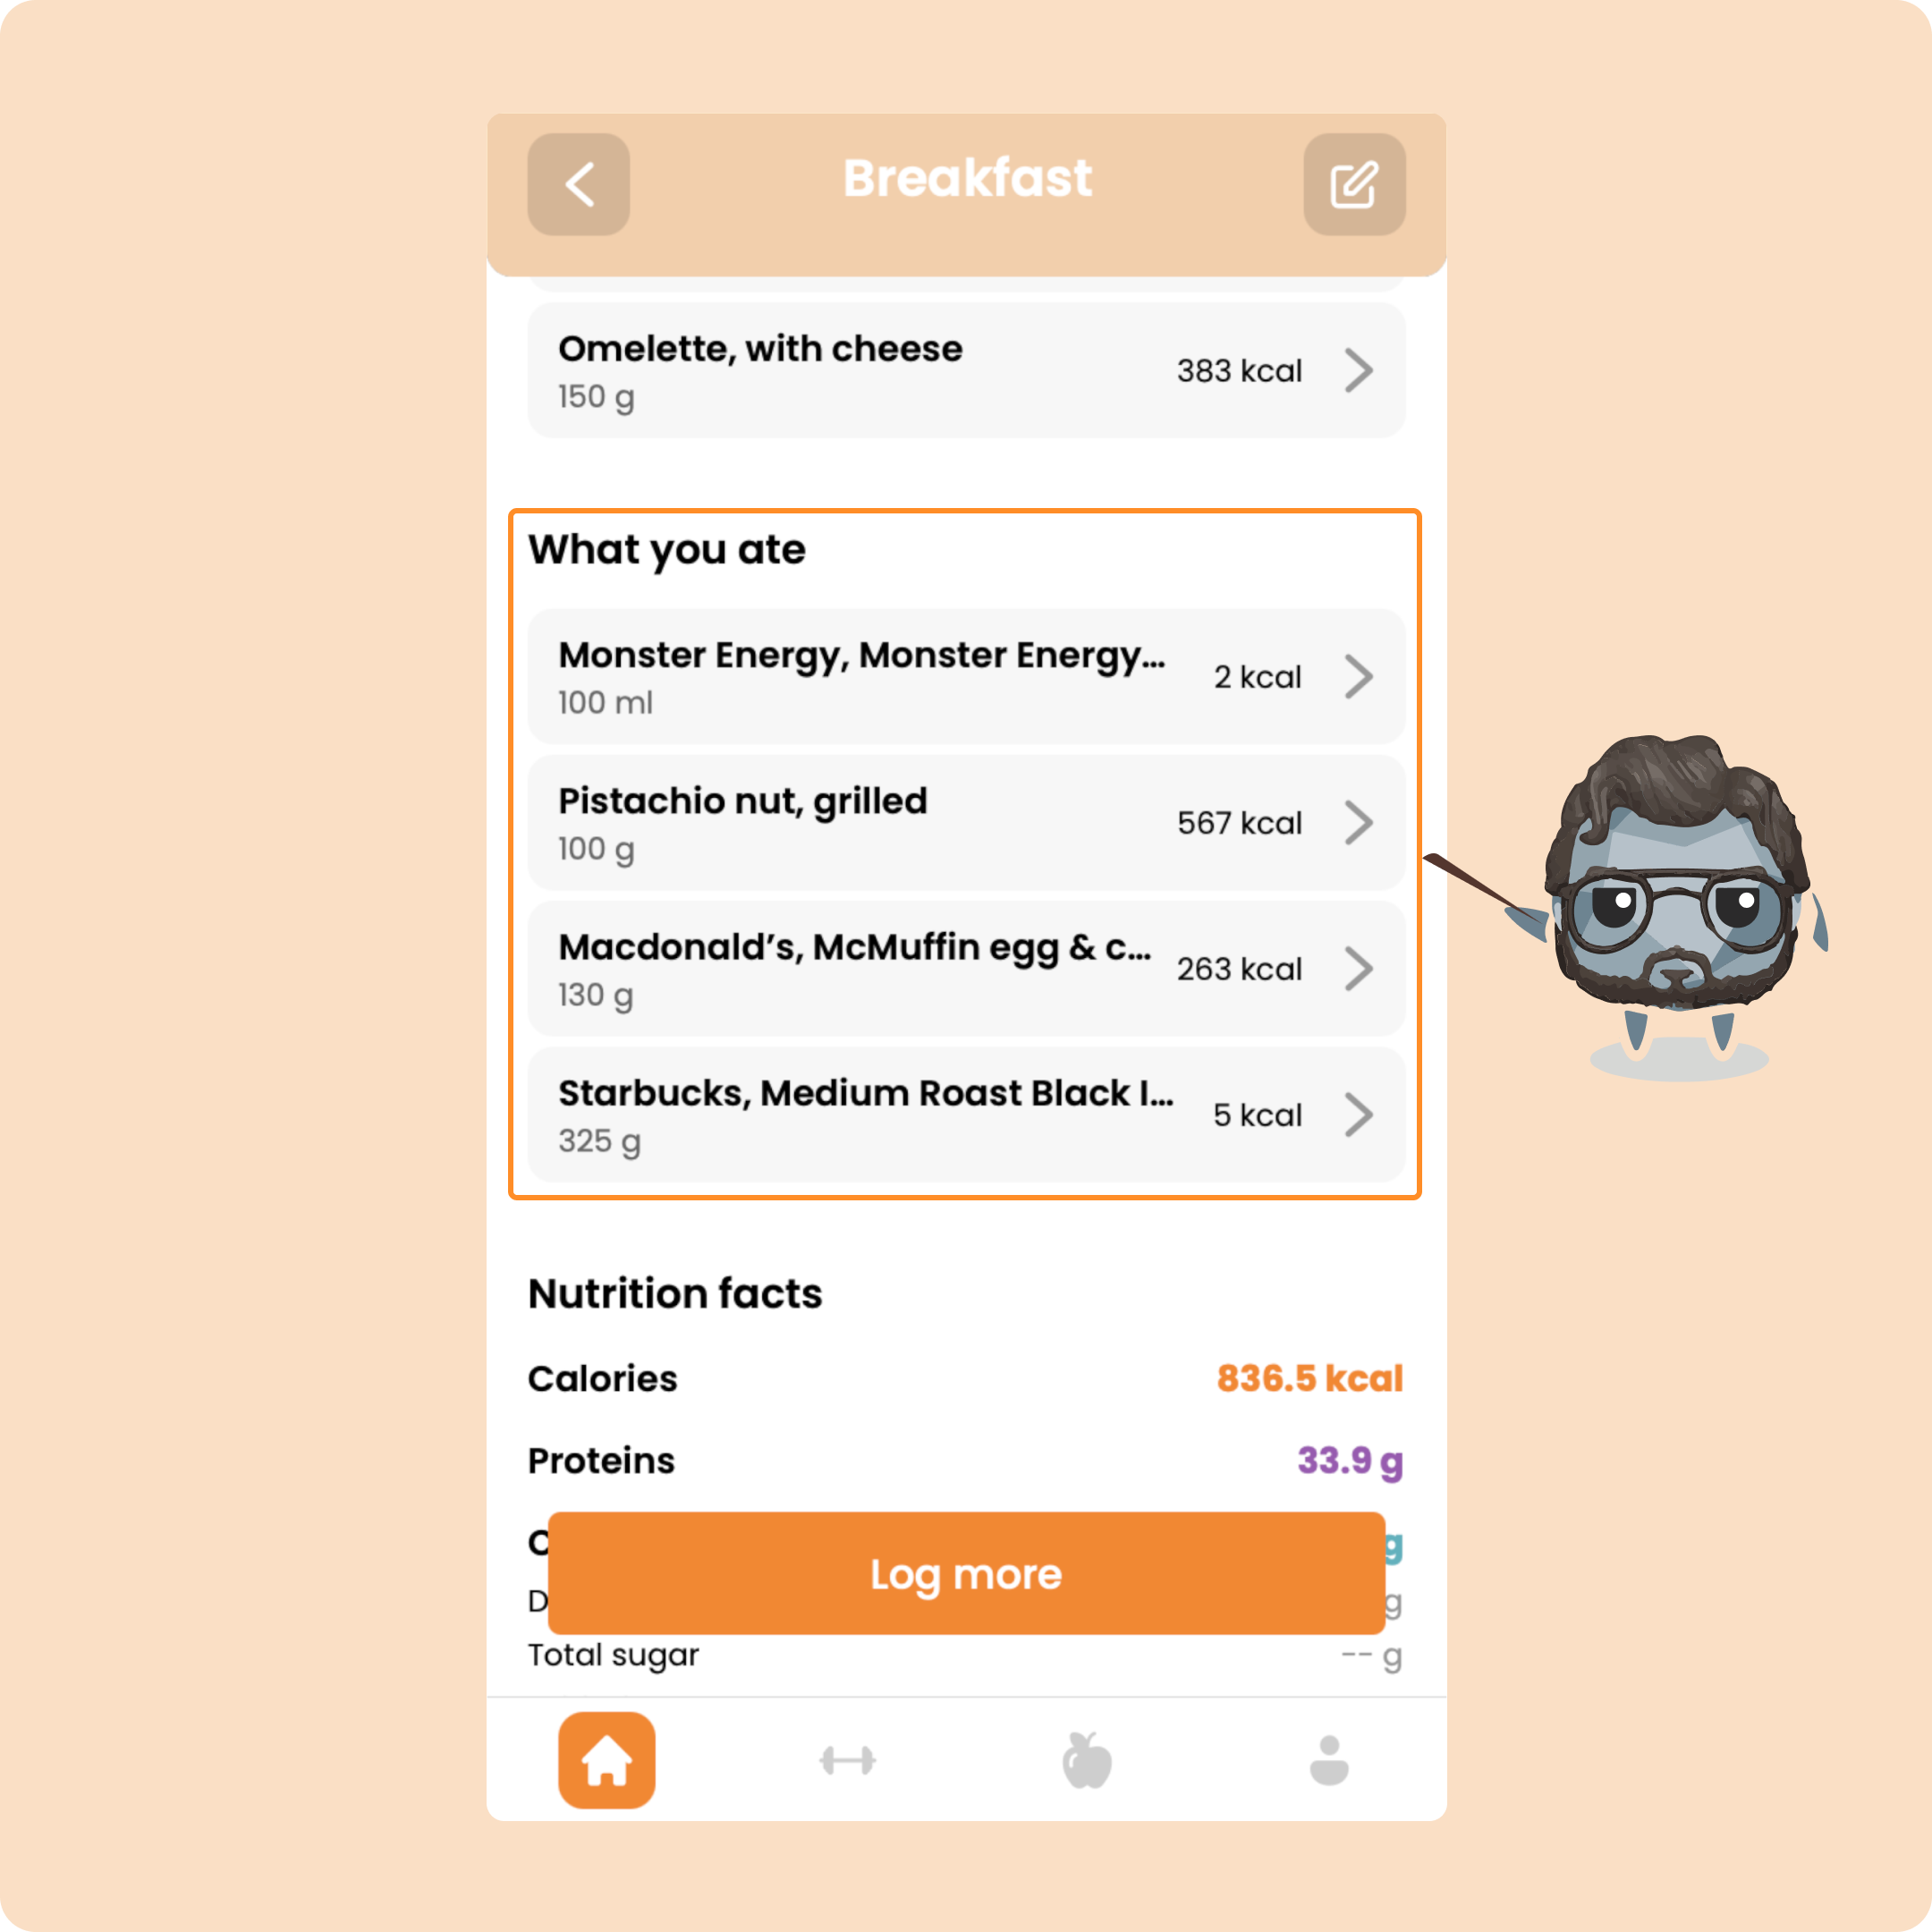
You’ll then see the food logged under “What you ate.”
If you want to edit it, click on it.
If you want to delete it, swipe left and hit delete.
Meals
Now let’s go back to the page with foods, meals, and recipes.
We just saw foods — now let’s check out Meals.
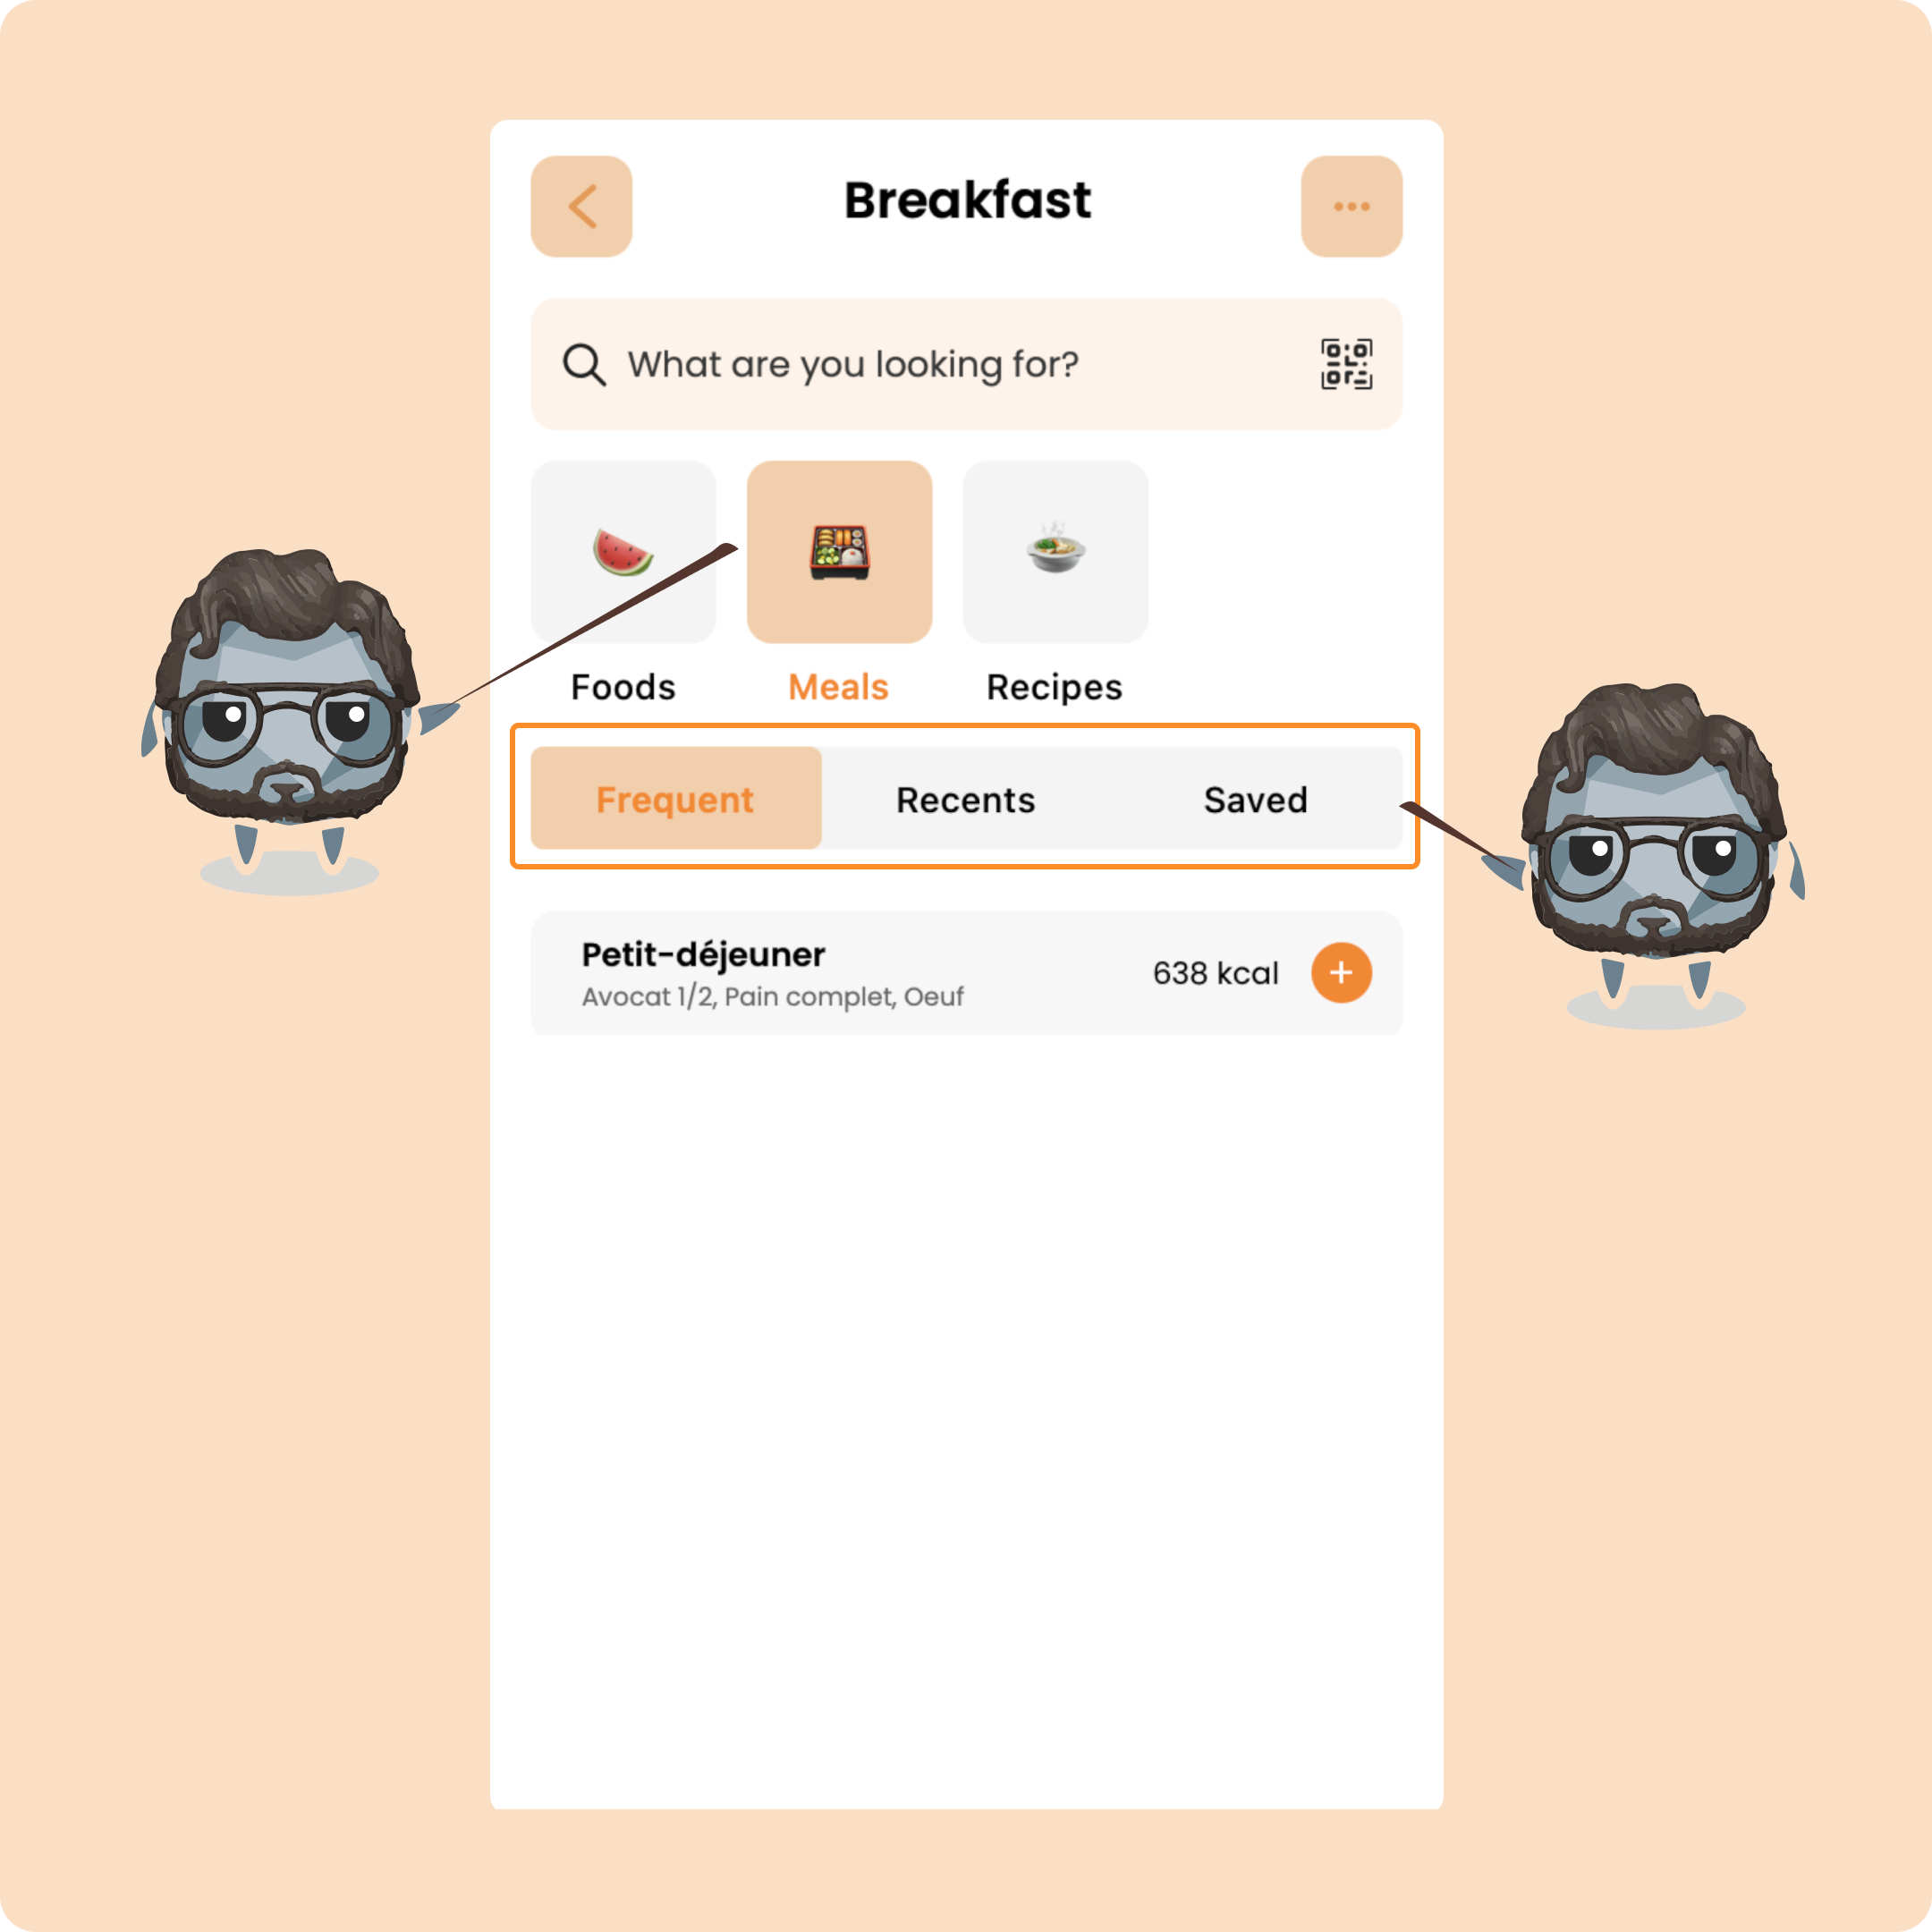
This is where you’ll find complete meals you’ve logged before, meals you often eat, or ones you’ve saved.
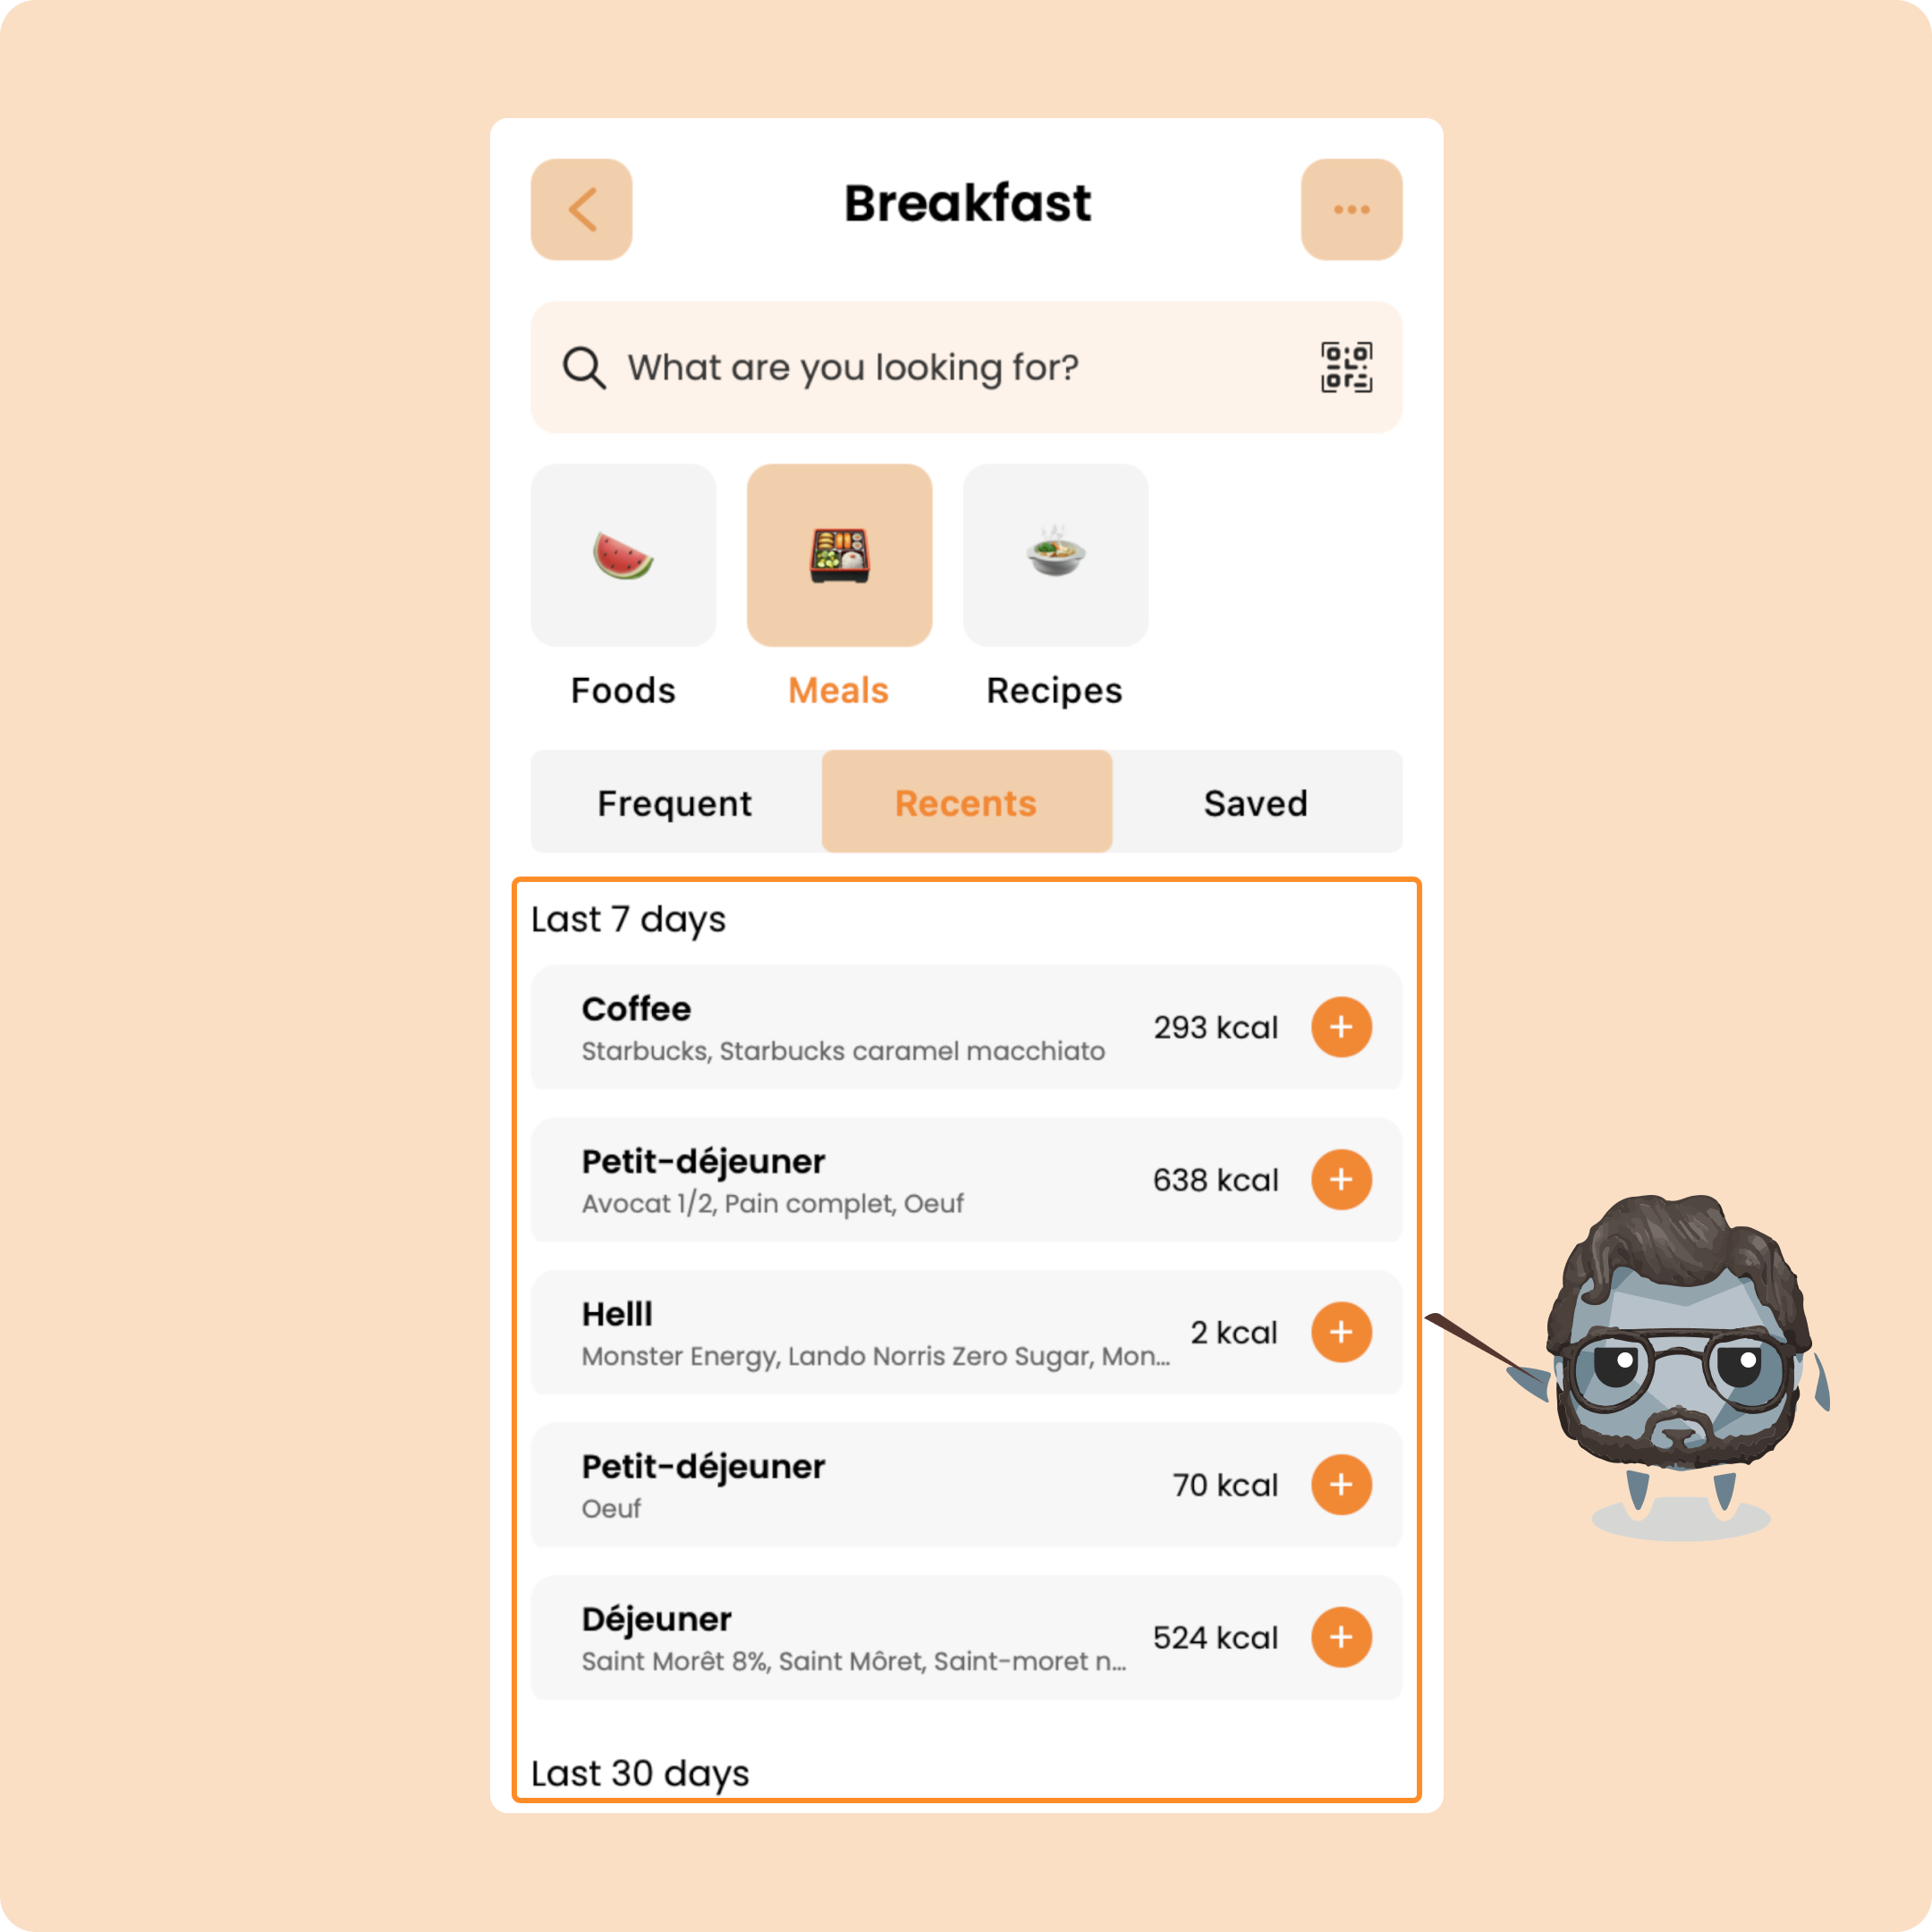
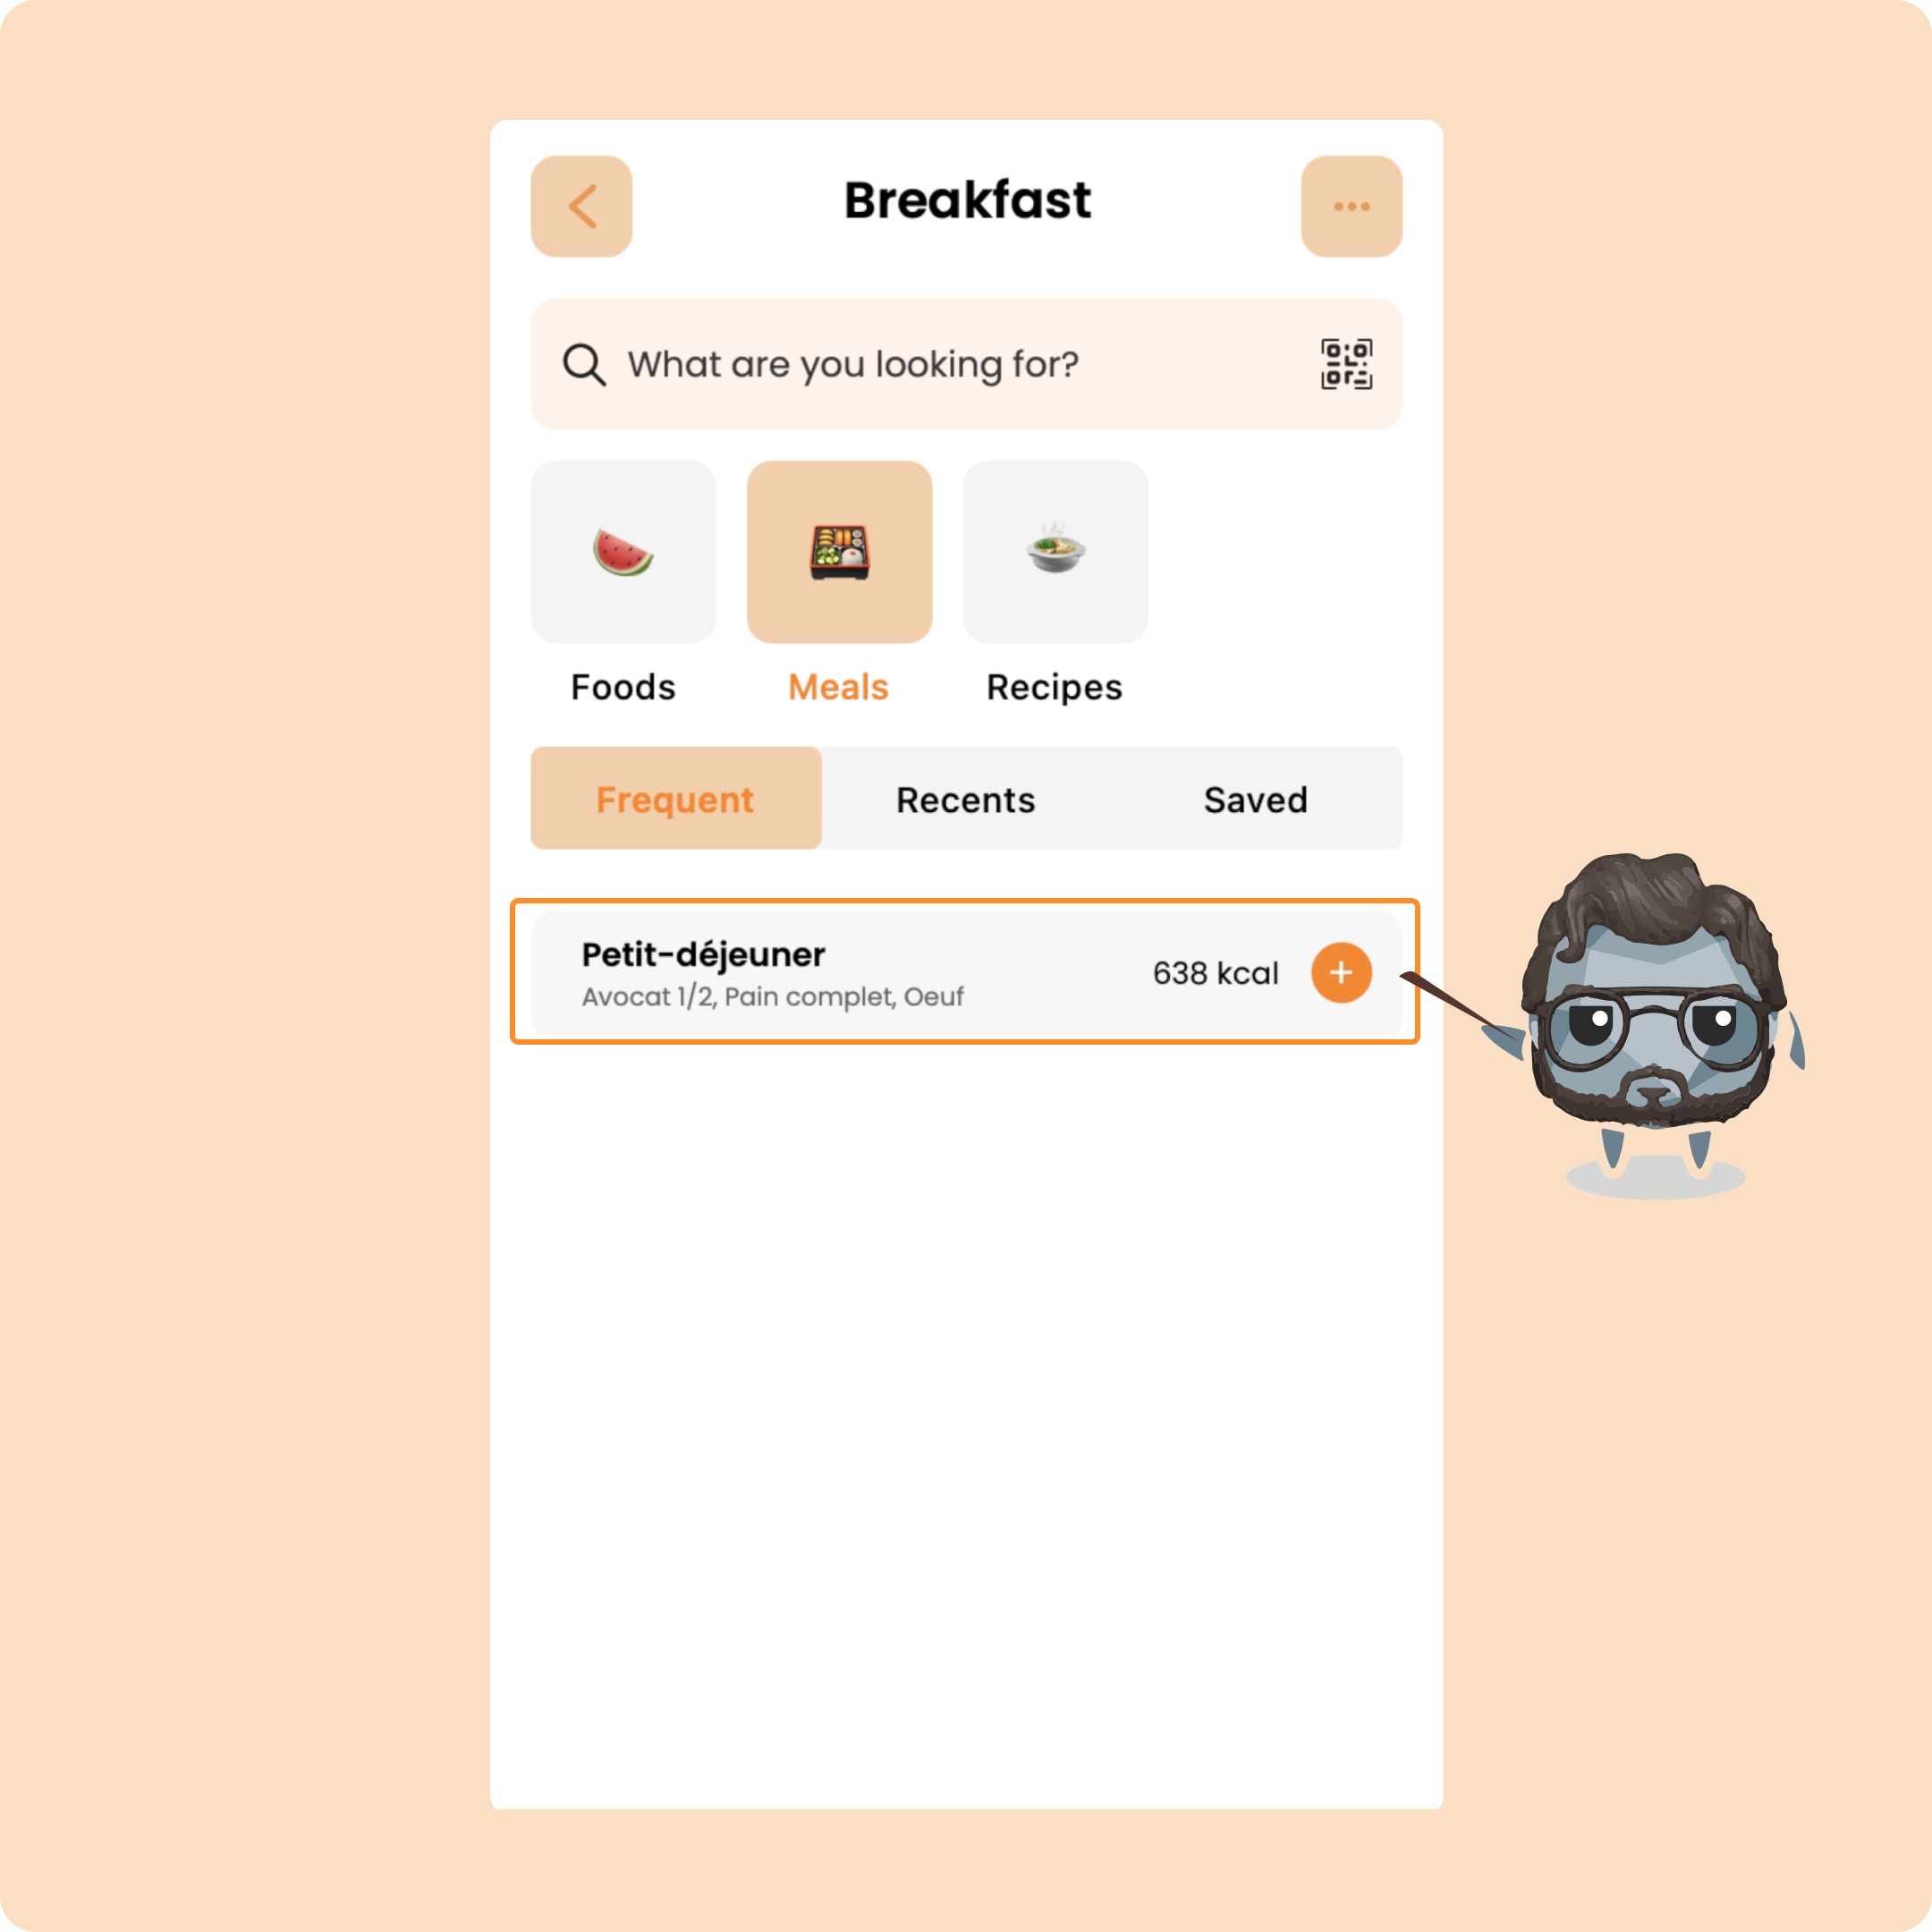
This lets you log a whole meal at once, instead of adding each food separately.
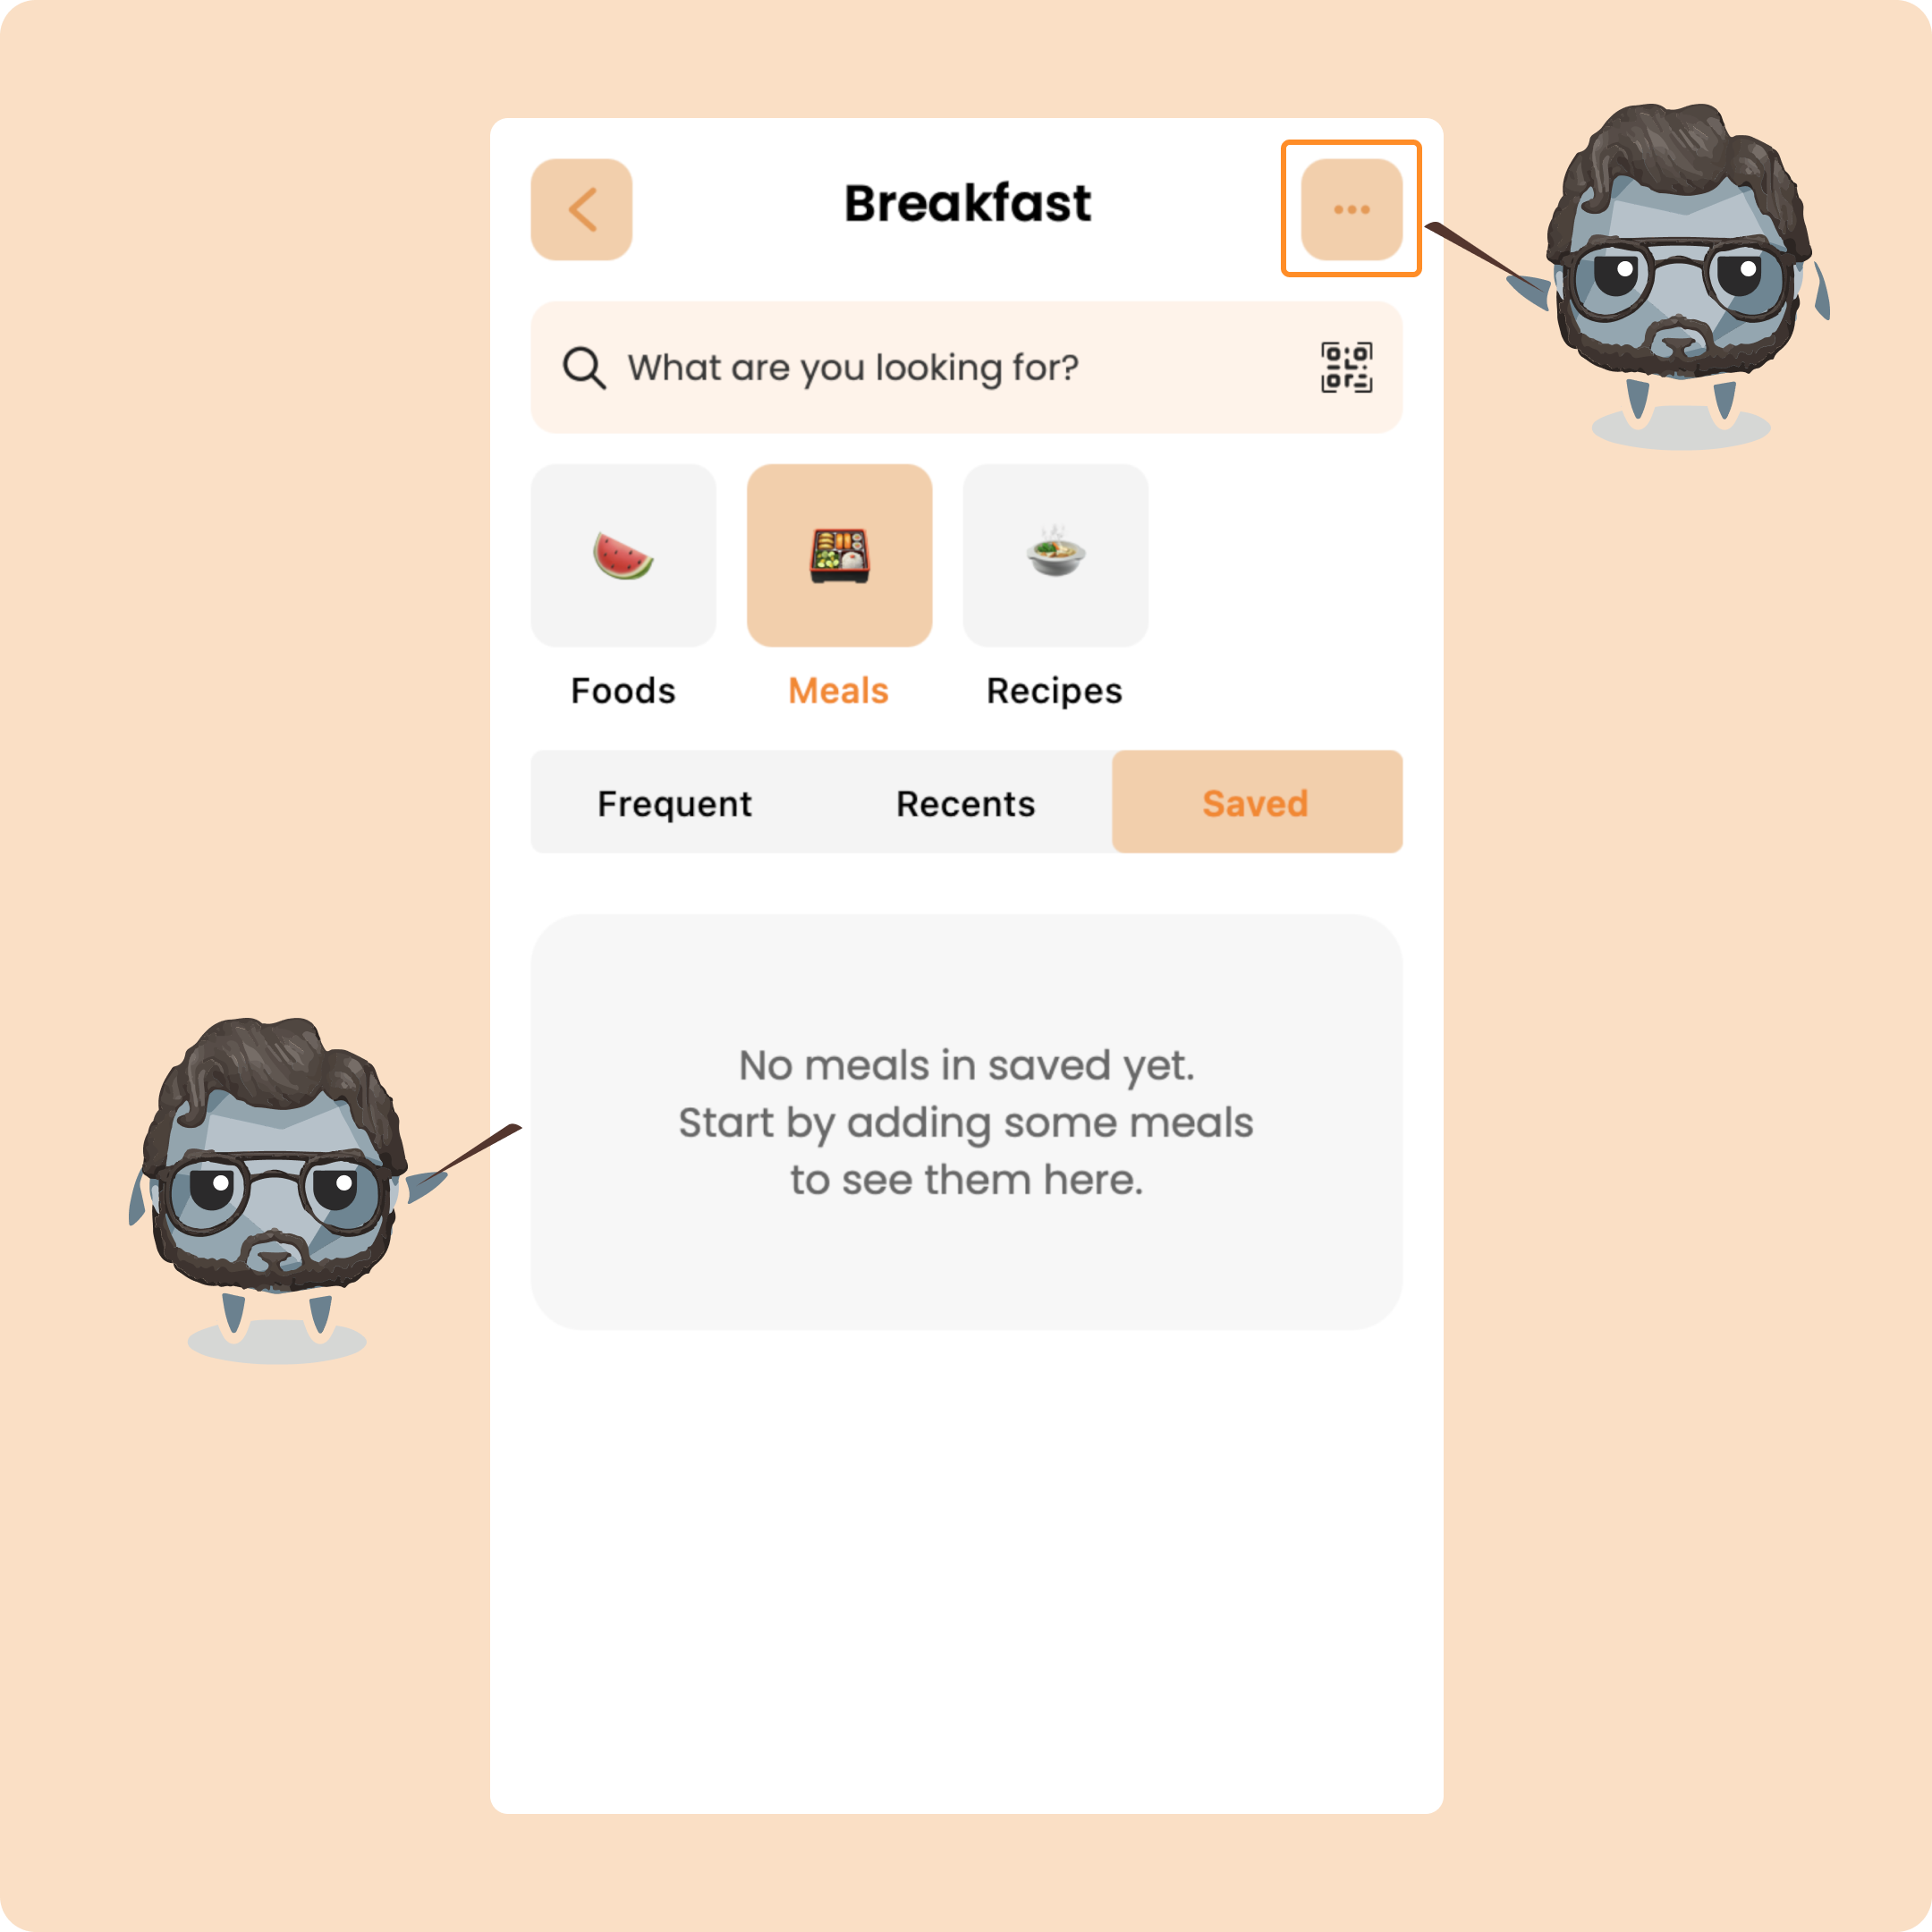
You can also create your own meal templates — create them once, then reuse them anytime.
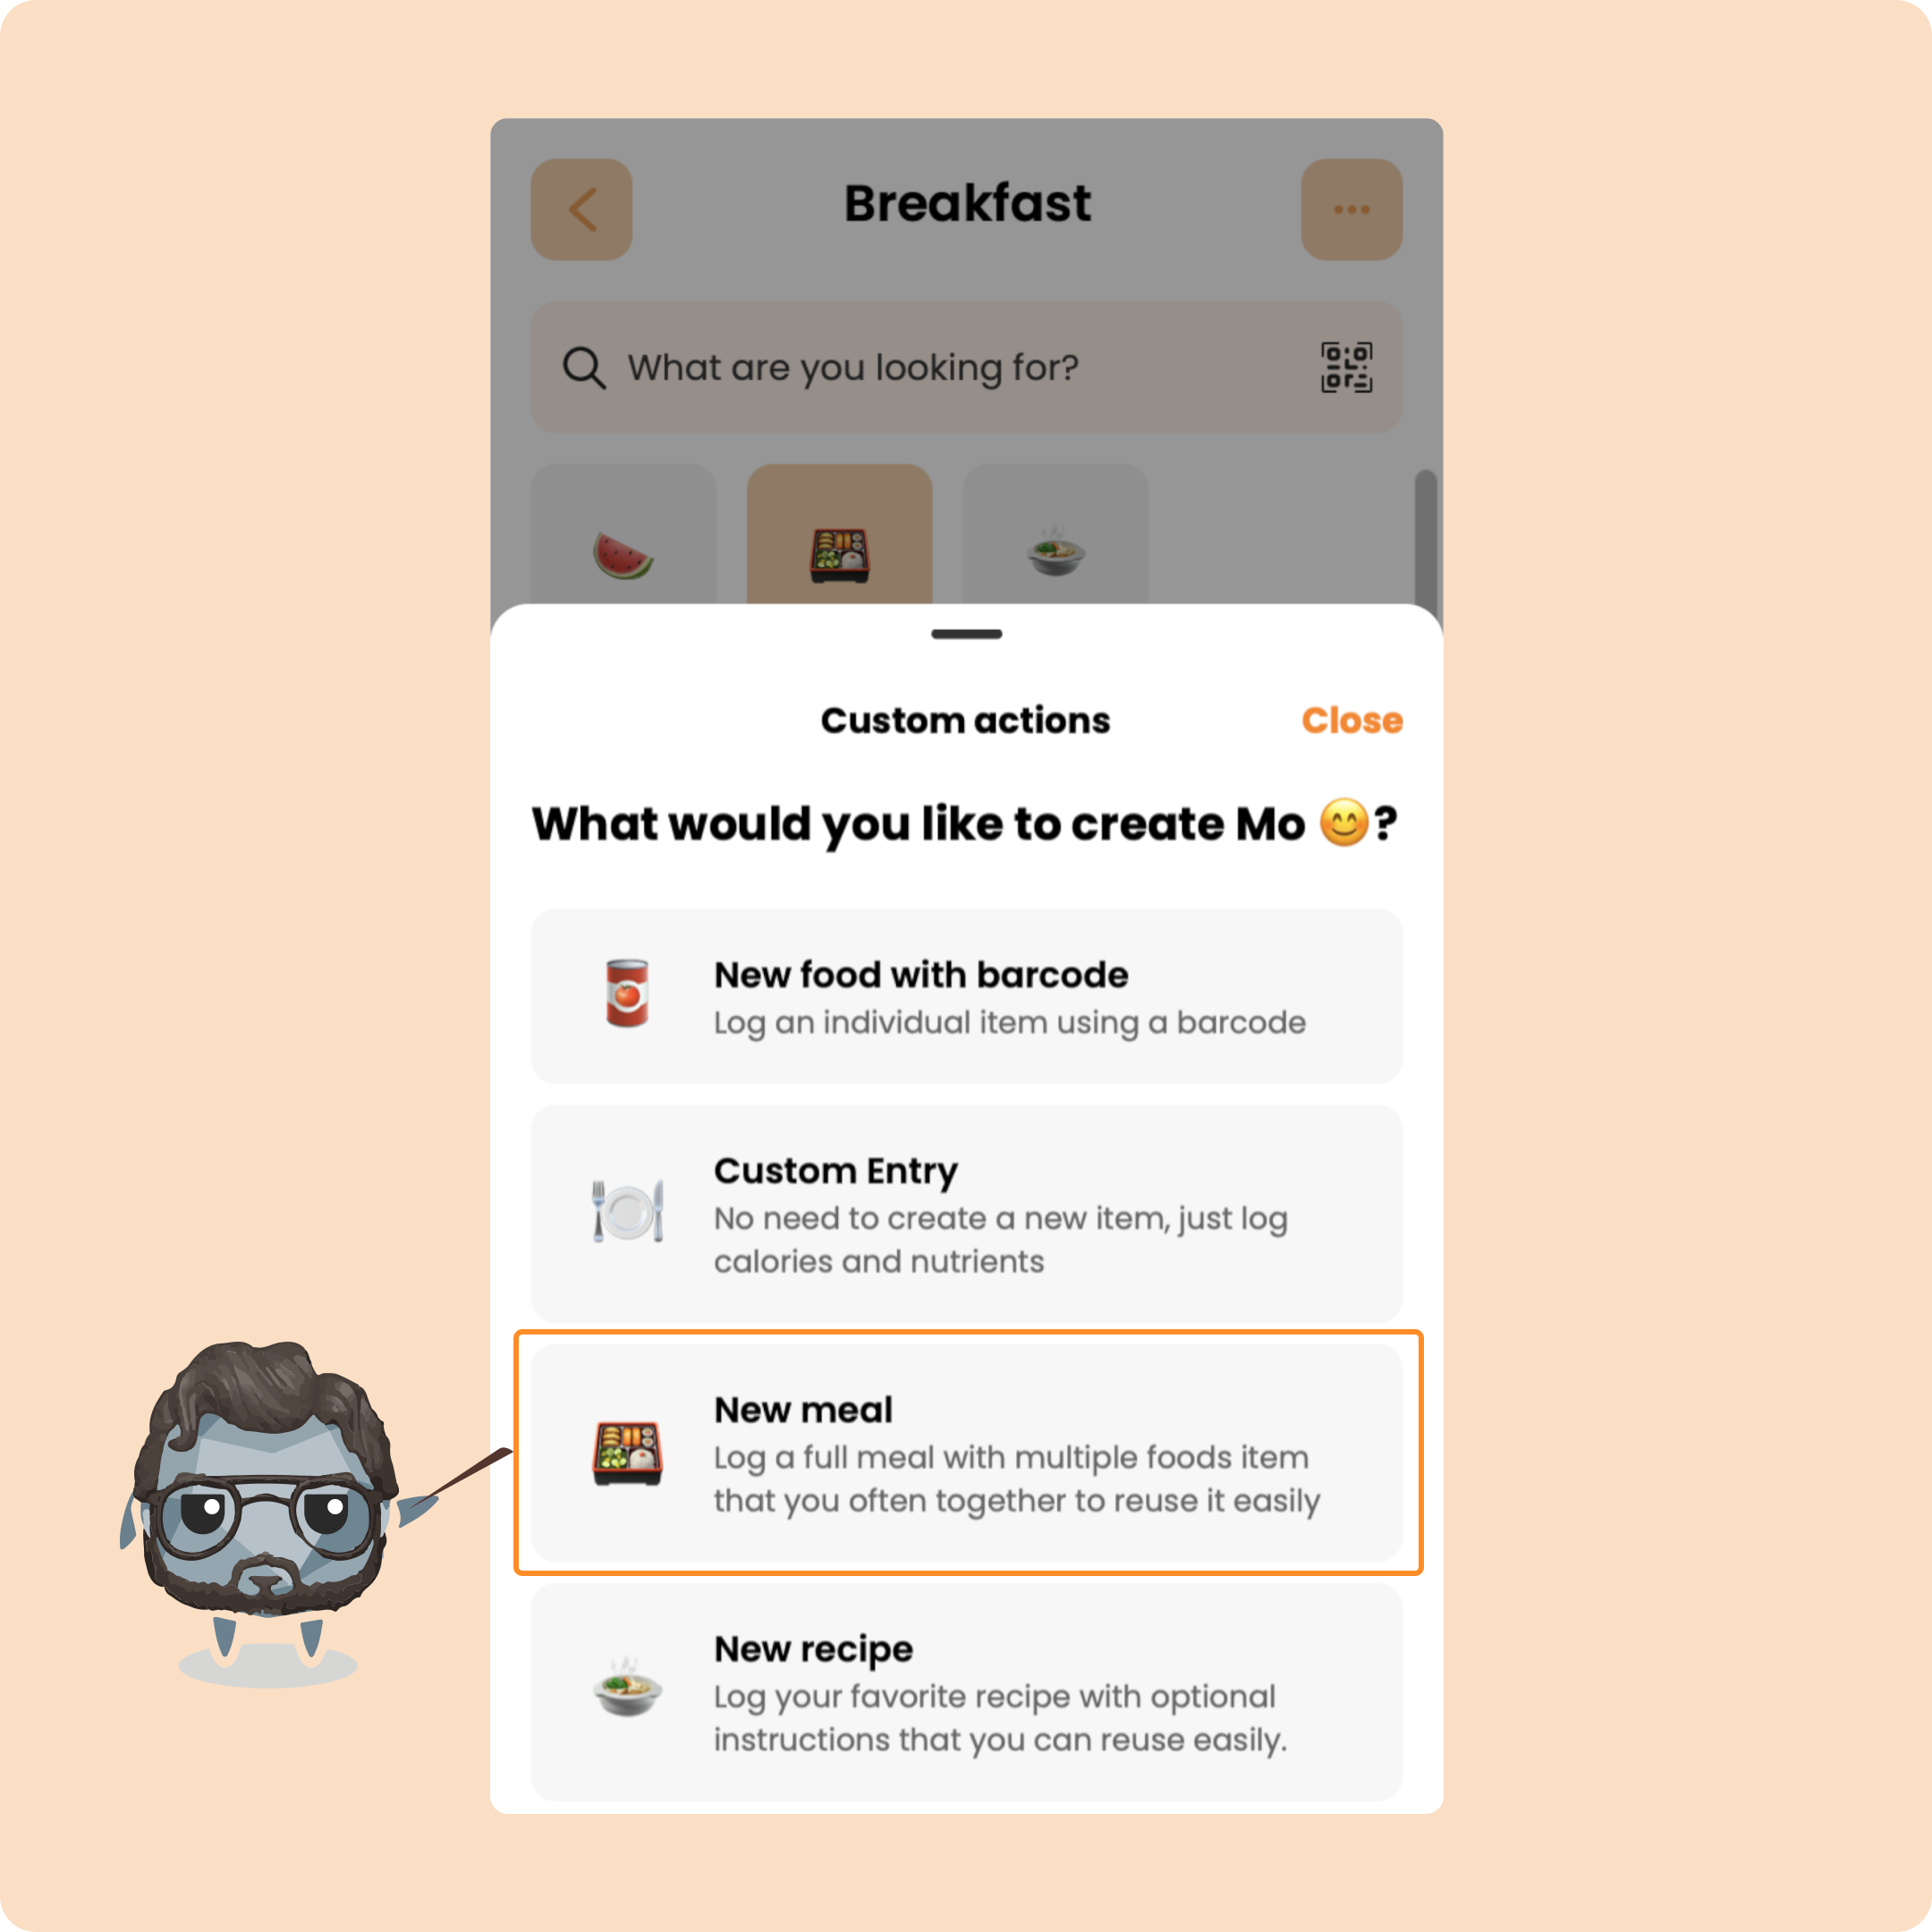
Click the button at the top right, then choose “New Meal.”
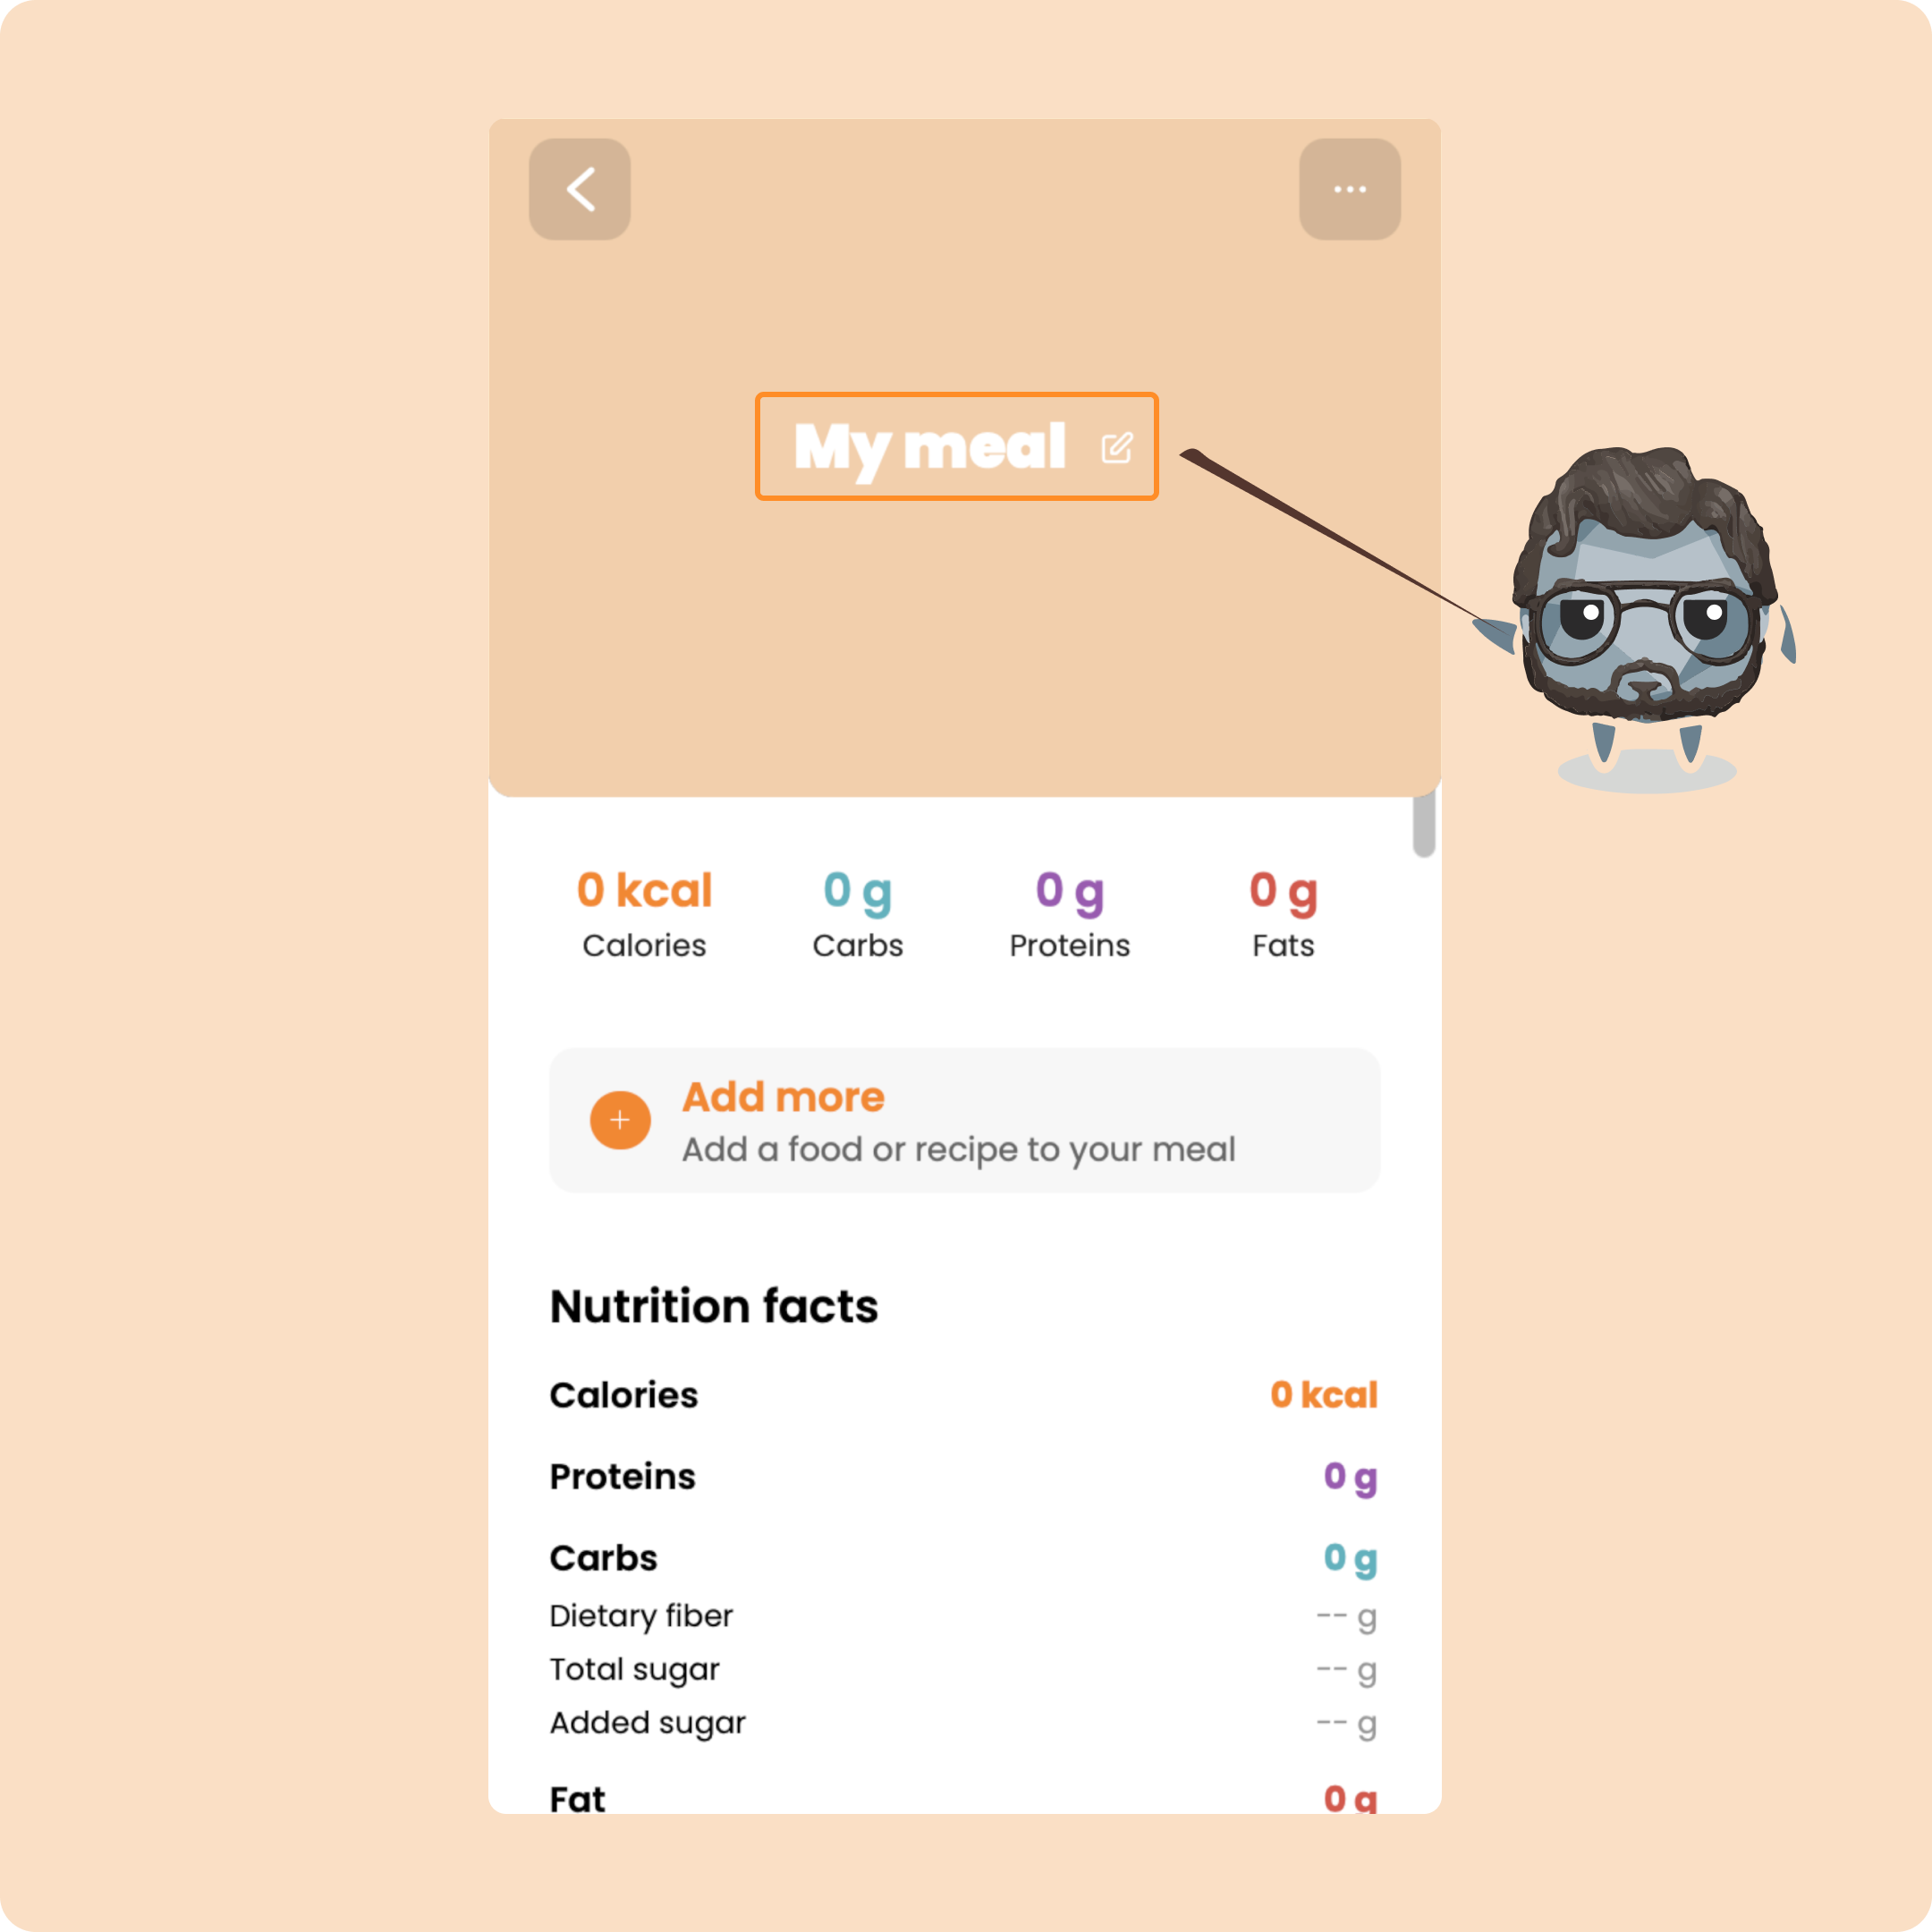
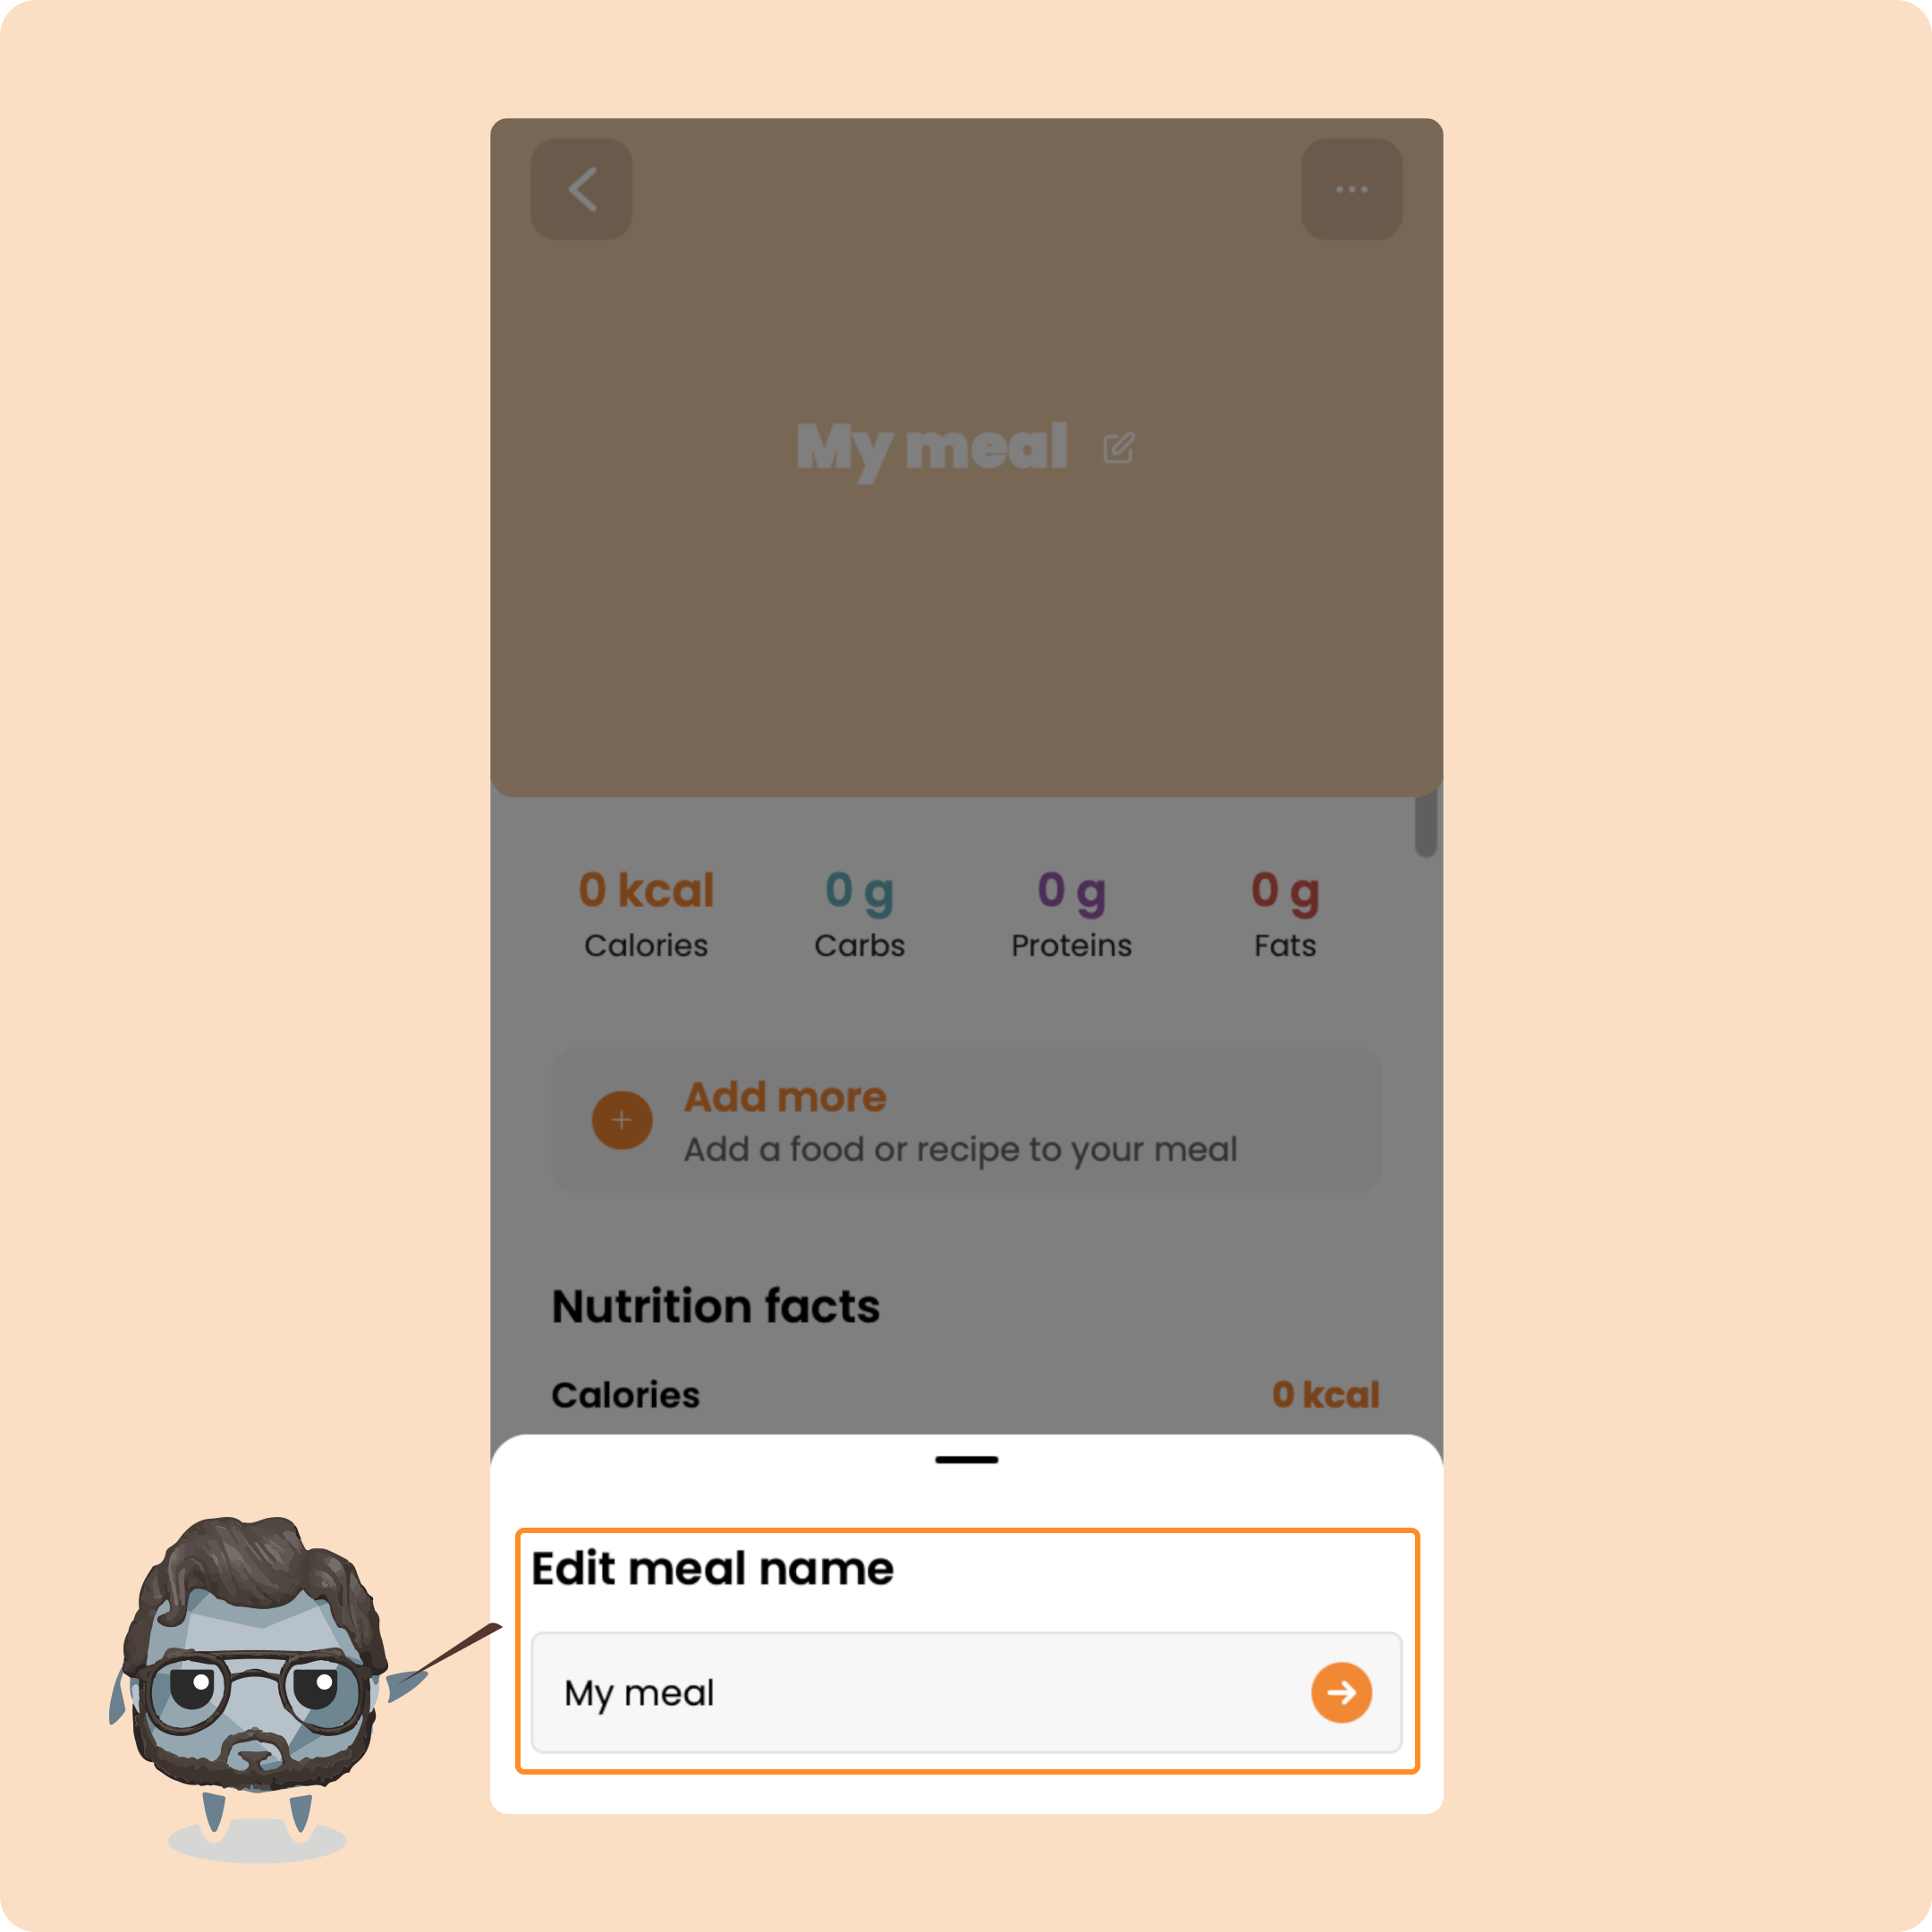
Click on “My Meal” to give it a name.
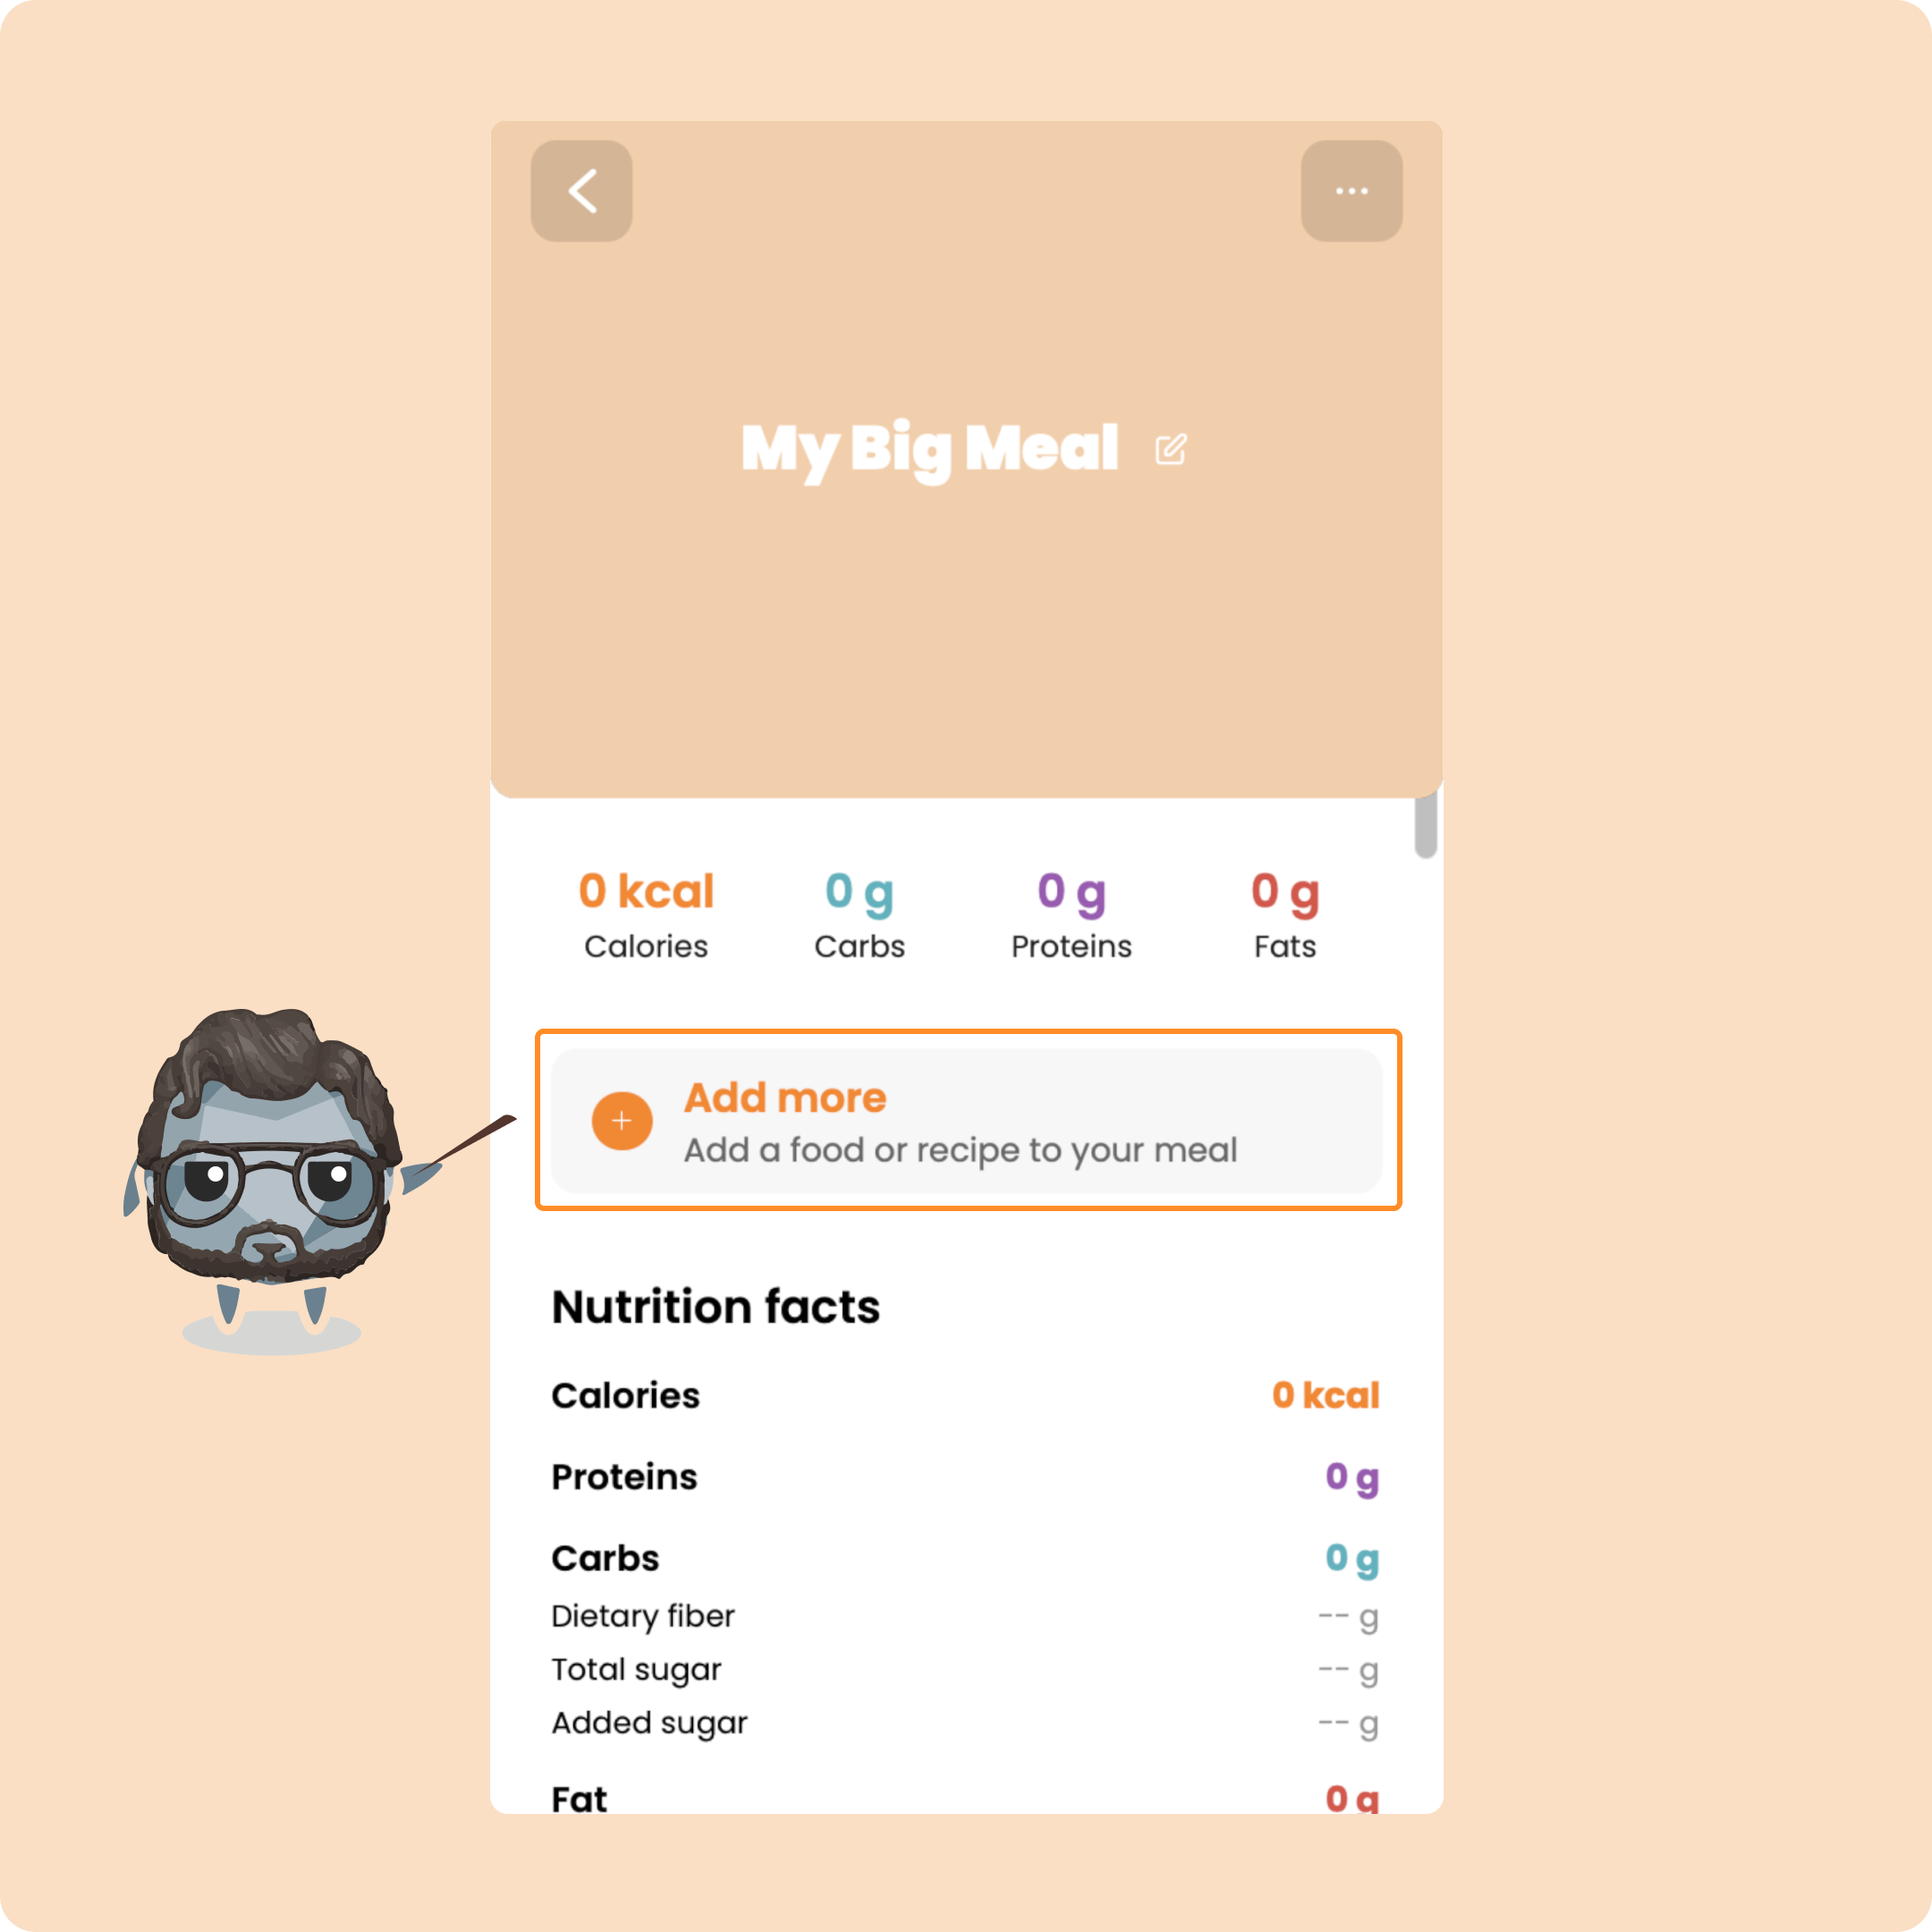
Here, you can add as many foods as you want.
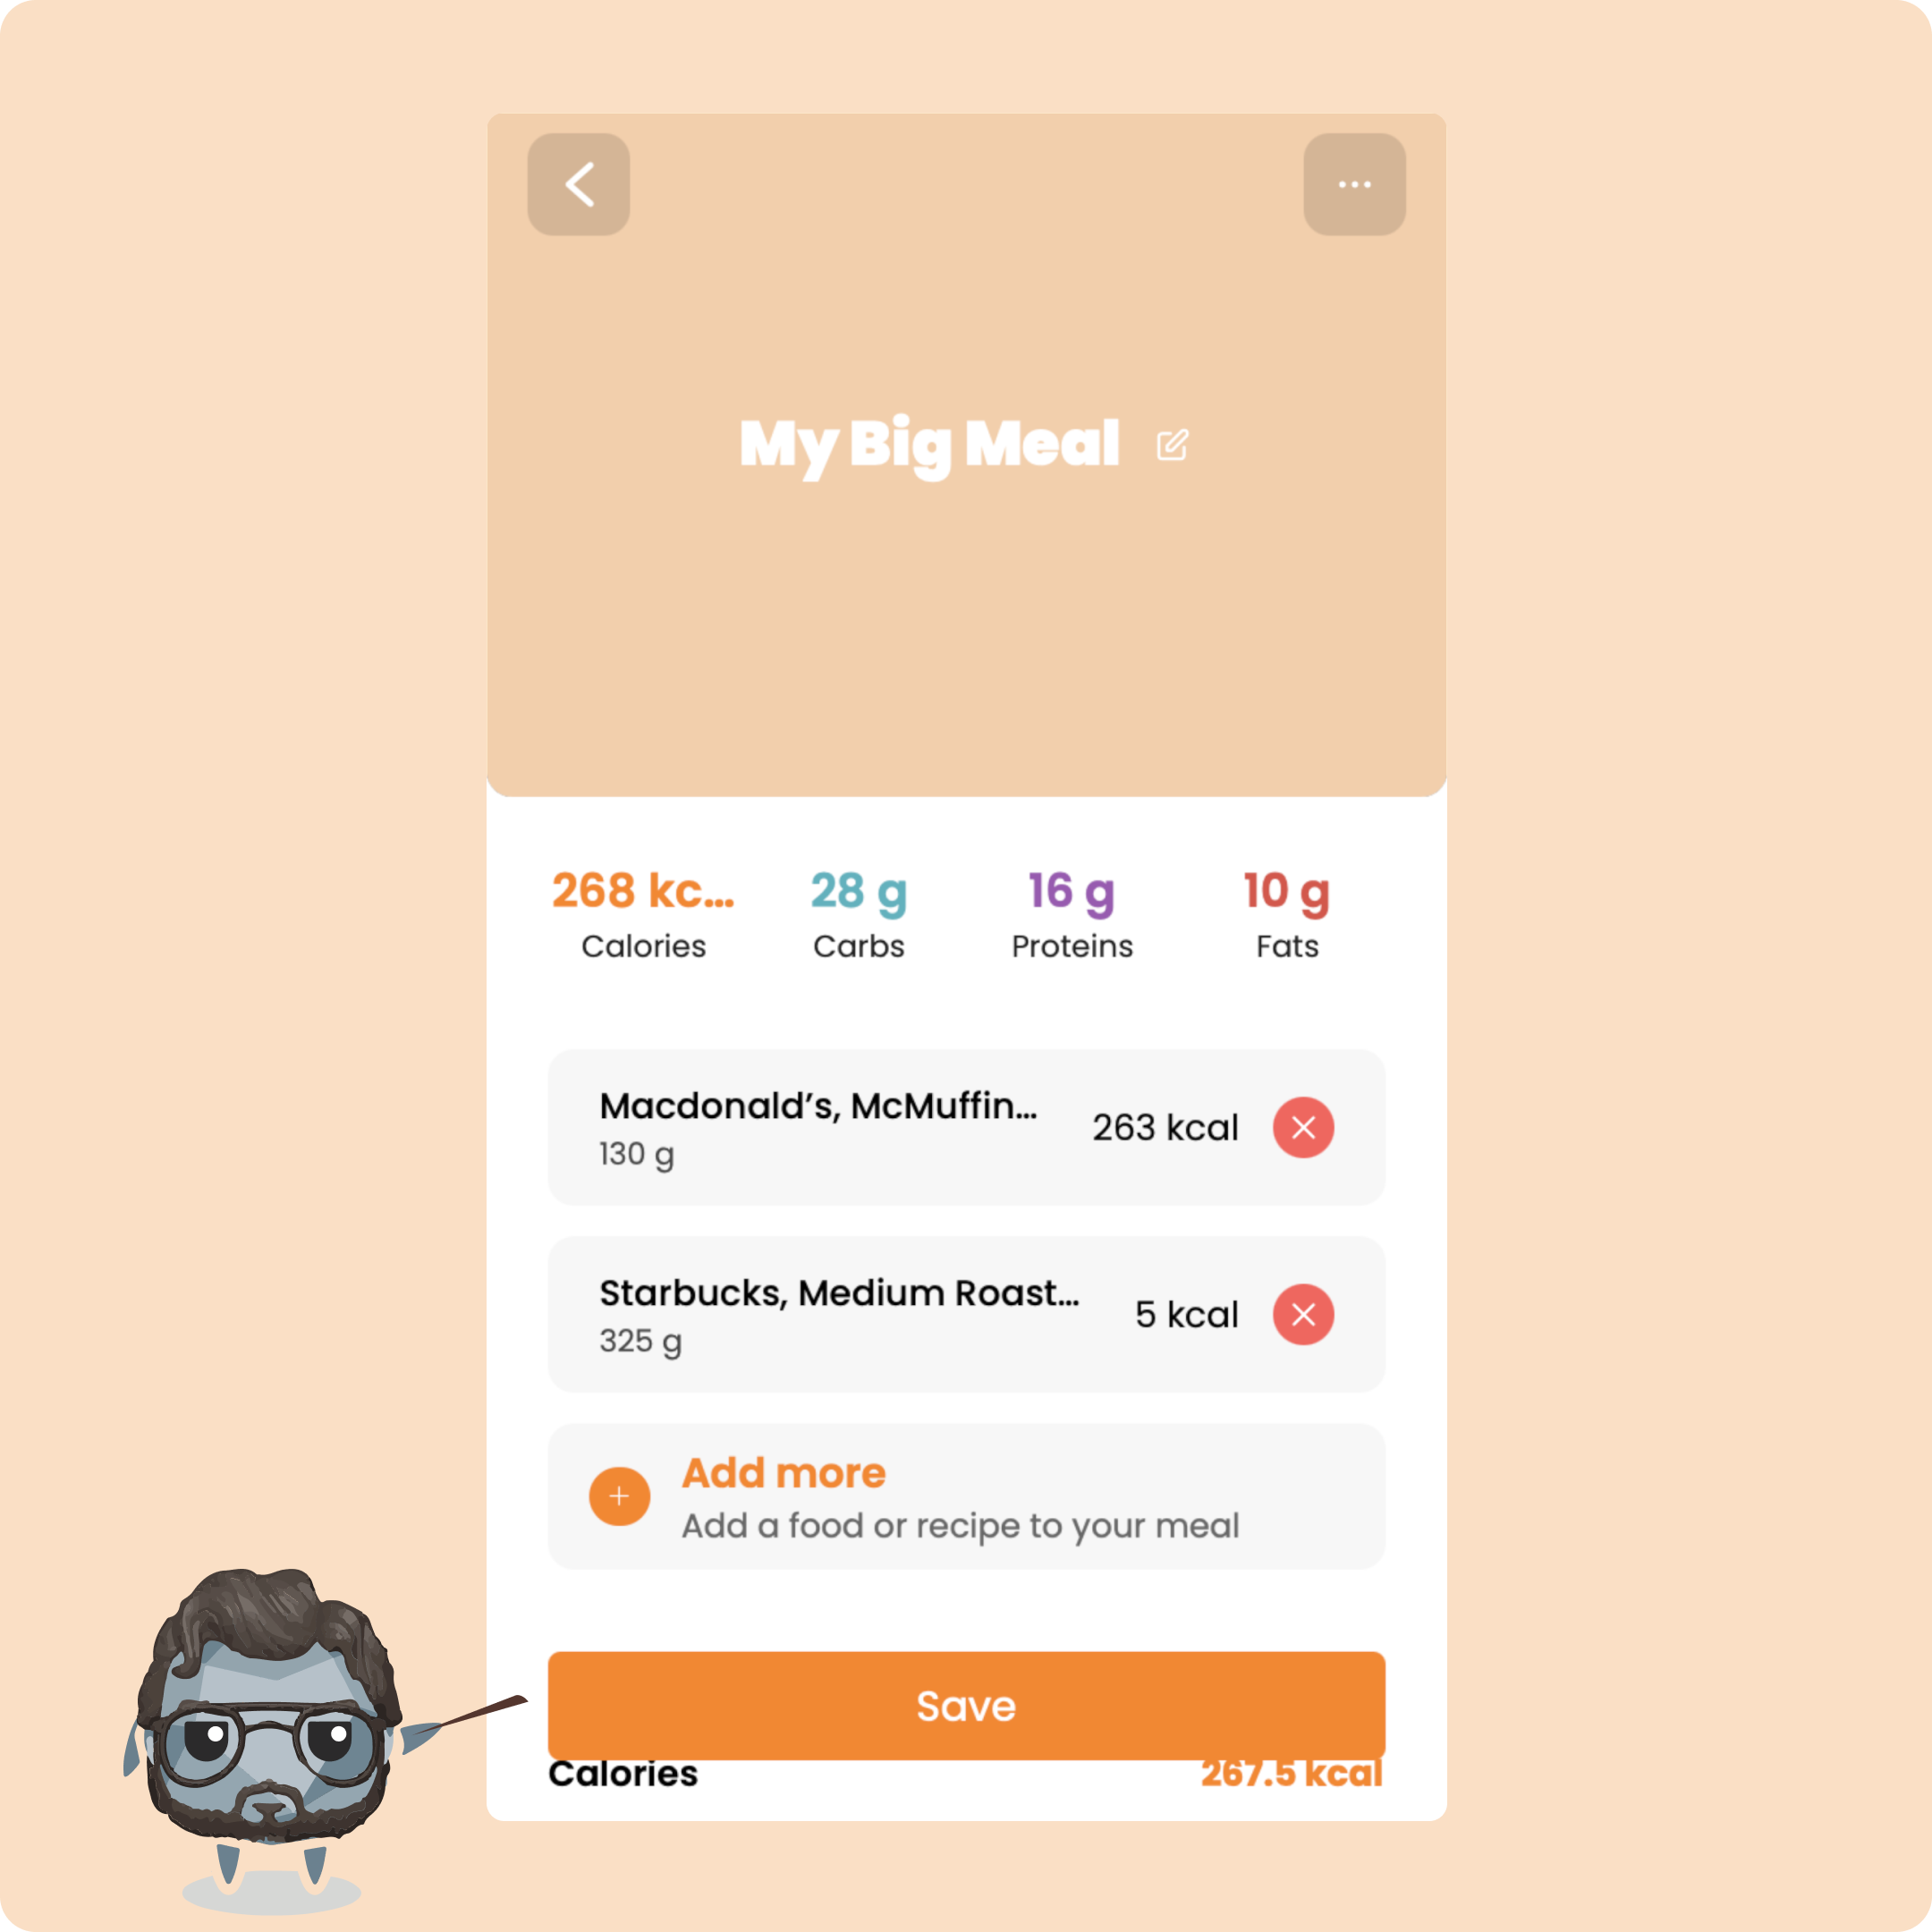
Then hit “Save.”
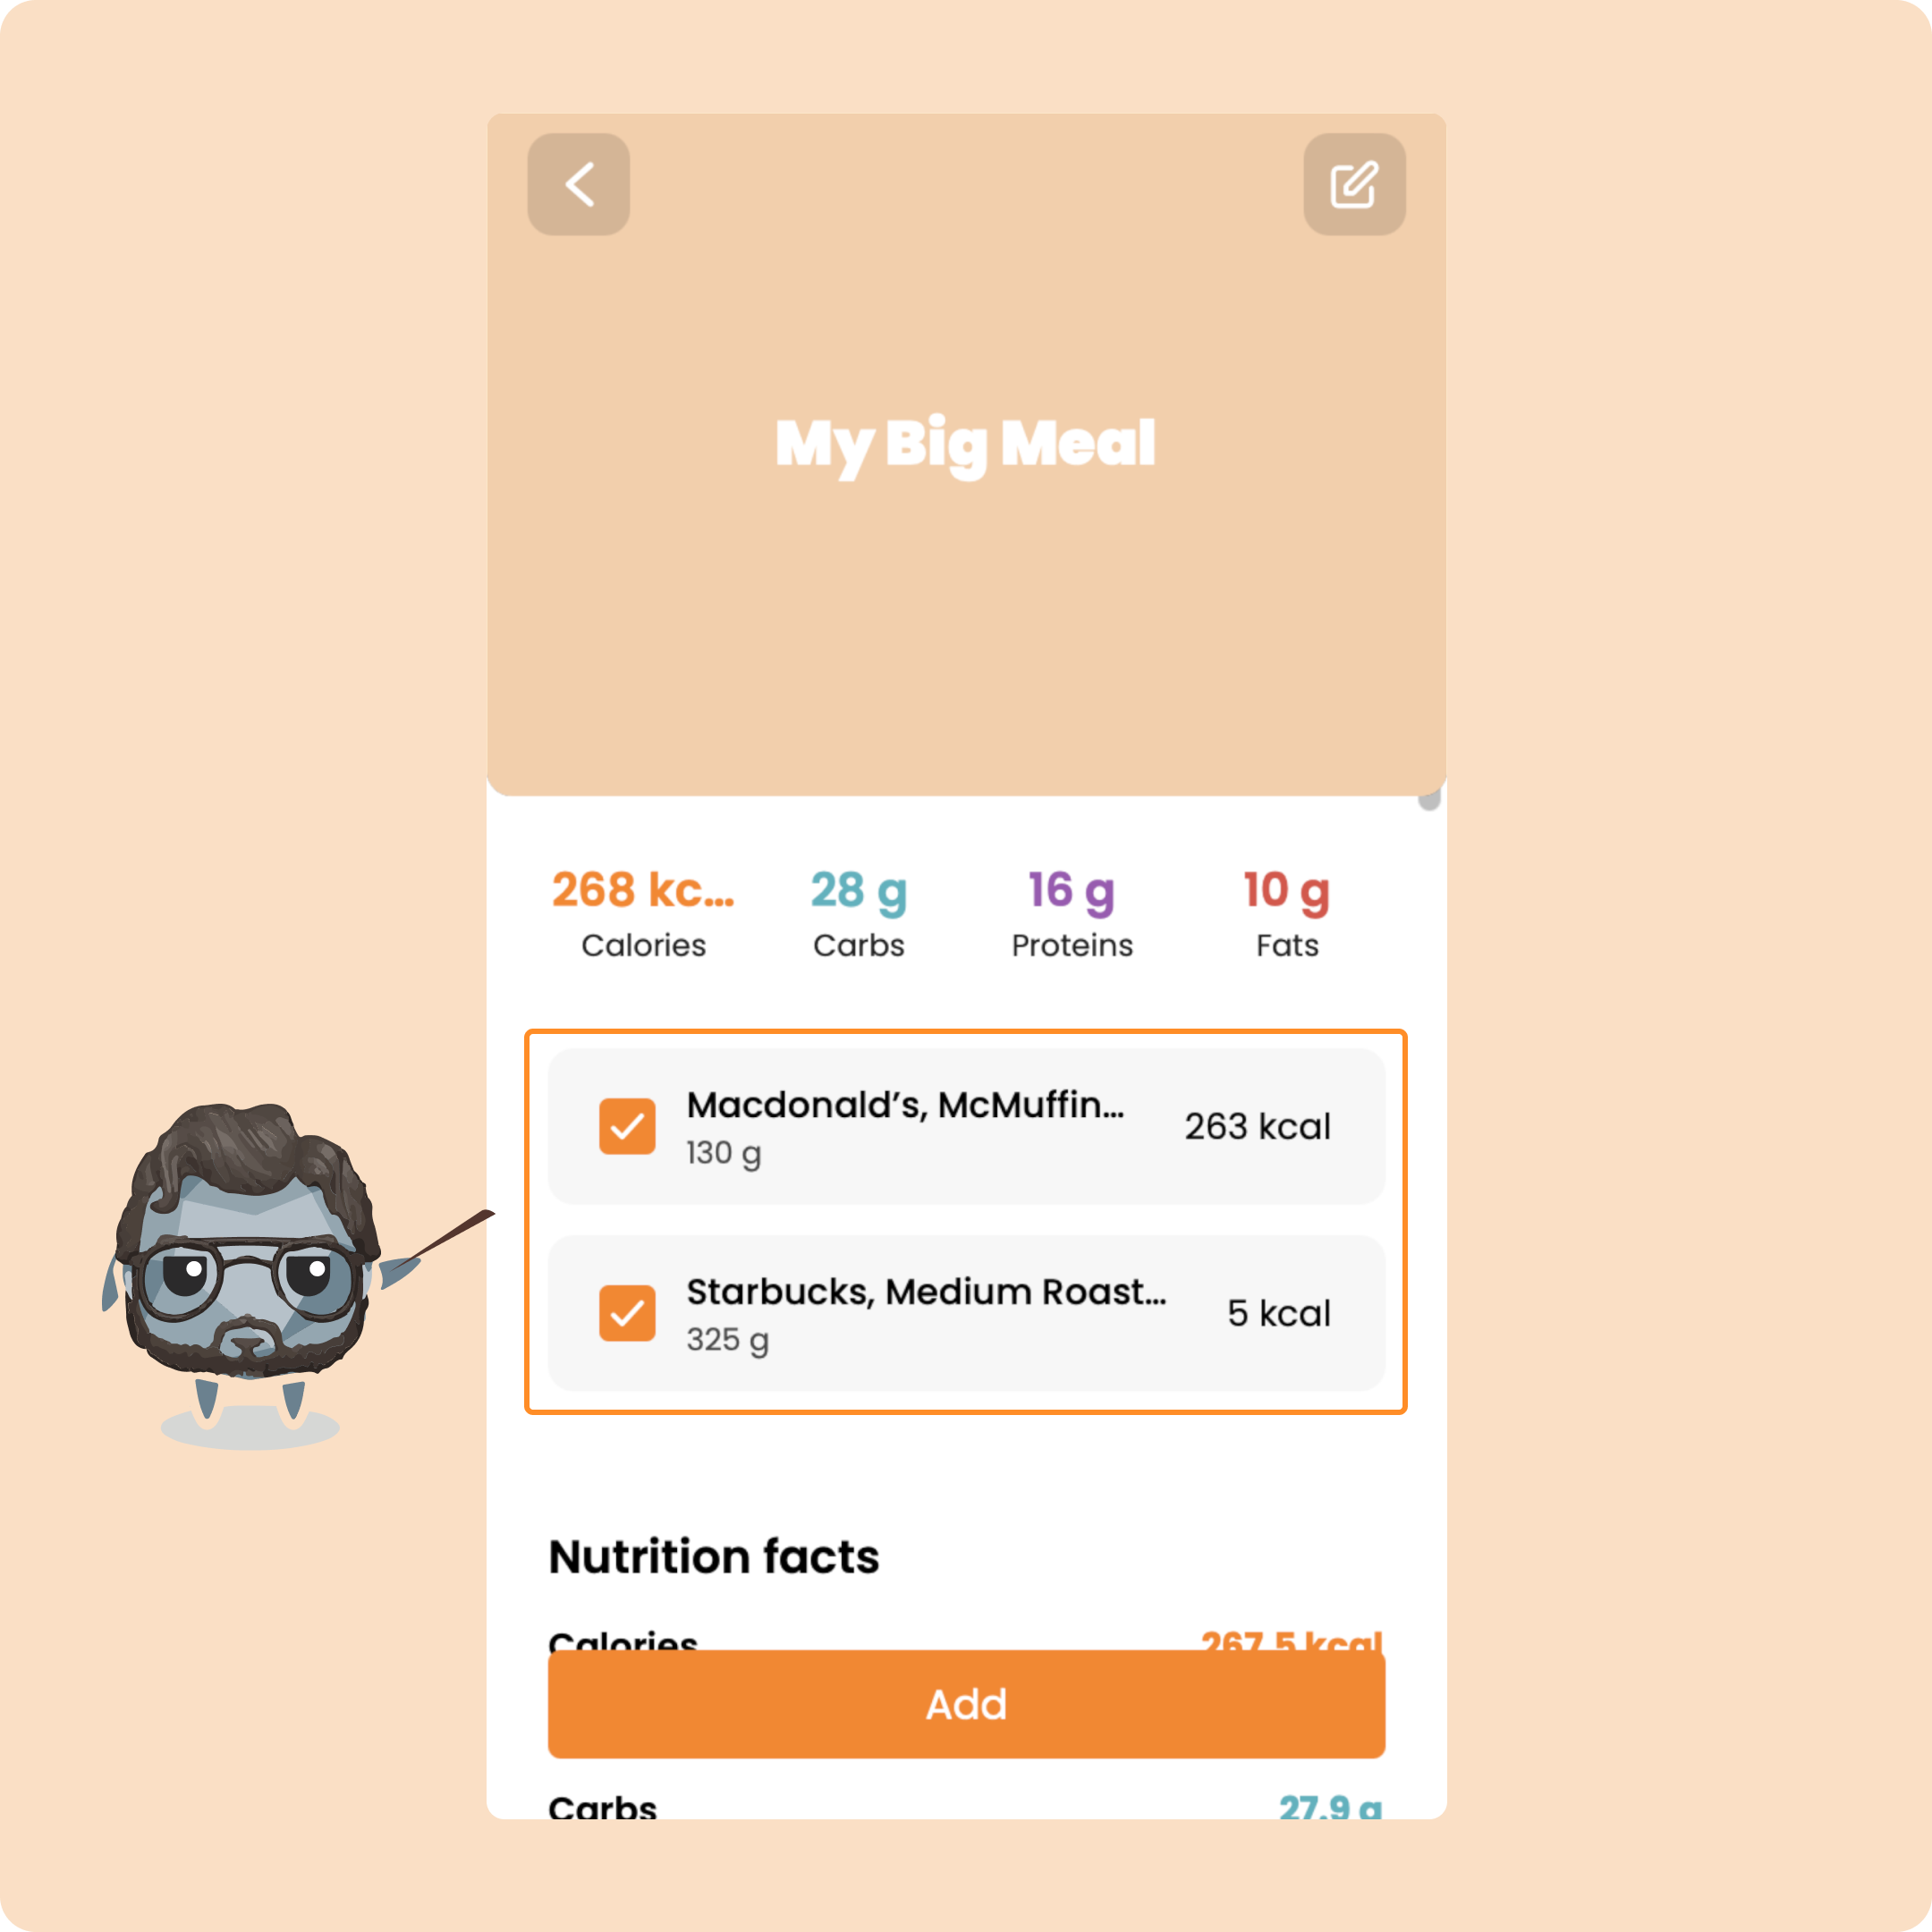
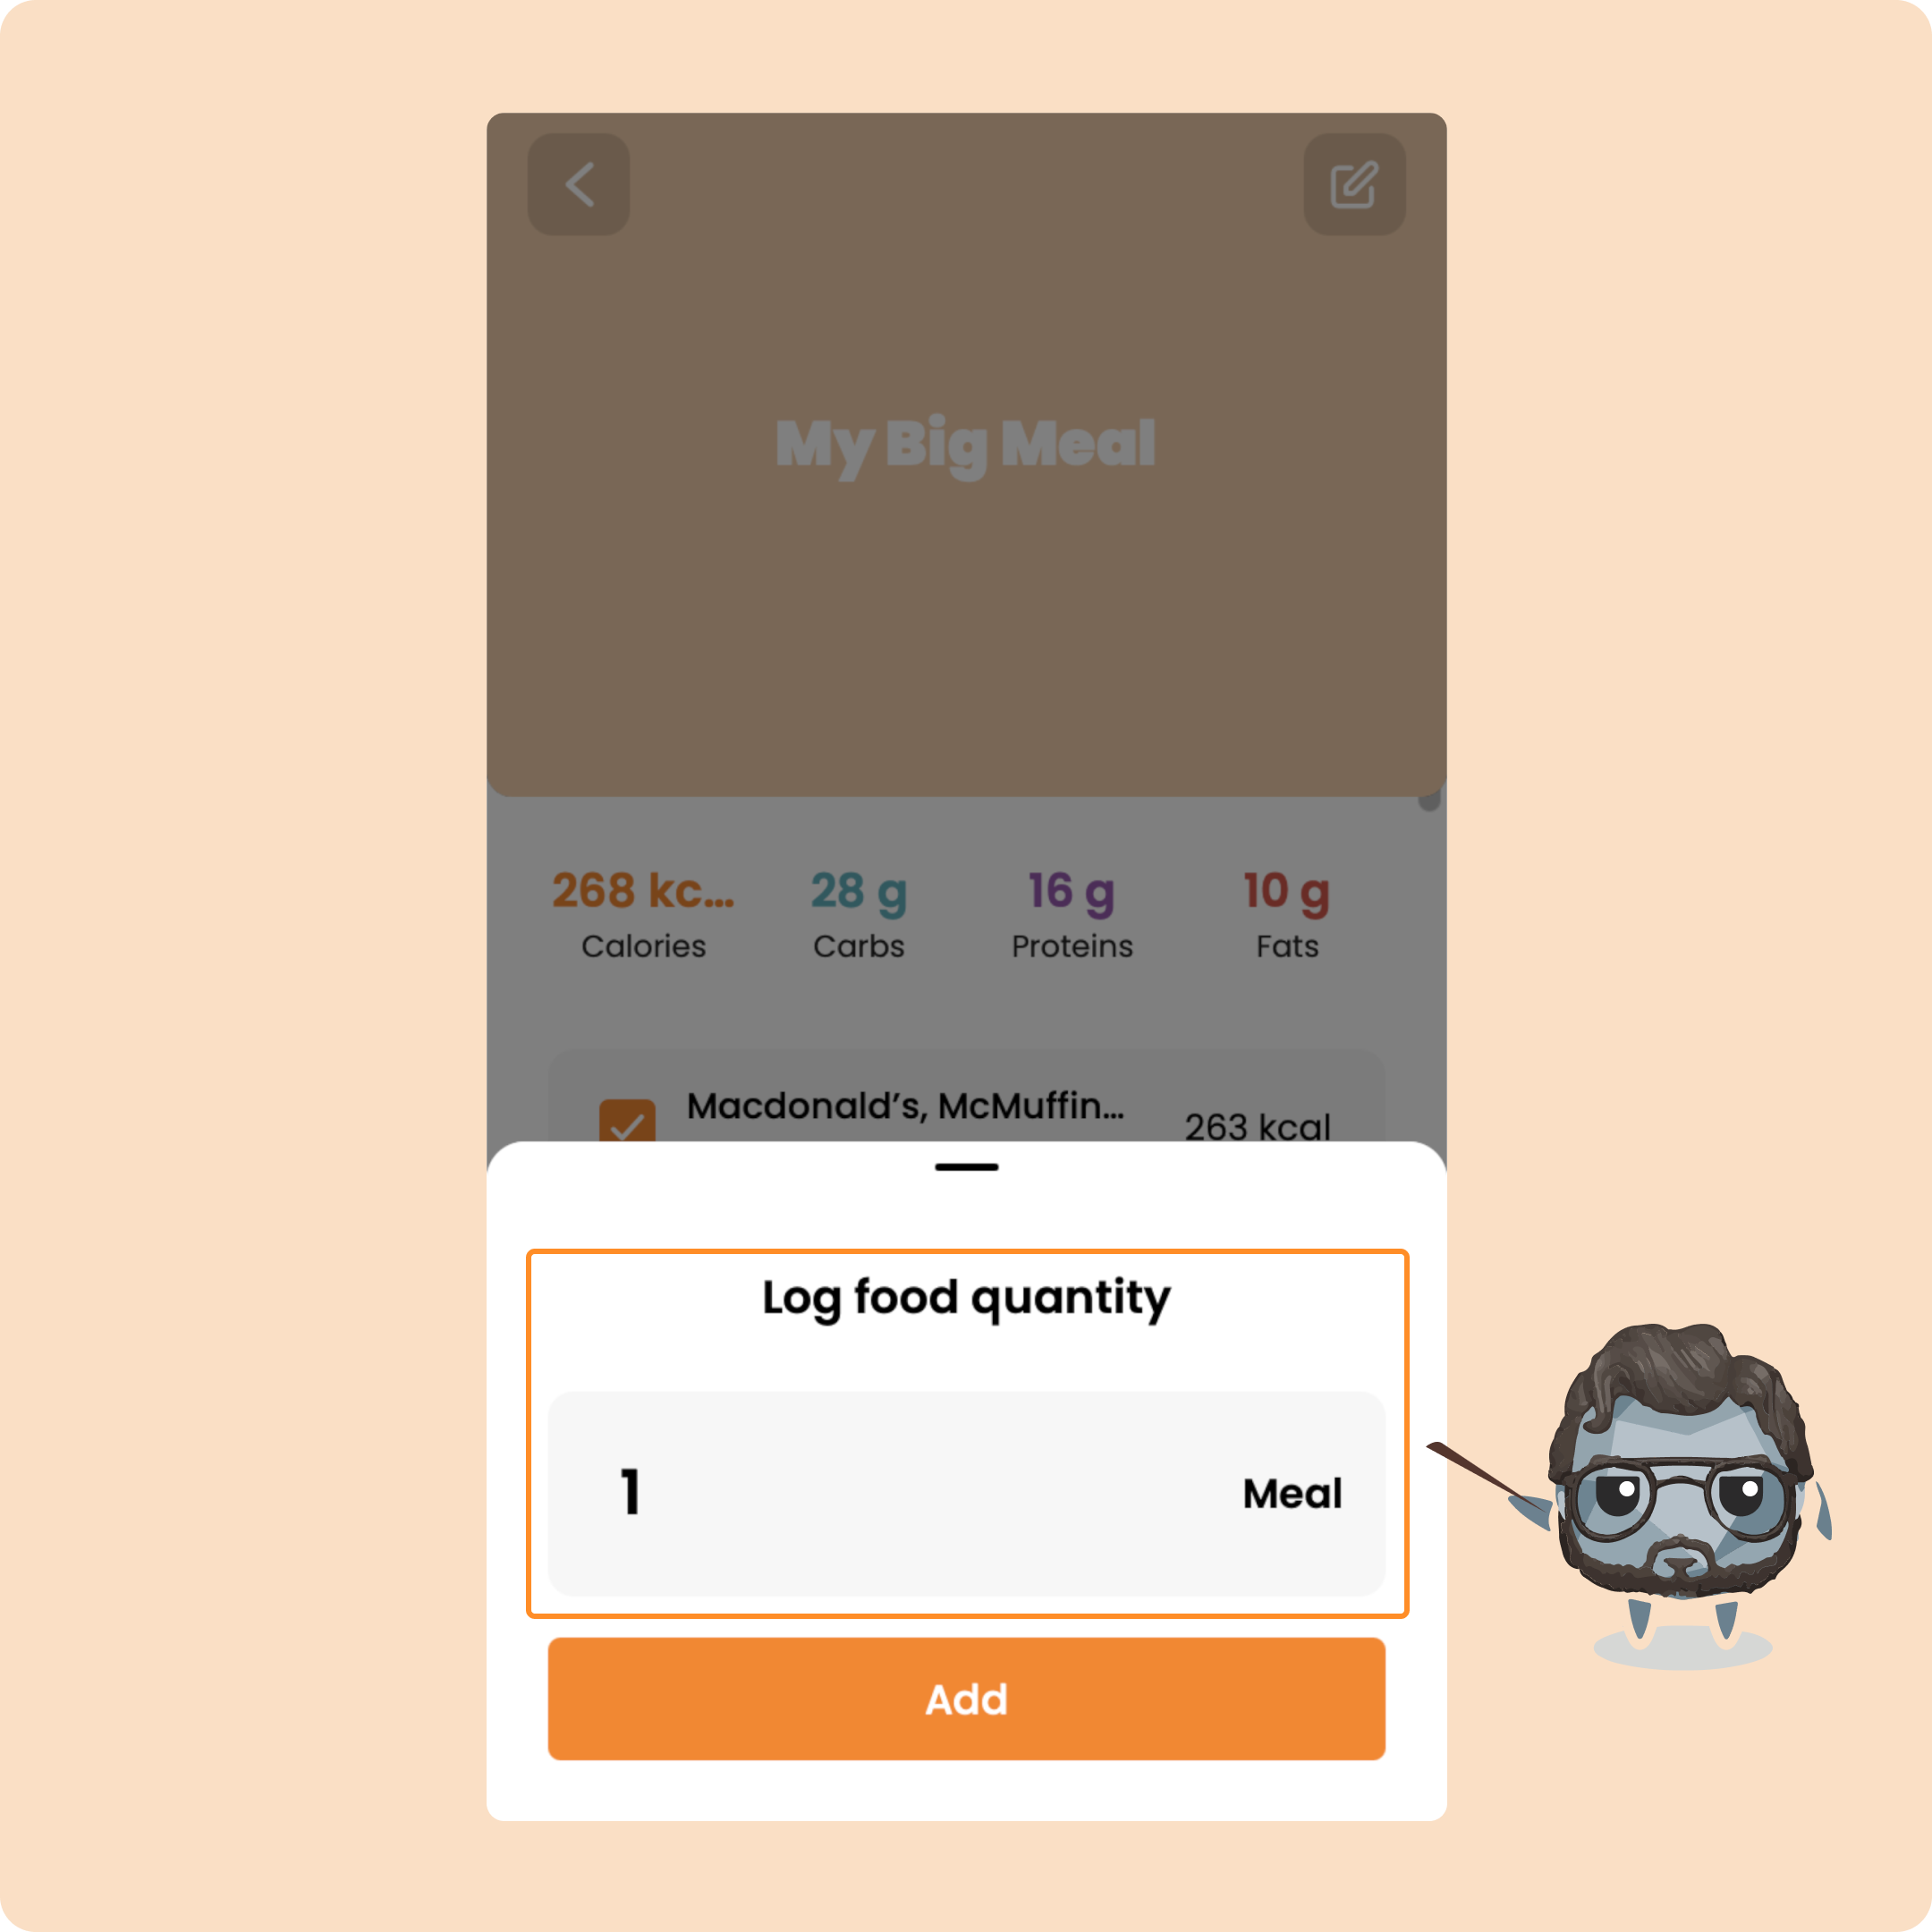
You’ll find it under “Saved.” You can press “+” to add it directly, or click on it to edit before adding.
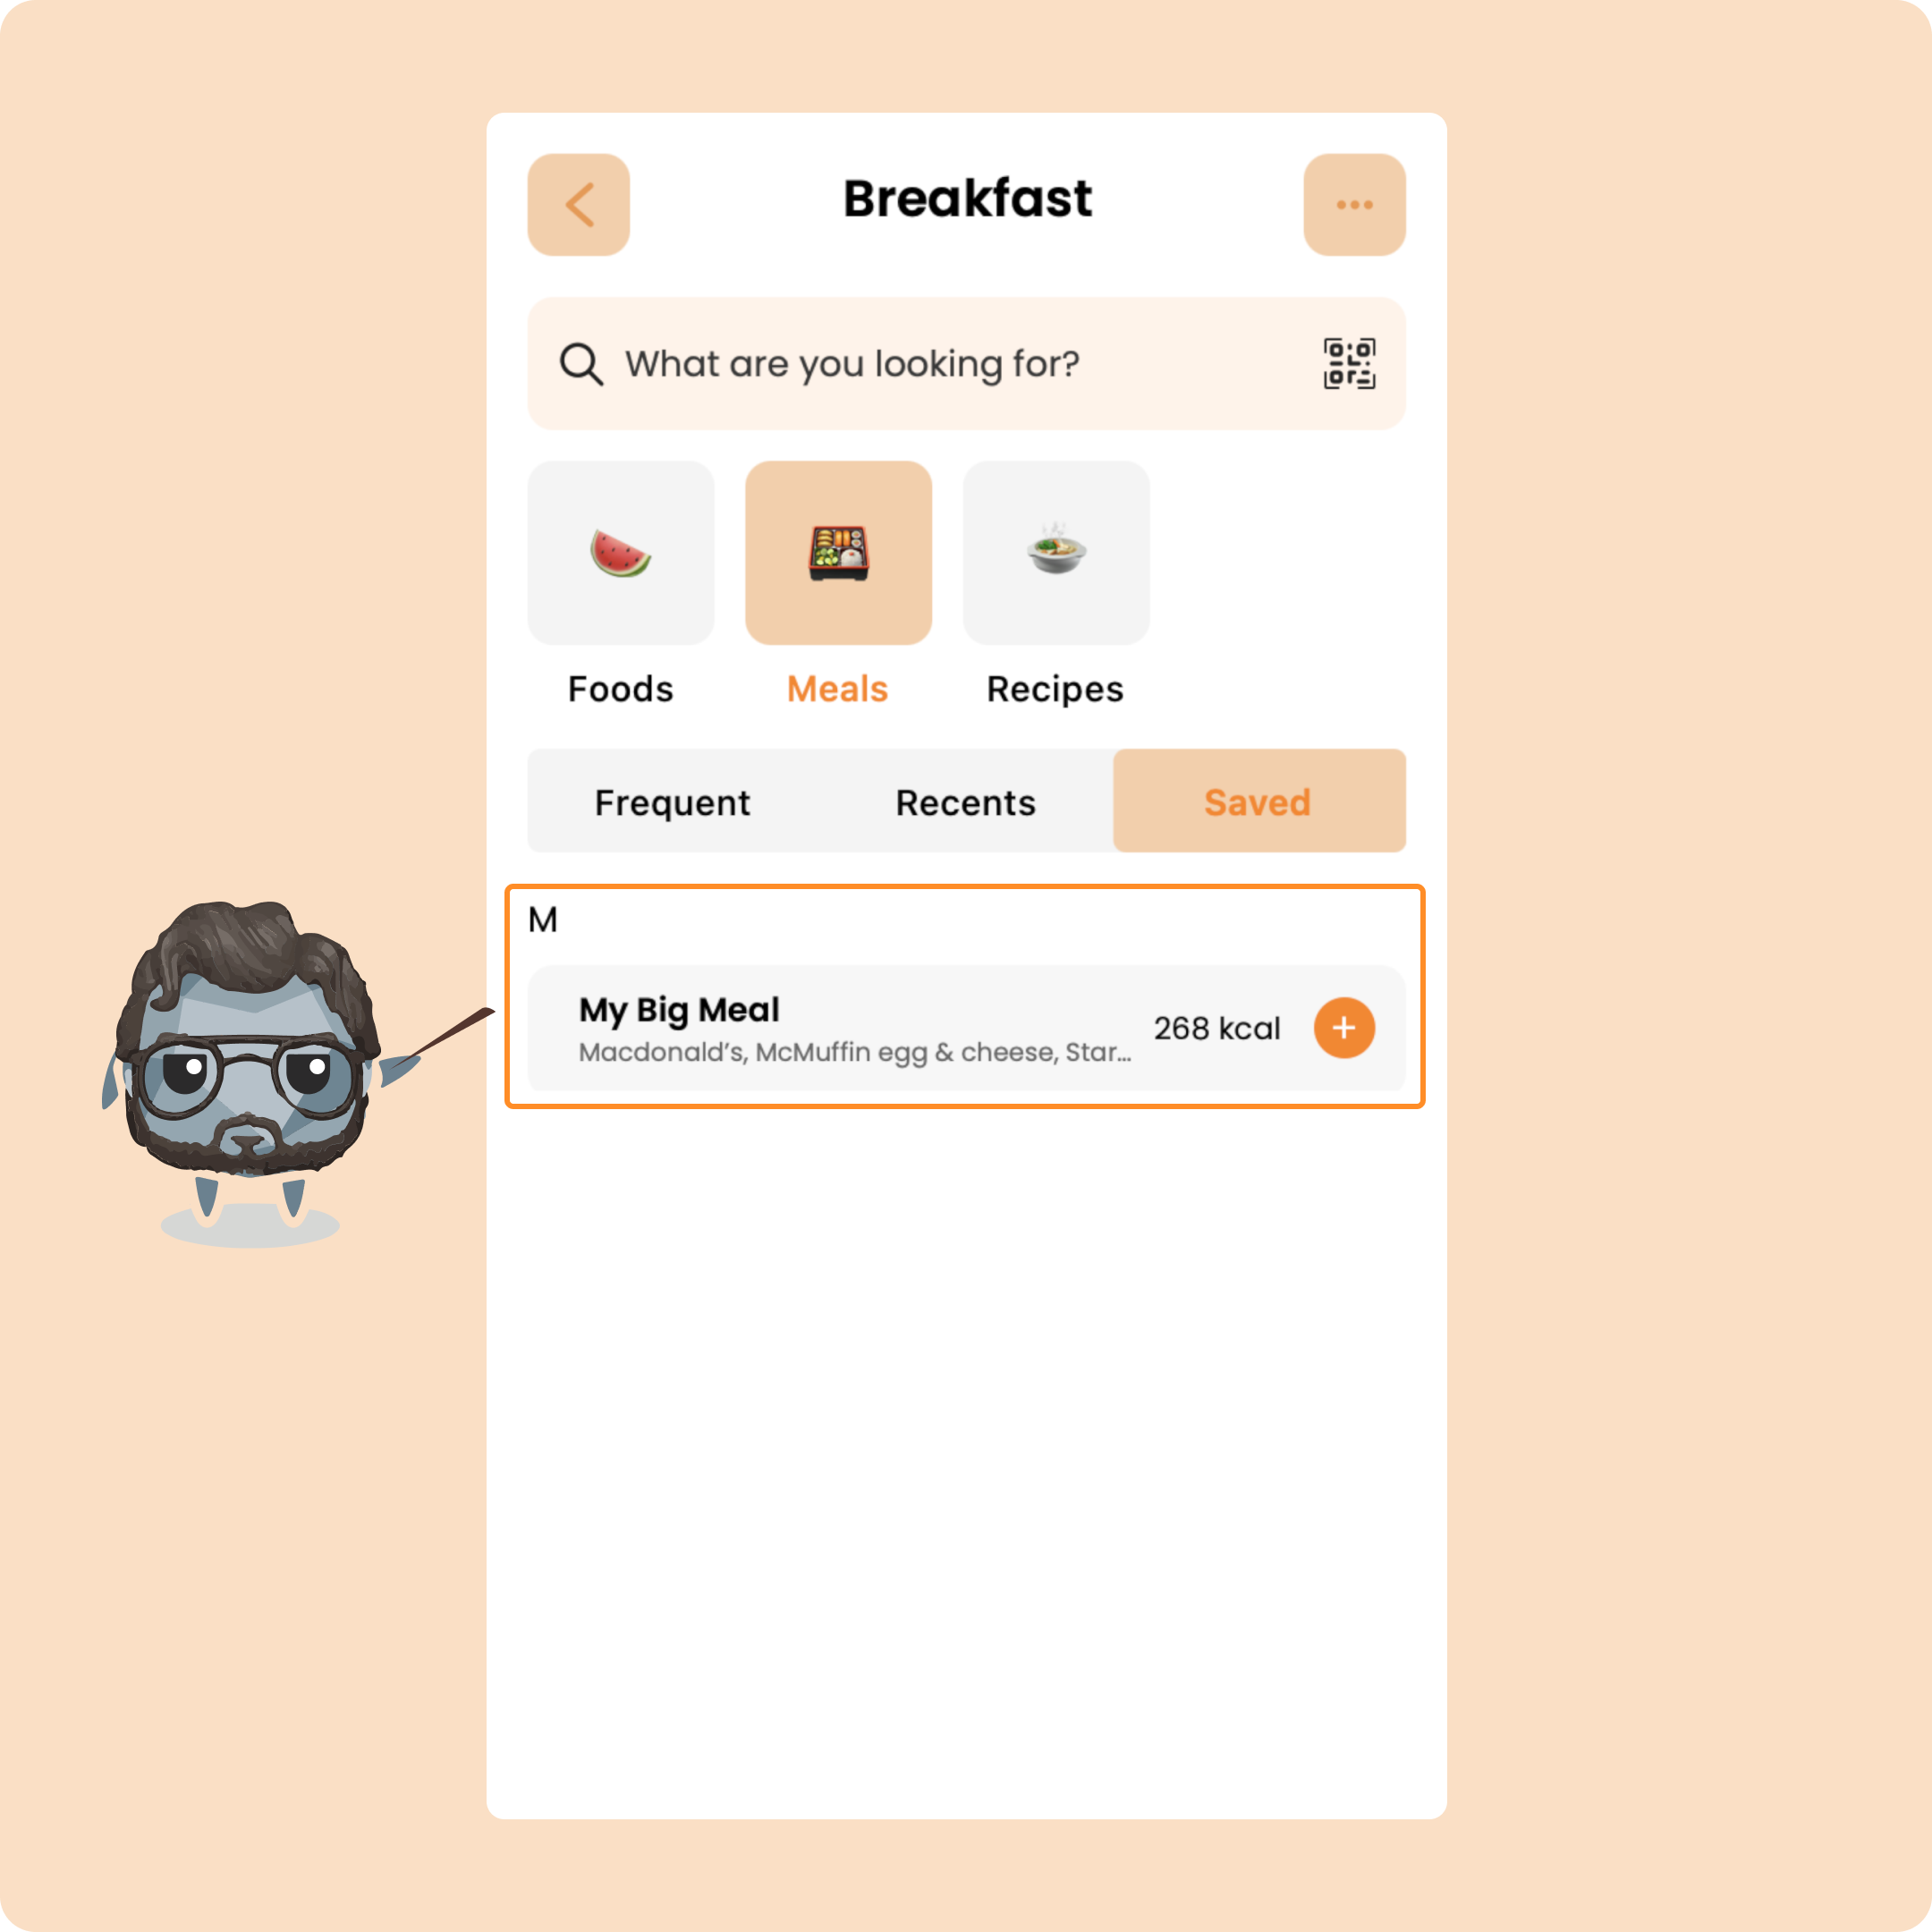
Once added, all the foods from that meal will be logged at once.
Barcode scan & custom meals
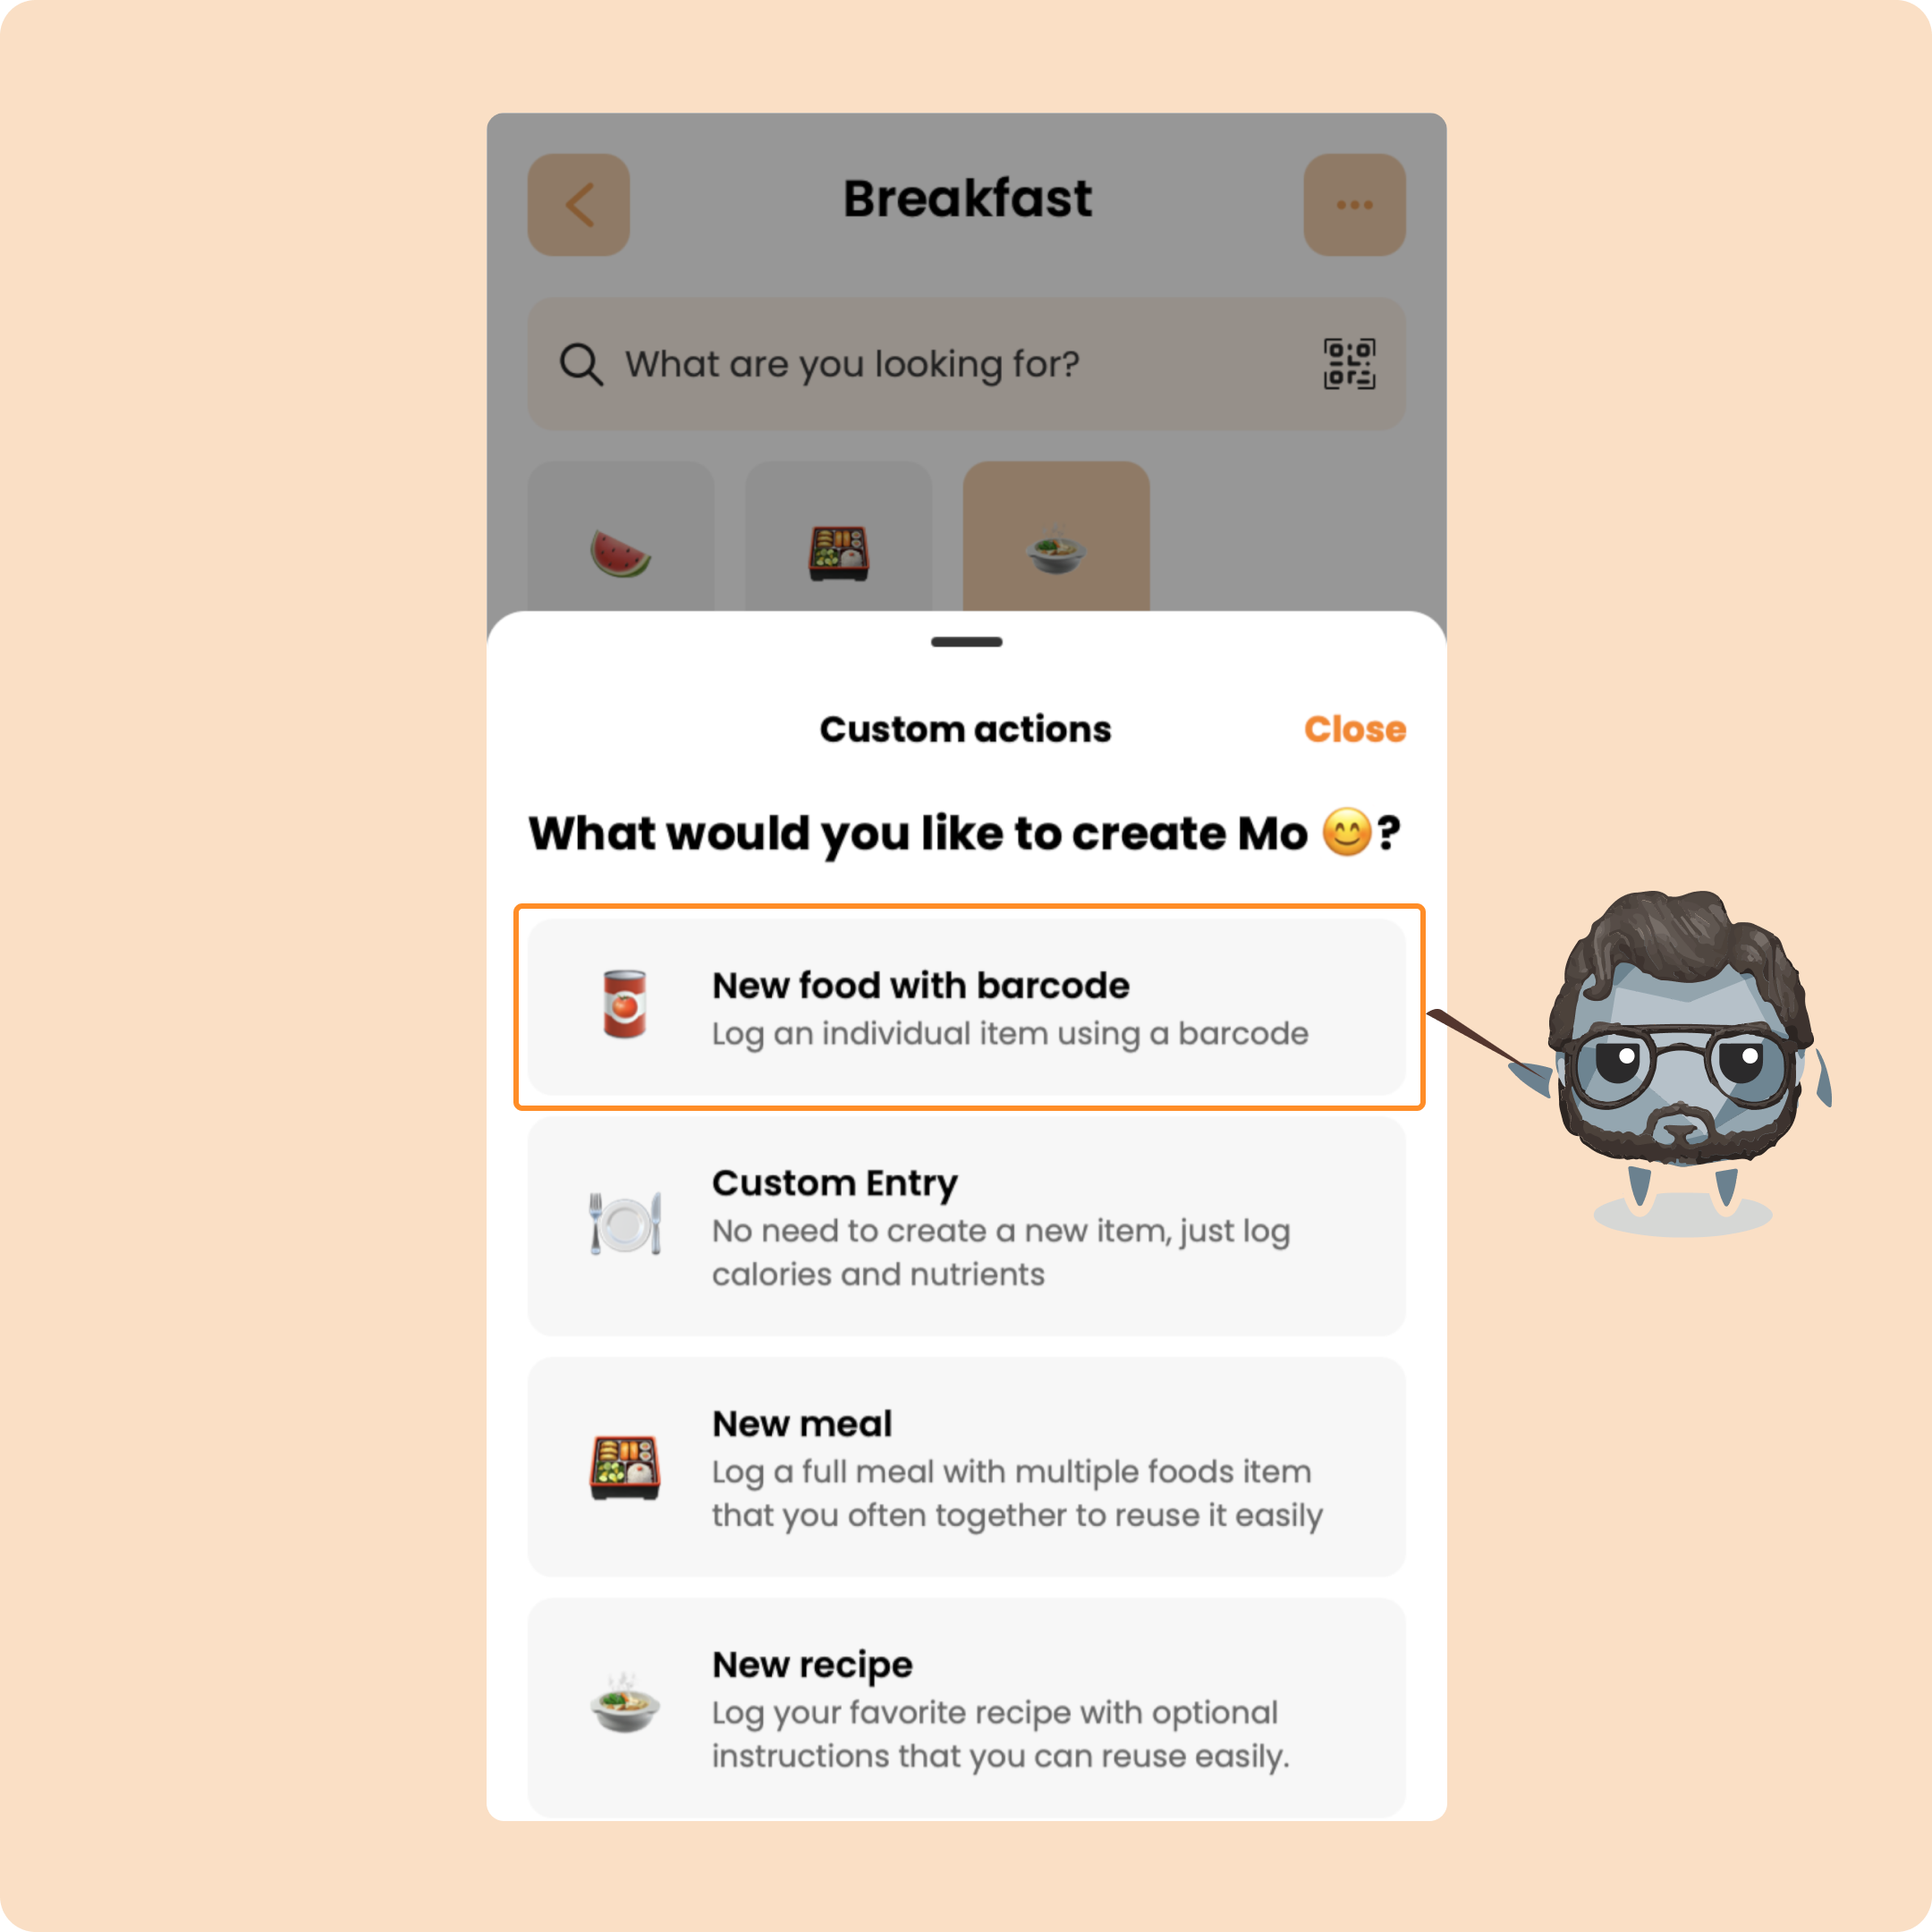
Back on the same page, if you click the top right button again, you’ll see two more options: barcode scan and custom meal.
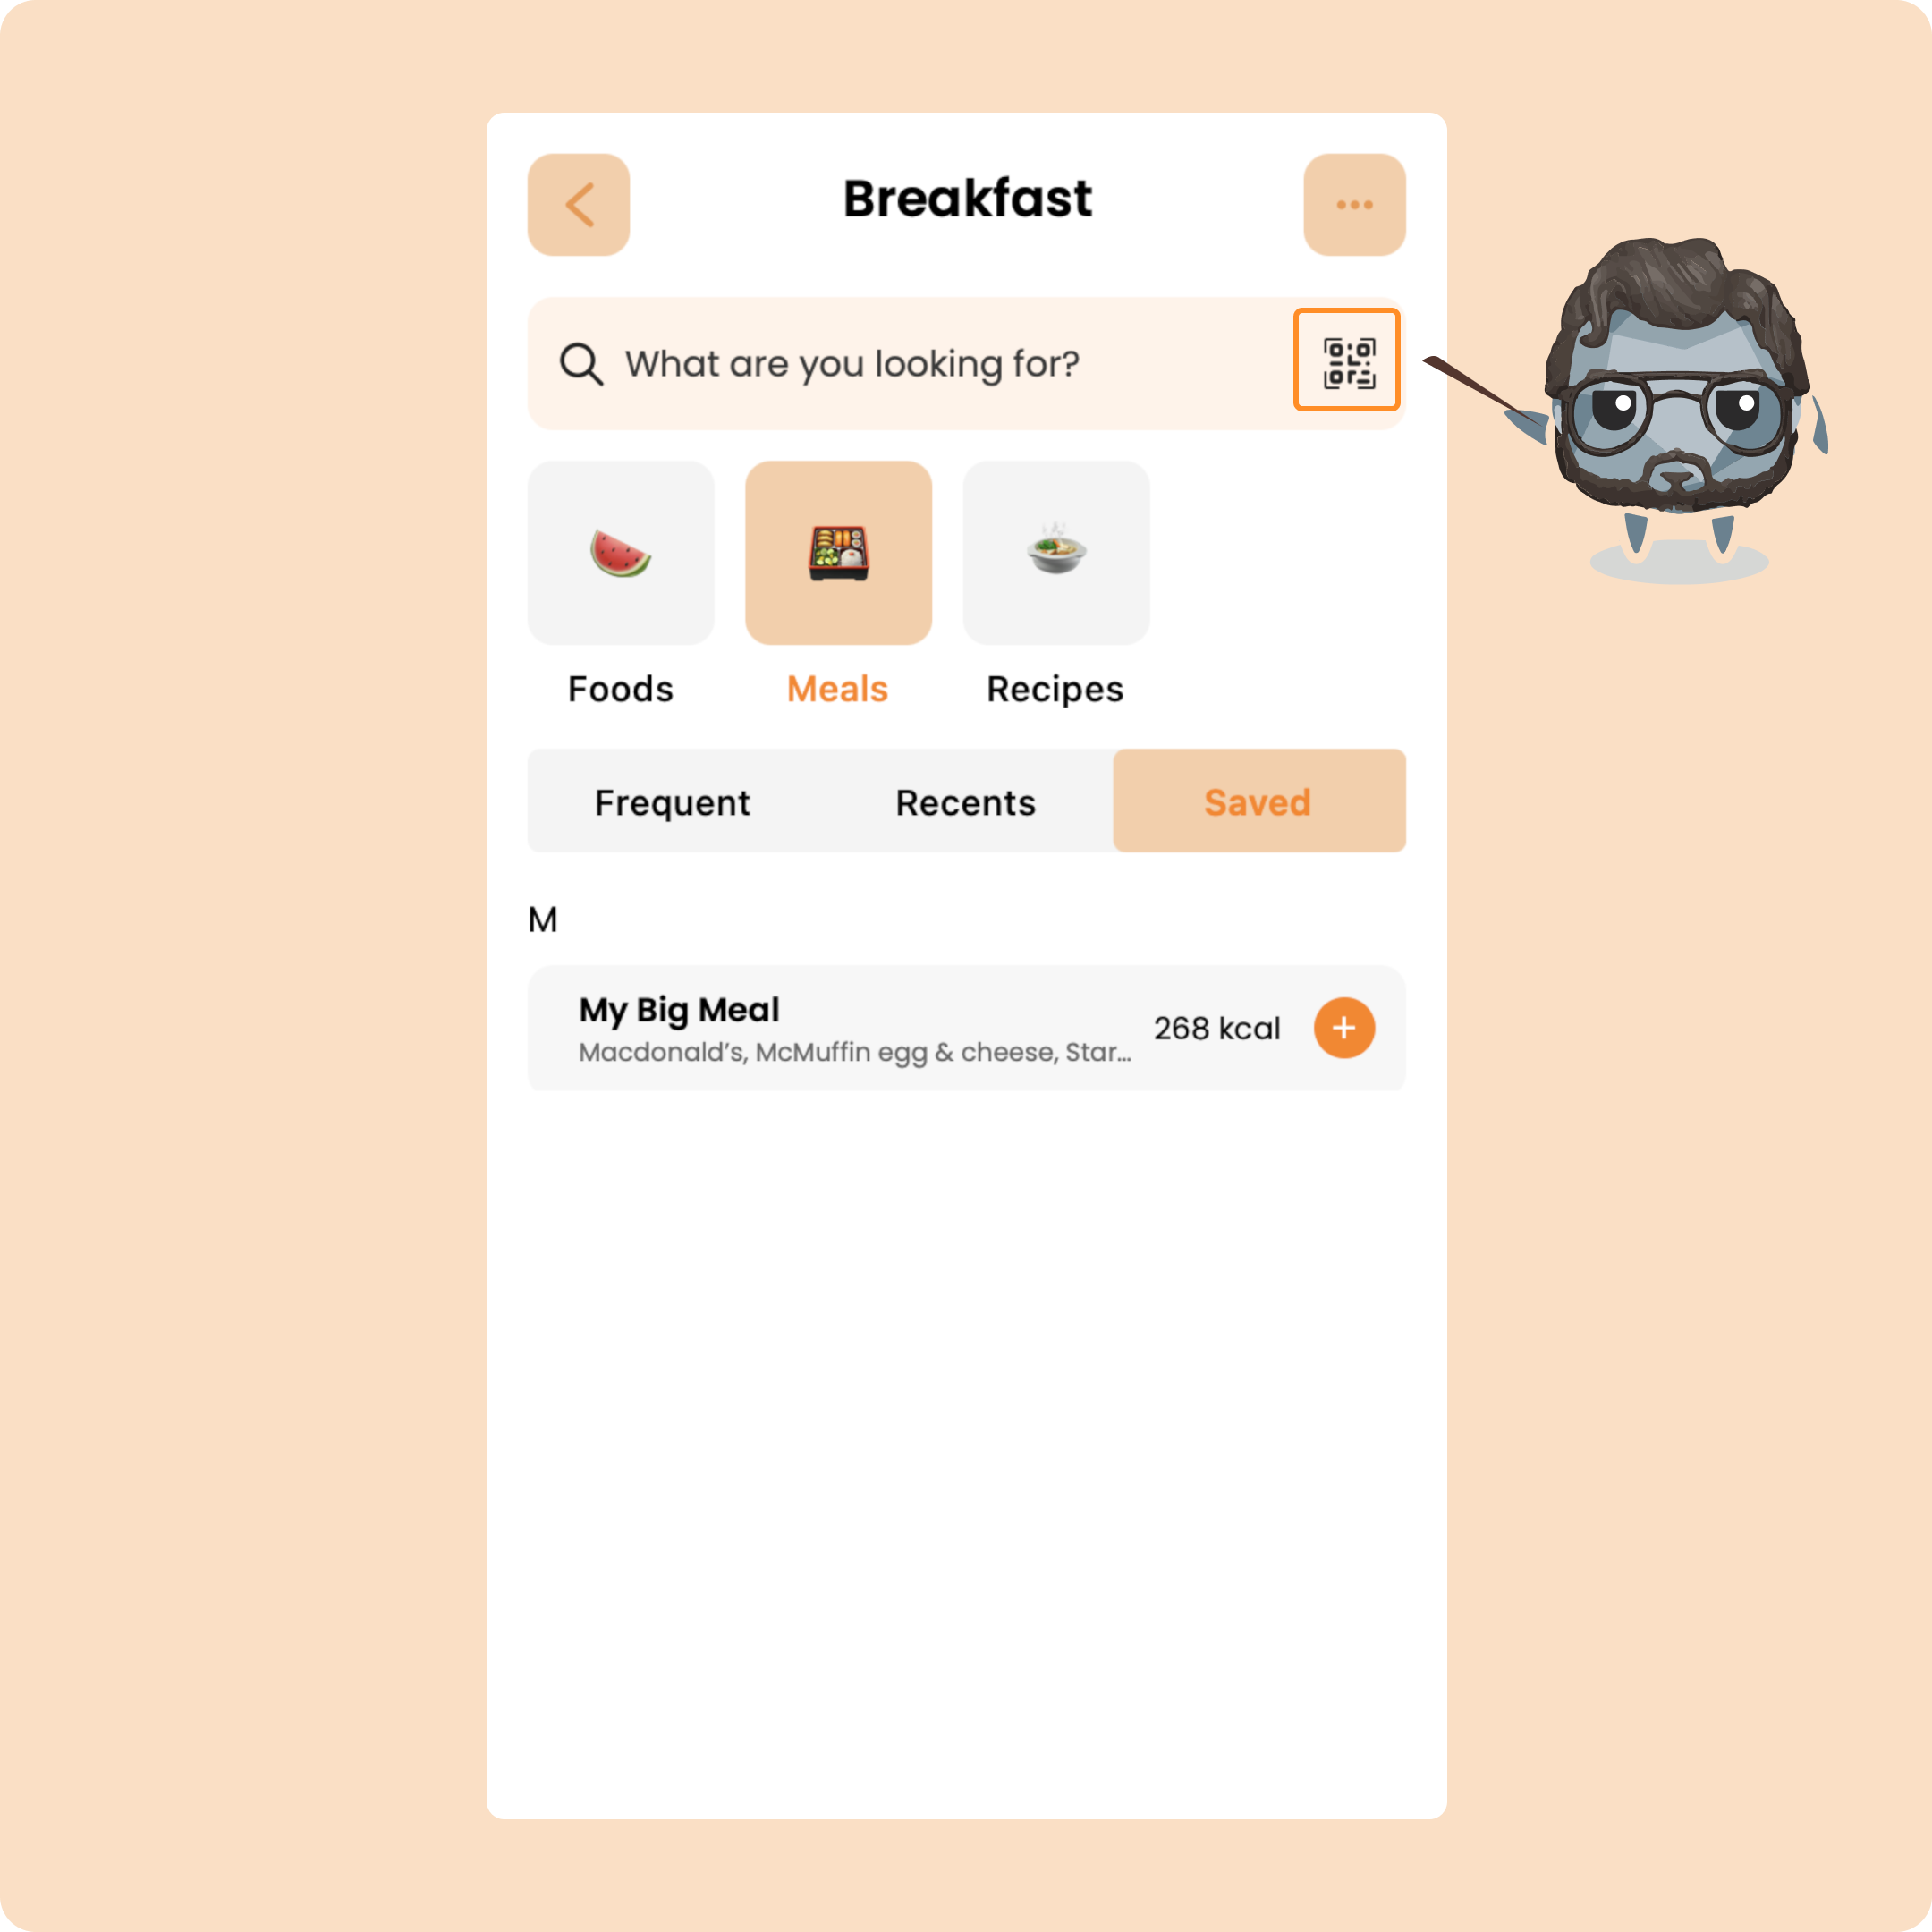
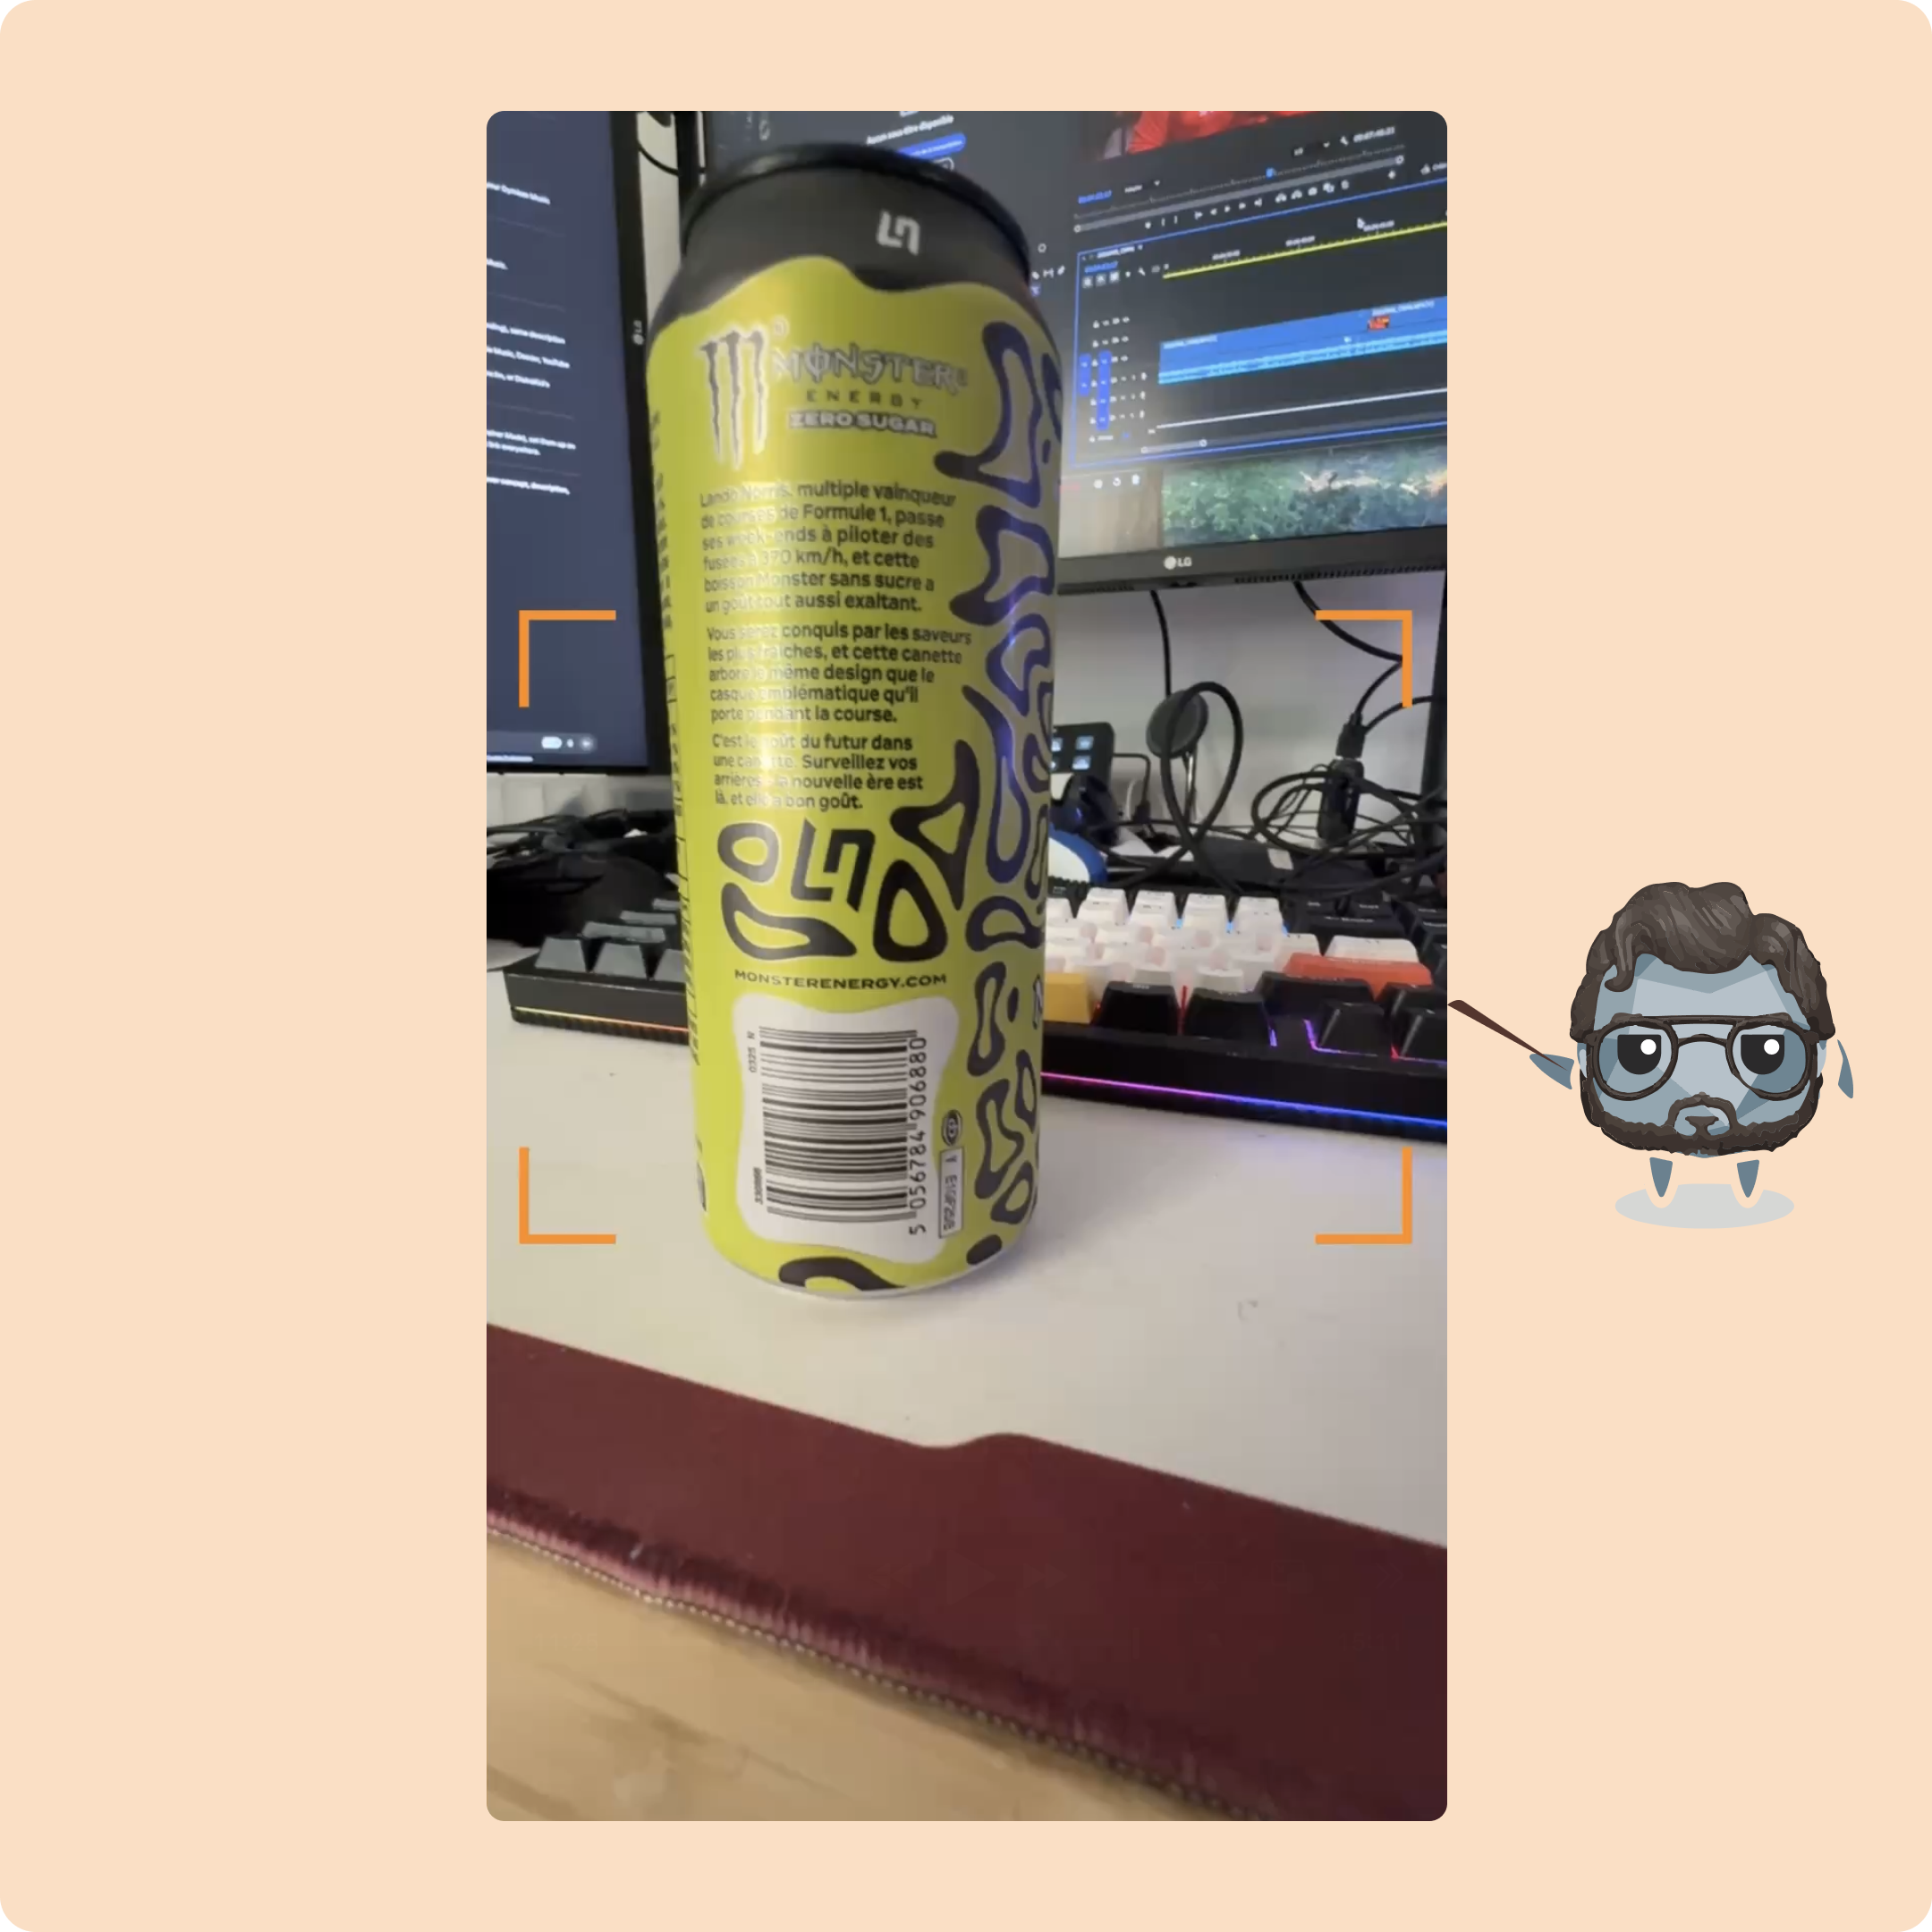
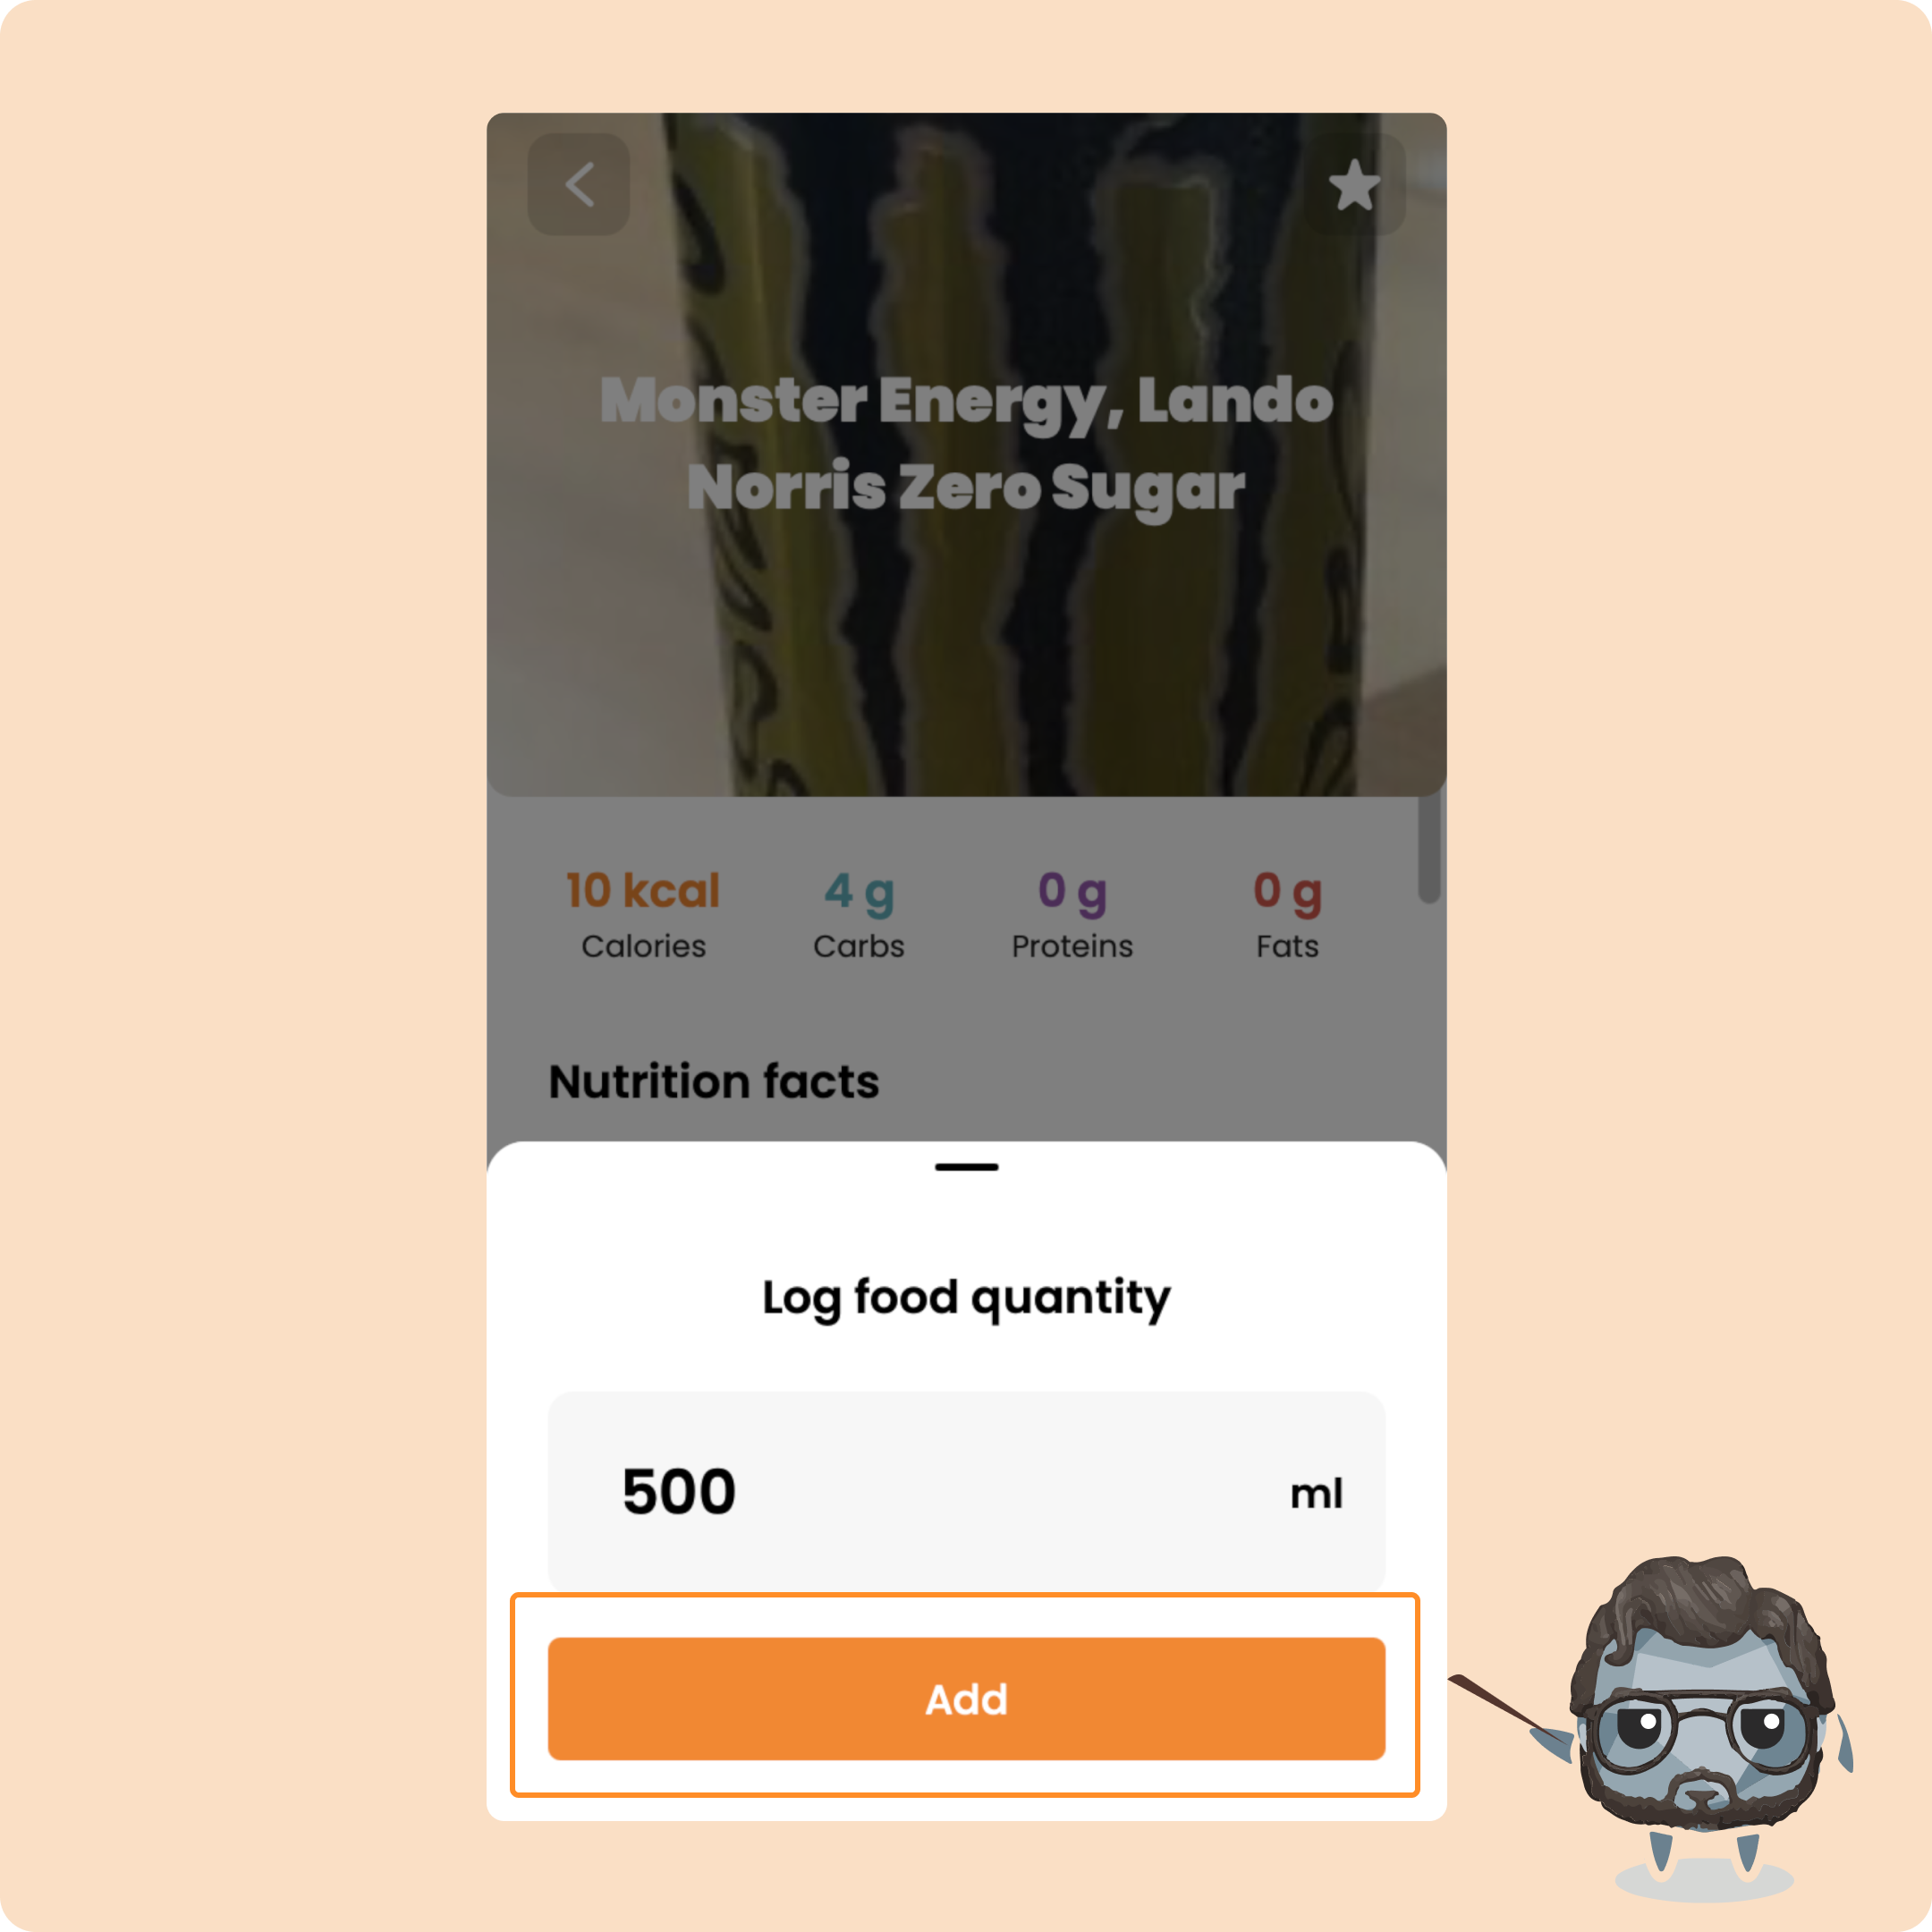
Barcode scan is easy: just scan the barcode with your camera, and the product will appear. Tap “Finish” to add it to your meal.
You can also access the barcode scanner by tapping the little QR code next to the search bar.
Custom entry is for logging a meal that isn’t in the database.
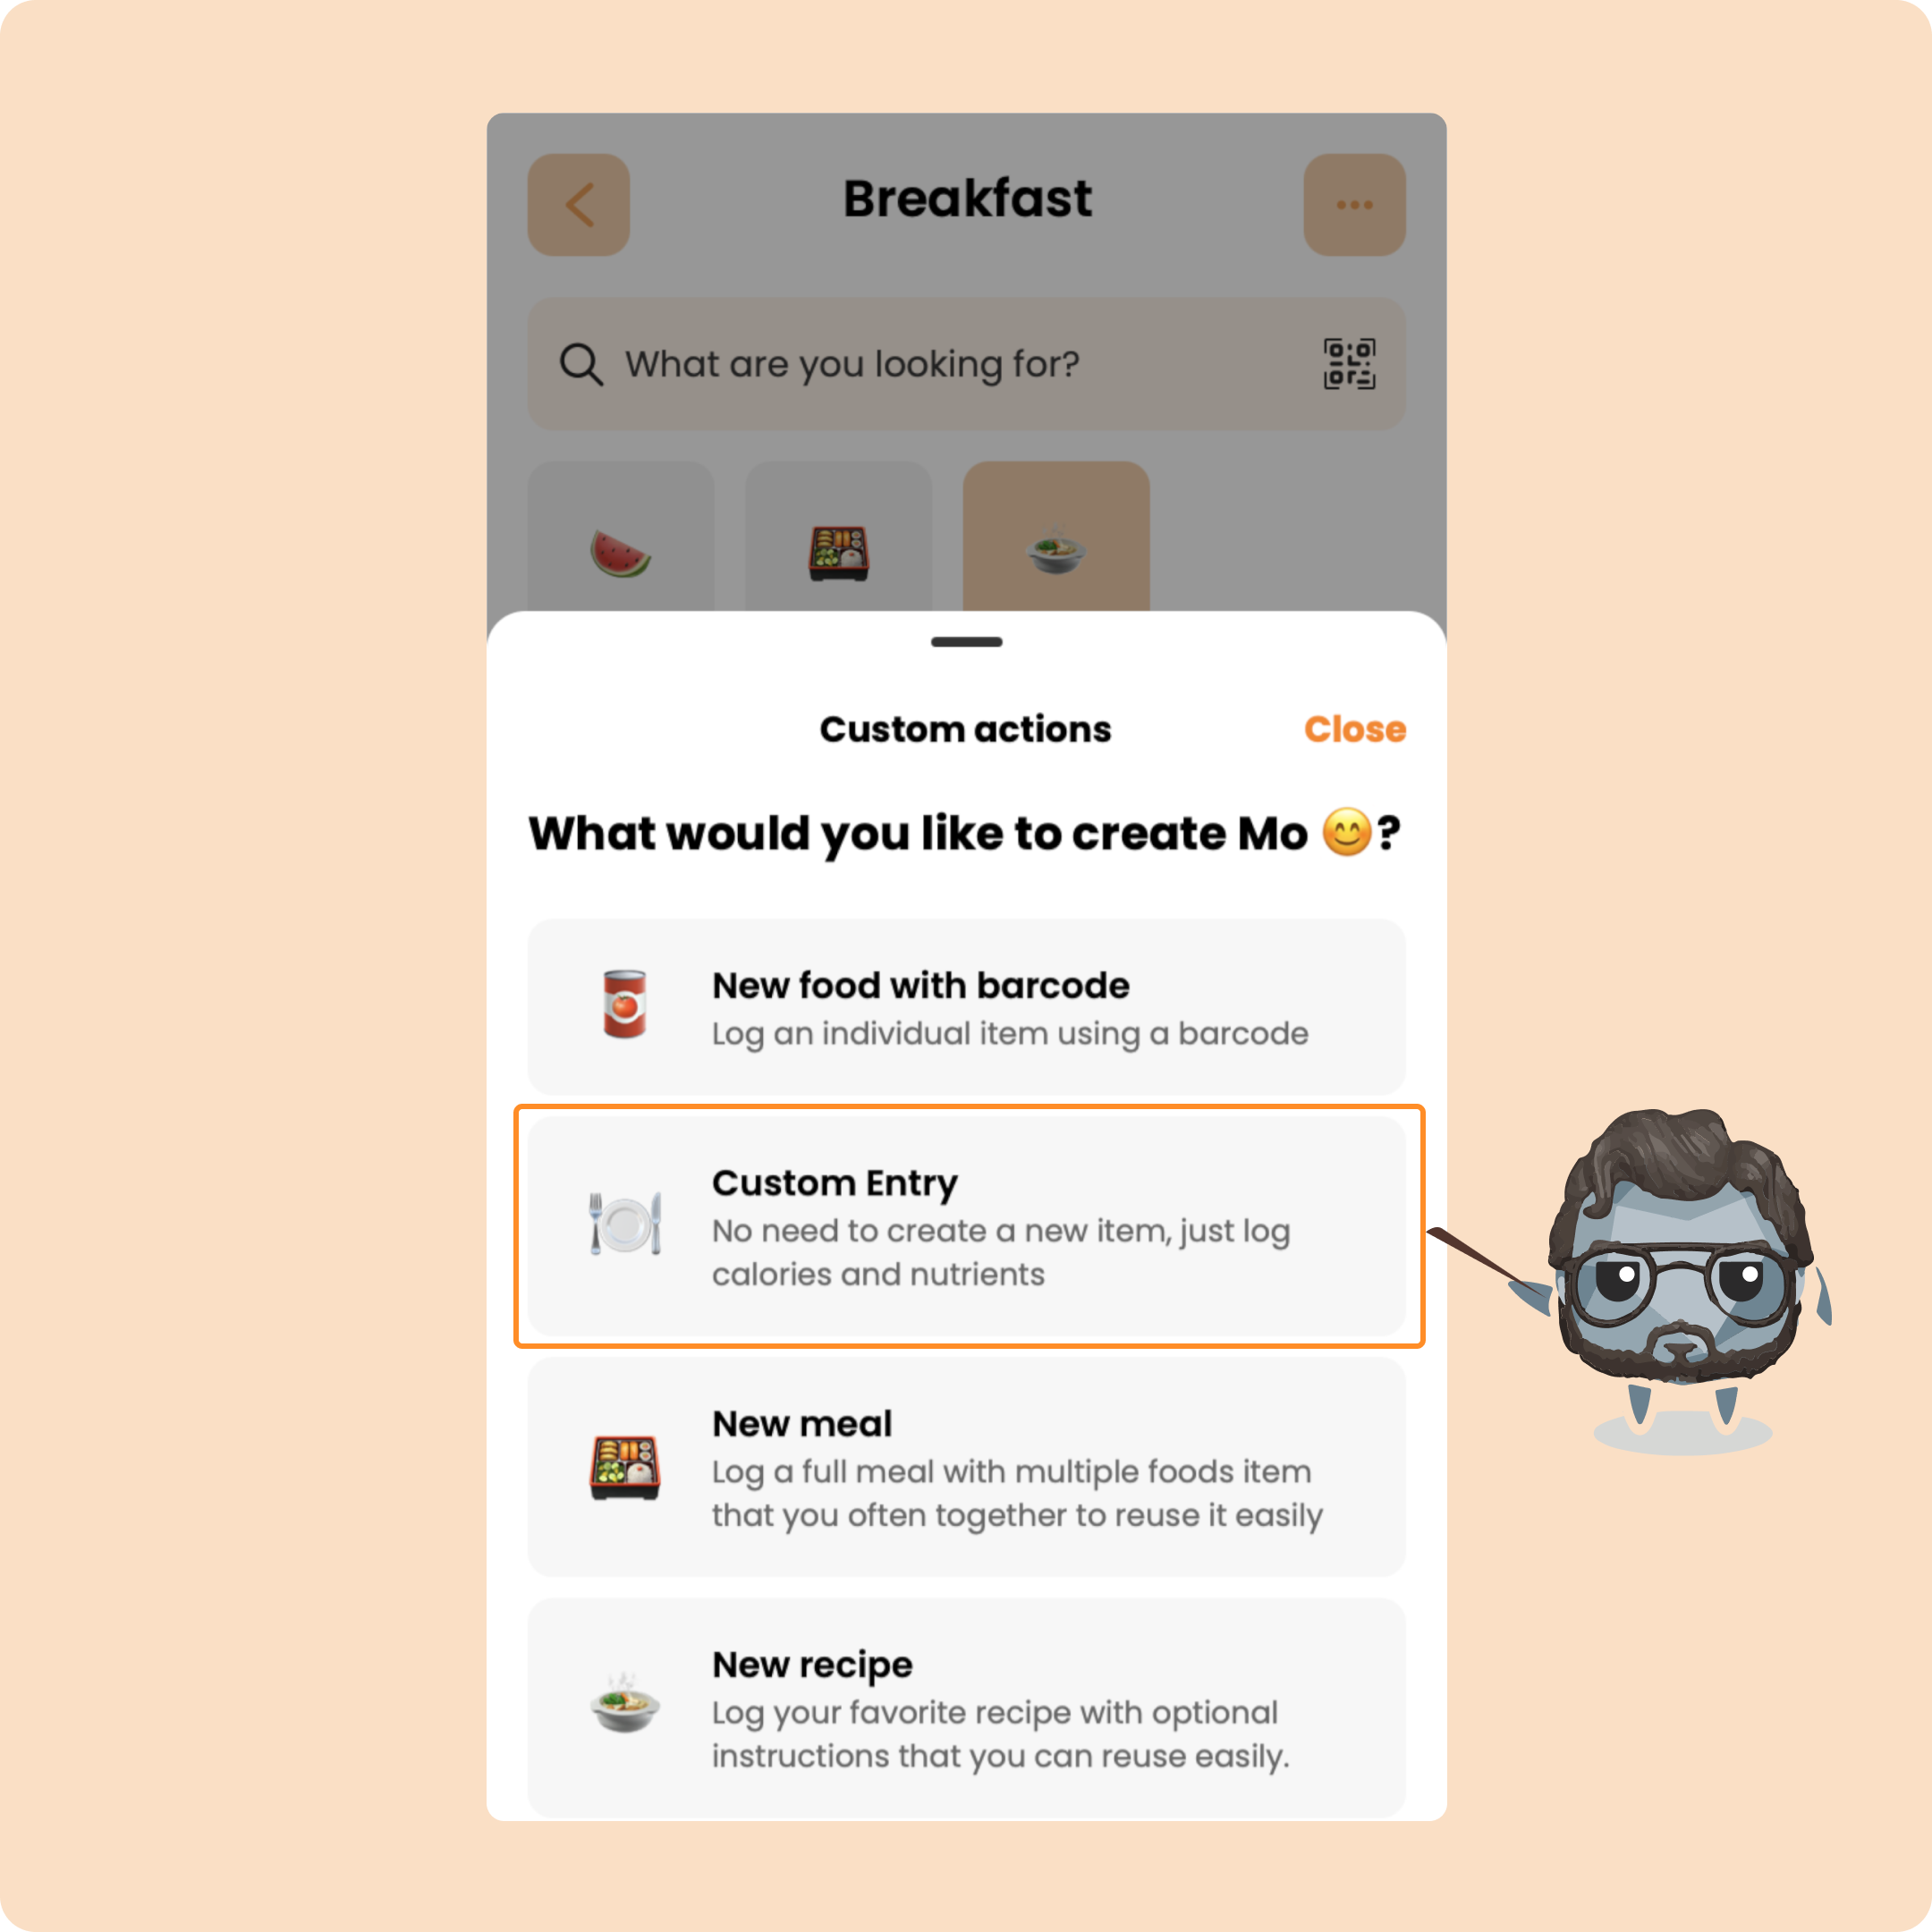
Say you ate McDonald’s. Instead of entering every item manually, you can create a custom meal: give it a name, enter the macros (you can find them on McDonald’s website), and log it.
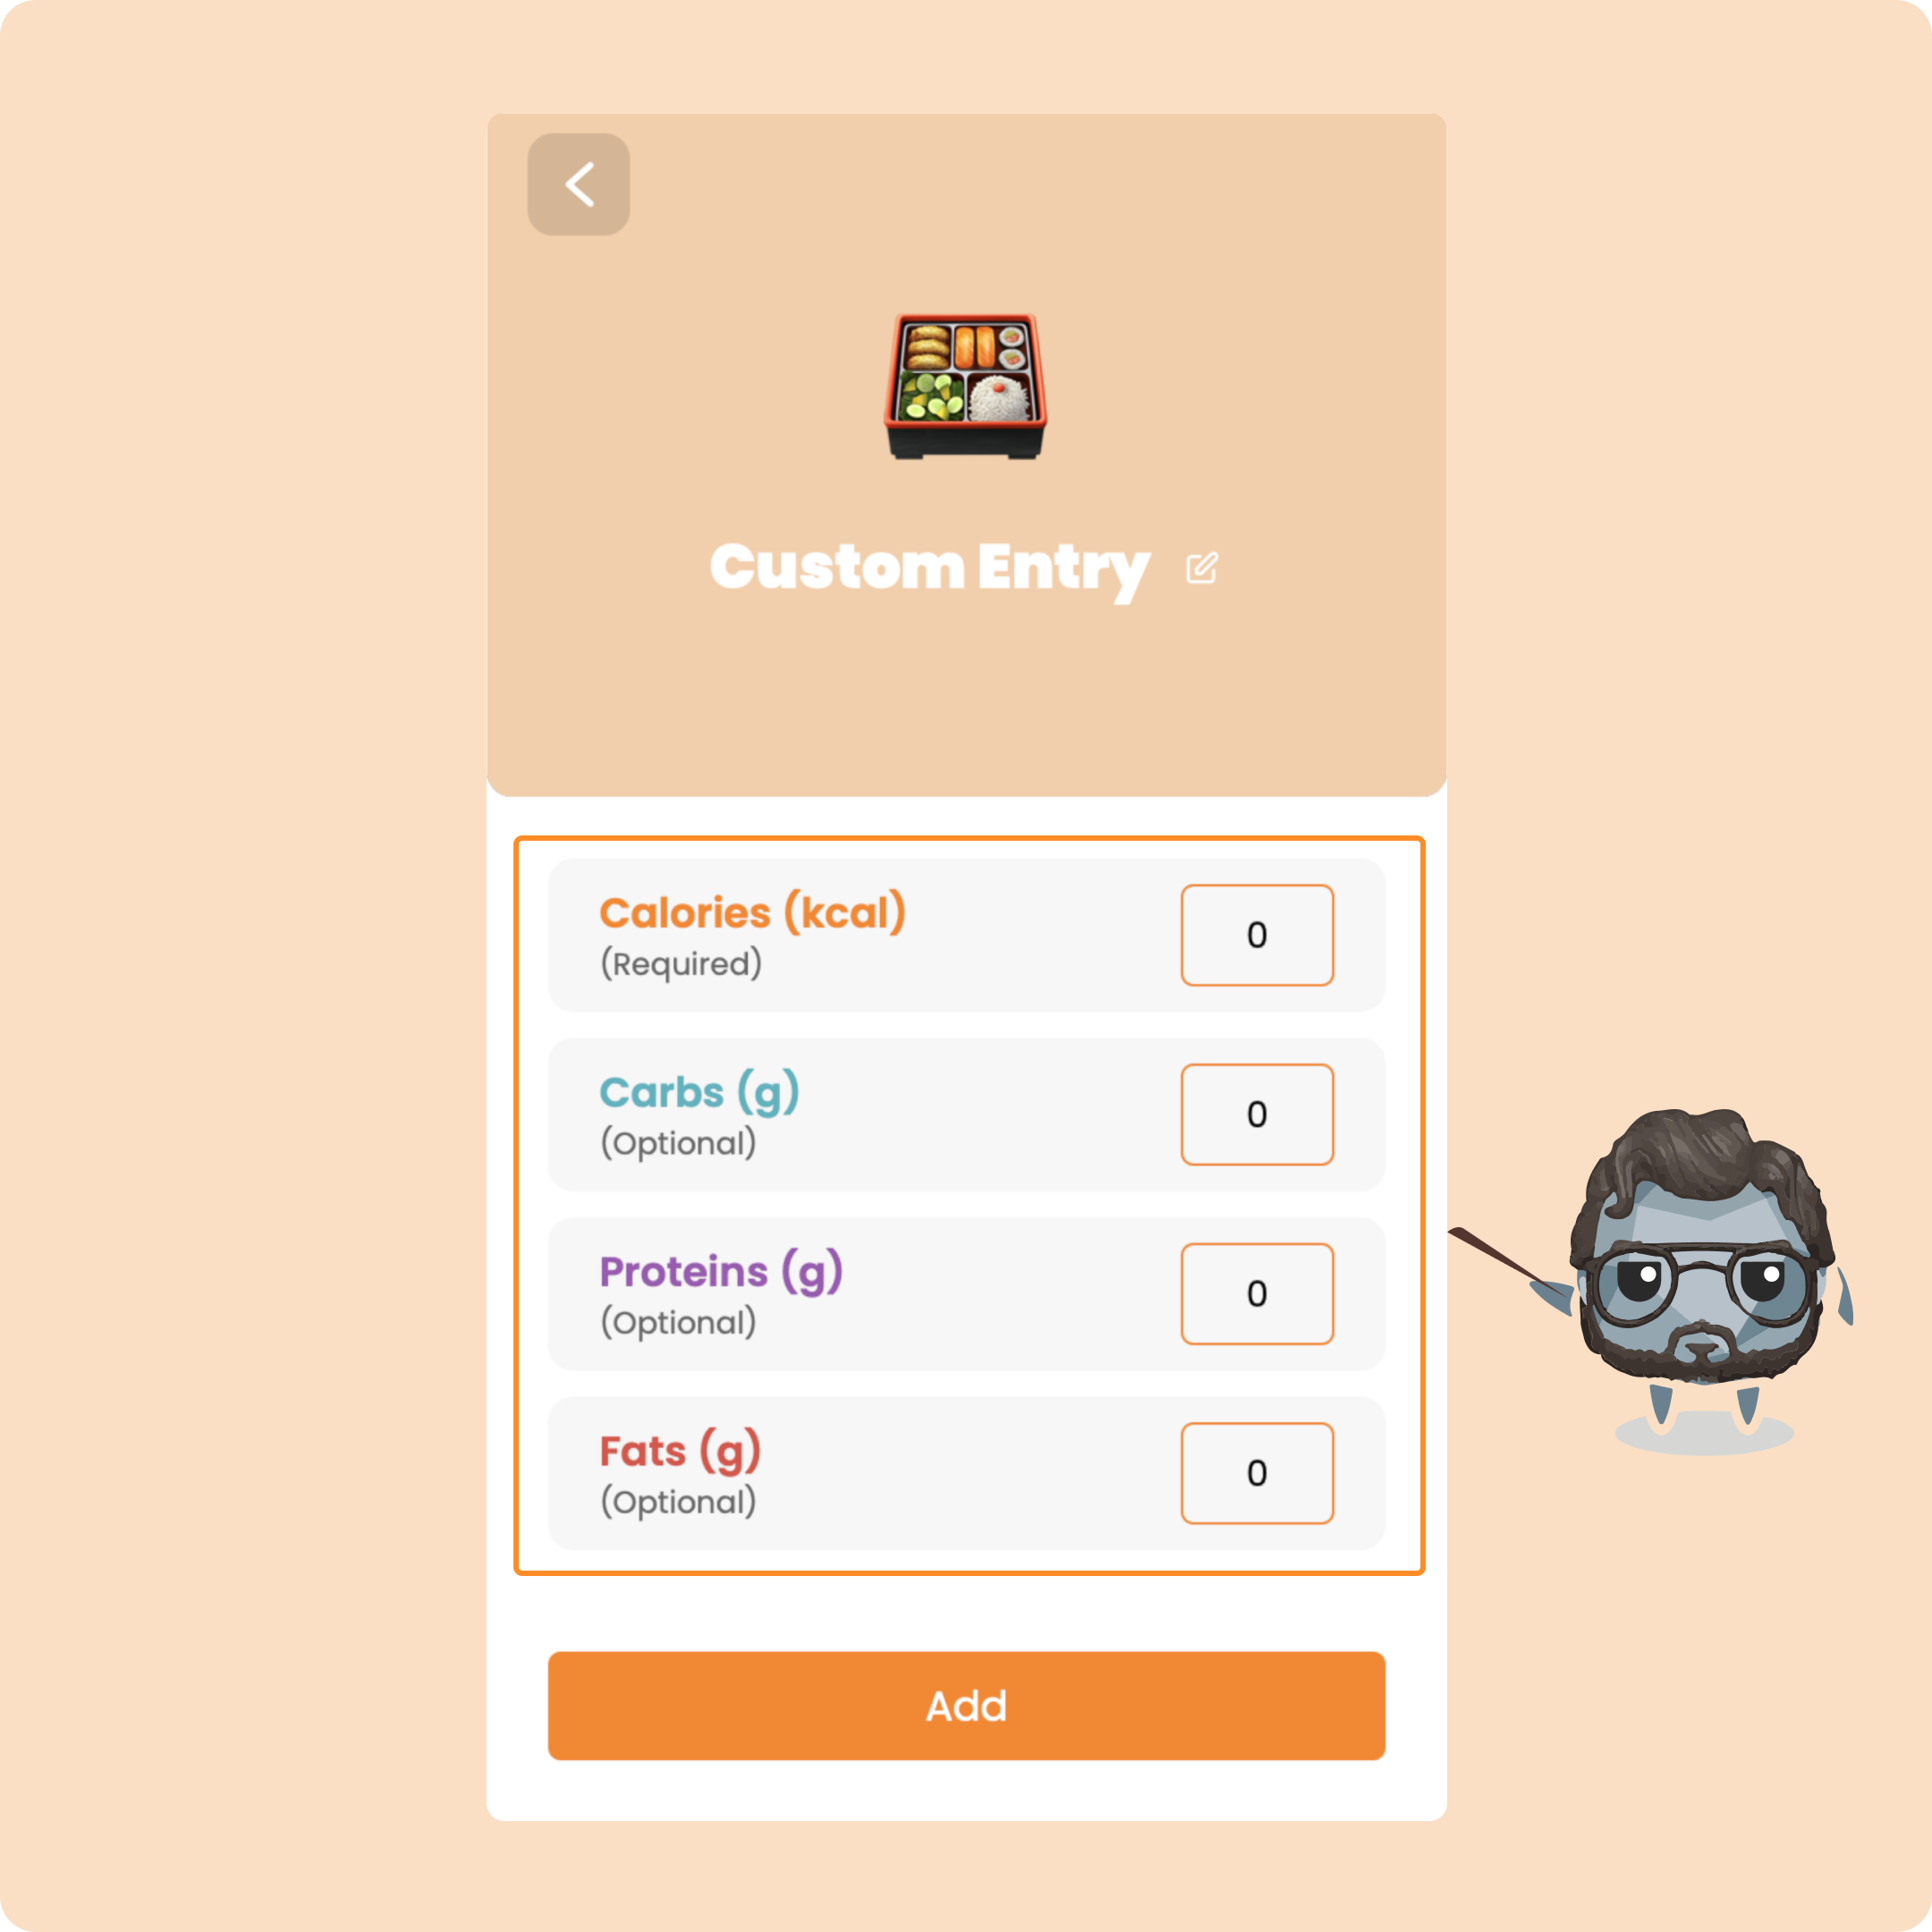
That way, you can still be accurate and keep your coach informed.
Recipes
Finally, let’s check out Recipes.
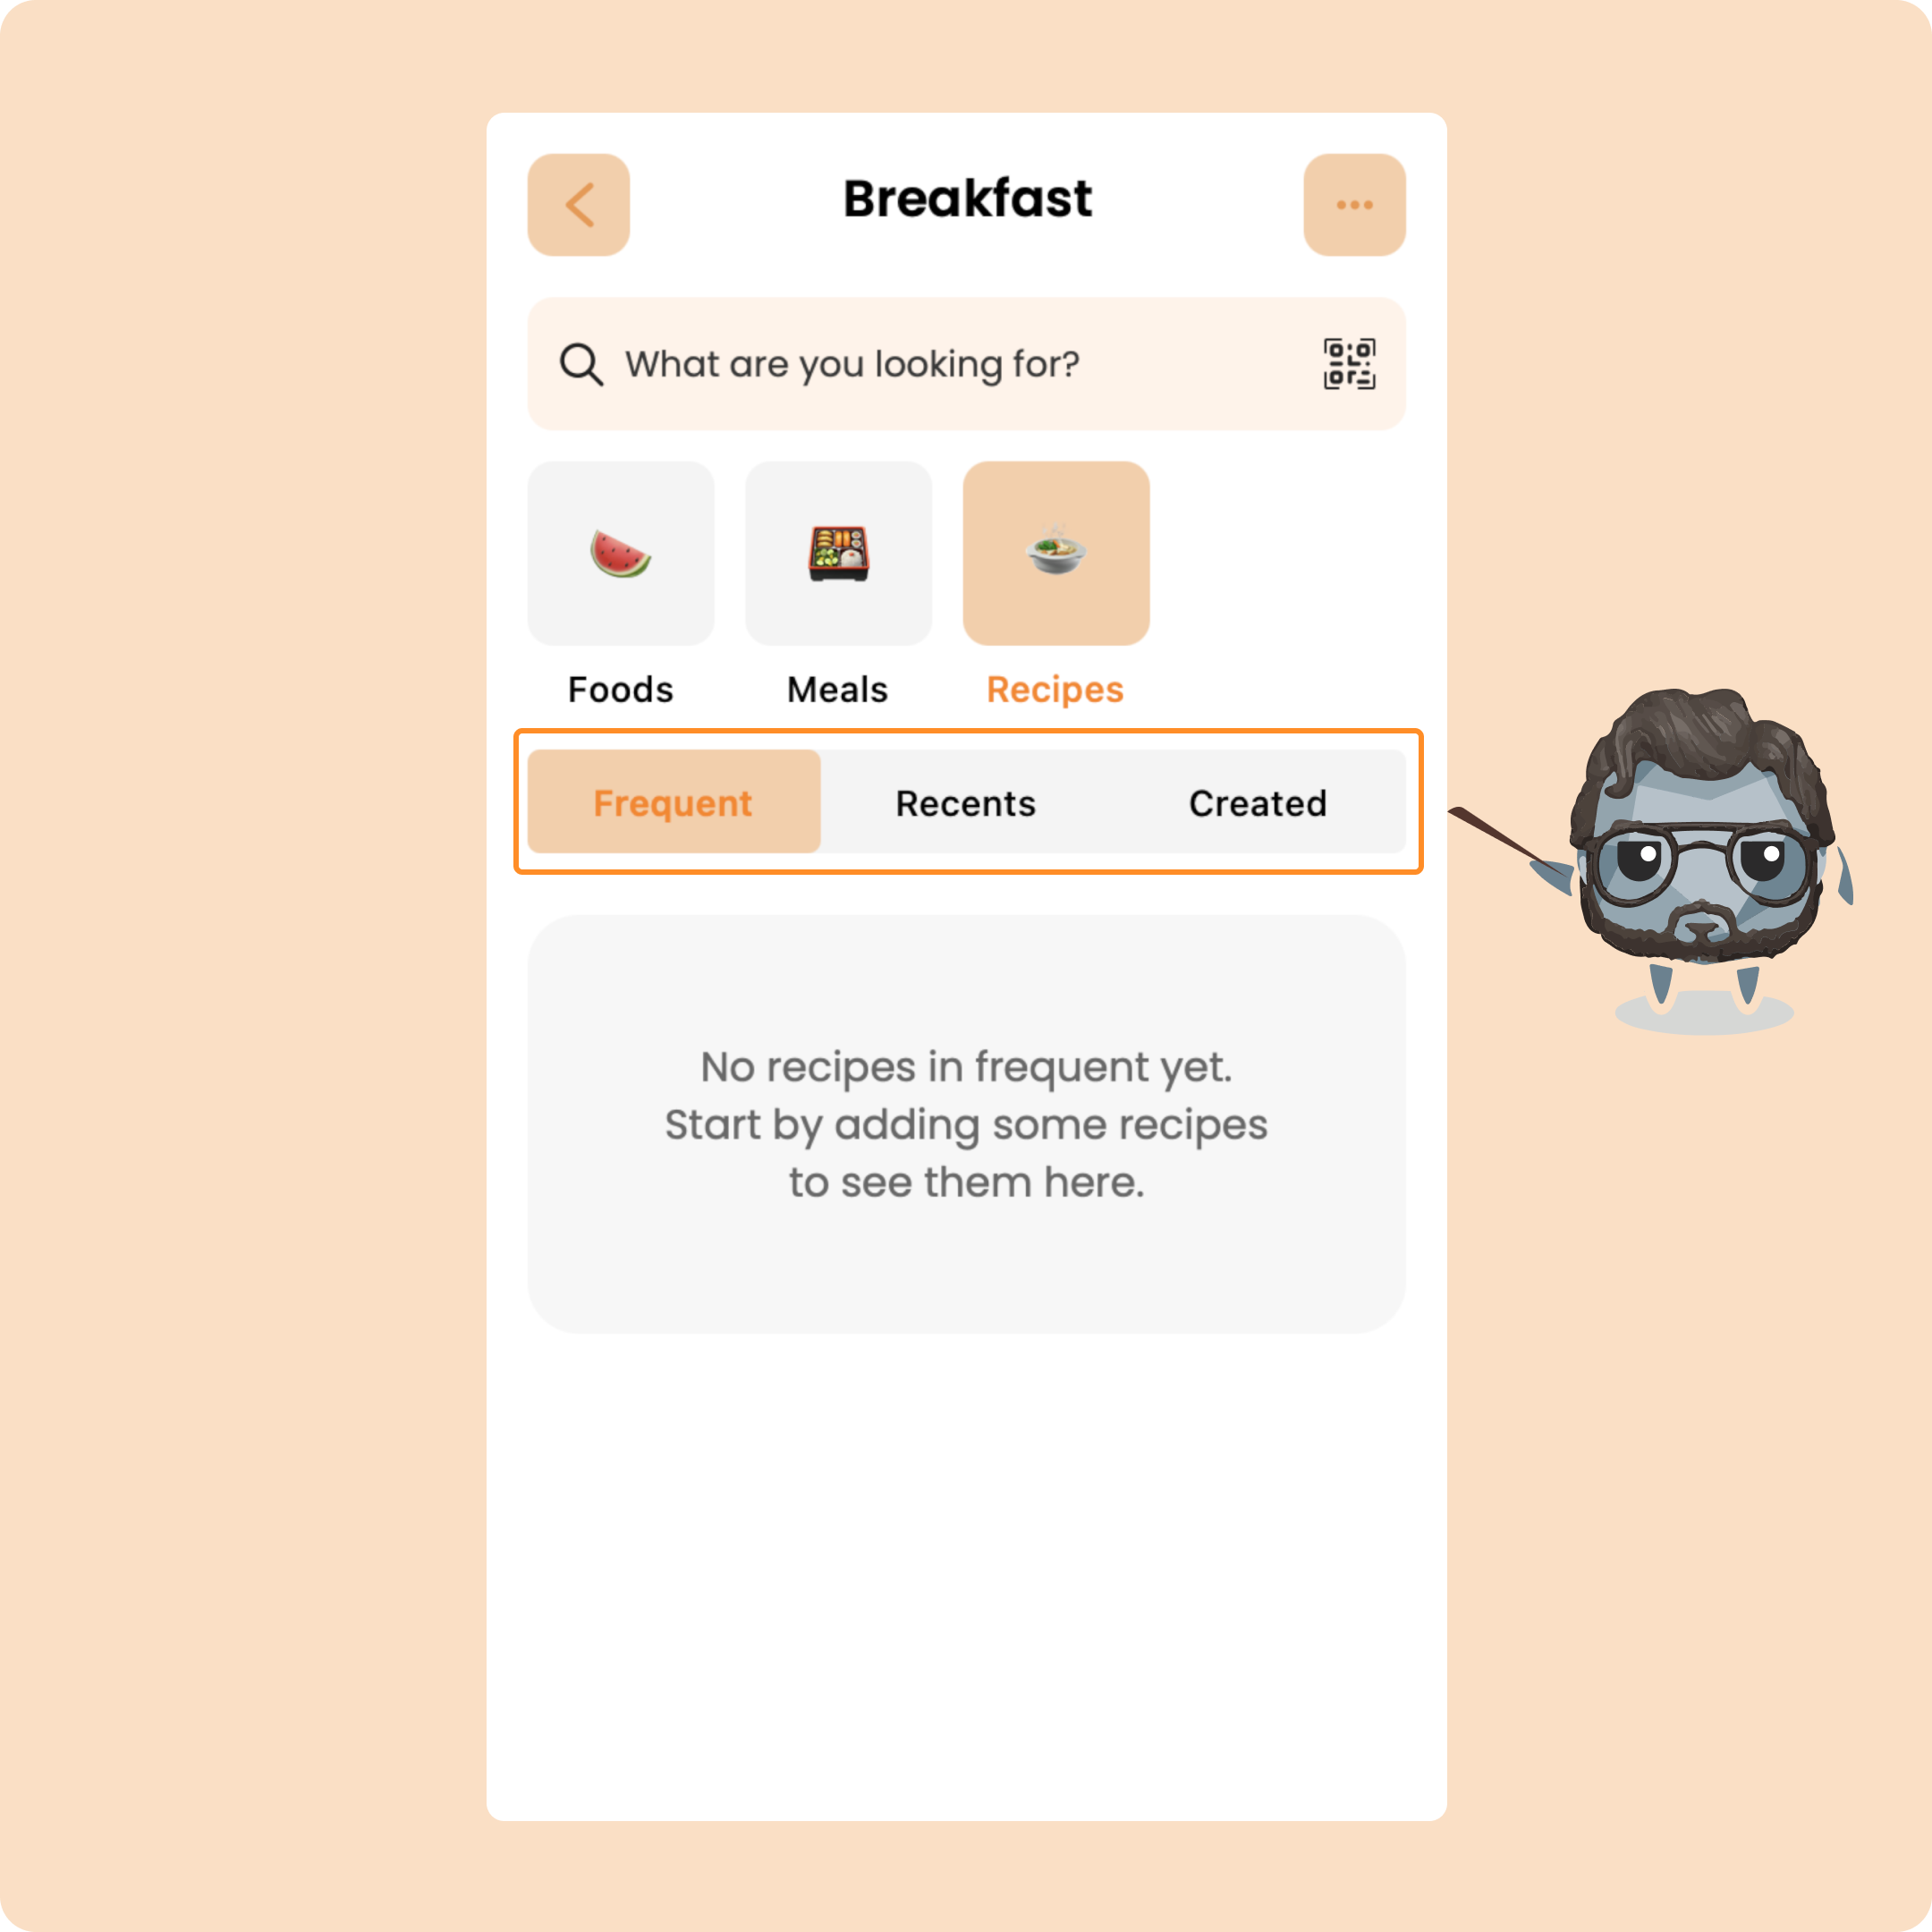
Here you’ll find:
- Your most used recipes under “Frequent”
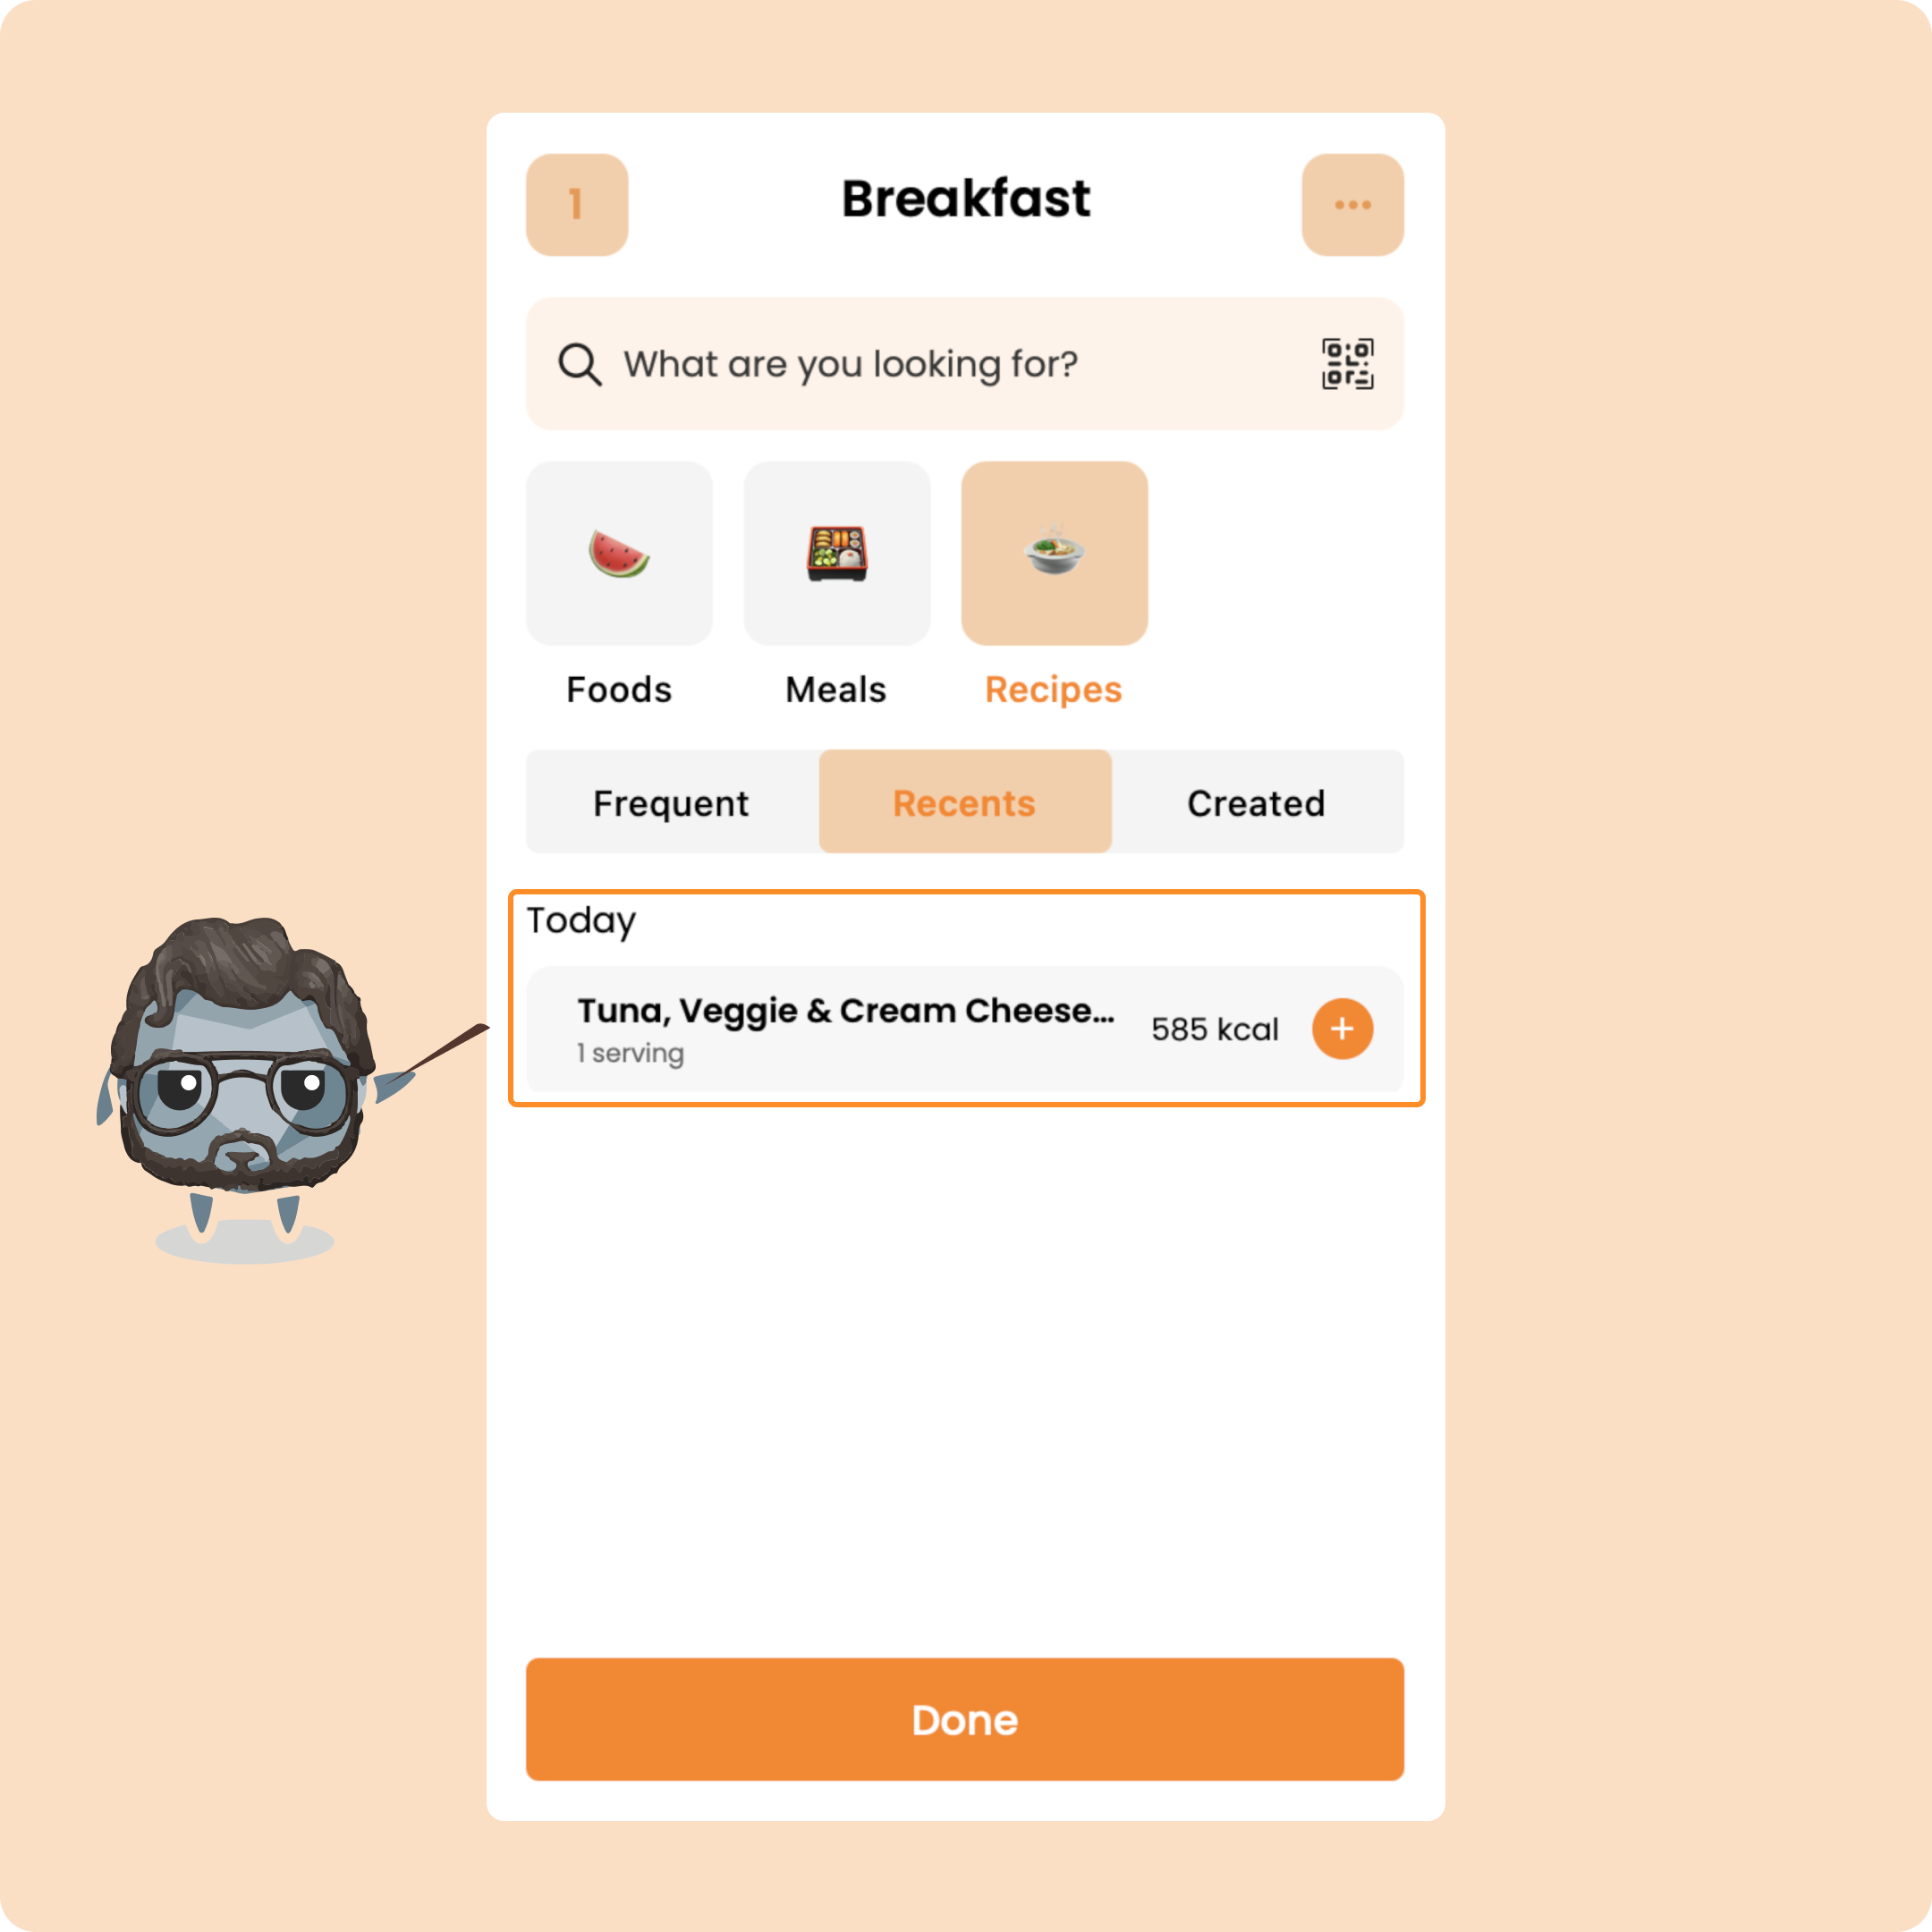
- Recently used ones under “Recent”
- And any custom ones you’ve created under “Created”
You’ll also see healthy recipes added by Gymkee or your coach.
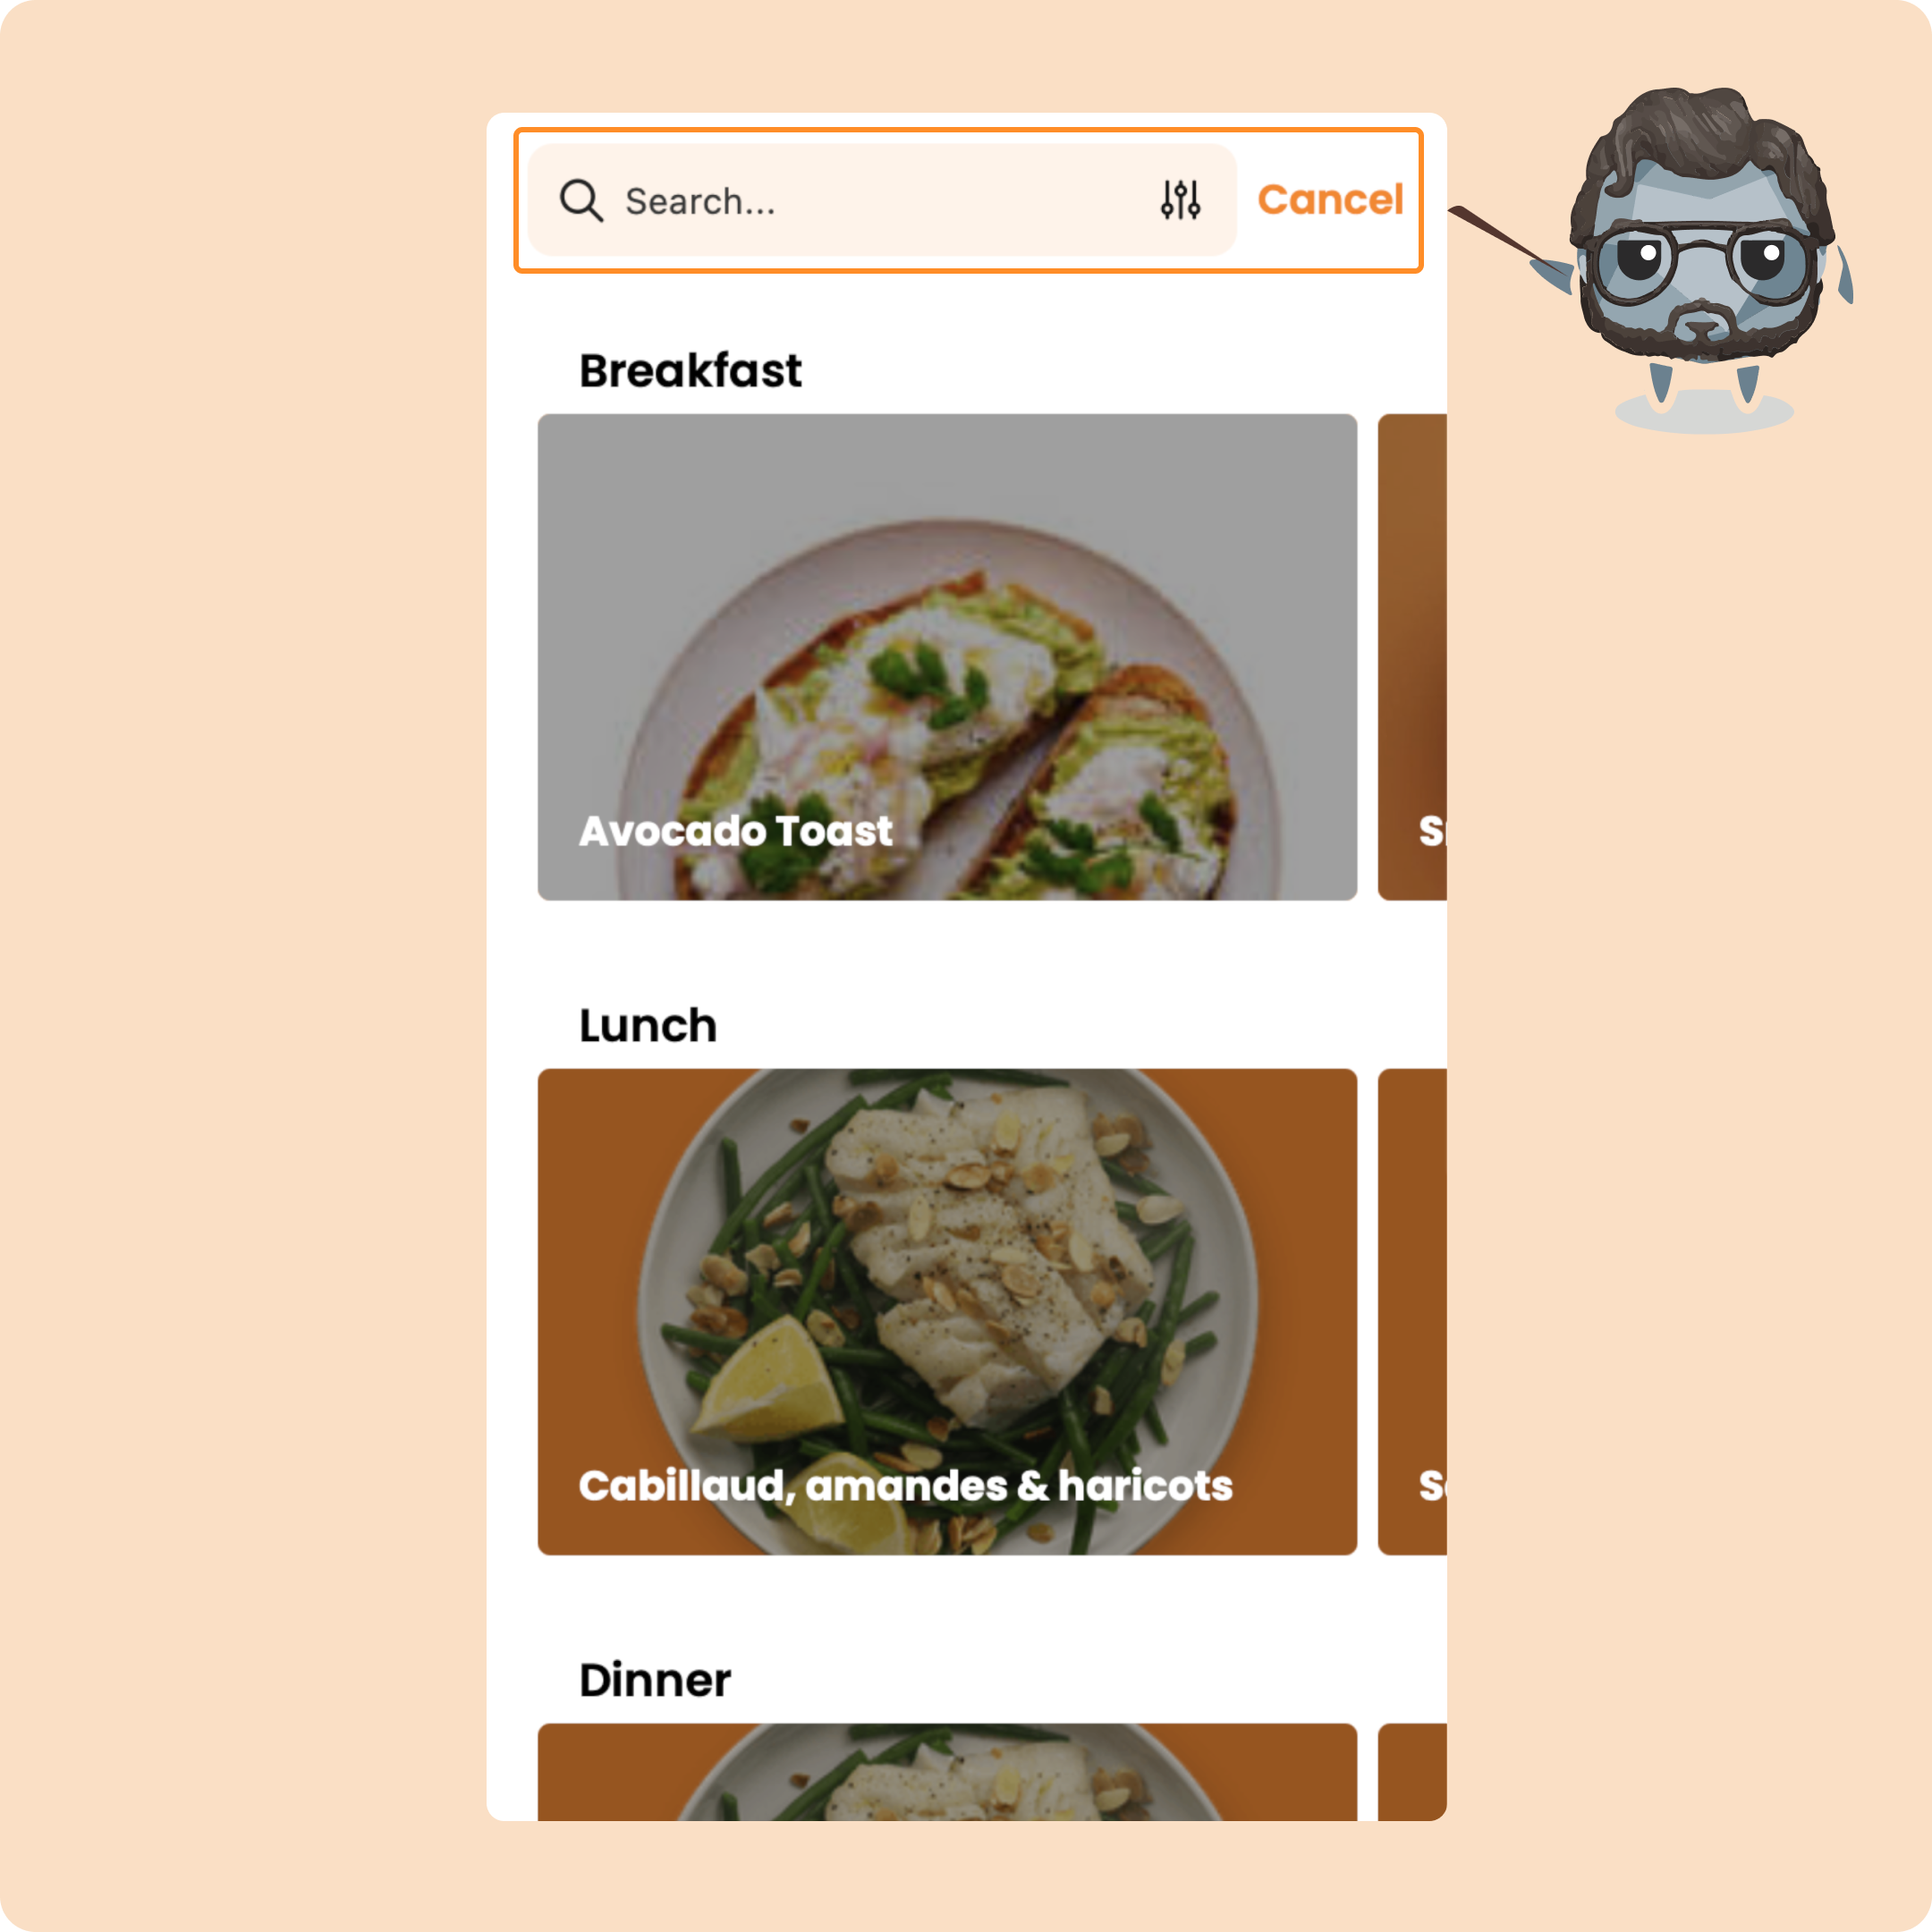
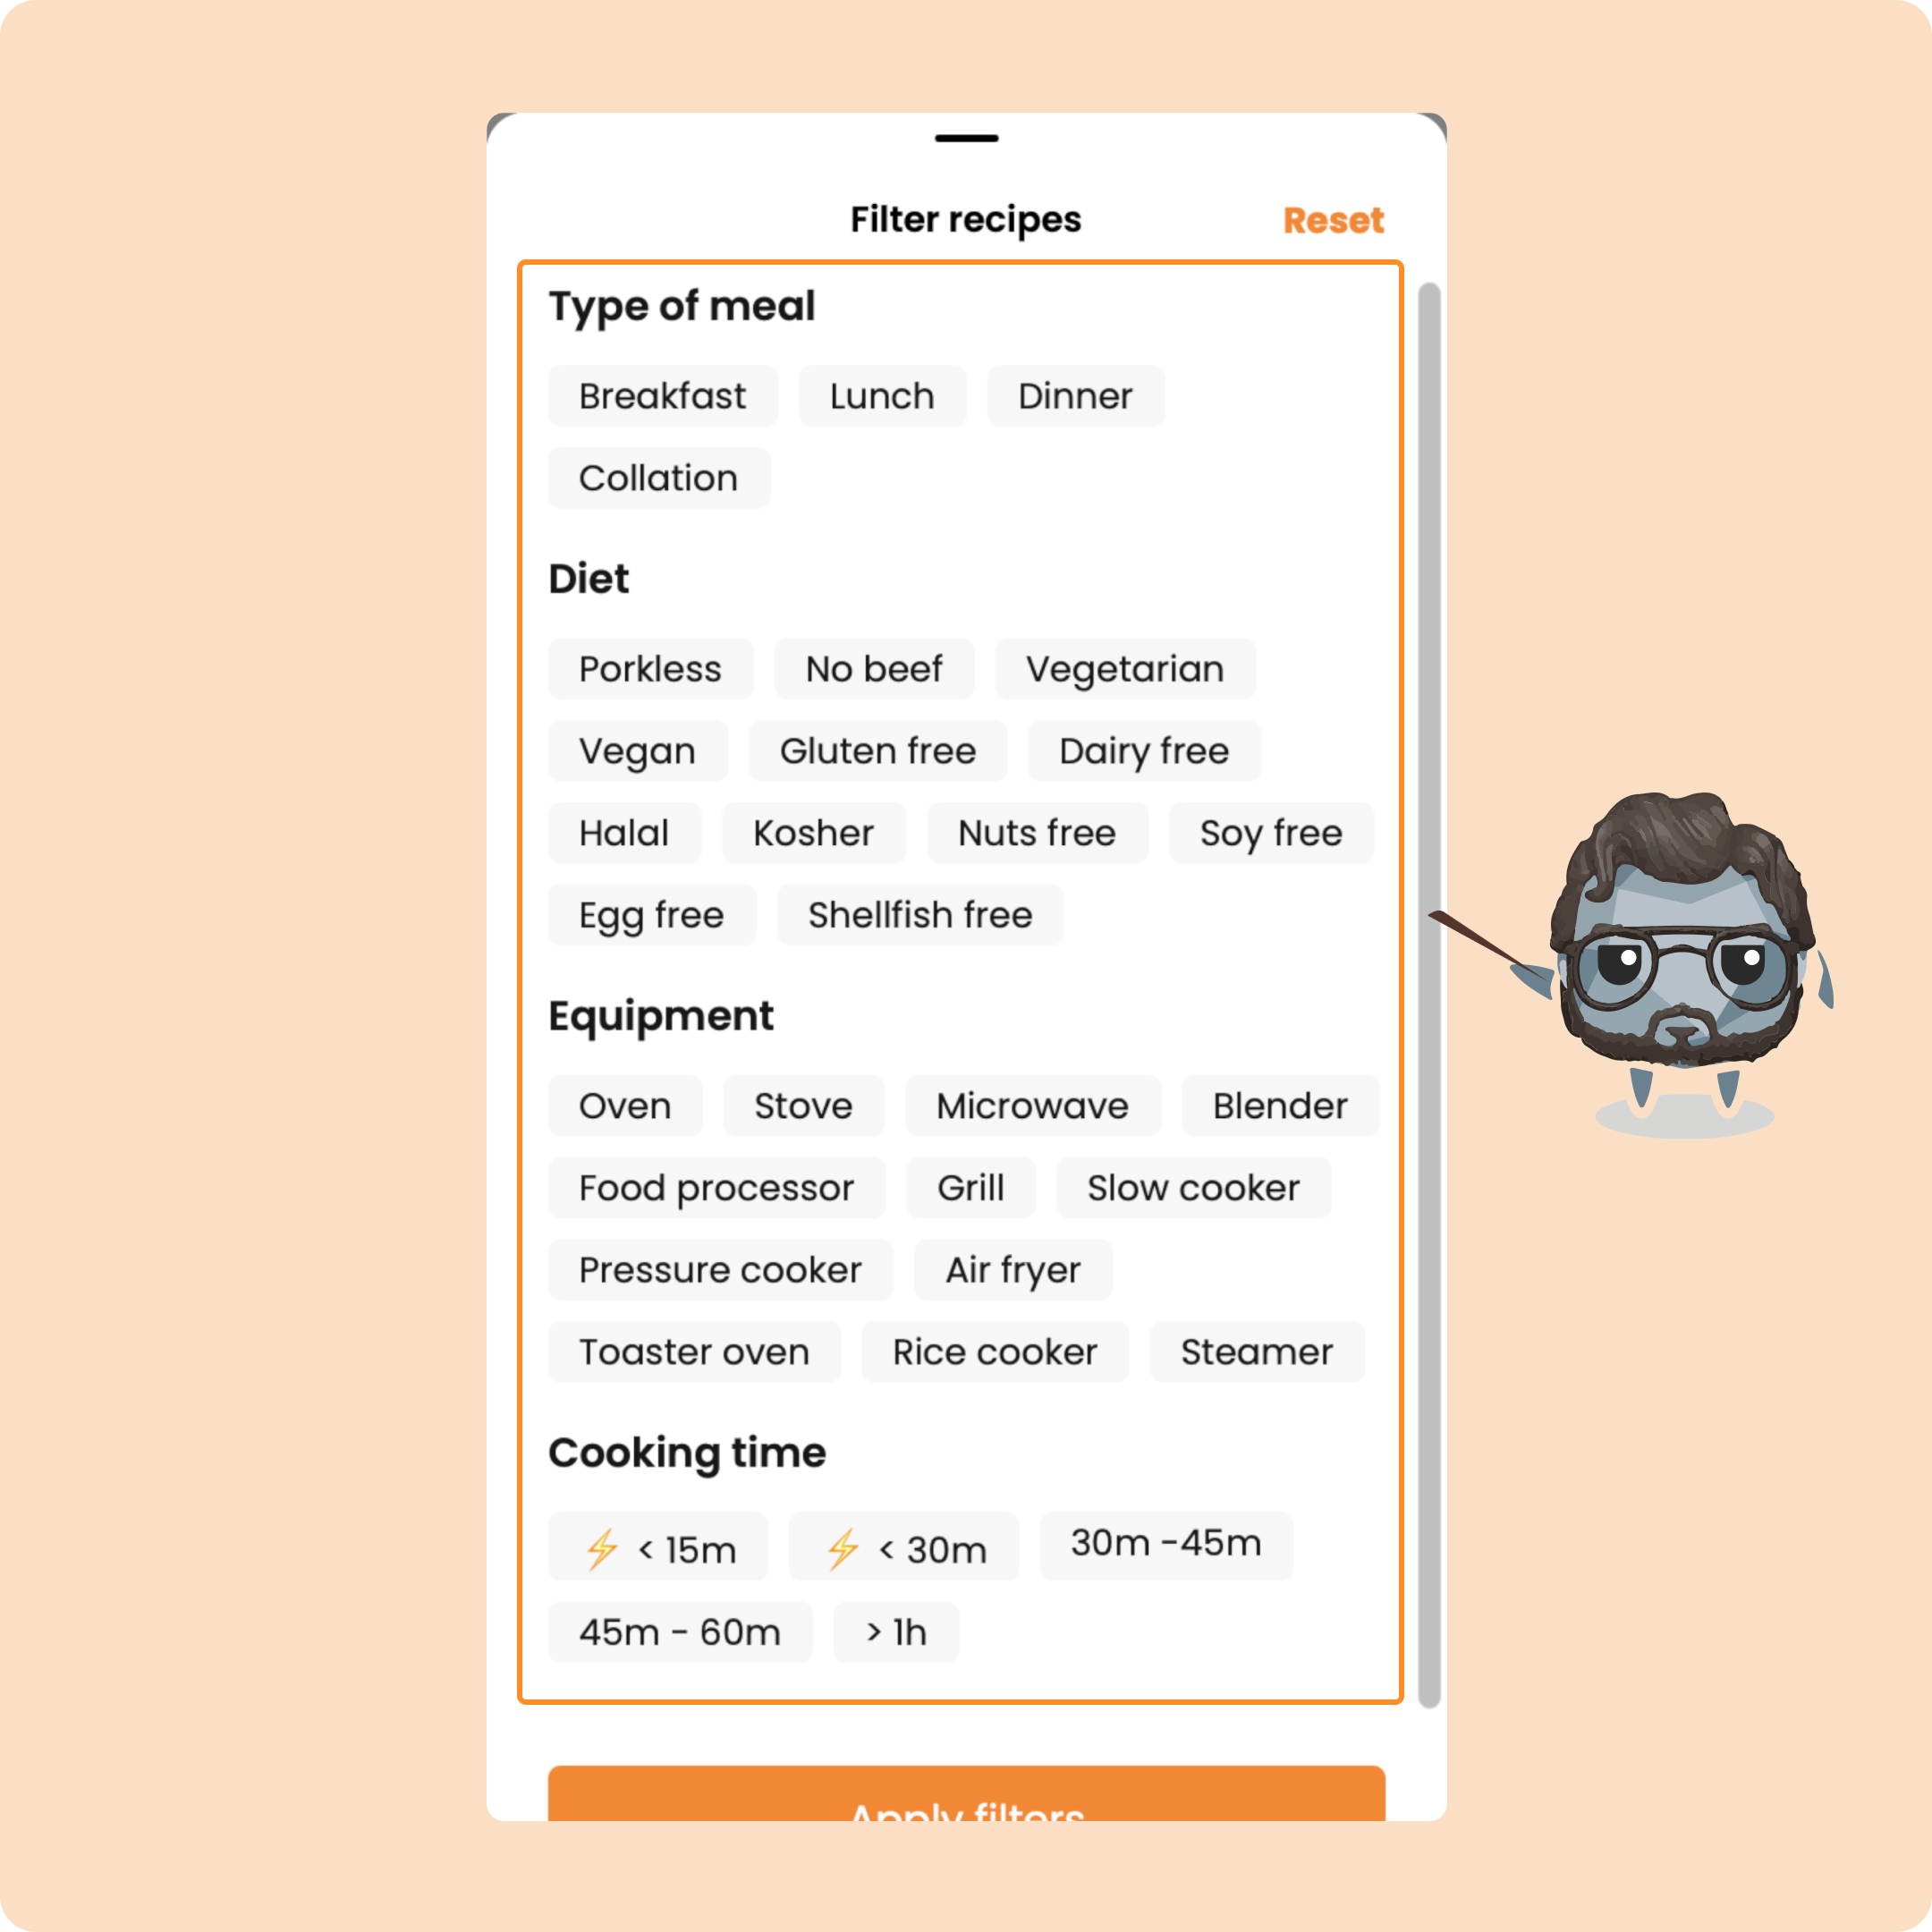
Tap the Filter button to refine by dietary preferences, available equipment, or cooking time.
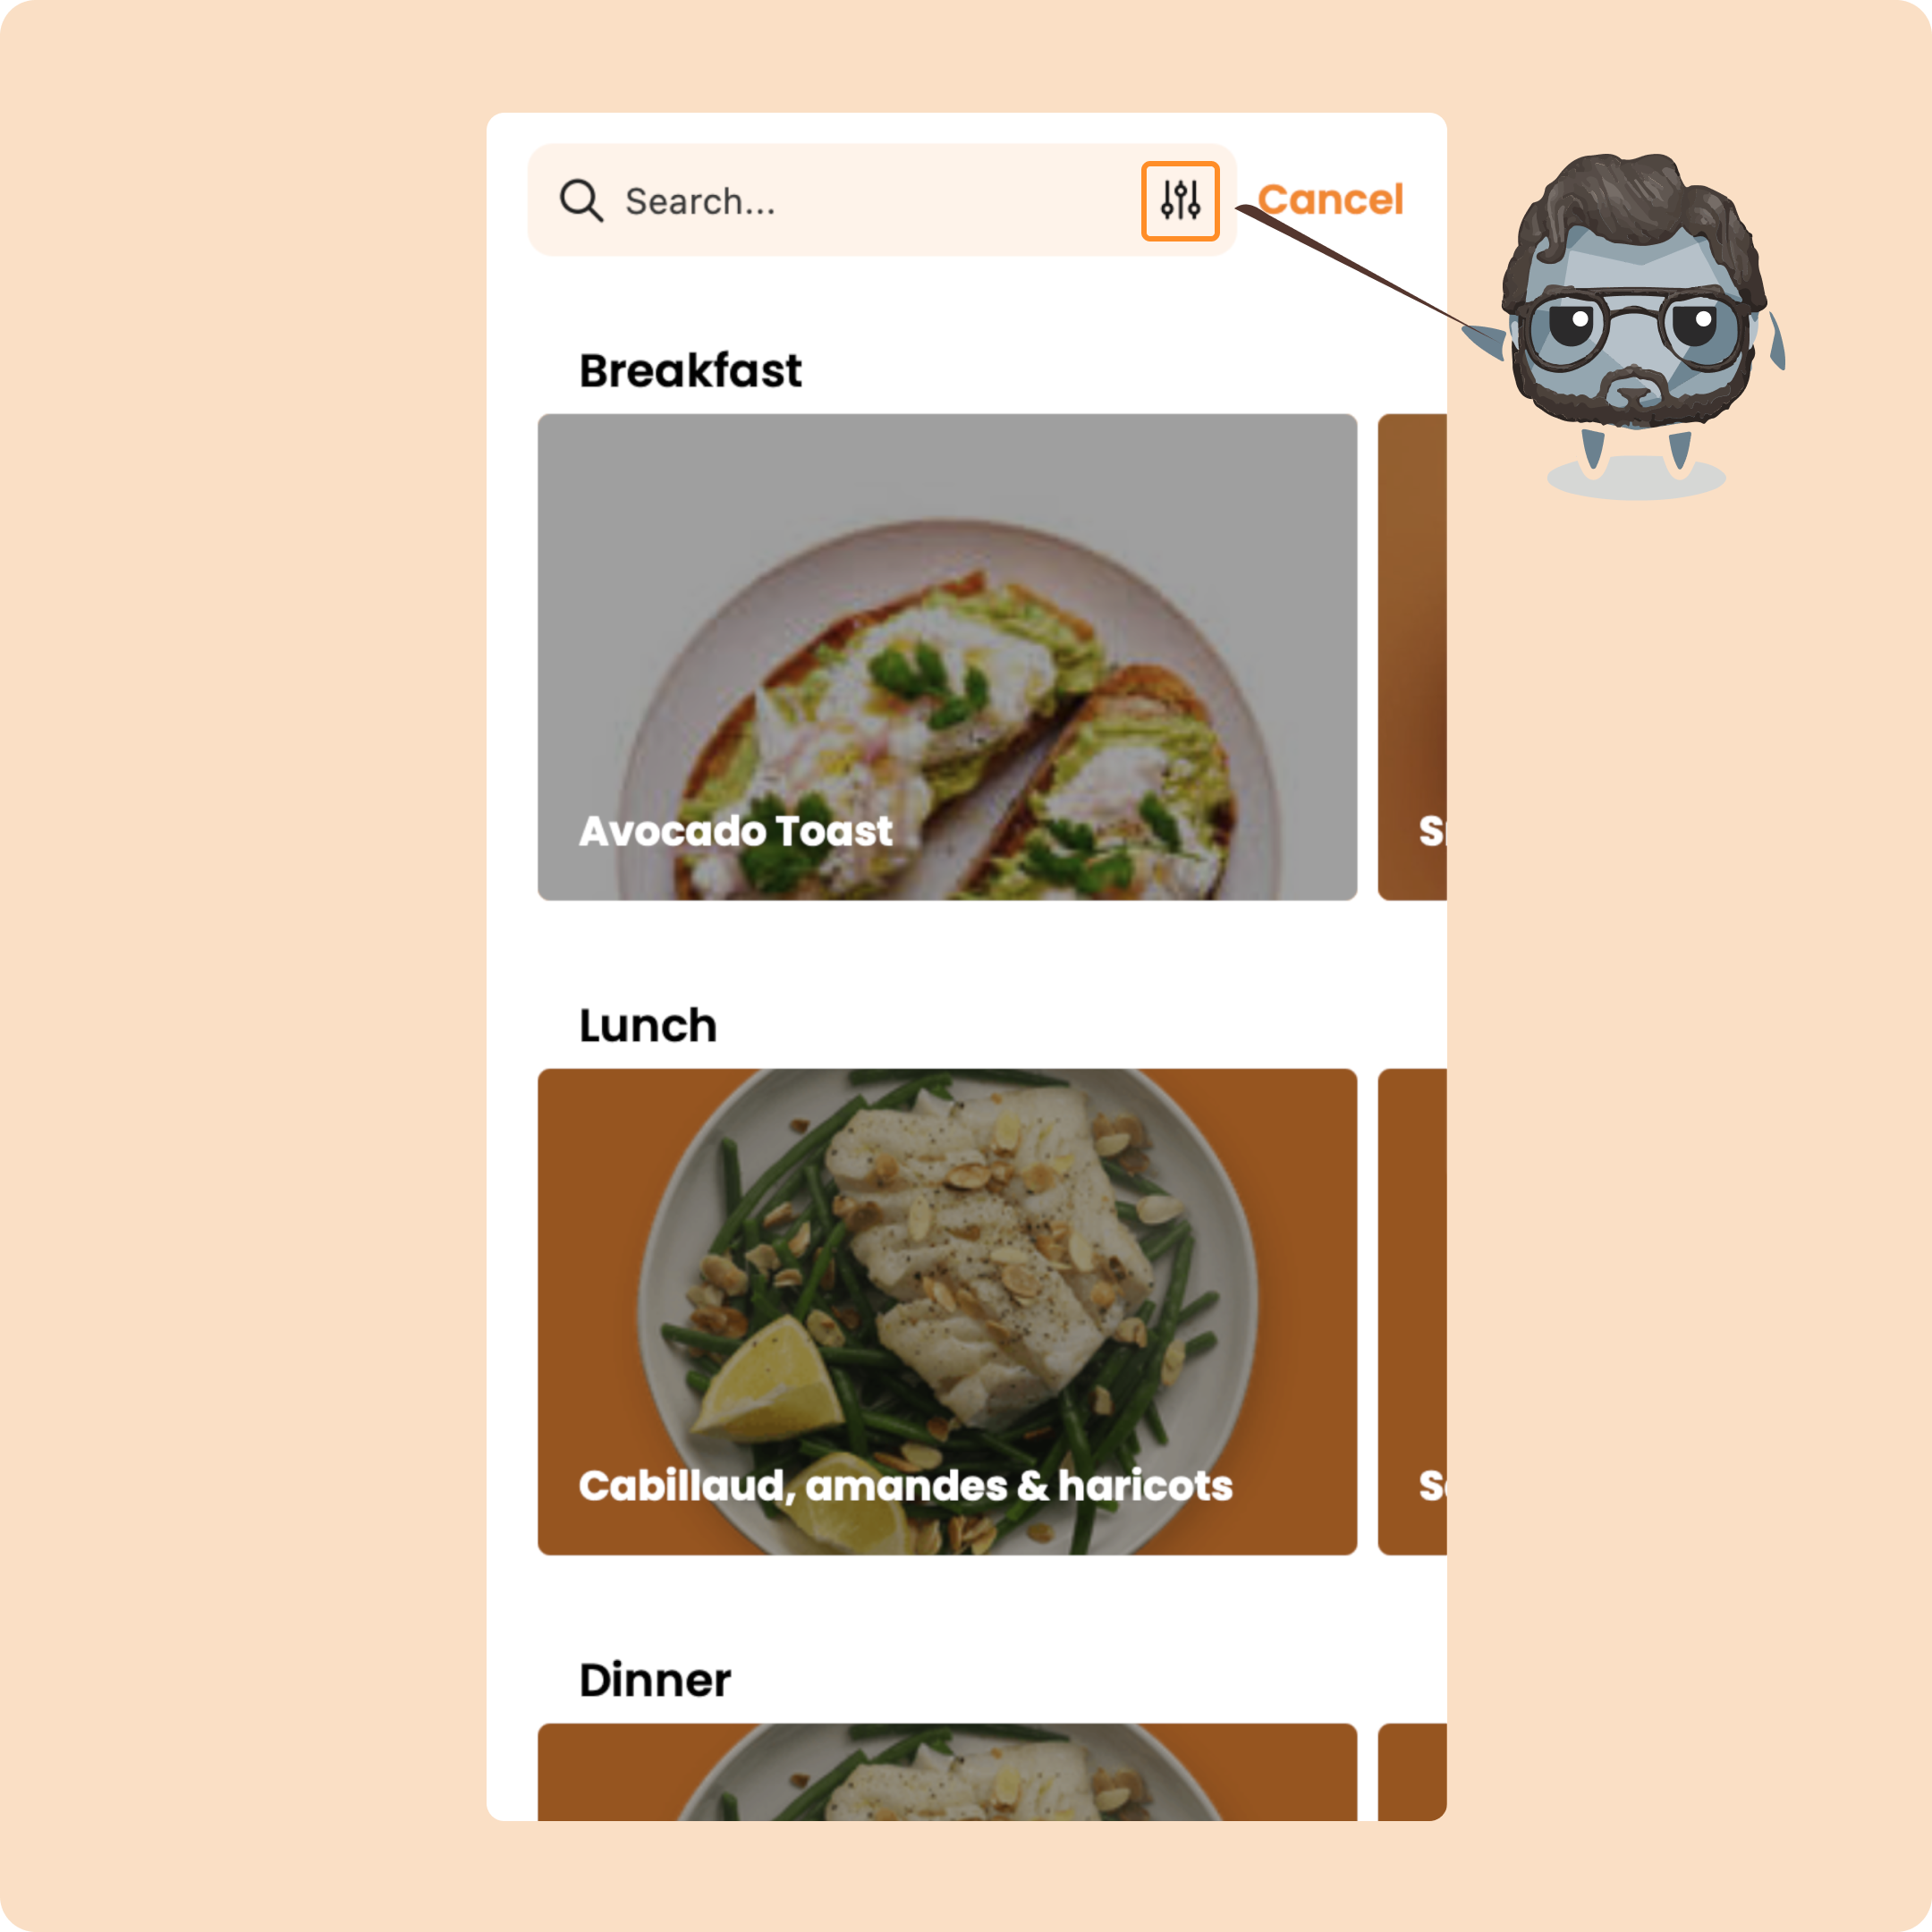
On a recipe page, you’ll see the ingredients and instructions.
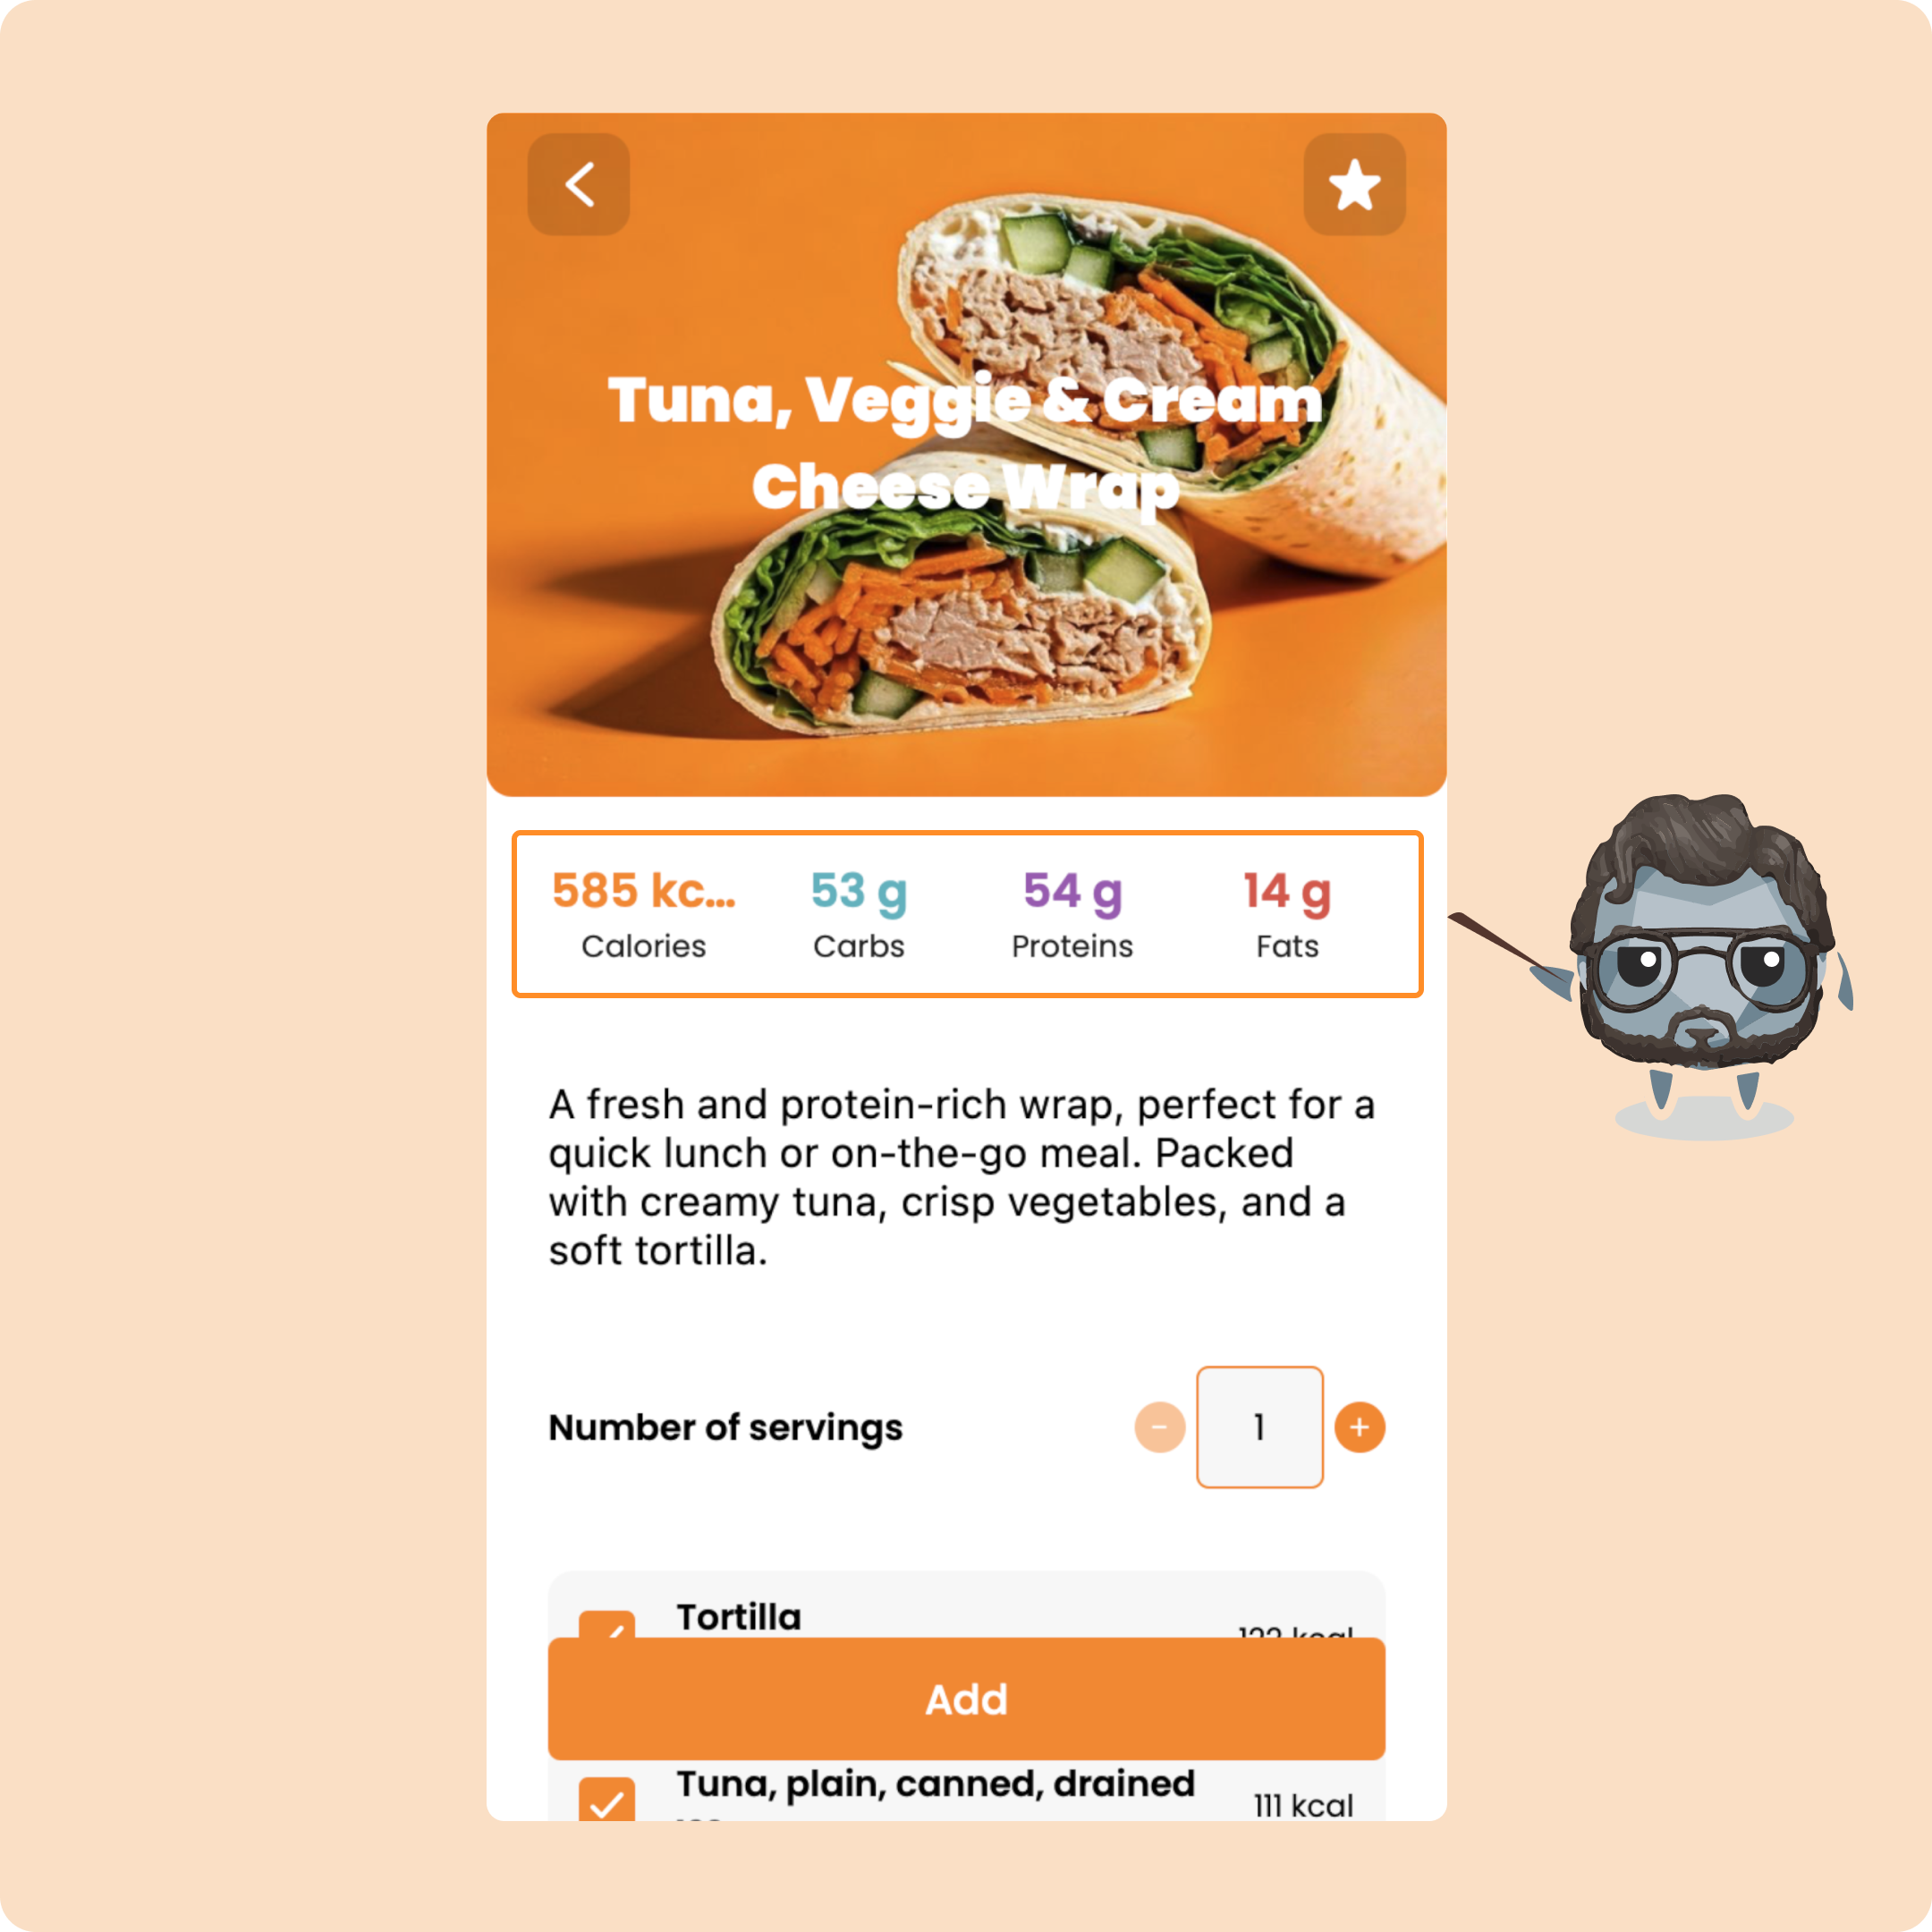
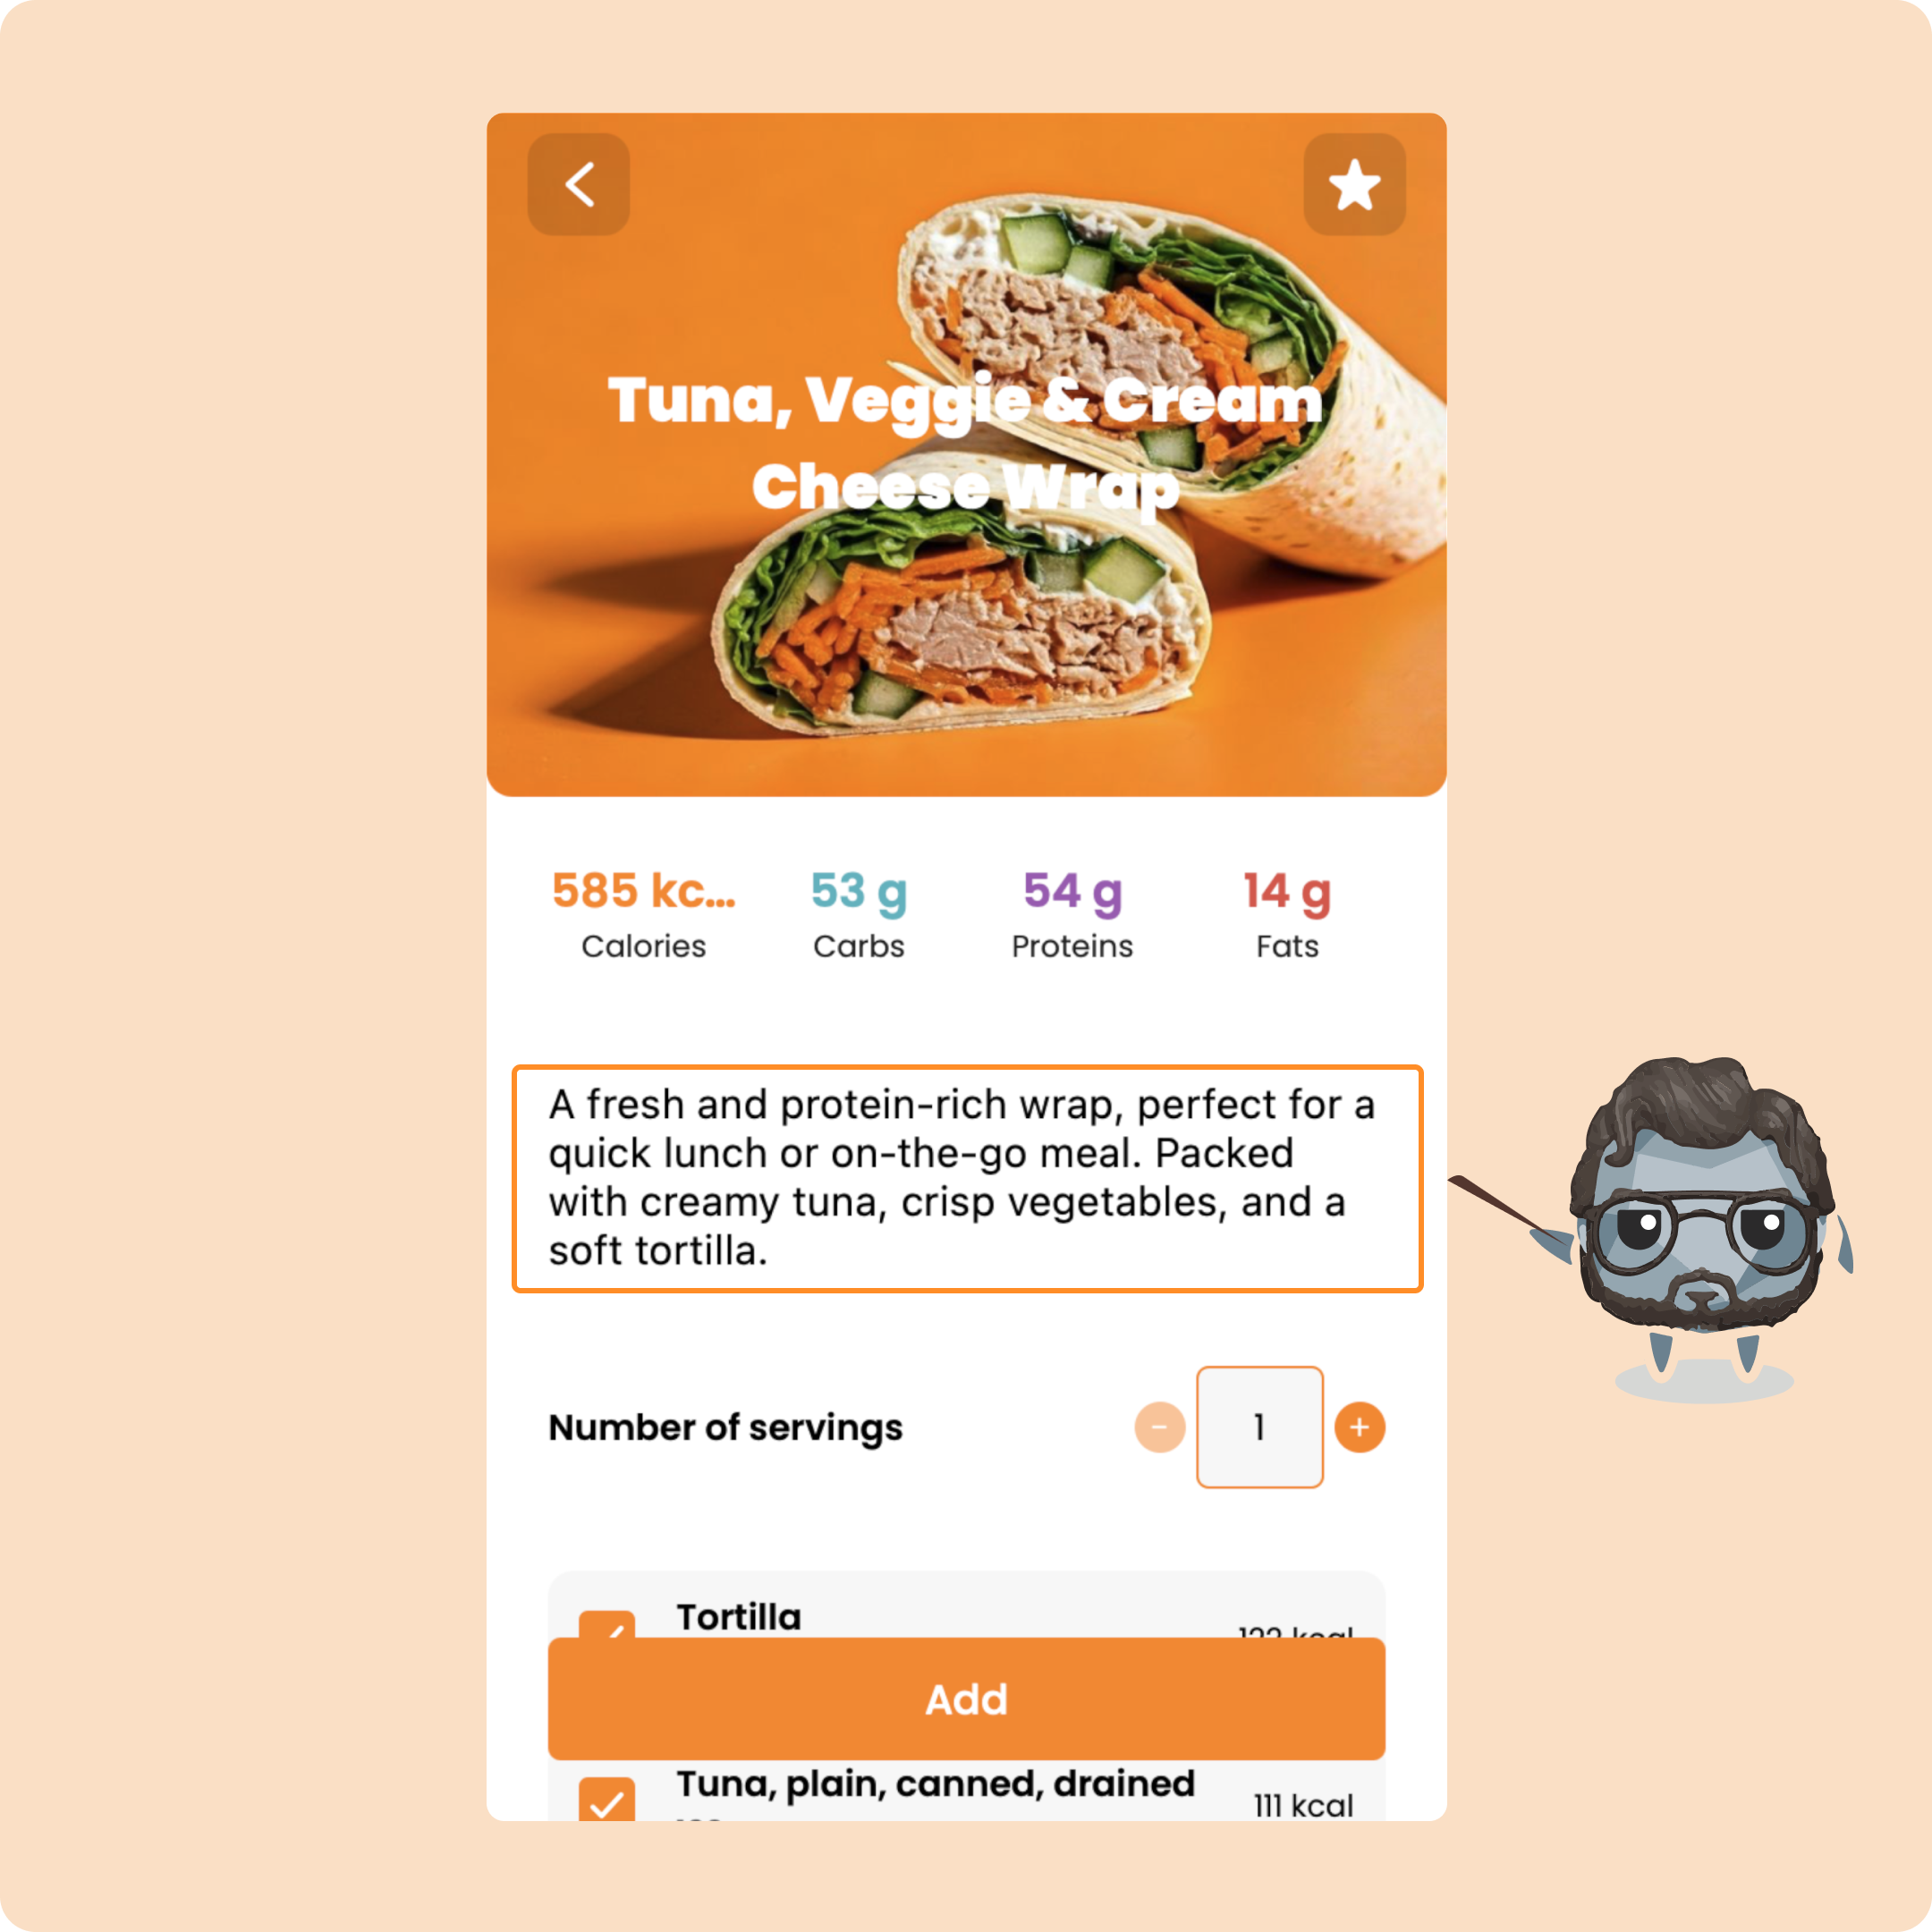
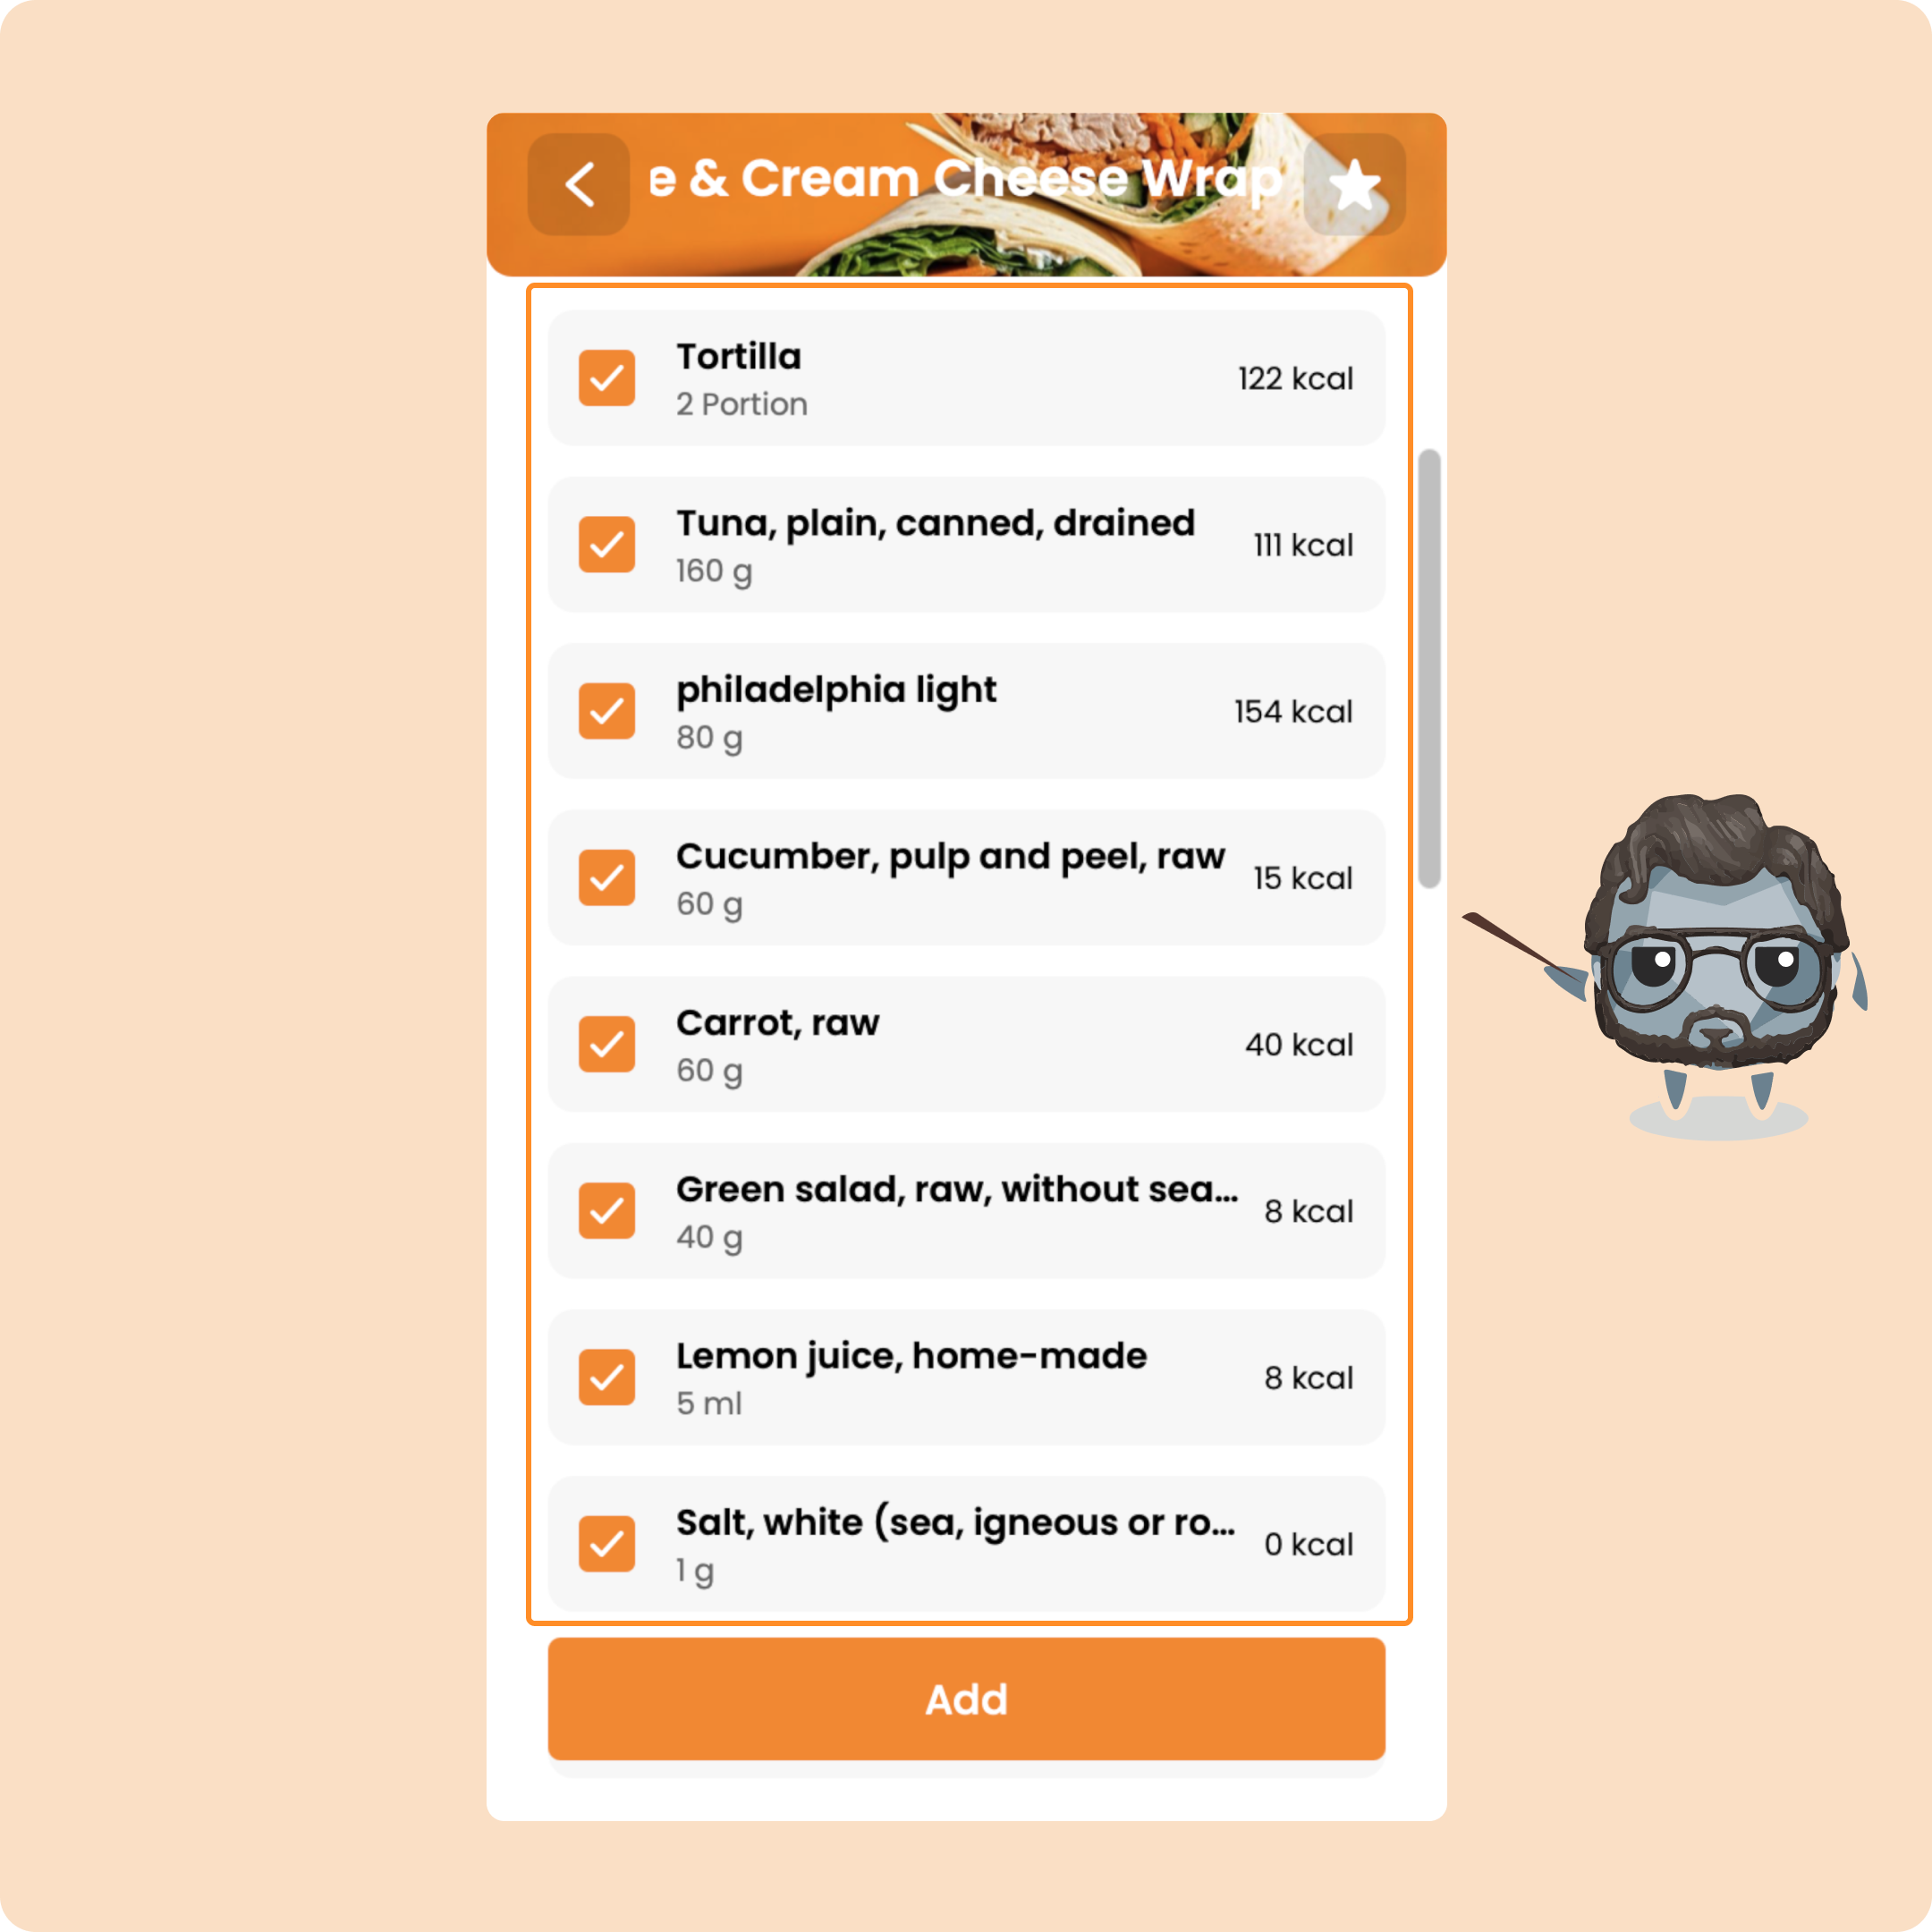
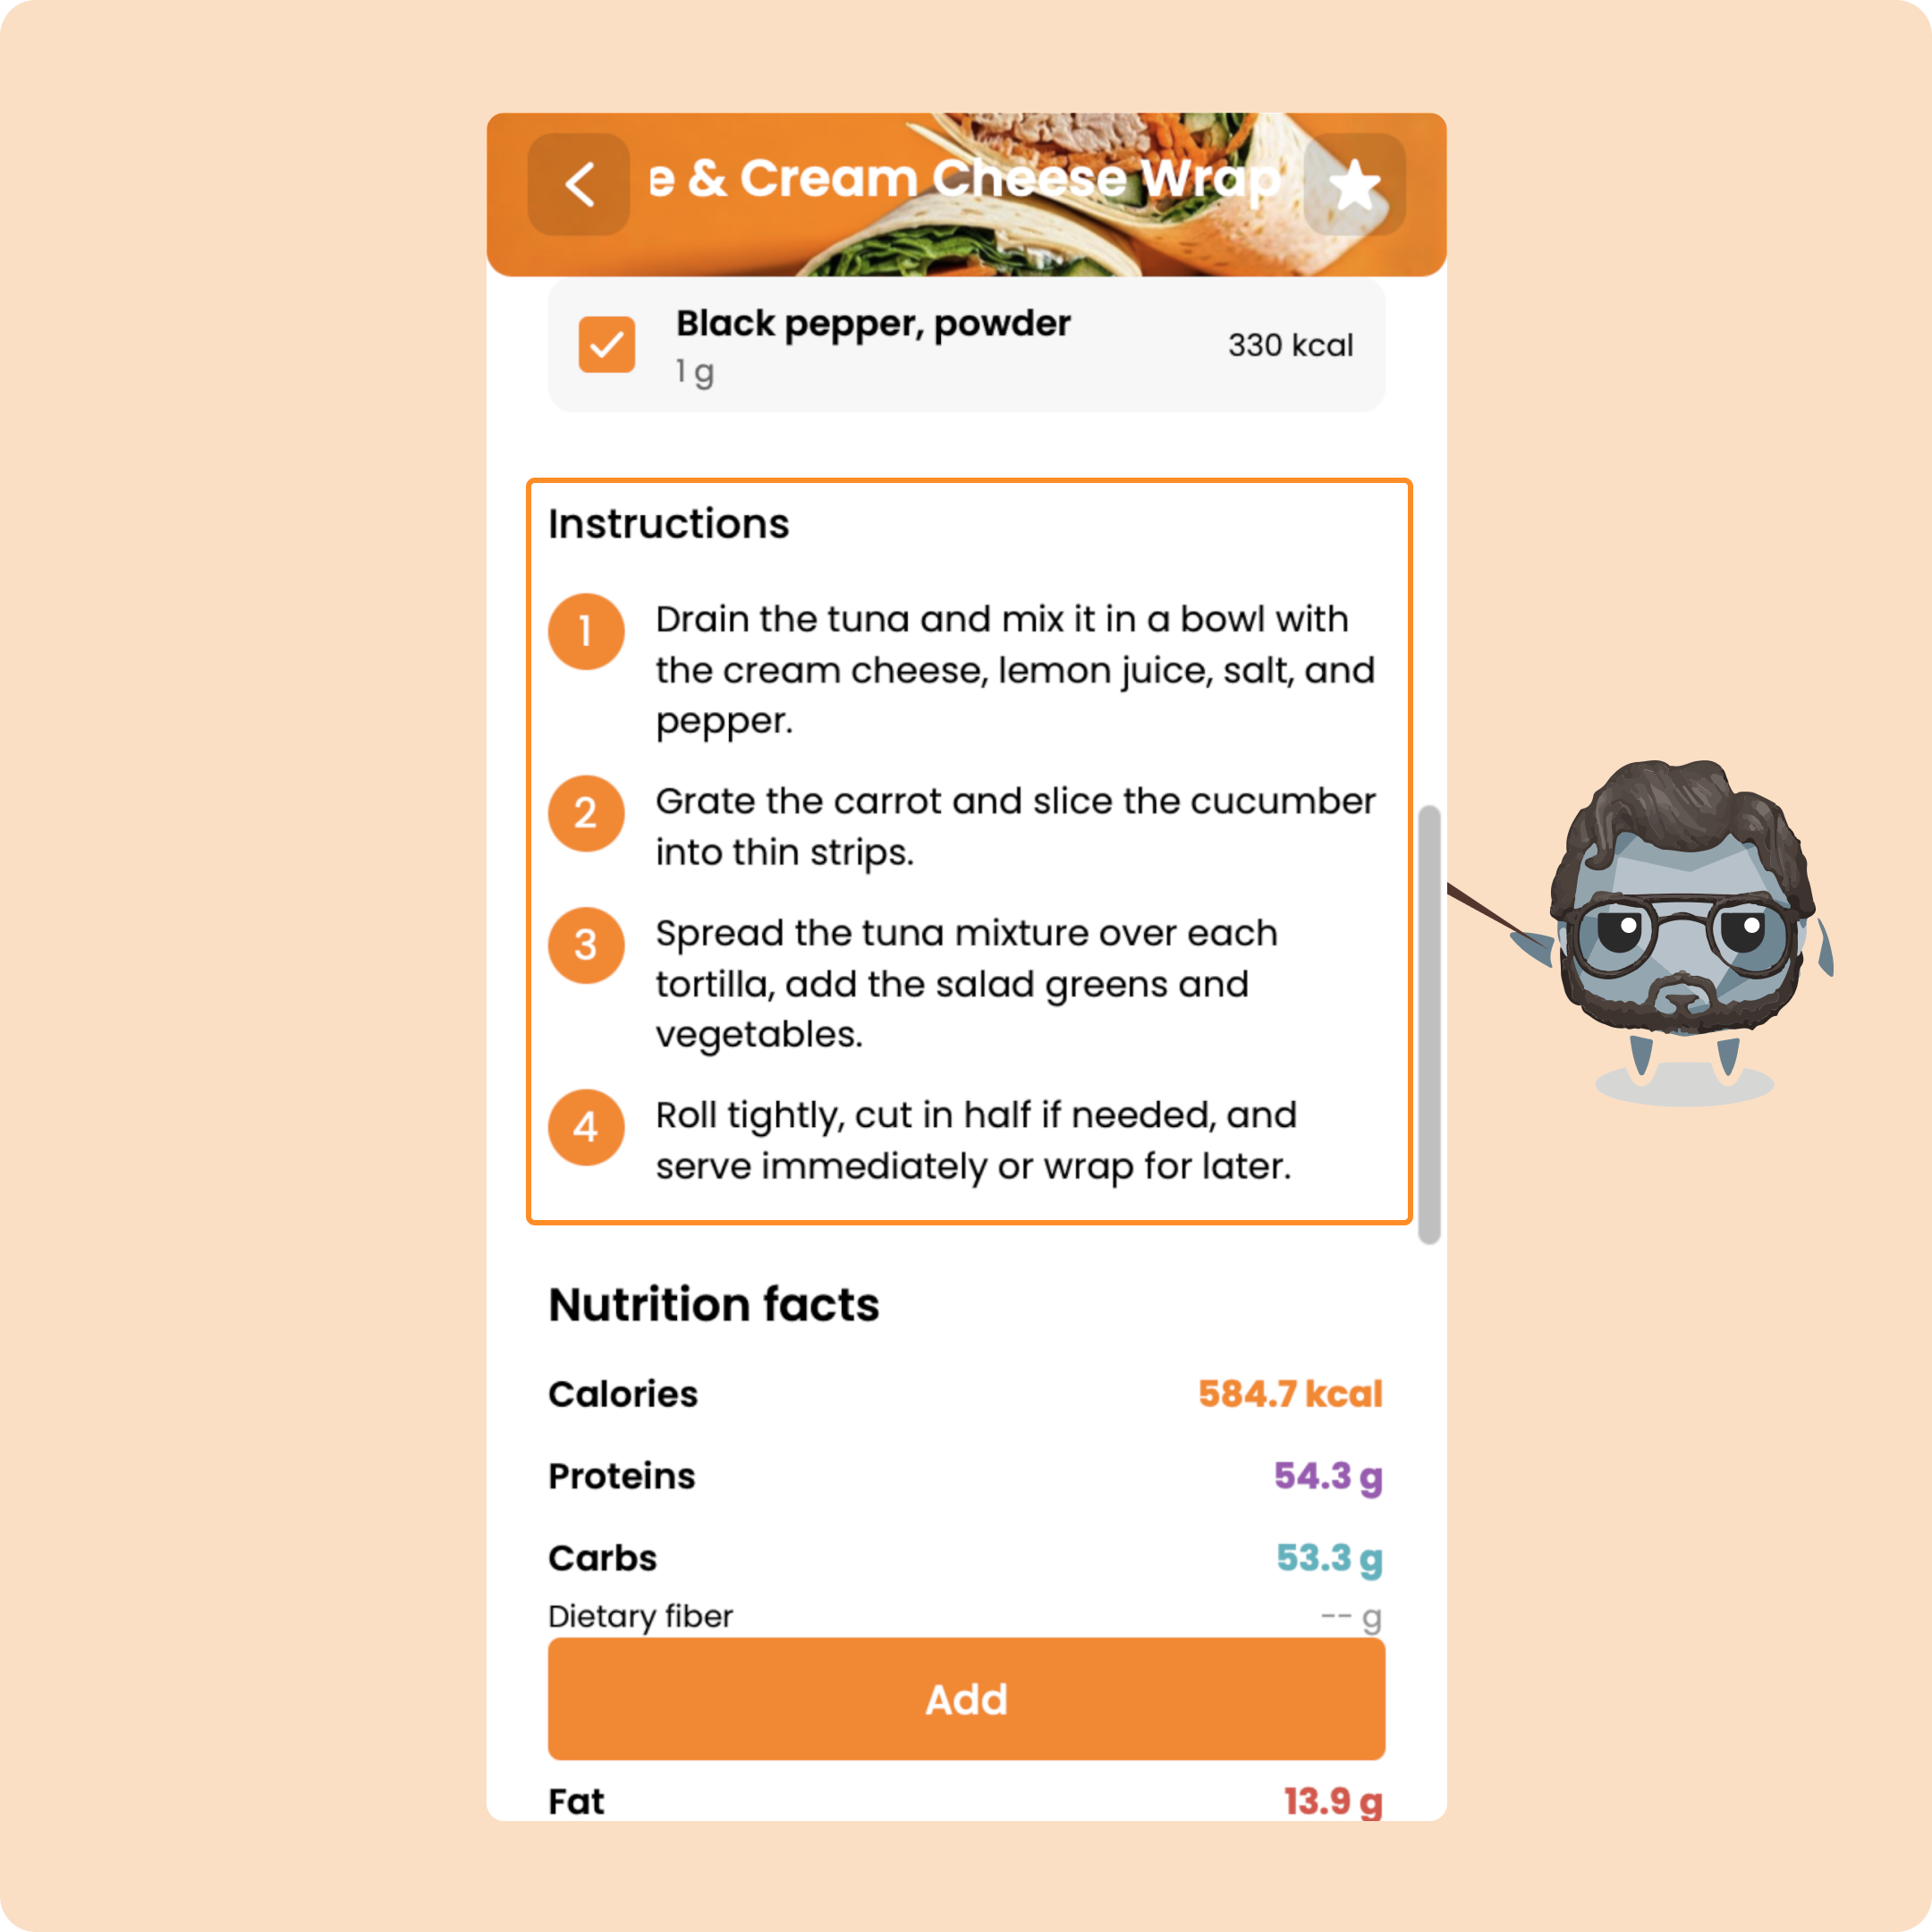
When you tap “Add”, you can choose how many portions to add to your current meal.
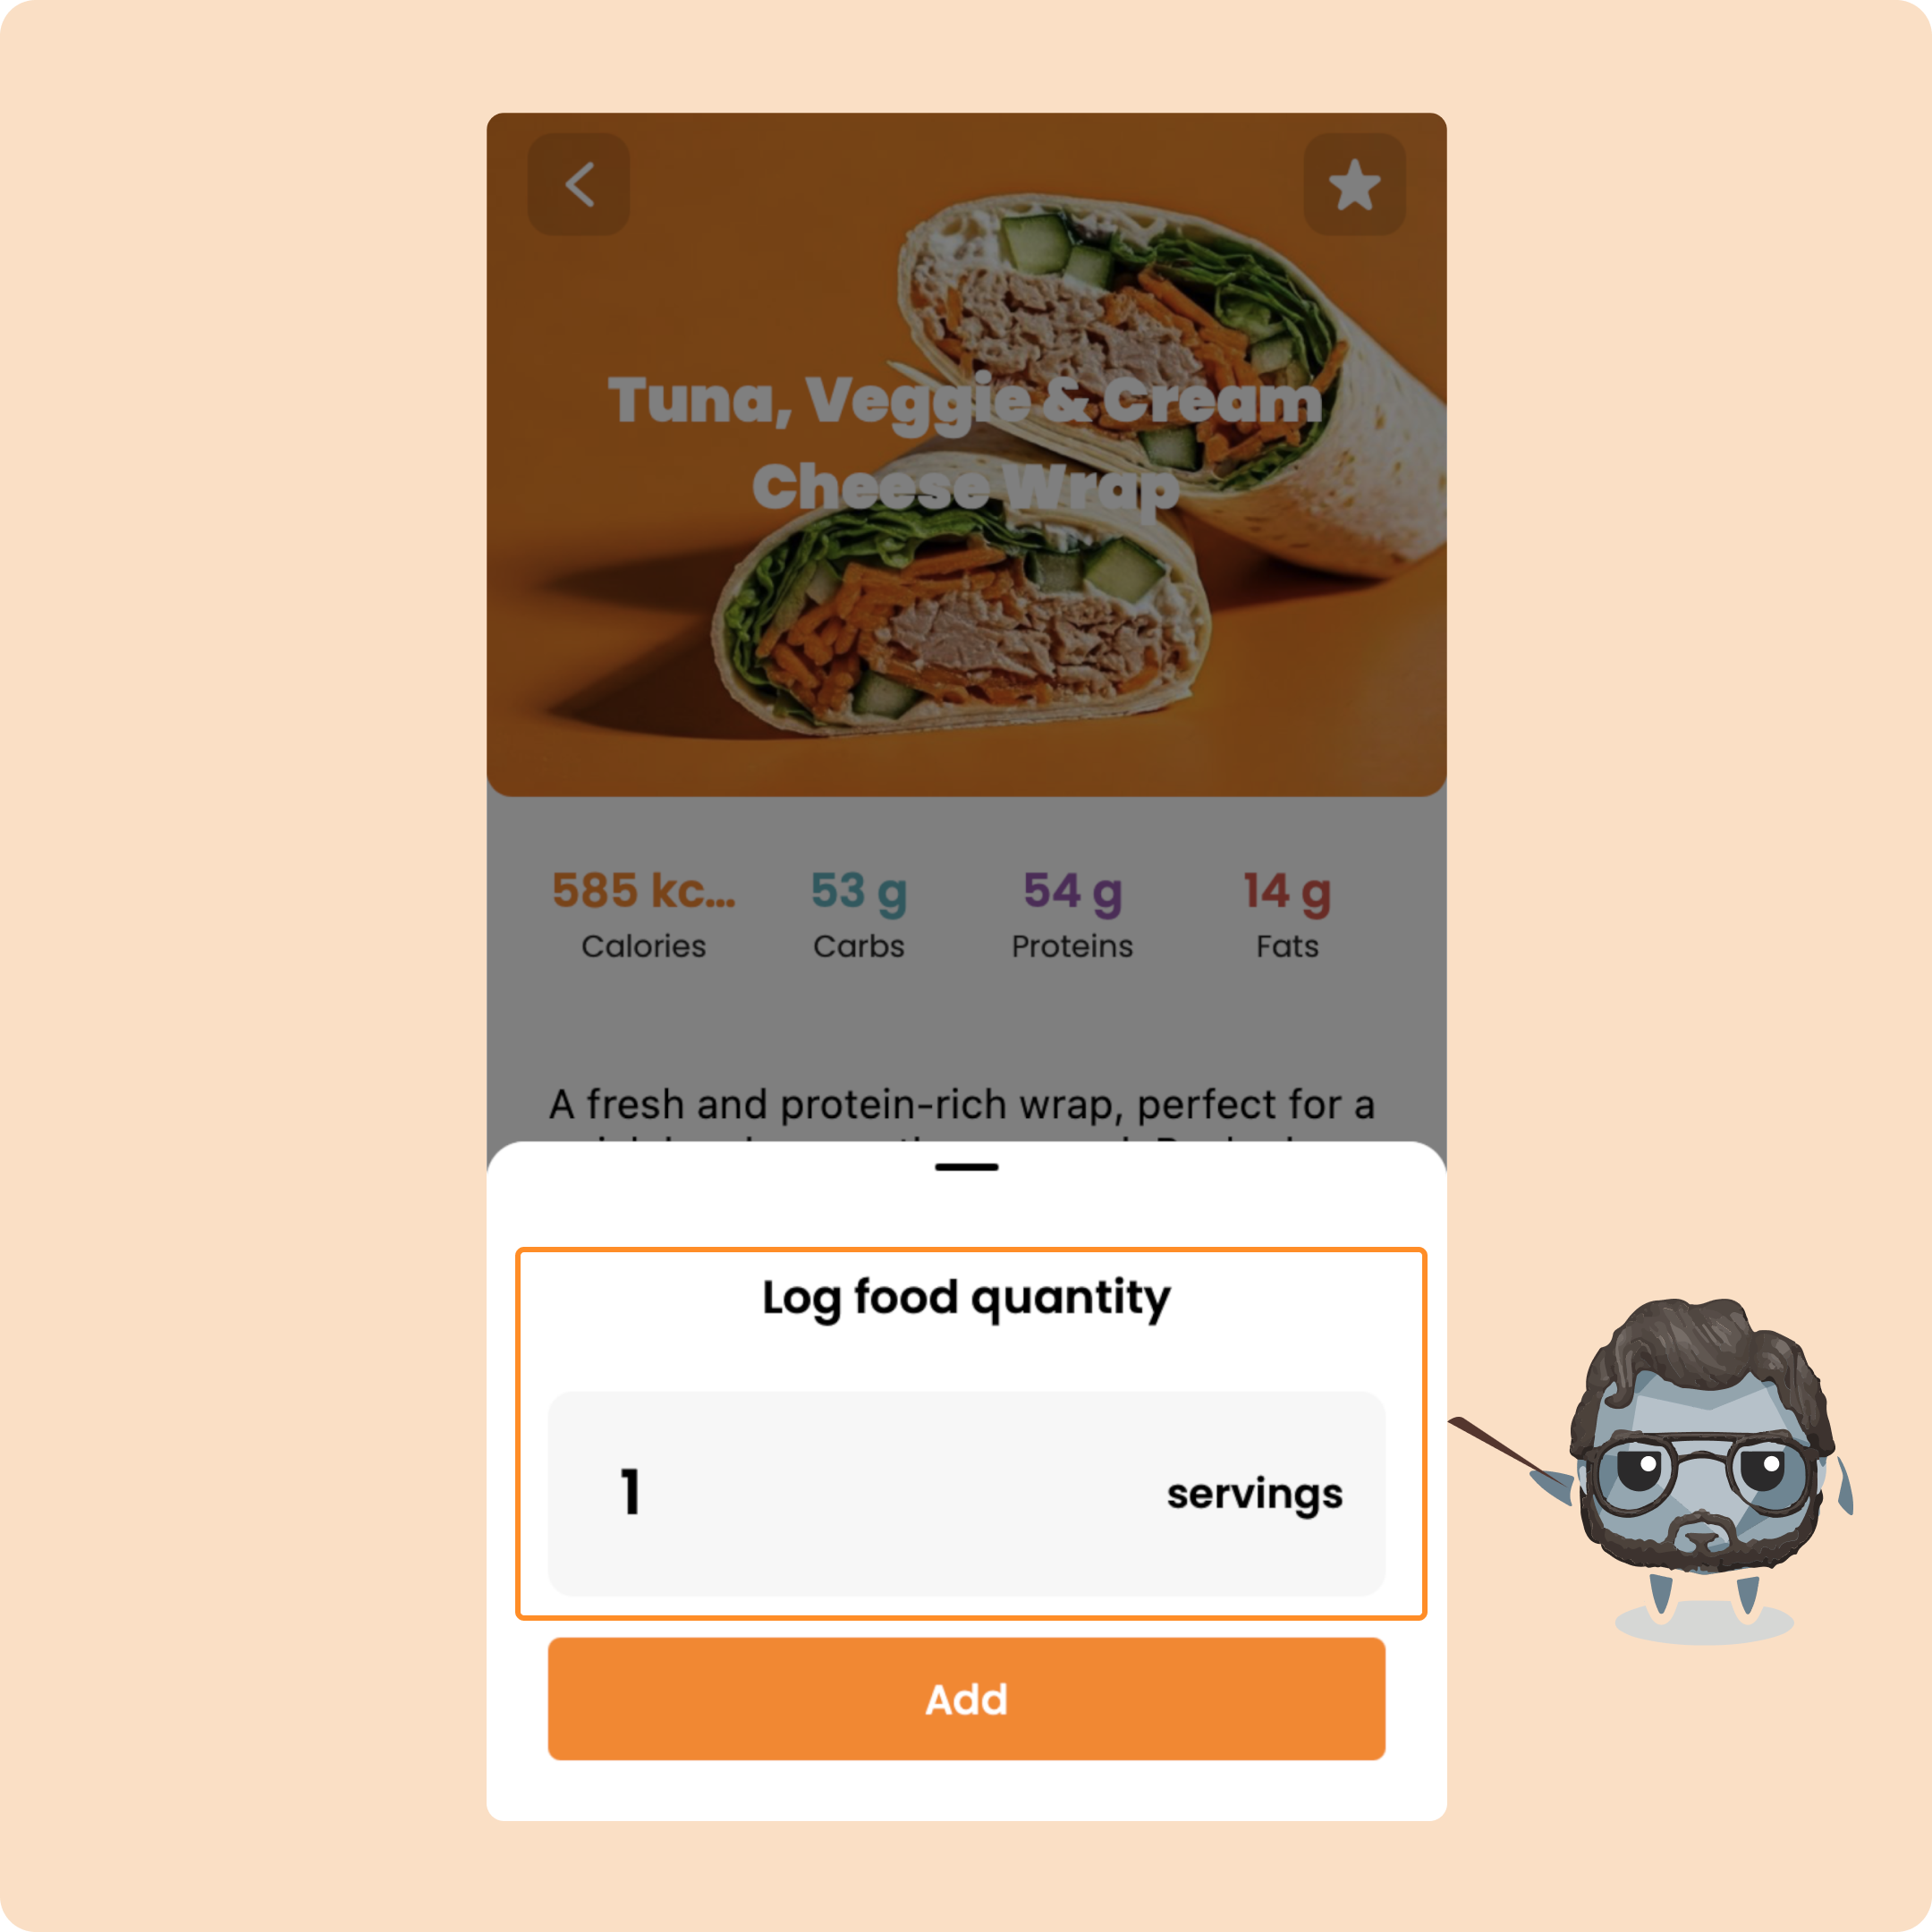
The whole recipe will be logged with the right portion size.
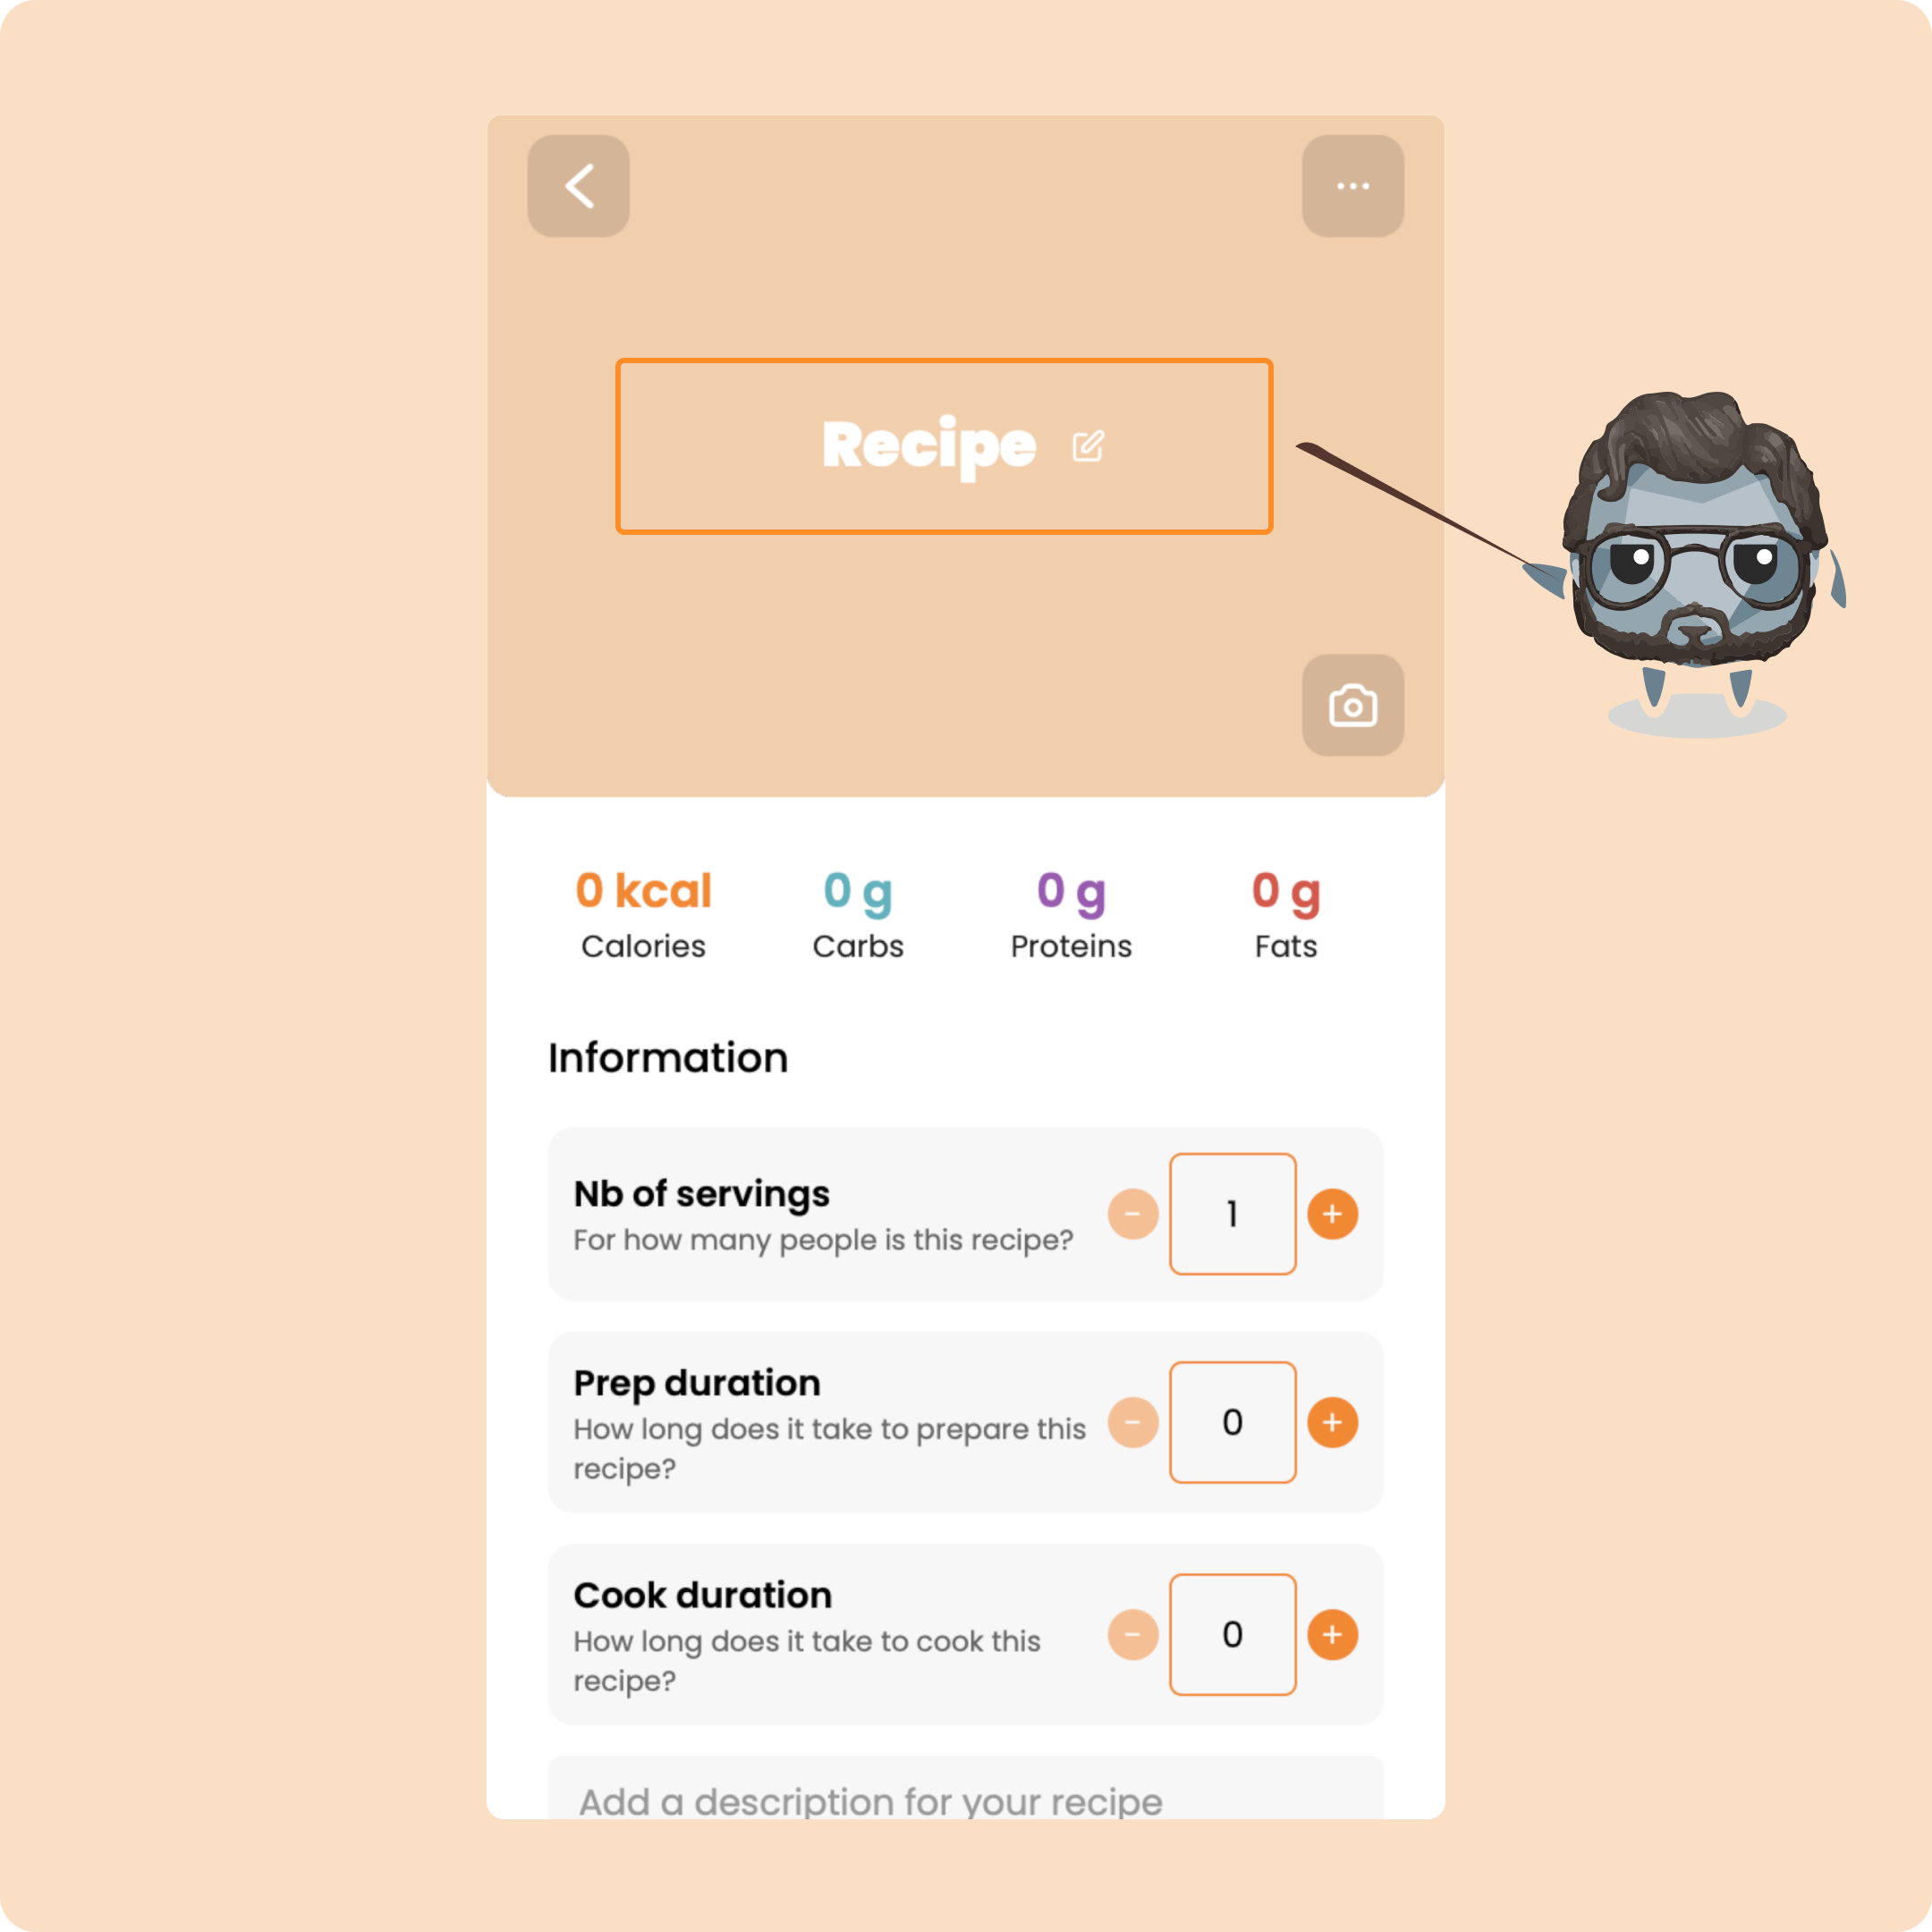
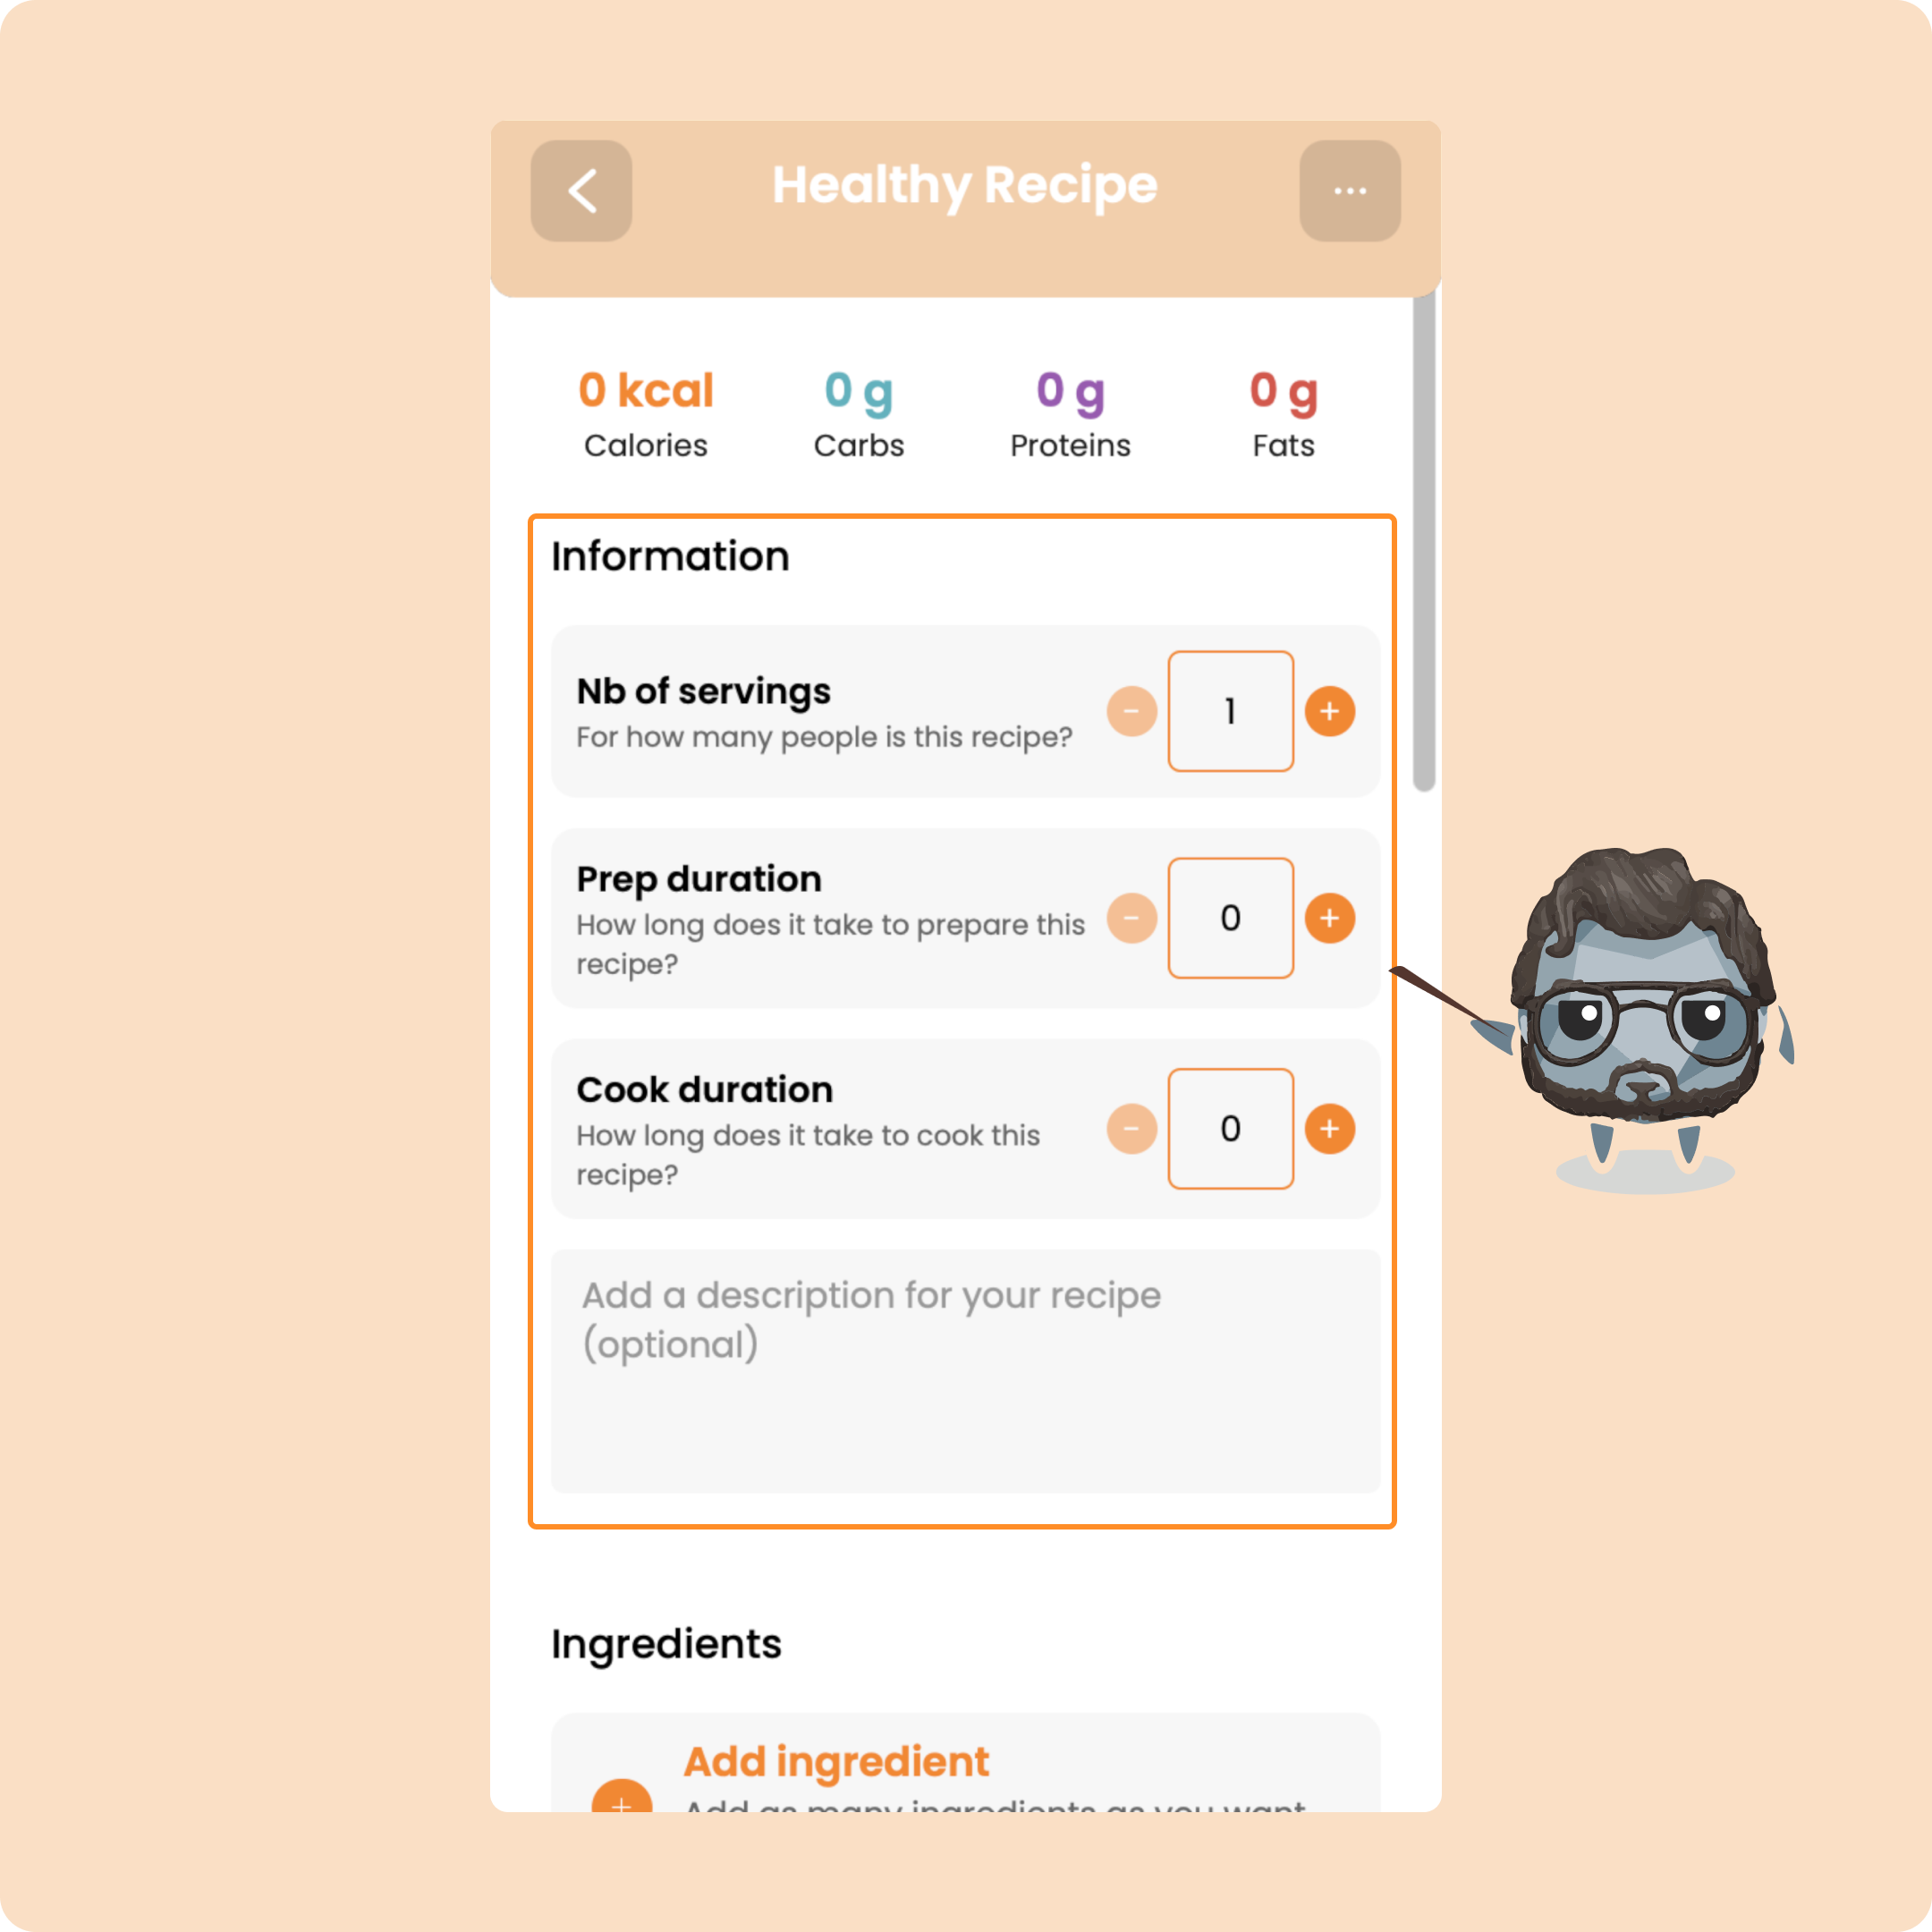
You can also create and save your own recipes directly in Gymkee.
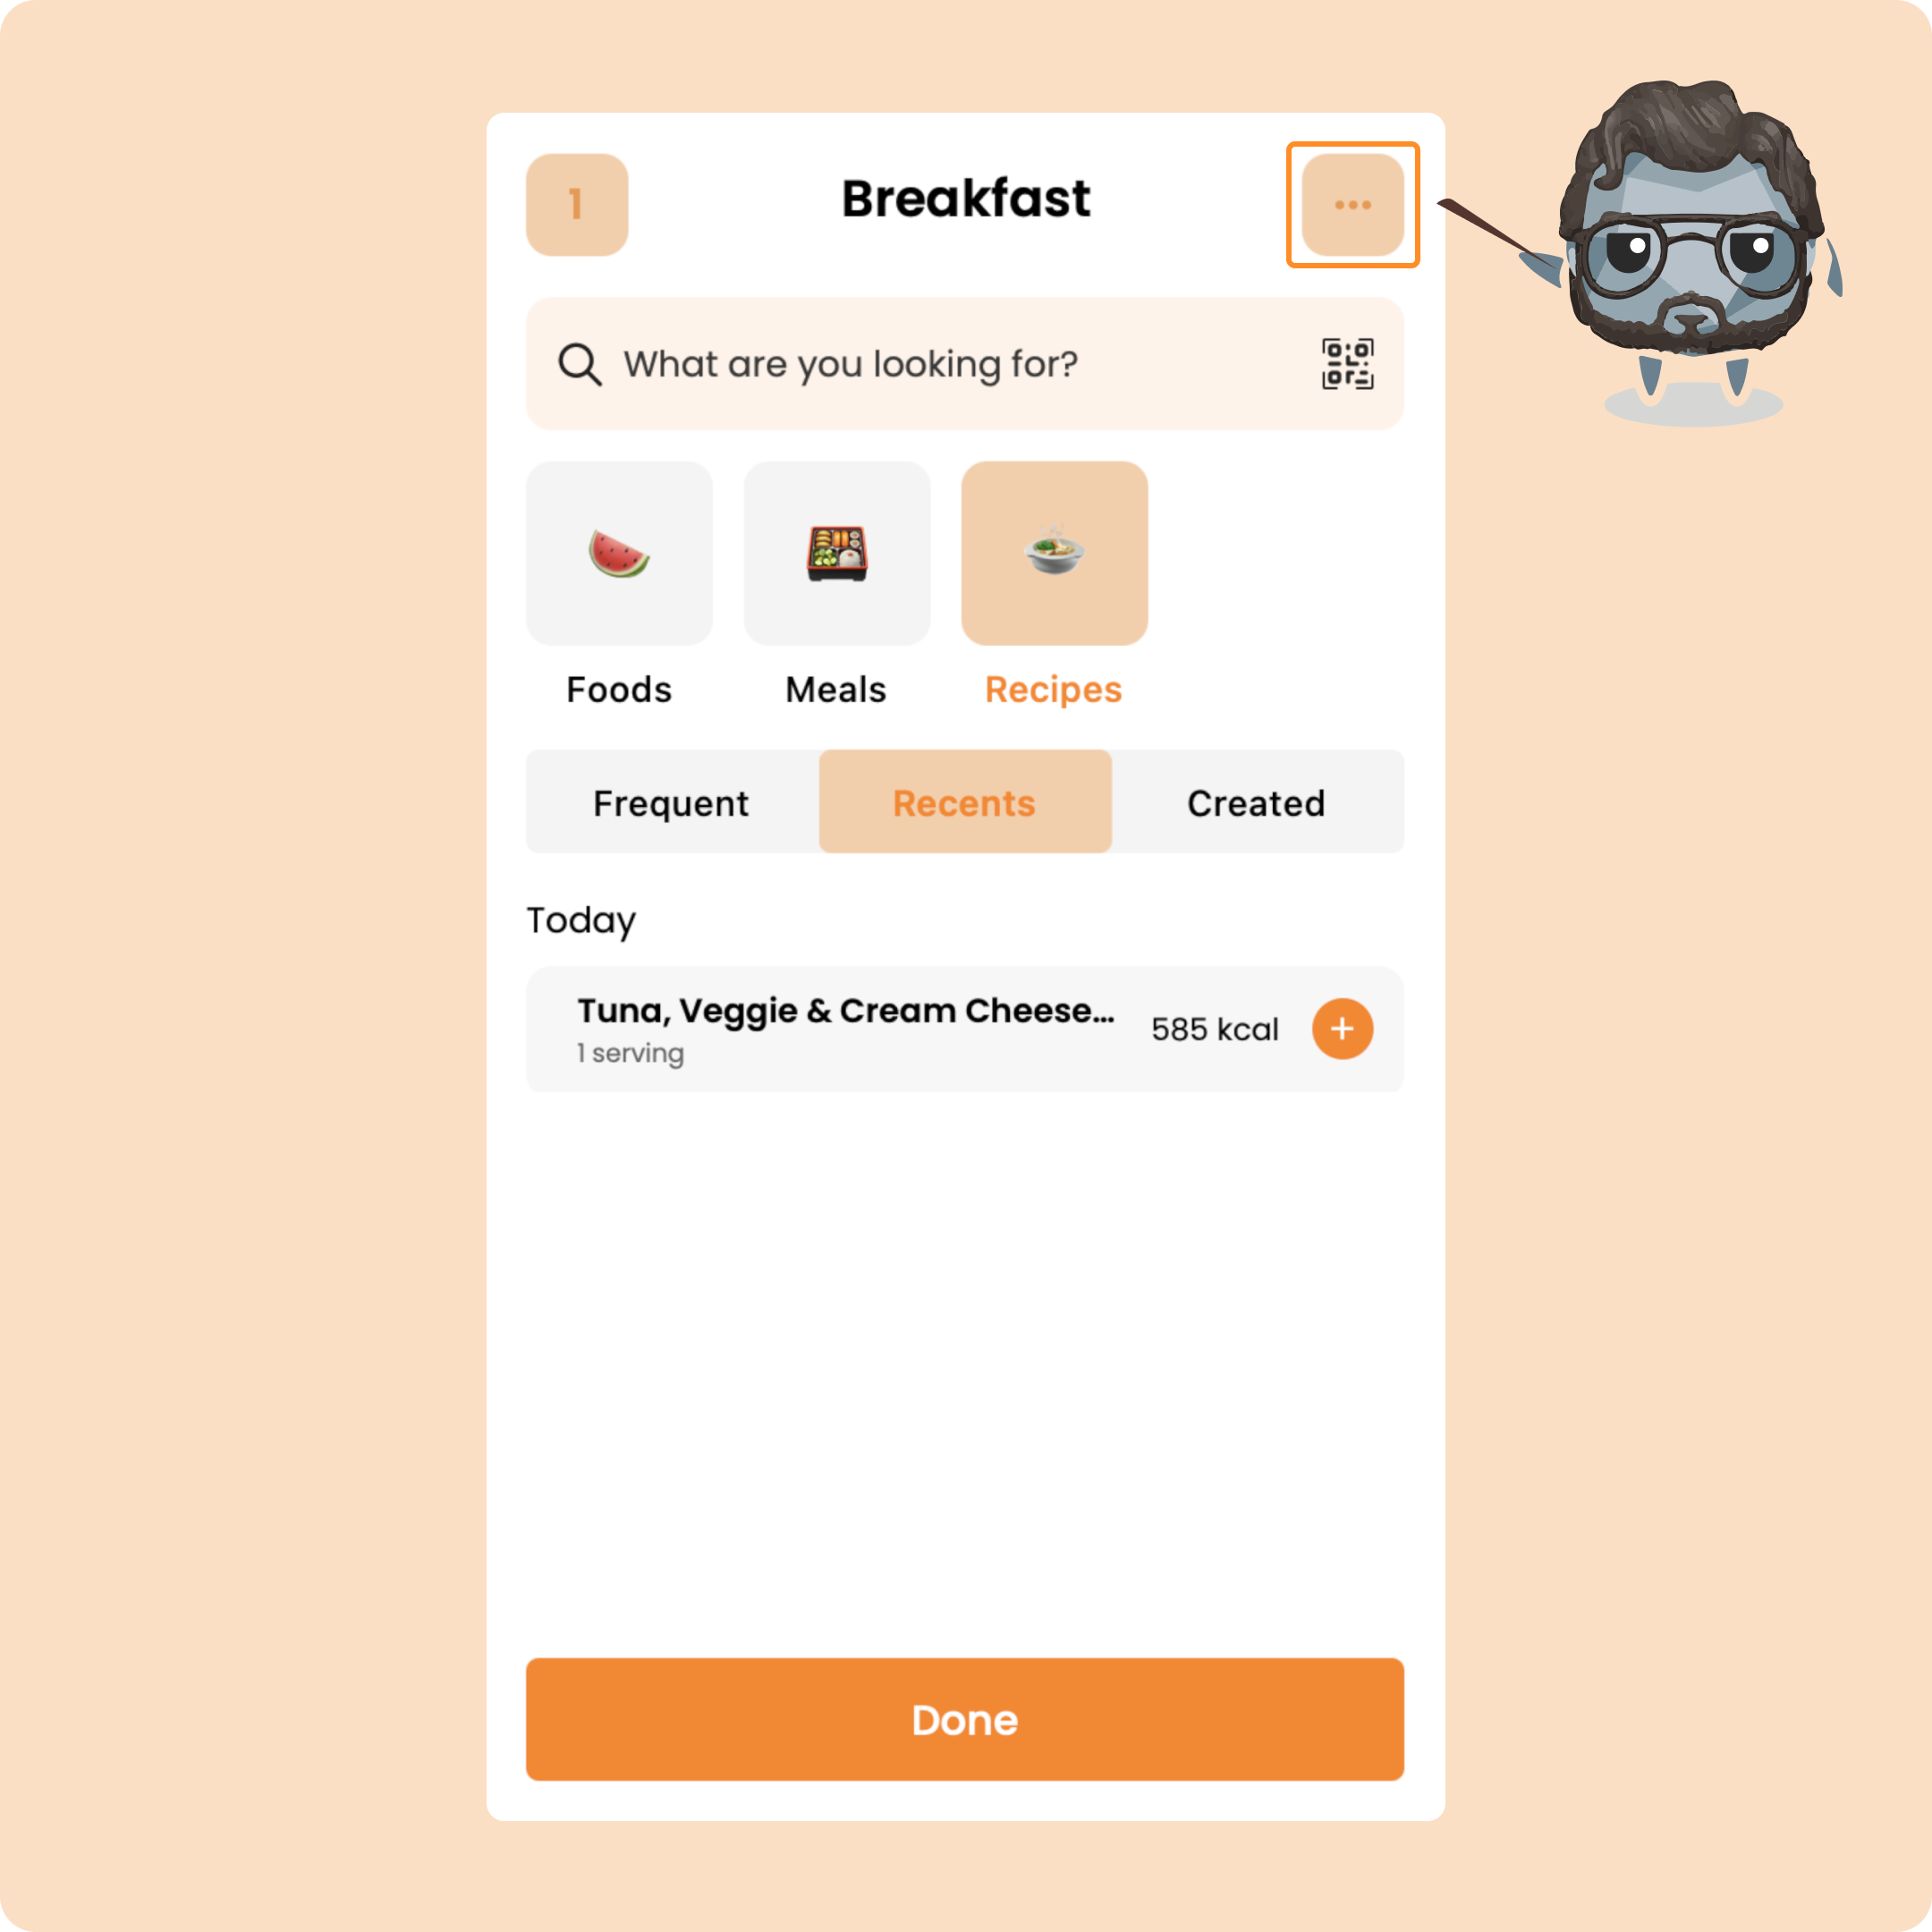
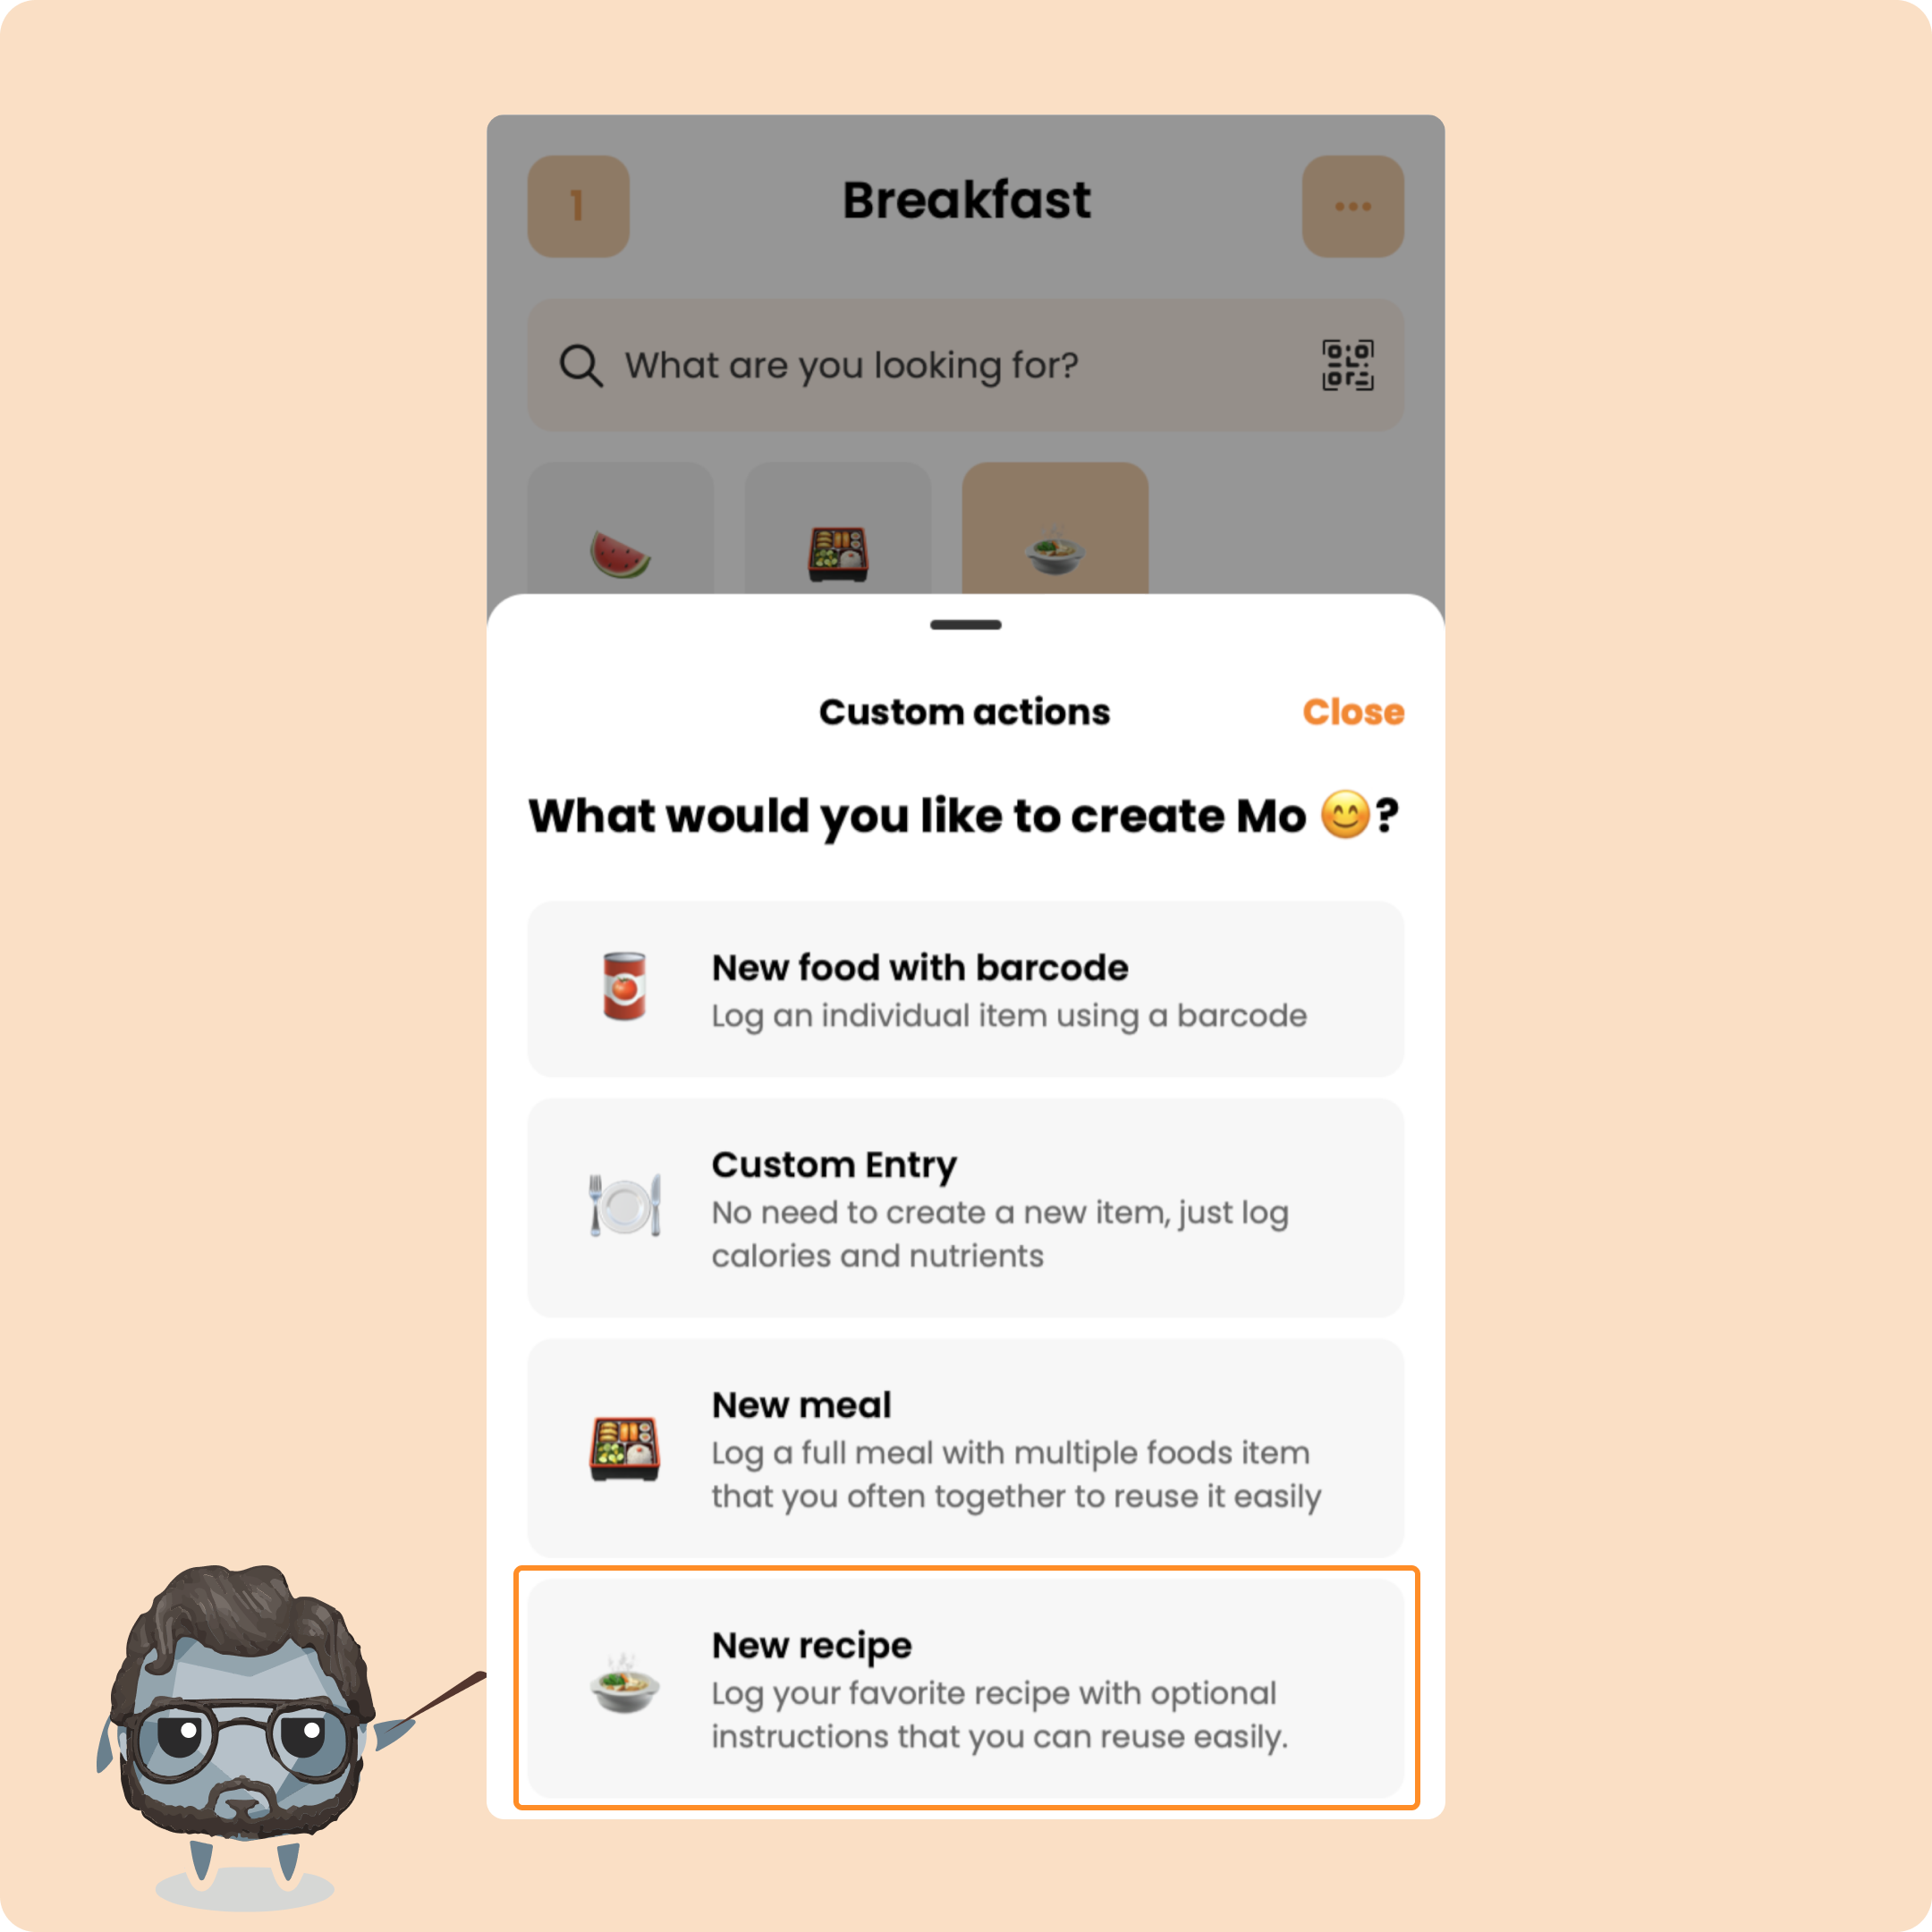
Just fill in the fields, add ingredients and steps, upload an image, and your recipe will be available to add to any meal.
Smart photo logging
The last feature is smart photo logging.
Take a picture of your meal, and our AI will automatically detect the foods and log them.
You can then review, edit, or adjust the values before saving.
And that’s the full tour of the Nutrition section on Gymkee.
If you have any questions, drop them in the comments or reach out through the in-app chat.